Martial Law = Gun Confiscation? One Big Reason Why it is Unlikely
Many Prepper and survivalist web sites contain an abundance of material about the likelihood of gun confiscation in the aftermath of a major disaster. The general premise is that government agencies and/or military units will be going door to door after a declaration of martial law to forcibly deprive you of weapons and ammunition. You resist – you die, or end up in a prison cell on the back side of some undocumented FEMA camp in the middle of nowhere; or so the theory goes.
Unfortunately, the distinction between local or regional disasters, such as a hurricane or earthquake, and a wider SHTF or “end of the world as we know it” event, are rarely made. In any historic disaster that you can name, government has always continued to function at both the state and federal levels. A varied collection of mostly nameless bureaucratic agencies have always been able to respond to a recognized need. The degree to which they were timely in their response, or even effective, is not an issue. The point is that a constituted and functional government (the people who you think you elected), were responding to a recognized need because they had a political motivation or statutory obligation to do so.
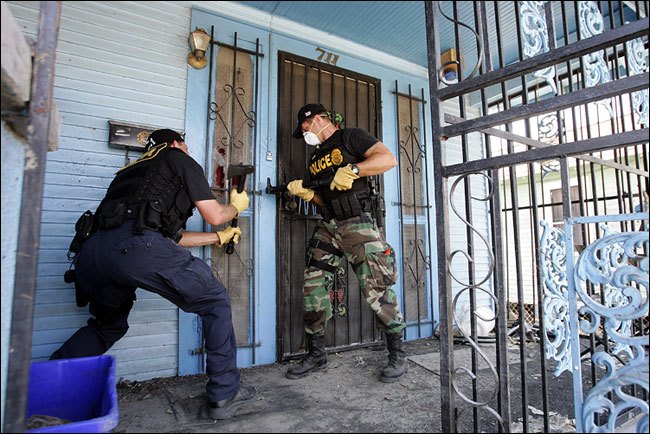
Most frequently cited in Prepper articles is the warning that gun confiscation is an inevitable consequence of a declaration of martial law. In the case of Hurricane Katrina, law enforcement personnel were, in fact, going door to door to confiscate firearms. There were numerous highly qualified Search and Rescue teams that refused to go to New Orleans because they were not allowed to carry firearms for their own protection.
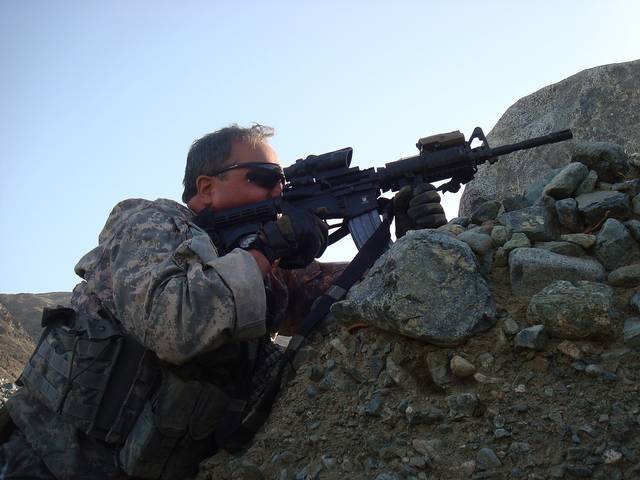
If the entire system were to suddenly go sideways, what is the probability of an enforceable martial law declaration, followed by gun confiscation? For example, if a solar coronal mass ejection (CME) event took out the entire national power grid could you realistically expect an army platoon to break through your front door in search of firearms, ammo and surplus food? I think not.
In order for martial law to be effective, you must first have a means of declaring it to the general populace. Second, you must have a means of enforcing it. The absence of either factor renders the declaration a moot point. Even without a means of communication, citizens will realize that a major catastrophe has happened. If there are no lights on at city hall, it won’t take a genius to figure out that civilization has gone south. Without a means of communication (TV, radio, Internet, posters on telephone poles, etc.) there is no way the general populace would know that martial law has been declared.
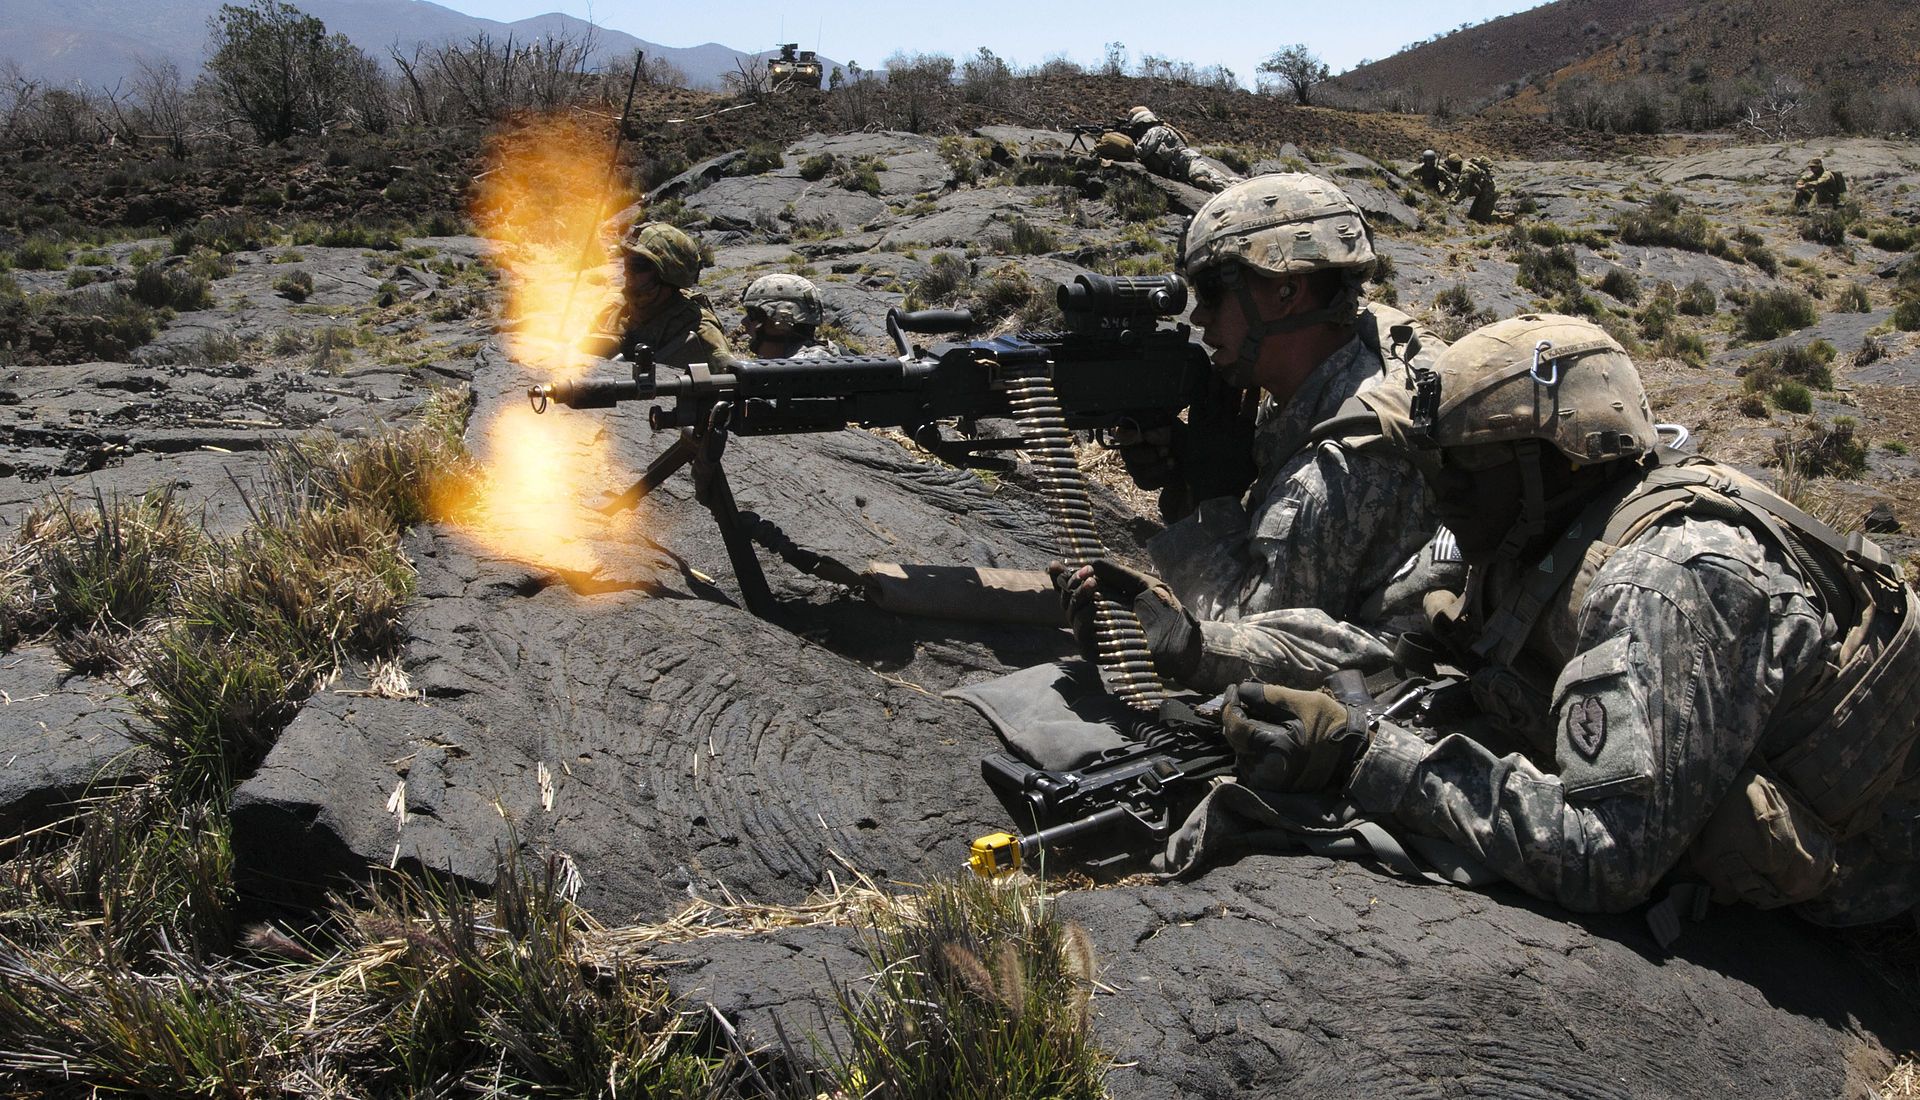
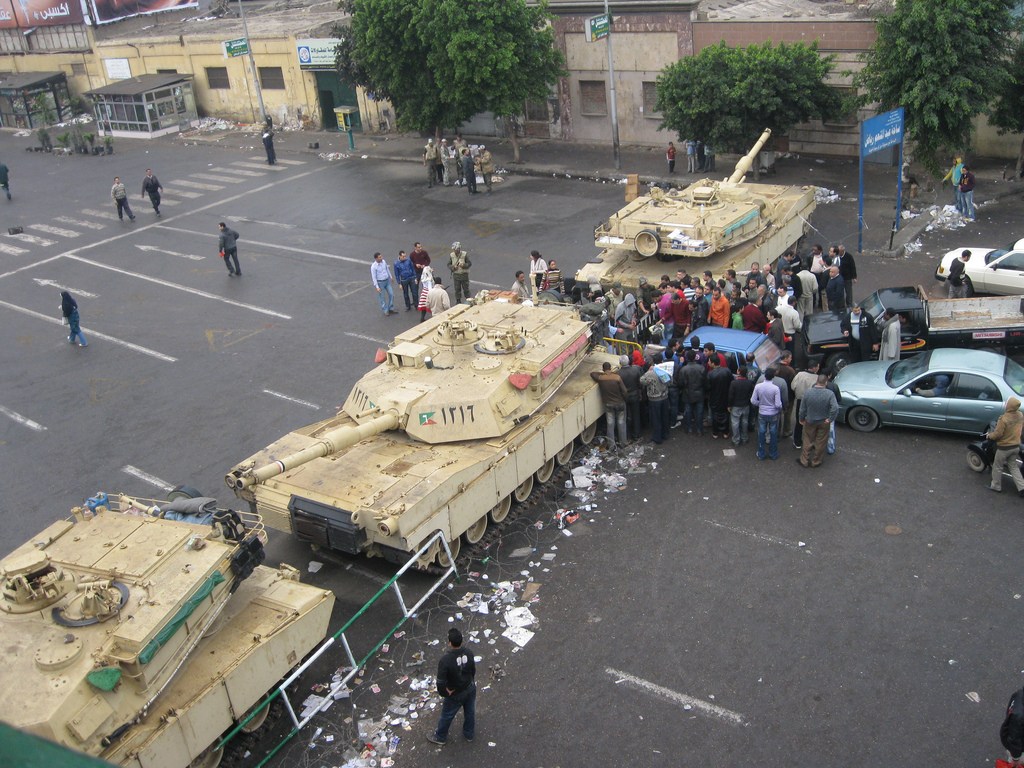
Second, if the command and control communications infrastructure has been disabled, government will have no ability to issue notifications or orders to law enforcement agencies (federal, state, county or local). By using the term “infrastructure,” I refer to computer based network communications, the ability to transmit communiqués via radio, the ability to contact and muster enforcement personnel, and essential coordination of resources. Stated a bit more directly, Fort Bliss will not dispatch a battalion of troops from the 1st Armored Division to Albuquerque, New Mexico (a distance of 225 air miles) to confiscate your firearms. They won’t be doing it in Humvees, M1-A1 tanks or Blackhawk helicopters. And they most assuredly won’t be on foot.
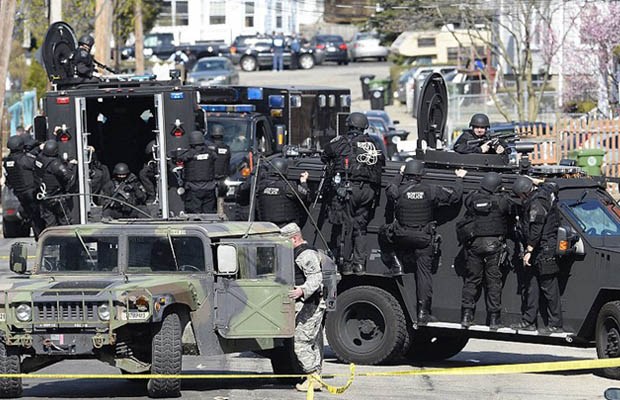
Finally, the enforcement of martial law (including gun confiscation) presupposes that county and local law enforcement personnel will be willing to carry it out on a national scale. It is one thing to suppress looters and arsonists, but requiring the military or state/county law enforcement to confiscate 350 million legally owned firearms is an entirely different proposition; especially if they are faced with determined resistance. Importantly, there are an increasing number of county sheriffs across the U.S. that have gone on record to refuse cooperation with federal initiatives that would lead to gun confiscation.
Doing house to house searches – whether vacant or occupied – is a very time-consuming and labor intensive process; not to mention the risks involved. Based on national averages, patrol officers number about 2 per 1,000 residents across the country. In rural communities, that number may be as low as one per thousand. In crime ravaged cities like Chicago, Washington DC and Baltimore, it can exceed four per thousand. When you consider housing and population density in urban areas, gun confiscation would be a daunting task to assign to any police force.
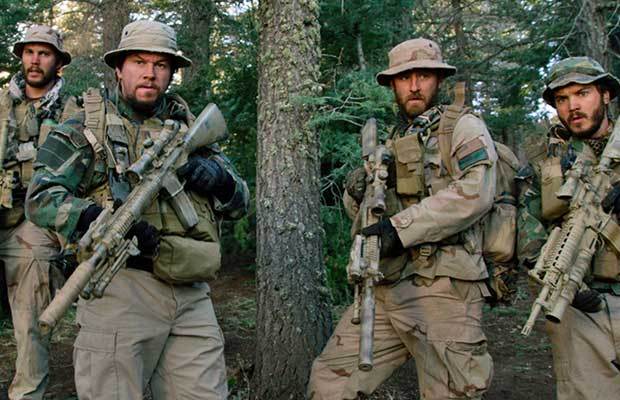
Excluding overseas deployments, the number of active duty Army and Marines in the contiguous U.S. is significantly less than 500,000. That is less than 1.5% of the entire population. The number of Army/Marine personnel that would be trained and equipped to deprive you of your personal defense weapons would actually be less than one per 10,000 population. Within a matter of days, every state-side military installation will be in the same situation that you will face: No gasoline, no diesel or jet fuel for vehicles or aircraft, no resupply for commissaries or mess halls, and no direction from the federal or state branches of government. They will be eating MREs for breakfast, lunch and dinner. If the grid is down for you, it will be down for them, too. If you don’t have fuel, or if the semiconductor circuits in your vehicle have been fried, do you think the military will escape a similar fate? You can think of it as an ‘equal opportunity’ form of calamity.
A More Probable Scenario
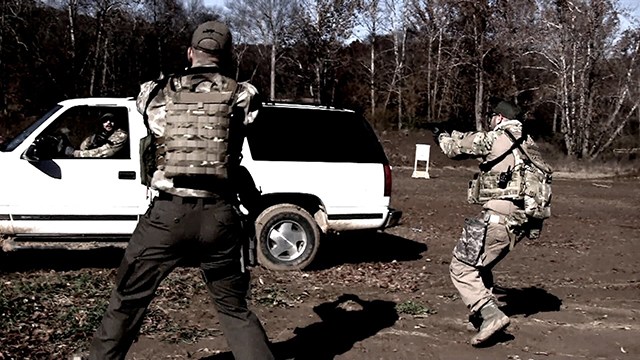
In my view, the disintegration of government and the abandonment of Constitutional rule of law would rapidly lead to a collapse of civil order. Without a functioning government, looting, arson and home invasions would erupt within hours – if not minutes – in major population centers. Any form of effective law enforcement (civil or military) would quickly evaporate. Instead, as the realization that civilization as we know it has come to an end, local communities and individuals would institute their own versions of martial law, but in a distinctly reverse manner.
The important distinction is that communities would be relying on citizen’s firearms to prevent being overwhelmed by refugees and looters. In other words, if you are inside the compound or town limits, and have possession of a firearm, you will be a defensive asset to the community. Moreover, local law enforcement will likely be aiding your collective defense. The enemy will be on the outside of the barricade.
In a total SHTF scenario, I believe that you are far more likely to be engaged in defending your family, property or survival community from raiders than you would be from government-backed confiscators of your weapons. The more tangible danger is from a still-functioning government that has abandoned Constitutional rule of law.
Many Prepper and survivalist web sites contain an abundance of material about the likelihood of gun confiscation in the aftermath of a major disaster. The general premise is that government

 You don’t want to have your health working against you in an emergency.


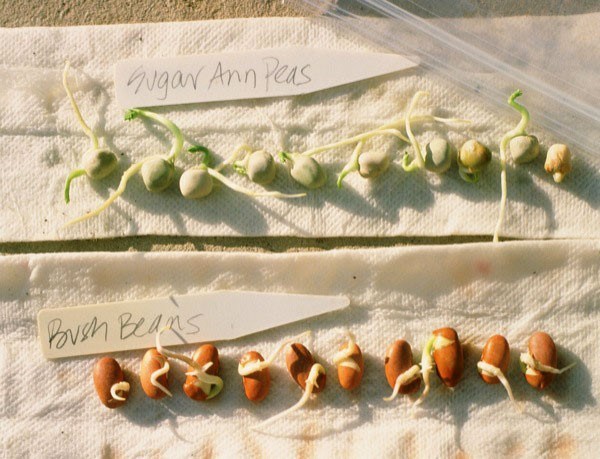
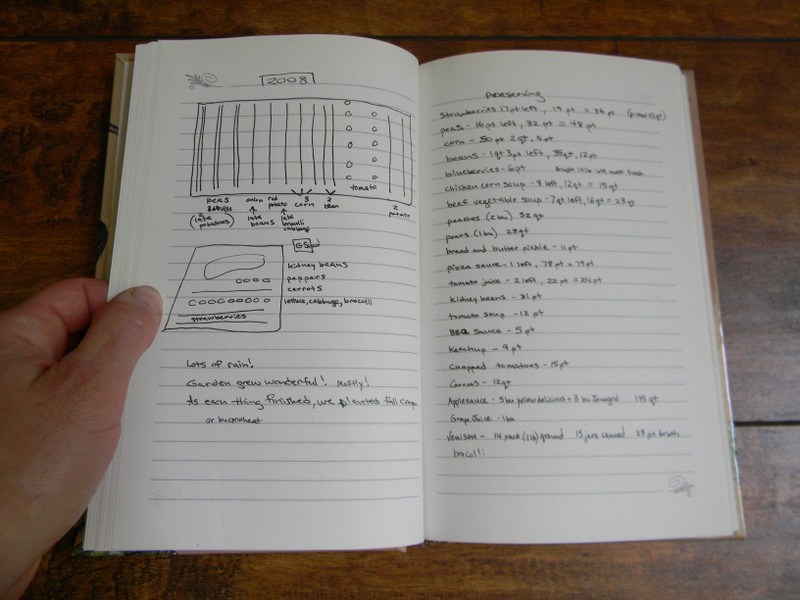 Ideally, we also keep notes at least during key periods of the year. How many little green things popped up out of roughly how many seeds?
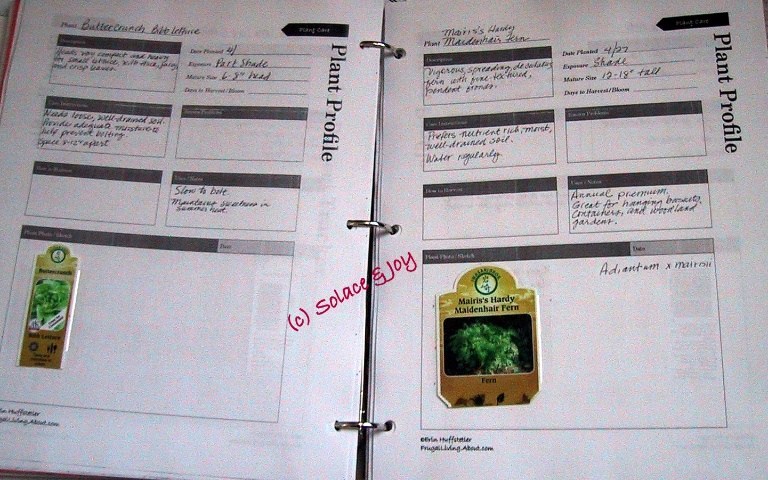 Ideally in a format that can be quickly and easily accessed during planning and evaluation phases before and after each year’s crop seasons.
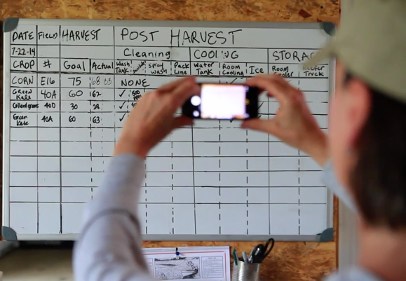 I find it easiest to stick a $2 Ollie’s dry erase board and a map pen by my kitchen door.
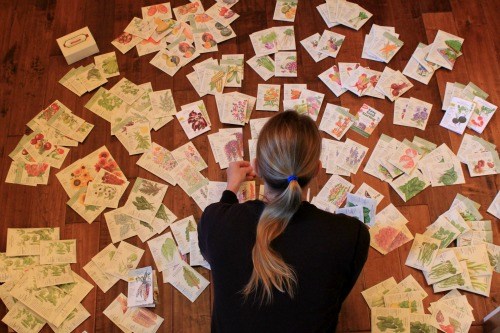


 .
.