Stacking functions is a quick term for the concept of planning things (elements) and areas (space) to perform the most services for us with the least input. It’s reusing things as many times as possible to get the most out of our time and energy, and letting the spaces themselves do some of the work for us. Elements used in stacking ideally perform multiple services and functions to not only further increase the efficiency of a space, but also add to our resiliency by creating redundancies in our systems. Analyzing homestead elements for multi-functionality and redundancy were covered in the first article. This time we’ll look at combining them into multi-function spaces.
Companion Planting & Guilds
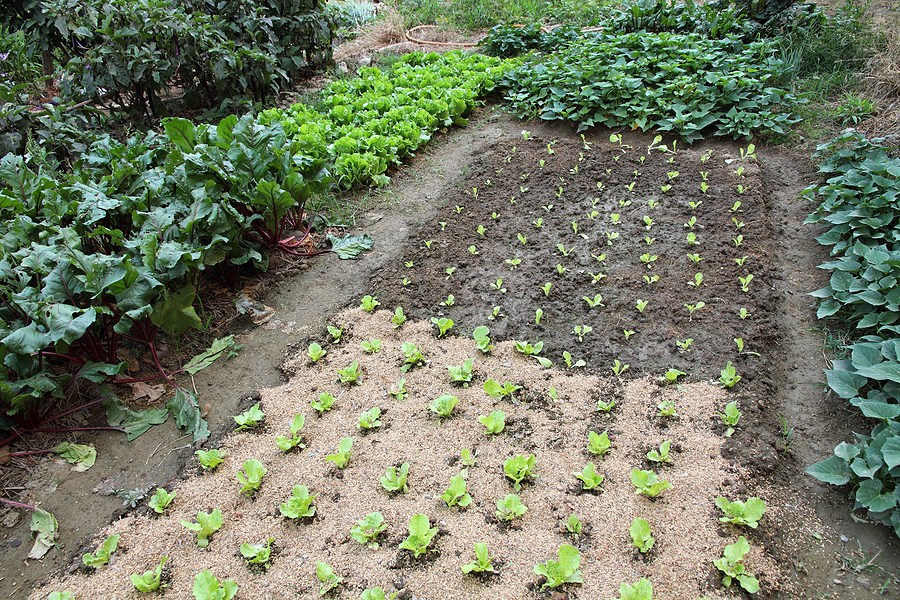
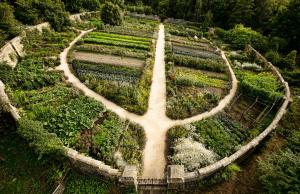
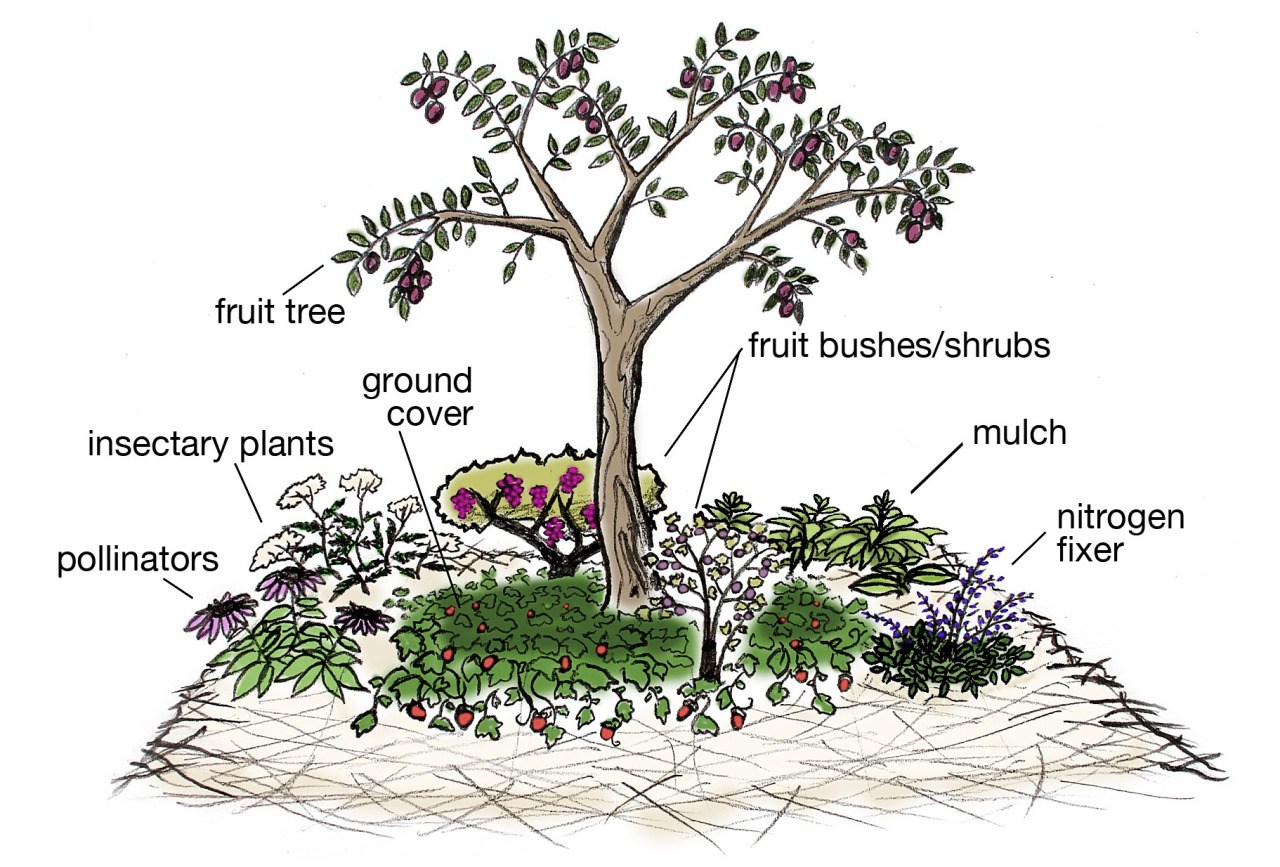
An example of a multi-function space use is companion planting. Companion planting is basically co-locating plants so that one or all partners provide something the others need. A guild is taking that to another level to create a long-sustainable system with few or no outside resources needed for its continued health.
For example, we can put chives and daylily around the base of our trees to prevent weed growth and limit our work or need for mulching that particular area, and they’ll soldier through the dense shade seasons. Around the verges of fruit, nut and resource trees we’d put shade-tolerant and part-sun or full-sun berries, depending on sunlight, or we might have berries and-or vines on the fence beside the trees.
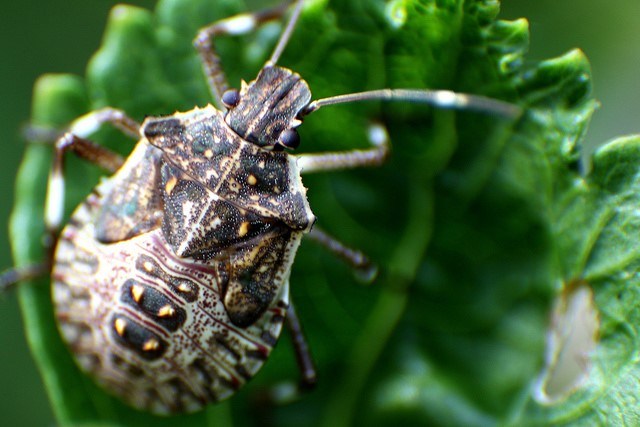
We might include wallflower, lavender, rosemary, and lupine around some of the trees and berries to provide health and pest benefits for those plants, and plug-in some radishes and nasturtium to act as pest traps and food sources. We’d include something that produces nitrogen if we were going with a hazelnut shrub or pear instead of a locust. We might build up rings of soil to plant sweet potatoes or yams to spread and choke out weeds, and use the biomass for livestock feed, mulch or compost. We could use weeds like henbit, plantain, wood sorrel, and dandelion for their varied human or livestock feed purposes as well as the health benefits to soil like N-fixation and nutrient mining, and their early and late pollinator feed potentials. We can fill space between the guild and other areas with somewhat decorative grass grains or high-biomass sun-loving crops like buckwheat or native oats, collecting the seed or letting it be a forage area while producing biomass we’ll use for livestock bedding or mulching.
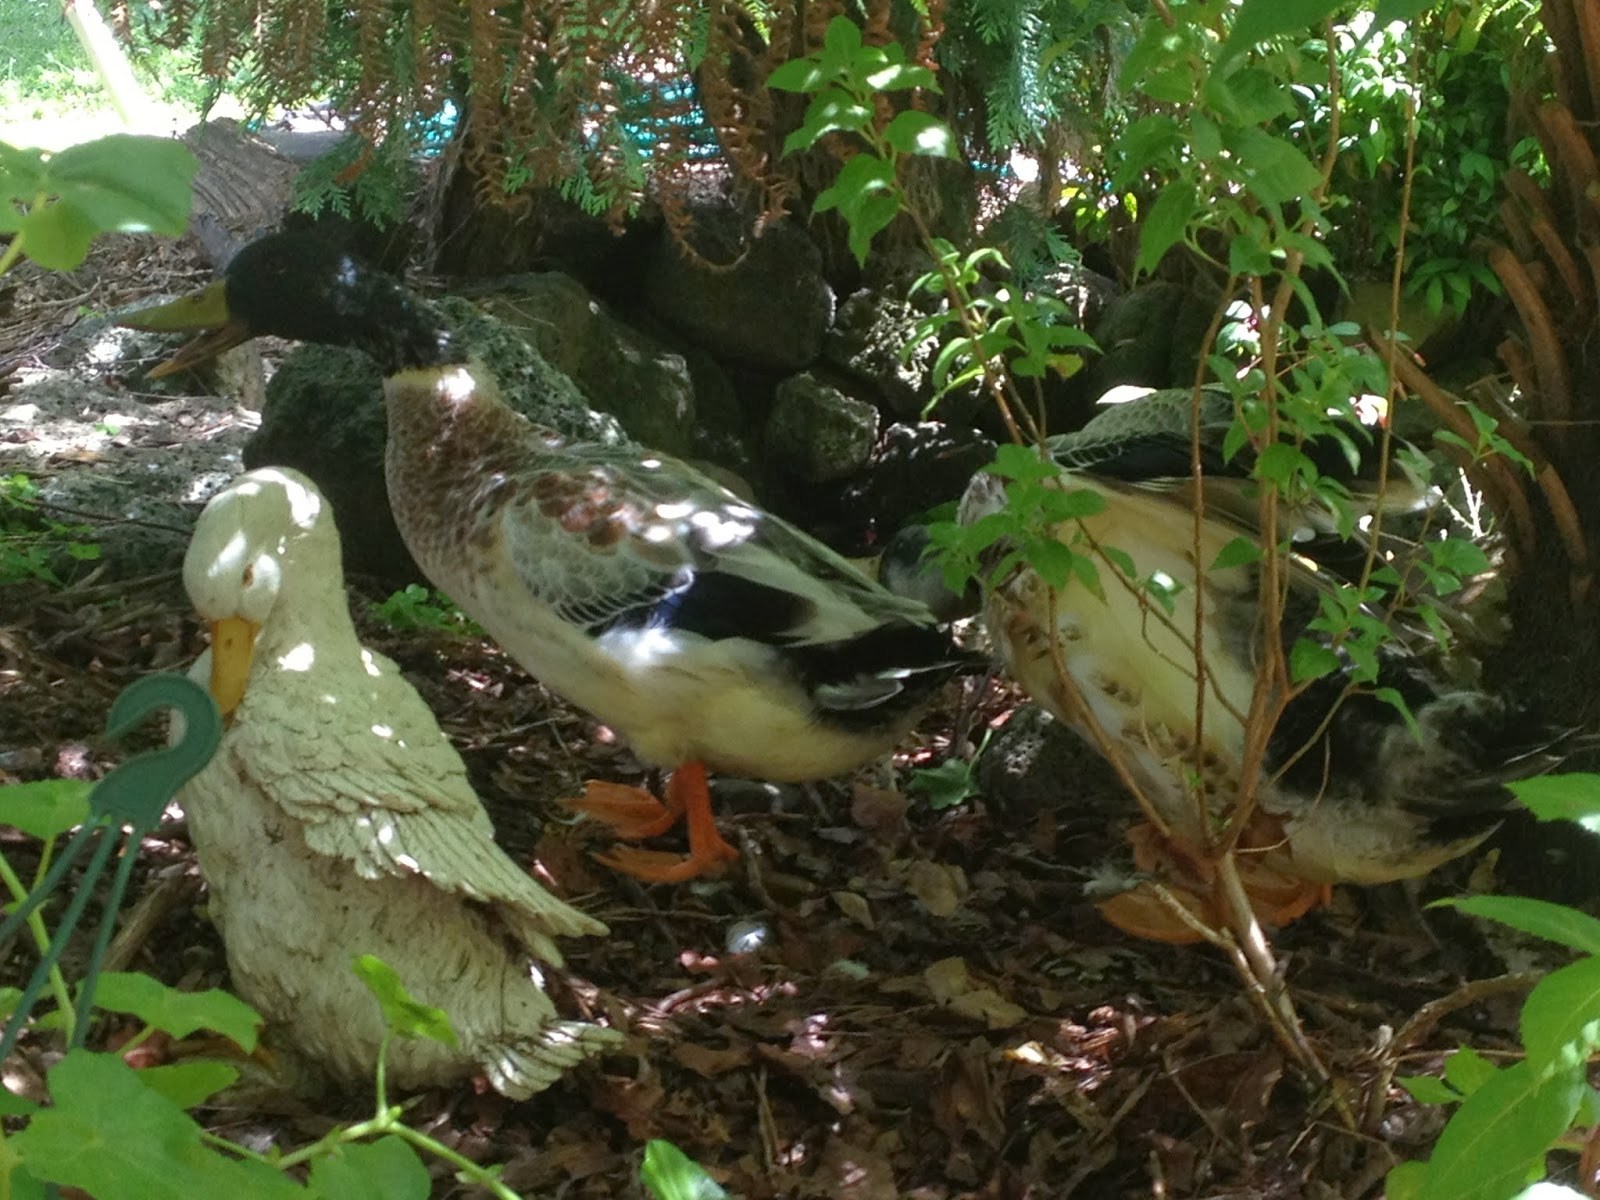
Things like shrubs and brambles can provide shelter for small livestock that’s grazing, like rabbits, ducks and quail, should predators show up. Leaving runways of stubble and standing grasses will increase those hiding areas, either protecting our livestock or increasing our hunting territory (if neither applies, cut stubble shorter to decrease the number of critters that can hide).
All of the plants we include in the guild have at least one or two primary purposes. Most are edible or herbs, most have parts that feed livestock or worm/BSF farms, most provide something else for the system like a groundcover, nutrients, or mulching. Something like brambles might be used to deter some pests or predators, while other plants might discourage cats or ants.
We’ve jam-packed a particular area with a ton of services, yields and functions by selecting things that work well together, provide services beyond their primary role, and that fit our space and wants. By doing so, the guild doesn’t need us as often, and we can harvest a lot from a relatively small space compared to having just a couple of trees, a bramble or fence on a vine, and then mulch, monoculture pasture, or yard grass below them.
*If a companion planting list suggests chives for anything but trees and shrubs, take everything they say with a big grain of salt.
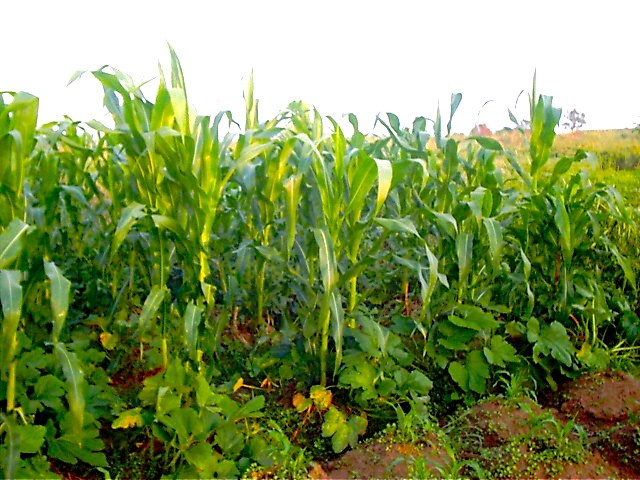
Three Sisters
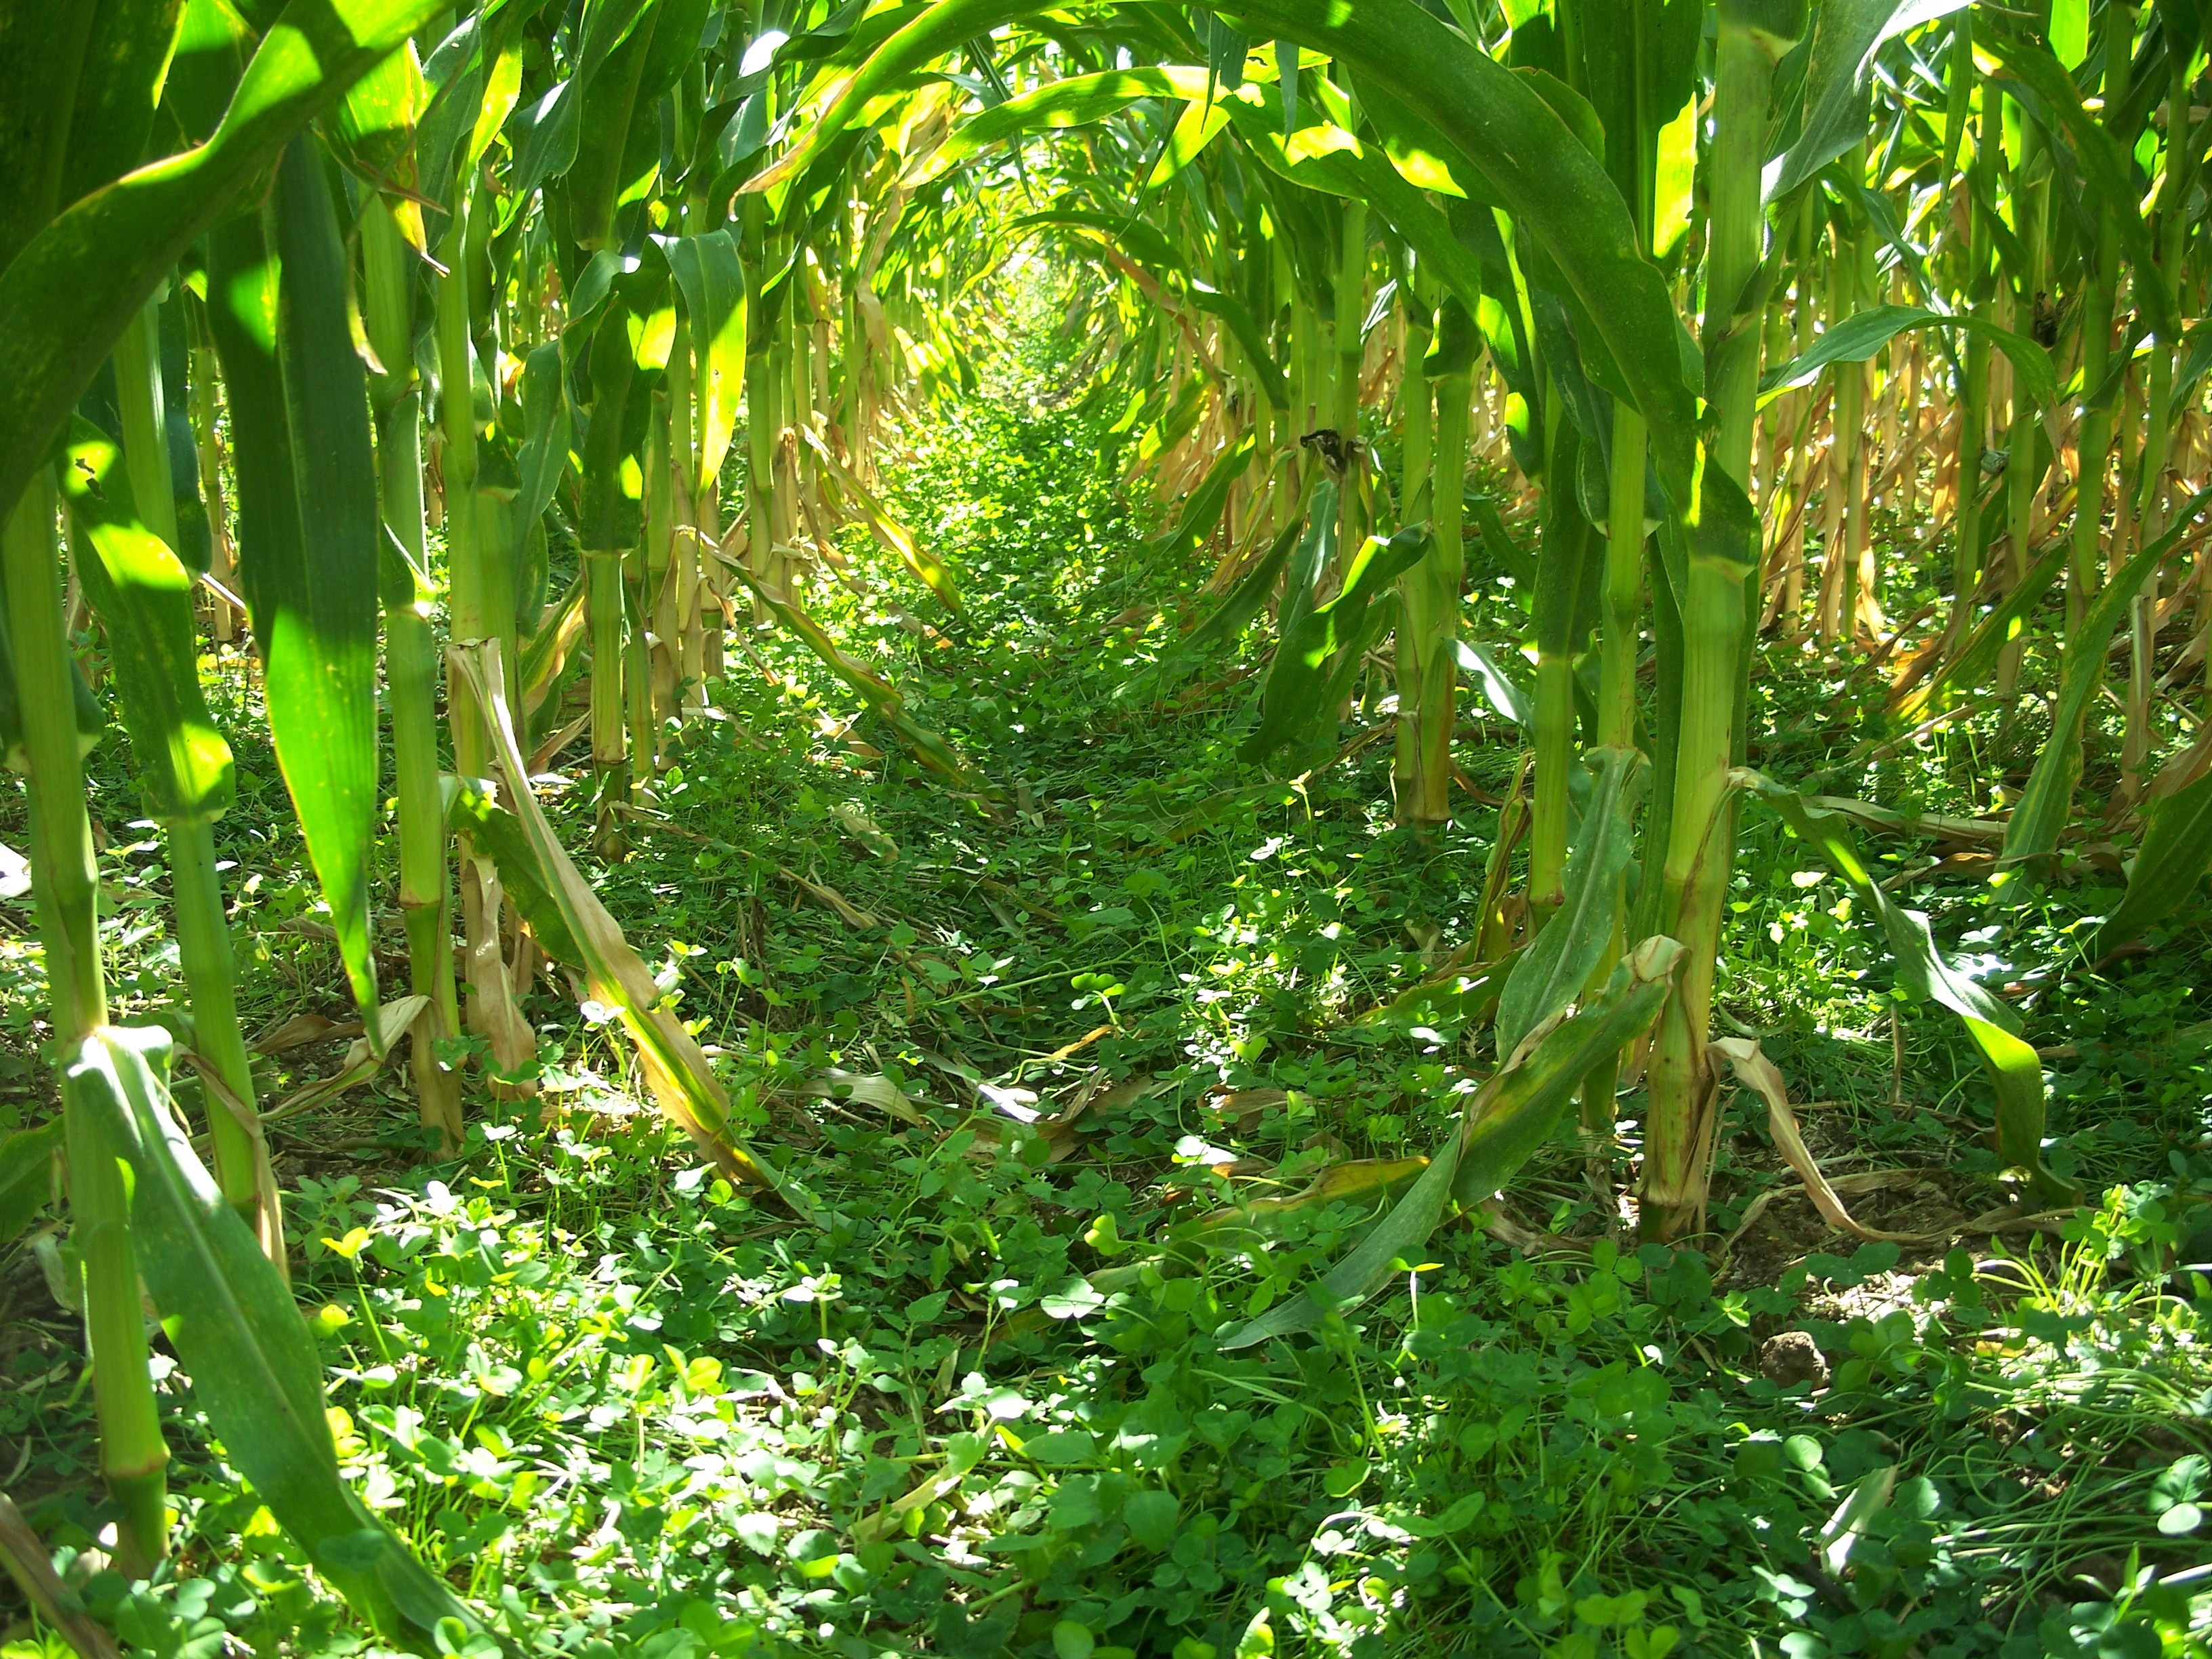
One of the most well-known companion guilds is the Corn-Beans-Squash combo. Corn goes in, peas or beans follow and use the corn to climb, giving the corn extra support against wind and replacing some or all of the nitrogen the corn will use over the season. Squash follows, and is trailed around the verges to act as a shading ground-cover, decreasing evaporation and weed competition.
There are some other benefits from the system, though:
- Increased blooming season, especially depending on type of bean and squash (good for pollinators)
- Bug-rich hunting grounds for chicks with high-protein needs (no semi-mature chickens or geese)
- Squash seeds for next year’s garden, eating, or livestock feed
- Corn cobs for firestarters
- Corn stalks to chip for bedding or mulch
- Pea stalks for bedding or mulch (chip for bedding)
- Squash biomass for compost
- Dense space for ducks & guineas to hide from hawks & eagles
- Dense, potentially long season space for beneficial insect lifecycles
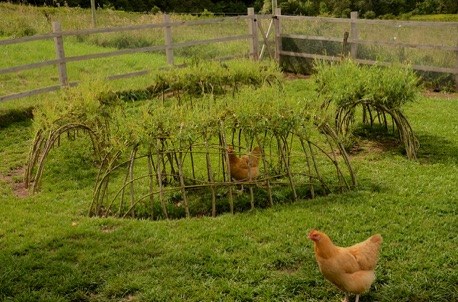
Savvy birds will use elements we provide – like a hawk teepee, Three Sisters mound, or dense brush – to hide from predators while free-ranging.
Hoops & Coops – Vertical stacking
Shelters for small livestock have the potential to cram an enormous number of functions in to a stacked vertical space, just like silvopasture and aquaponics.
There’s the ability – as discussed in other articles – to stack coops or hutches over either compost or worm bins or a BSF farm (or all three). That increases the efficiency by directly feeding the bins with animal wastes, and not hauling litter and bedding more than a few feet. Another example would be storing straw or mulch under those coops, and having a bin between them. With a coop for a few chickens right beside a tier of hutches over a worm bin, we can provide young birds or layers with a handful of wigglers right there while we’re dealing with egg collection and watering and feeding.
Roofs offer two opportunities.
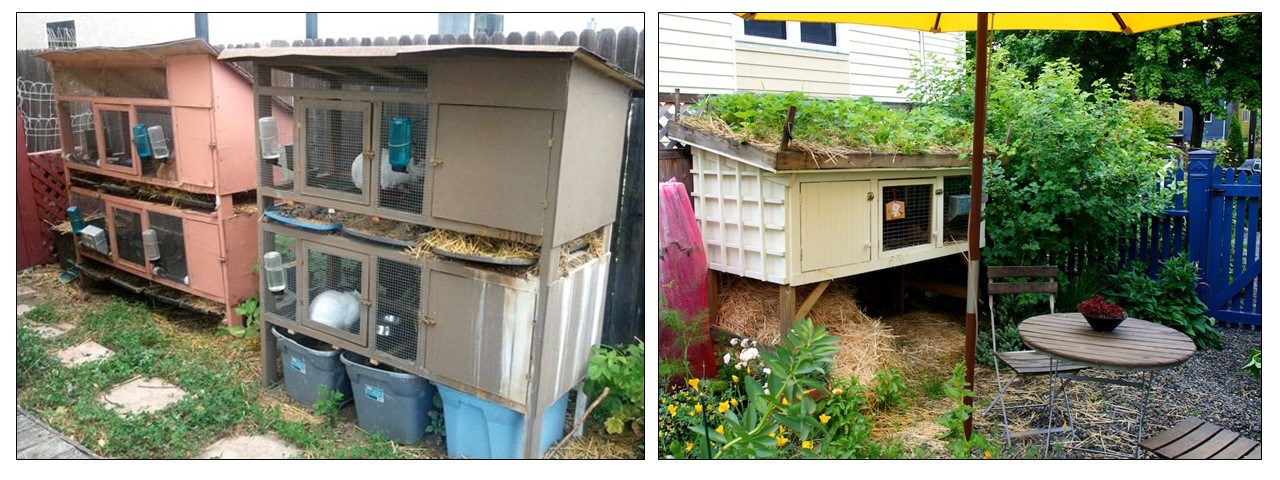
First, a green roof of herbs, grasses, and weeds for livestock, or human foods. Rabbit manure is “cool” and could easily be spread carefully enough to make even lettuces safe (I still wouldn’t do raw manure and root veggies, personally, but that’s me). Especially in small, compact spaces, using roofs can increase the amount of sunny area somebody has, allowing them to use the rest of the yard for larger crops. We can collect fresh feeds and let our hares and chooks clean up out out-cycling plants for us by reaching up with pruners and then taking a step to the side.
The roof can also be set up for water catchment. If it’s water that’s already filtered through shallow growing pans, it might not be great for the rabbits or chickens, but there’s no reason not to use it for the growing trays during dry periods, to keep compost and worm bins moist, or to water something like a strawberry or herb tower or some other vertical growing system that’s beside the livestock.
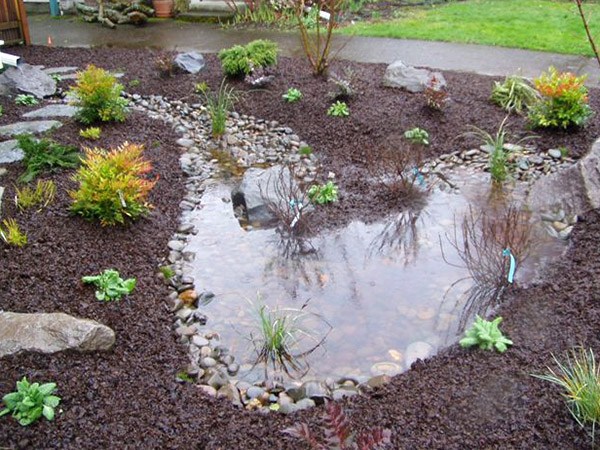
We can use catchment from any sized roof to create ephemeral pools, edible rain gardens, or fill catchment buckets and barrels.
We could also channel our roof runoff into a pond, and use edible lilies or cattails or damp-loving shrubs to filter and clean that water, or just make an edible rain garden.
Stacked hutches can be positioned to create shade for another set of vertical towers or planters, increasing the palatability of greens and lettuces later in the season and keeping more feed going for livestock.
Throw in a tree with human or livestock fruit, nuts, or seeds beside and across from the coops and hutches, and we’re increasing the yields of food (or feed), increasing shelter from wind and rain, providing shade (which keeps Mr. Bunny at peak performance later into the summer and earlier in the fall), creating some wind blocks and potentially terrestrial insulation for critters in winter (less heating/bedding needed), and if we arrange our buckets correctly or reuse a kiddie pool, increasing our water catchment for that area, decreasing the amount of fresh water we have to use for watering plants or animals.
Coops, Hutches & Greenhouses
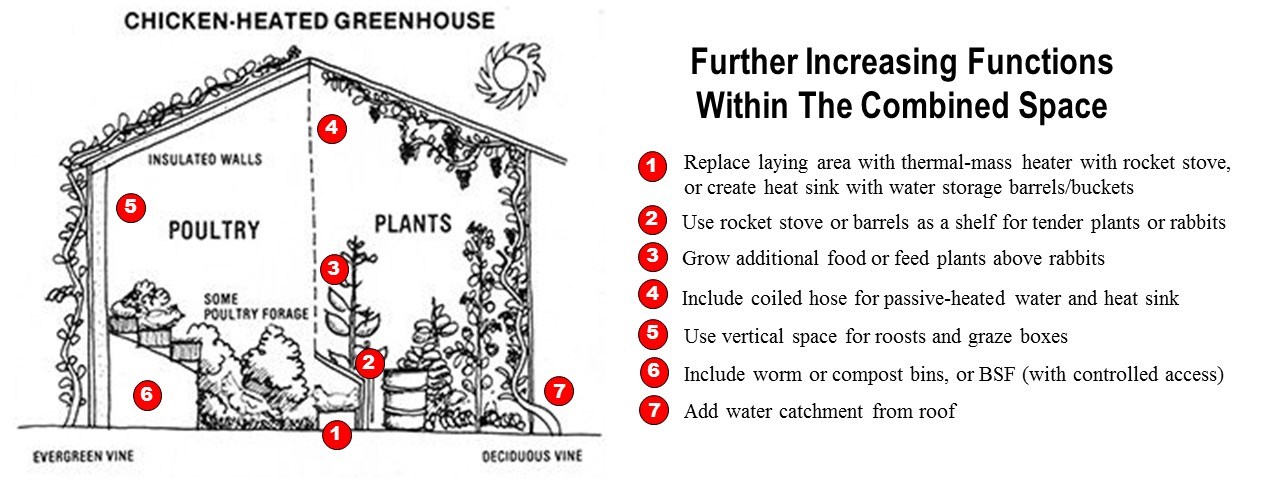
Another way to stack functions in a space is something permies will love: increased integration via a combination coop-greenhouse. We’re basically going to take some of what we talked about in the efficiency article and expand it a little further.

The bare design is pretty darn good as it is: The plants benefit from the body heat and-or “deep bedding” heating method from the fowl, the insulated glass increases sun warming, and soil and water act as a heat sink in winter. Critters can clean up some of the greenhouse wastes and help reduce pests. Add in deciduous trees or vines to provide passive cooling (shade) during summer, but allow light to penetrate and warm during winter.
Some of the same thermal-mass and passive heating can be derived by siting a greenhouse and cold frames near our own homes.

Some take the combo-coop concept even further with the addition of planning trees and shrubs and annual crops nearest the greenhouse-coop to be fodder and bedding or just supplements, and all of them benefit by making it faster and easier to toss plant thinnings, prunings, and scraps to birds, and to care for both plants and animals at once.
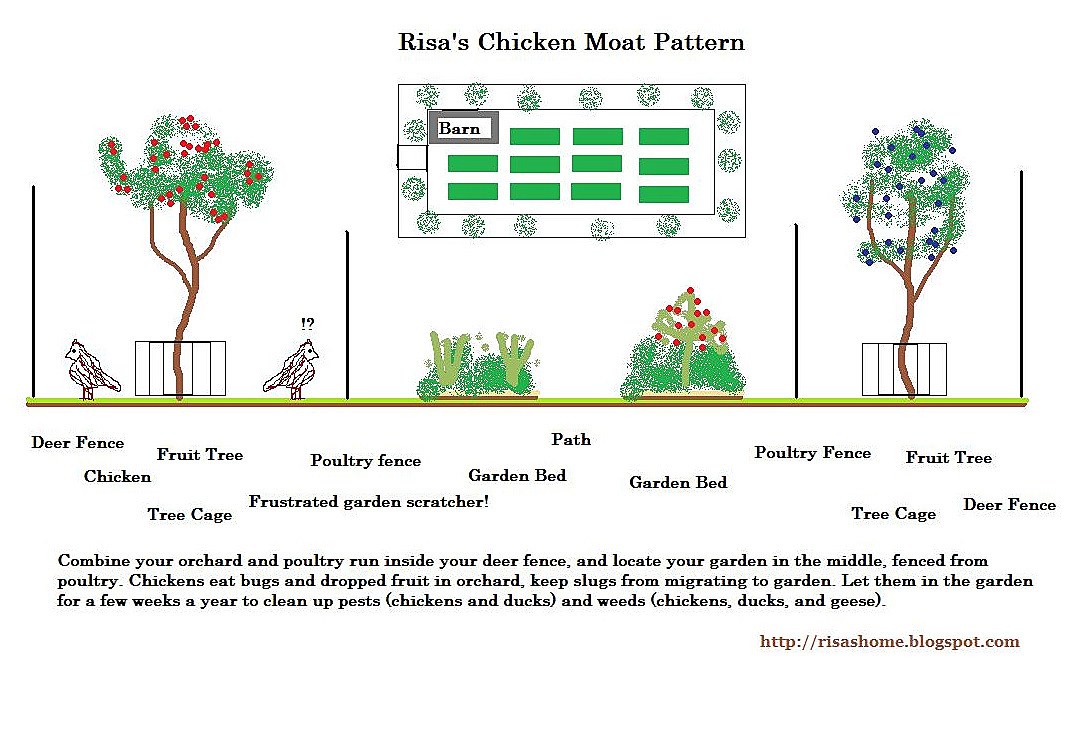
Others stack functions by arranging chickens or geese as pest- and weed-control patrols in areas that already need to be protected, and allowing them to mow and leave manure behind for perennials to use.
The functions stacked within the building itself can be increased further as well, by increasing the diversity within the space and the use of space.
If there’s only a few animals in the types of coops and hutches shown in the first hutch examples, we can still increase the number of functions that space performs for us. We can erect a hoop house or build panels from soda bottles to arrange against and over/around the existing stacks, increasing the animals’ shelter and insulation, and using the dual body-heat and solar-heat yields to create a warmer space for starting seeds or keep “weeds” growing to feed to our livestock.
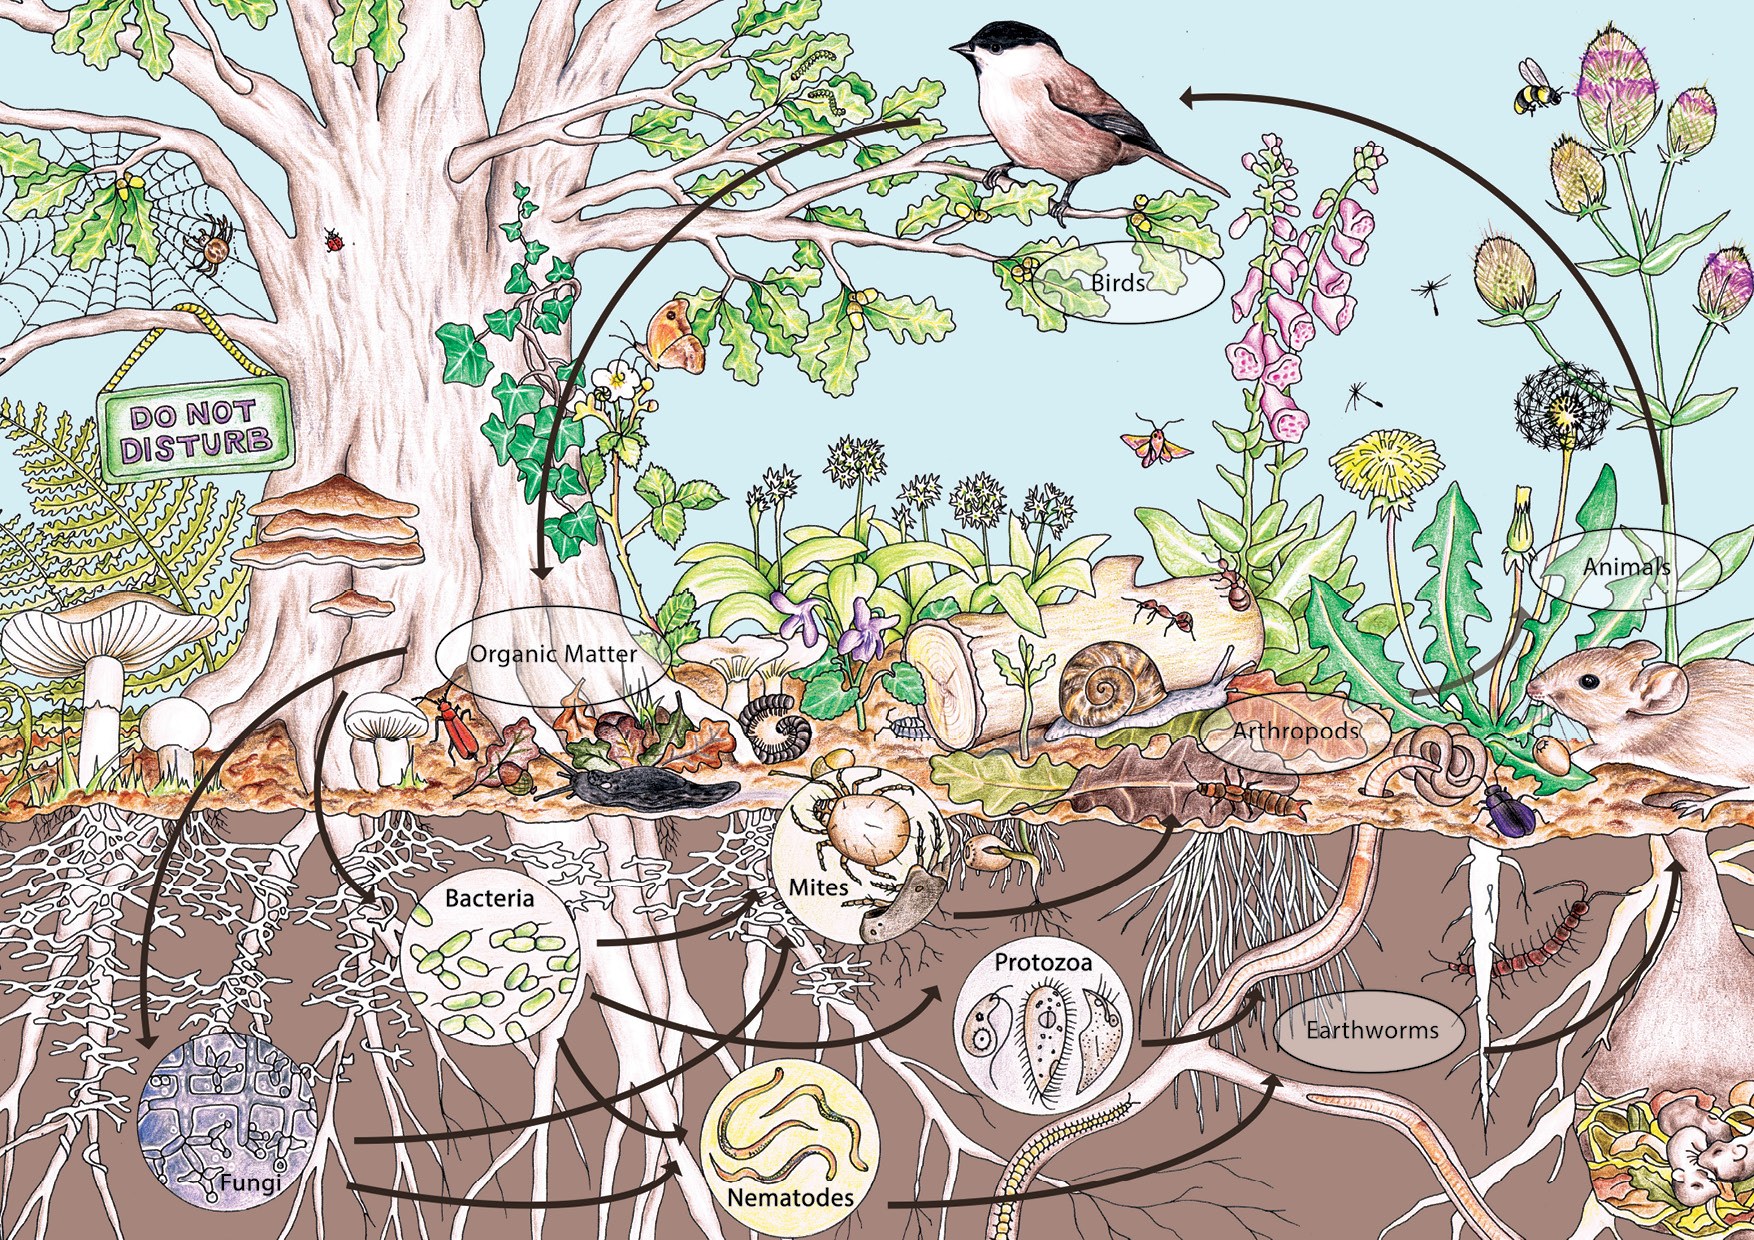
All aspects are rolling in together to create a guild of plants and animals as well as the abiotic factors like sun, wind and rain and our manmade structures, regardless of the scale.
Analyzing Elements to Stack a Space
Chickens and geese are both grazers, but ducks and guineas can be encouraged to only nibble the tenderest of shoots along with their bugs and seeds. That means ducks and guineas can be incorporated into more systems with fewer worries and less fencing. On the other hand, they require more non-vegetative feeds, they won’t till or mow for us, and they won’t cycle as much of our garden and food wastes as chooks will.
The amount of space we have, the other livestock we’re running, our feed resiliency in the form of BSF and worm farms or fish, and our own preferences lead us to deciding whether we want the increased functions and redundancy of one type of fowl over the others.
In the first stacking function article, we mostly focused on listing the services various elements can provide. When we start stacking functions within a space, especially in permaculture, we want to do basically a SWOT analysis for each element we want to include, with the element’s needs falling under its weaknesses and opportunities.
We would also list the time we need to devote on a daily, weekly, monthly and seasonal basis, and be aware of the tools we’ll be using – now and as we become older or injured – so that we can plan for proper access to each element in our system and the system’s basic infrastructure.
Then we compare it, seeking relationships where a byproduct or primary function of one serves the needs of others. We also look for similarities in needs and functions to increase efficiency.
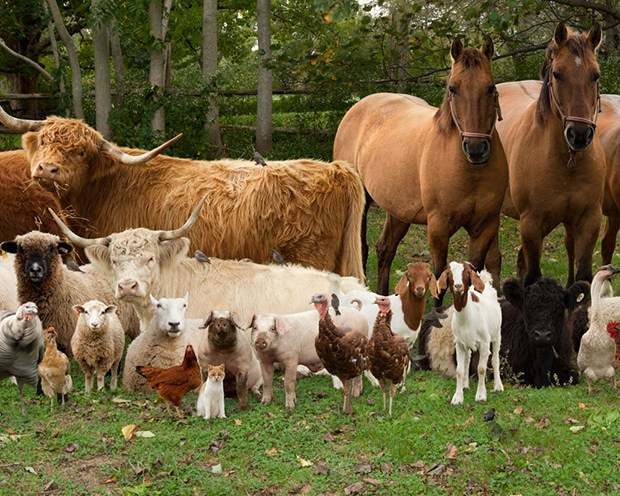
Each kind of livestock we have or want should be taken into account as we analyze spaces for stacking functions, with structures, plants and other livestock all affecting each other in a system.
For example, if I’m choosing to have ducks or guineas and rabbits in a combined ecosystem, and I know rabbits can’t have too much fresh apple leaves and ducks don’t eat a whole lot of vegetation, I might not plant my crabapples, plums, and apples too close to them. I might instead use elms or maples – things that drop seeds my poultry will eat, but that I can also collect for hay or bedding for my livestock and to feed my worm bins. I might also use more tender forages or create a pond or ephemeral creek system for duckweed and make the guilds nearest the coop-hoop house water-based edibles.

I can use the same riparian-type edibles to create buffers and feed zones that protect waterways from livestock runoff and chilling winds.
Or I might have boggy or seasonally soaked spots and choose to create a guild or system of guilds based around willows that will help dry up those spots. The willow’s functions have increased from just shade, fodder, medicine, and possibly baskets/lashing resource limbs to also include wind break, soil stabilization or tailoring, habitat creation (fish-roots and overhanging limbs), and water purification.
It’s only by analyzing which elements we want and how each element interacts with all the others that we can best create the guilds and spaces that contain the most functions, and contain them most efficiently.
Stacking Functions – Diversity & Resiliency
Any time we can get a space to perform more services for us, it tends to increase the diversity of that space. Diversity leads to greater health. Diversity and stacked-function areas with multiple elements increase our production per square foot. Stacking also increases our efficiency by decreasing travel time (and repeated steps back and forth). The condensed, efficient use of space allows us to do even more on our property, from a rental with a balcony and some windows to a 500-acre dream ranch.
Stacking functions is worth more research. It’s another area of permaculture and functional landscape design with whole articles devoted to just one example or type, and is the subject of books and multiple chapters. Small space gardening can be another field to look into for inspiration even on large properties.
Other areas that may interest homesteaders and folks interested in doing a lot in small spaces are permaculture zone and sector analysis, redundancy in food webs and permaculture, diversity’s effects on soil, and fodder/forage trees, especially the legume family trees and shrubs that also fix nitrogen.
Stacking functions is a quick term for the concept of planning things (elements) and areas (space) to perform the most services for us with the least input. It’s reusing things


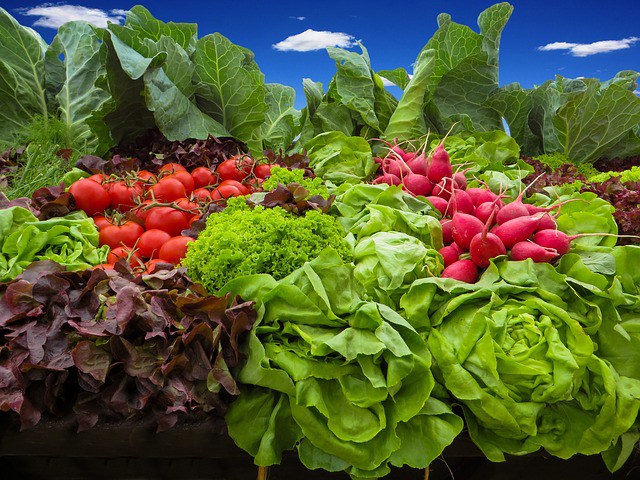
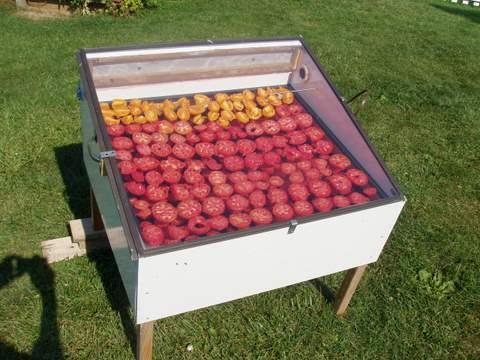 especially pleased. Drying apples and preserving tomatoes with a homemade solar food dryer condenses their flavor into incredible winter treats.
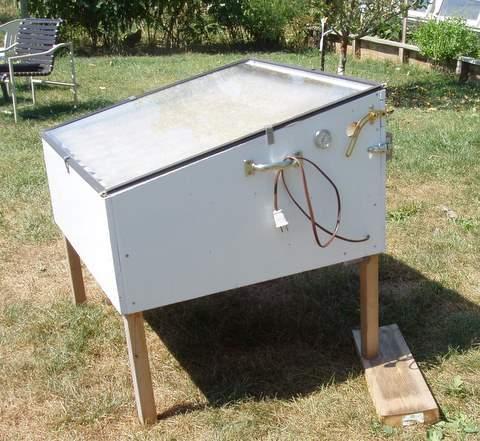
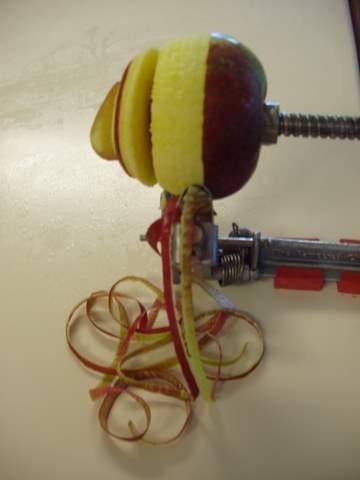
 labeled plastic bags, though I’m trying to wean off plastics.
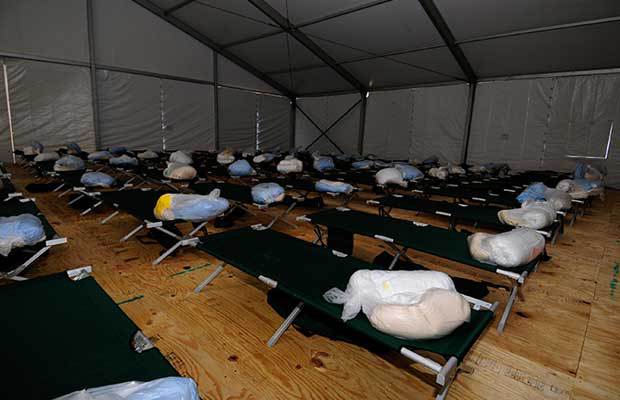
 FEMA doesn’t want to get out in the storm to help you.