4 Absolutely Necessary Things Every Prepper Must Realize
Now, I have been doing this for over ten years and have been actively involved in a small community of like-minded people for almost as much time – and I have seen plenty of folks come and go (especially since the rise of the show Doomsday Preppers). I – more so than a lot of people involved in this – have dealt with A LOT of other preppers face to face and I want to talk about the patterns that I have seen form over the years.
Before anything else I will quickly mention one thing that has been repeated a lot but is always worth mentioning – physical fitness! I have met people who hold the belief that it doesn’t matter if they cannot handle a flight of stairs as ‘the weight will come off when it needs too’ and ‘my body will adapt’. You can be the best prepared and equipped person on Earth but the harsh reality is that day zero will involve a lot of hard work, even if you intend to hunker down, you need to take into consideration preparing your AO and getting there. The reality is that no matter the event, prepping without the willingness to make some sacrifice to fitness is hoarding under a different name.
Now with that over with…
Skills – not stuff!
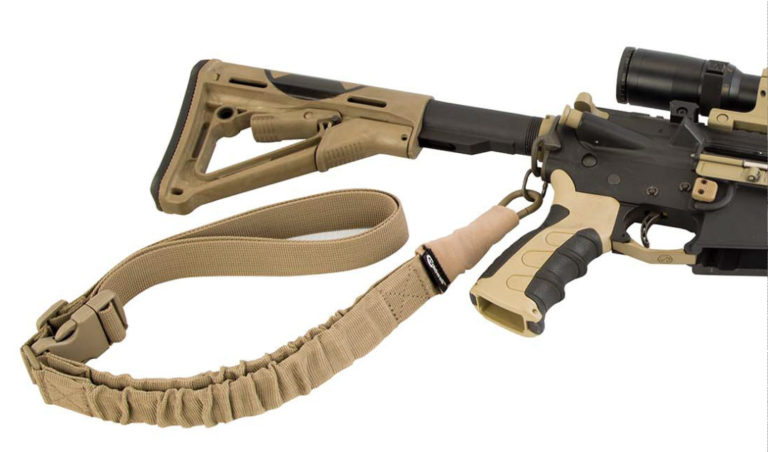
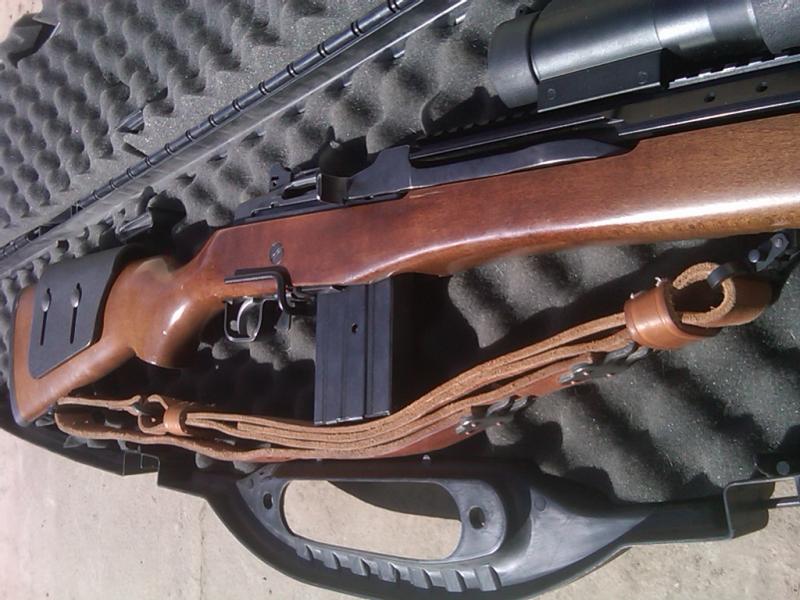
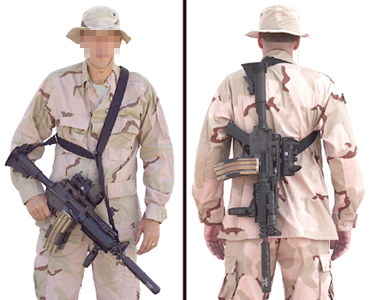
All too frequent is the mentality that having lots of “things” is going to make a SHTF scenario easier; while yes, there is a baseline amount of prepping supplies that will improve your chances and are basically necessities (A good knife, a map, a plan, and a gun depending on how you feel about the situation) that isn’t everything. What I am talking about is the huge tendency to believe that having an object is the same as being able to use said object proficiently.
Using a knife as an example – I believe that you will be hard pressed to find a single prepper that doesn’t carry a knife and have a good fixed blade somewhere. However I would say over 80% of preppers do not have knife skills, what I mean by this is do you know you to whittle, make traps, baton well, the uses for various knife blades and shapes, and how to dress a kill for hide and meat?
The same can be said of maps – yes navigating when you know your initial position is easy, but in the event you get disoriented can you triangulate your position with landmarks. What if you do not know the area, can you still find your way around?
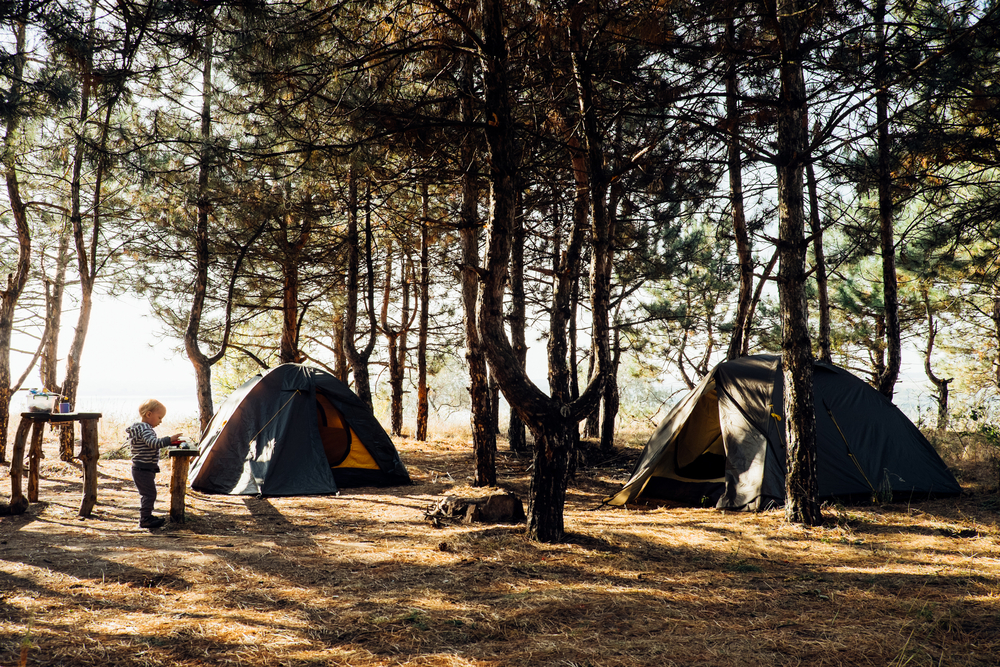
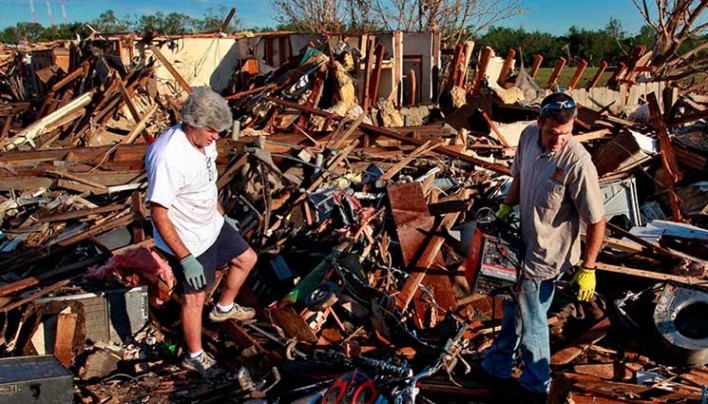
Chances are that no matter how well prepared you are, a SHTF scenario will – eventually be similar to living in a completely infrastructure-less environment. Backpacking over a multi-week time period and hunting are excellent ways to learn many skills to make your life easier.
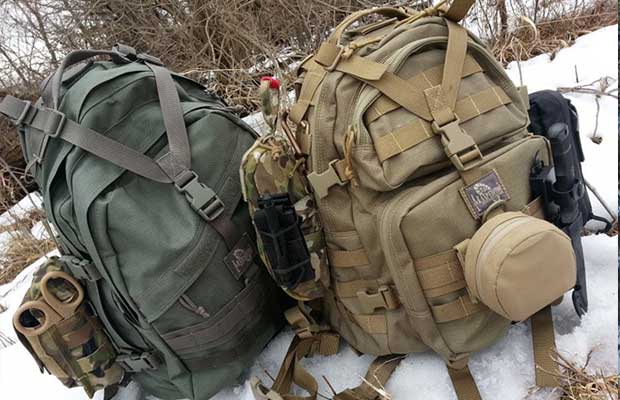
What are your gear priorities?

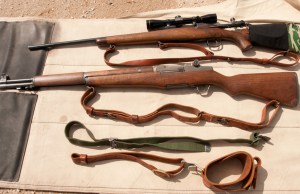
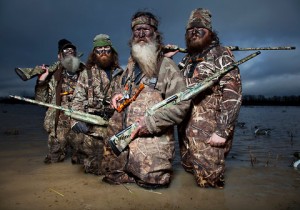
Prepping – like engineering, is not about having the most of everything, it is about having the right amount of everything. Whether you intend to stay or bug out, it is of course important to have the skills (Can you pack a bag correctly etc). However I see many people approaching with a mindset of hoarding will make things easier, as an example I spoke to a man whom had 43 different weapons with almost 500 days of non-perishable food. This mindset of buying without realizing that in a SHTF scenario every item you bring or stock has a cost.
For example with every weapon that man owned he was paying a price in 3 different ways.
- Obviously, space and weight. That 2.5 Kg rifle could be swapped for 2.5 Kg of water purification tablets, ammunition or tools – people tend to think of prepping items of – it is good to have. Instead try to think of it in a mindset of ‘what else could I bring instead’.
- Ultimately guns must be maintained regularly and more guns will mean more maintenance and man hours spent tending to your weapons.
- Finally, almost everything that is a tool for your own survival is also a tool AGAINST your survival. A bigger stash makes you more attractive to bandits and in this situation the only reason to have that many weapons was to maintain a guard force large enough to protect 200-300 people. If your plan is to conscript people and form a sizable community for survival that is fine, but having 40 people armed and only having enough farming tools and equipment to support 10 long-term is very dangerous.
Learn to maintain and make everything!

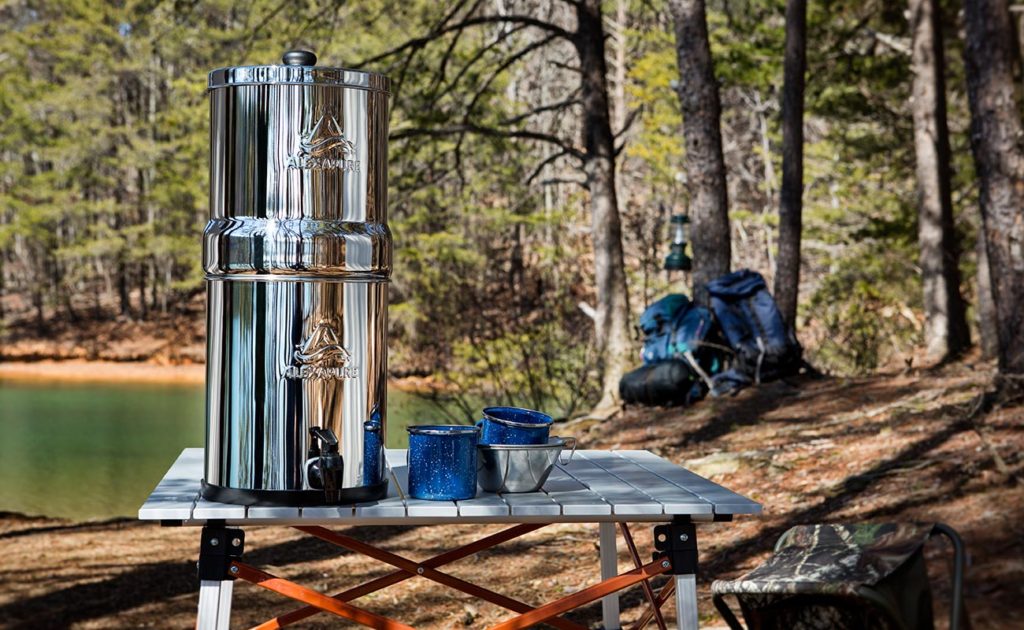
This is less applicable for people prepping for 3-4 day events like earthquakes and more aimed at people prepping for a complete breakdown of human society for an indefinite period of time. All too often I hear statements like ‘I have these 2 really super high quality solar panels so I will be fine’ unfortunately the reality is even the most expensive and well made tools money can buy are unlikely to survive 10 years of use. It may not be a nice reality but the reality is that any tool that you bring that cannot be replicated with basic machining knowledge and tools is temporary.
Learn the basics of reshaping scrap metal and wood – learn to make a furnace with materials that are renewable (Think clay and charcoal for the fire). Learn as much passing knowledge on simple items as possible, learn to make bows, furniture, simple houses, simple clothes, simple bags, and anything along that line – not only will it be useful in equipping your group but also for trading, a working and replaceable long-range weapon like a bow will be worth more than luxury cars 15 years after a collapse.
And finally, learn how to lead and how humans think.

Prepping has a strong theme of different strokes for different folks but one of the most common themes is ‘Everyone is going to be marauders and is going to be after me and I am going to have to kill so many hapless raiders and that justifies my federal armory of weapons!’. I have served, and I have been in disaster situations both long and short-term and the reality is there will be raiders for maybe a week – tops.
After that people will work together on a small-scale (think tribes) because we are naturally altruistic. After maybe a year or two and people are established raids will begin again. Preppers are almost always very exclusionary – I have met people who think the world will end if you share your beans but it is almost exactly the opposite.
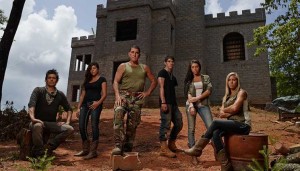
People, given tools and direction can and will work and provide for themselves and the unprepared group who bands together will outlast the lone prepper. Television always portrays survival groups as a bunch of assholes all fighting for dominance all the time but really, it is the opposite! Almost always everyone just agrees they need food or whatever and no one steps up to the plate to really make decisions. Be that person and you will form a group of 20-30 people who will work for you and with you to make everyone’s lives better – it is how we are programmed.
The final note I leave you with on this topic is that people always form tribes and tribes are ALWAYS communal. Don’t expect that refusing to share what you have will extend your life at all.
Before anything else I will quickly mention one thing that has been repeated a lot but is always worth mentioning – physical fitness! I have met people who hold the