Household Survival – 15 Lifesaving Items You Probably Already Have
Many of us who are new to prepping become wrapped up in the things we don’t have. We scour the internet looking for prepper checklists and there are millions out there. We look for ideas on the best handguns to purchase or the best firearms to have. We look at bug out vehicles and survival bunkers and hidden retreats in the woods. It can be overwhelming.
I know a lot of preppers including me in the beginning focused on the things we felt we needed to get at the beginning. The sheer volume of ‘things’ that make up all these lists can seem insurmountable and you might even be wondering where to start.
How about starting in your own home first?
There are a lot of great household survival supplies that you as a prepper already have. I am not saying that you don’t need to look at other options for survival, but don’t overlook the obvious either. A true prepper isn’t defined necessarily by what they have, but more how they are prepared to deal with crisis and looking at the items you have on hand is one way to adjust your perception.
- Bleach – Bleach is great for a couple of things. First you can use it to disinfect surfaces because bleach will kill almost anything. Bleach could be used to sanitize your home should there be some infectious disease outbreak and it can also be used to disinfect water which could come in handy if for some reason the tap stops working and you have to get your water from alternate sources. For instance, if you have a lake or rain barrels for water collection you will want to disinfect that water before you drink it. Boiling is a better alternative, but bleach is great in a pinch. Bleach does have a shelf life though that I discuss in another post.
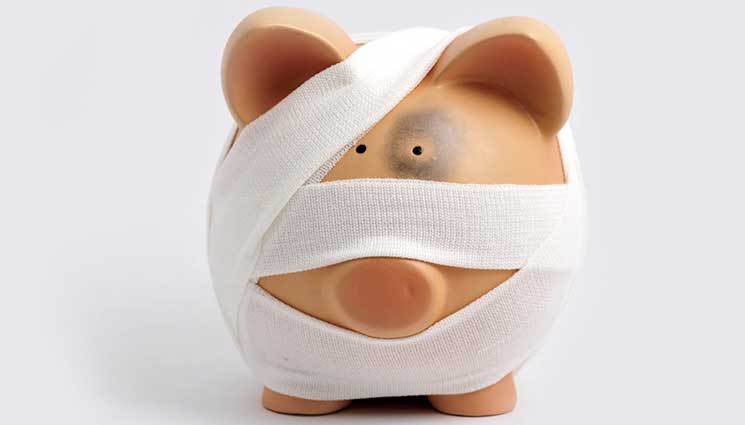
- Towels – Do you have old towels lying in a closet somewhere? We have a ton hidden in a box that we use for all types of odd jobs. When the car needs washing we break out the old towels. When the survival dog is wet from the rain, out come the towels. These old towels and rags have a use in a survival situation too. They can be stitched together to make blankets, they can be shoved in cracks to keep drafts out; they can be ripped up to make diapers or bandages or fire starter. You can wrap them around hot pot handles to save your hands too.
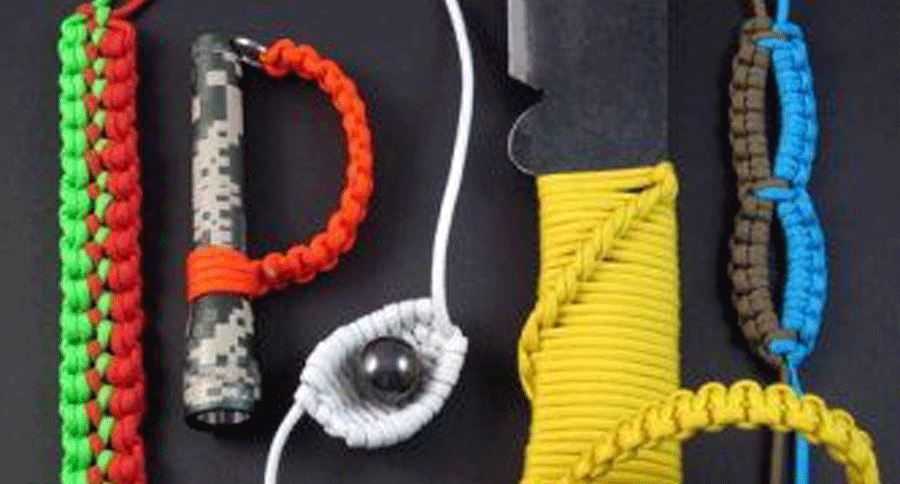
- Dental Floss – Dental floss makes great fishing line or emergency rope although you would need a lot of it to make rope and that is assuming you don’t have that wimpy wax tape they are selling now. Floss can be used to suture a wound, as your noose in a small game snare or as fishing line. I like to use it to keep my teeth clean and I have some stocked for that purpose and I’ll use the inner cords from my paracord for the other uses.
- Feminine hygiene products – What? Well you might be thinking these are necessary for one thing but think outside of the box. These products are great for stopping blood so in an emergency situation, they can save someone from bleeding to death. Tampons can be used to plug bullet wounds and maxi-pads make great pressure bandages. What about those make up remover pads? They make great tinder for starting fires. You can actually soak them in paraffin wax and they will make starting fires a breeze so they are a good addition to your bug out bag. Check out this video for instructions.
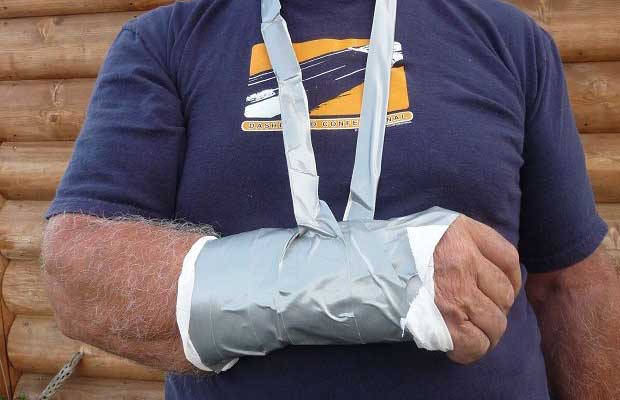
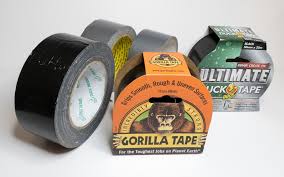
- Duct Tape – If you don’t have at least one roll of duct tape in your home right now, I am pretty sure you are violating a natural law of some type. Duct tape is incredibly useful from making repairs on clothing or survival gear, patching holes, protecting your feet from blisters and generally being awesome. All duct tape isn’t made equal though and I recommend something like Gorilla tape which is much stronger than traditional duct tape. For a bug out bag tip I don’t carry a whole roll. I take a plastic card like a hotel key or old credit card and wrap about 20 feet of duct tape around the card. This way I have plenty of duct tape if I need it but do not have all the weight or space a whole roll takes up. You can even use it to make a sling!
-
 Garden hose has more uses even if it has a hole.
Garden Hose – Garden hose can be used to do what it normally does and that is transport water from one location to another. You can also use this as a siphon to get gas out of vehicles or storage tanks. You can also cut the hose and use it to protect your hands when you are dealing with wire. Just cut some of the hose off, slice it down one side and slide the wire in. You can use the garden hose to set up a makeshift shower with a bucket of water hung in a tree and gravity. Let a large bucket of water sit in the sun for a few hours until it gets warm. Set the hose in the bucket and get the water flowing much as you would in siphoning gas and you have a way to hose off with warm water.
- Tools and Lumber – Hand tools will most likely be needed as I don’t want to use my gas to recharge electric tools. A hammer, some nails and heavy duty plywood can be used to seal openings and make your home more secure from intruders. Nailing windows shut can slow access and repairs to all manner of items is easier with tools. You can also use box cutters and even lawn mower blades as defensive weapons.
- Cooking Oil – So what do you do with oil when you are all out of fish sticks and French fries? Make an oil lantern with it. That’s right, oil burns so if you have a power blackout and you are fresh out of candles, you can use oil and a glass jar or small empty can to create a source of light in your home. Make sure you are careful though because any open flame can cause you more problems than it solves. This video from the Shepherd School demonstrates how to make a survival oil lamp.
- Kitchen Knives – Every kitchen in America must have that block of knives sitting on the counter that we got as a housewarming gift. Just because you don’t have an expensive EDC knife on you doesn’t mean you have to forgo the advantages that knives offer. A good kitchen knife will cut just as well as most of the tactical knife blades out there and in a pinch would be better than nothing. If you want to carry a knife you can make a sheath for it out of plastic or cardboard and duct tape. Wrap a long piece of paracord around the handle to make the grip better and you have your caveman survival knife.
-
Survival Oil Lamp
Tea Bags – Tea Bags are not only good for a beverage (as long as you have sugar or honey IMHO) but they are also a great homeopathic addition to your medical kit. Tea leaves contain tannins which are a natural anti-inflammatory. Some people will use wet tea bags to reduce bags under their eyes and you can use this for lots of other uses like bee stings, hemorrhoids, boils (not in that order obviously).
- Toilet Paper – If there is one prepper item that I have seen people obsess over more than anything it is toilet paper. What will you do when the roll is all gone? I am thinking there are far bigger problems in the world if you can’t buy toilet paper anymore, but let’s say you have an abundance of the fluffy white stuff and are looking for other uses. You can twist toilet paper into a wick for a toilet paper wick heater, or your oil lamp or use it to start fires, apply medicine or write notes on it.
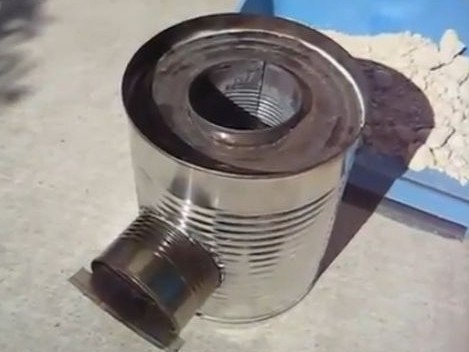
- Canned Food – Once you are done with the contents of your canned food you can use them as containers. You can build that oil lamp I mentioned above. You can also use them to cook with over a fire and when they are all done, you can string empty cans together to make a hobo alarm system. Don’t worry if the disaster left you a ton of cans but no way to open them, because you can easily open a can without a can opener.
- Potato Chips – Believe it or not you can use potato chips to start a fire. That is because they have so much fat and oil in them. I will add that this would be a really silly way to start a fire because you are using food to make a fire when that should be unnecessary in all but the most extreme circumstances. Maybe you are trapped in a Lay’s warehouse or something and need a fire to keep warm. I added this just for kicks but you should know how to start a fire using tinder and not food. It is possible though.
- Fire Extinguisher – Not only can this be used to put out fires, you can also use this as a defensive weapon. Granted, I don’t ever want to be that close to the bad guy; I’d prefer to be shooting distance away, but in a pinch you can use a fire extinguisher to blind someone. Spray them hard in the face and while they are blinded, crack them over the head with the fire extinguisher.
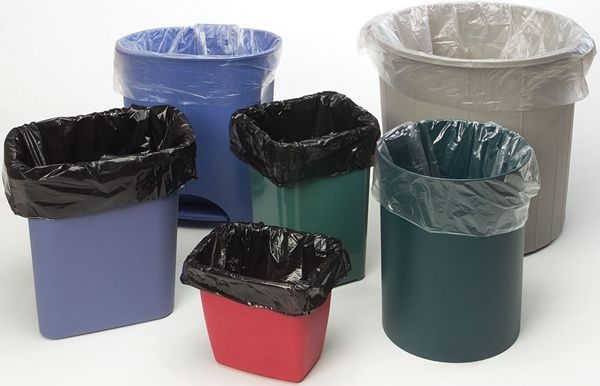
- Garbage Bags – I don’t know how many uses garbage bags have but they are really just plastic sheeting that has been folded and welded together. We look at these as our go-to option for taking out the trash but they can also double as rain gear. Just cut a hole for the head and one for each arm and you are all set. You can use them as a water barrier if you have to sleep on the ground. You can also use them to keep the rain off your head by cutting them down the sides to make the bag footprint larger. These can also be used to black out your windows if something happens and you don’t want your neighbors looking inside at your oil lamp. Garbage bags and duct tape go a long way.
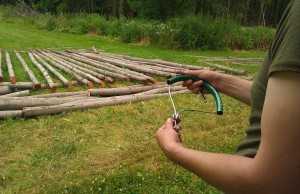 Garden hose has more uses even if it has a hole.
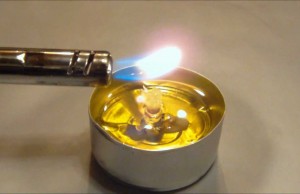 Survival Oil Lamp
What items do you have in your house that could have other uses?
Many of us who are new to prepping become wrapped up in the things we don’t have. We scour the internet looking for prepper checklists and there are millions out


 You may not think of a
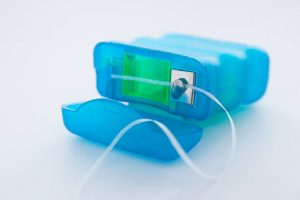
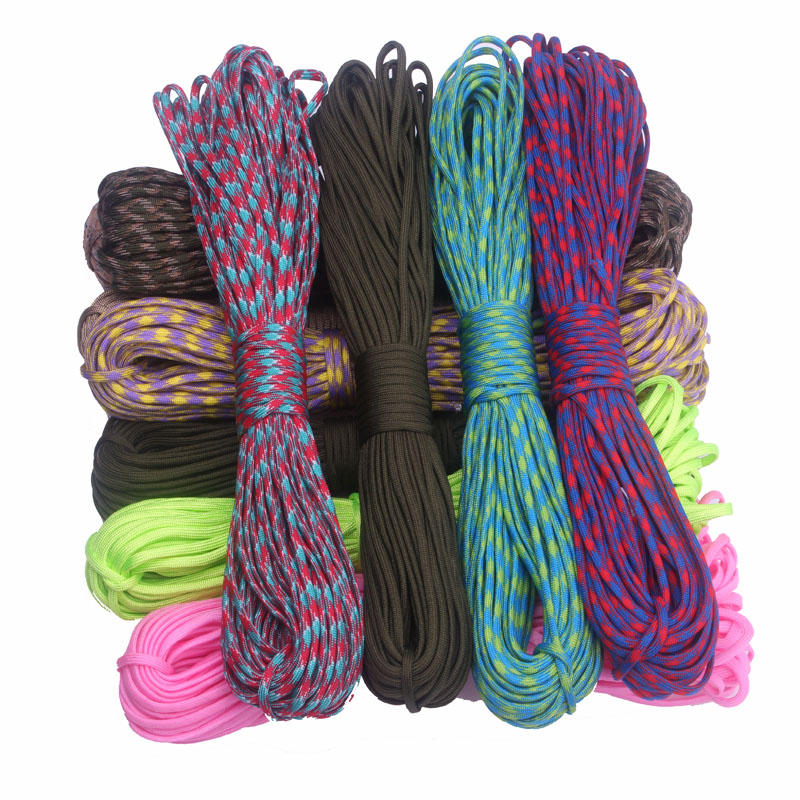
 Pack good quality cordage such as