13 Oatmeal Uses For Your Homestead
Oatmeal – Jazzing Up the Ubiquitous Prepper Cereal
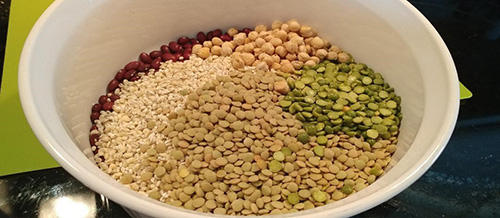
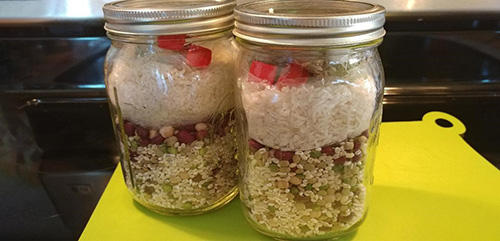
Being inexpensive, rolled oats can help us save money now, and it’s a good one to stock up on for the same reasons – cheap, filling and full of endurance-granting slow-release energy. I’m not a big fan of “just” oatmeal as a hot cereal. It’s just … well, boring. Too, I anticipate plenty enough spoon-and-bowl meals from beans and rice, boiled wheat or barley, or soups in a crisis, whether it’s a personal crisis or a widespread disaster. I’d rather avoid more as much as possible. The humble rolled oats tub actually helps me there in a big way.
Using mostly things that are also already in my storage or that are easy and inexpensive to obtain, I can churn out desserts, snacks, sides, dinners and breakfasts that are interesting and varied, and don’t really taste like oatmeal. Oatmeal also has a lot of soothing and absorption properties that gives it some handy topical uses.
Using Oatmeal to Extend Meats & Meals
Mix in flakes of oatmeal and-or lentils and ground beans to extend things like meatloaf, meatballs and the hamburger in stews. Oats also make a fabulous replacement for breadcrumbs that would be used as binding or for coating meats.
Add it into Stovetop or homemade bread dressing or stuffing to increase the healthy fibers and calories, and the feelings of satiety from meals.

Grind coarsely or finely and add to flours for bannock, breads, muffins, and biscuits. Zucchini bread, carrot cake and other sweets can take as much as a quarter of the flour in oats without a significant change in texture or flavor. Pancakes, pie crusts, dumplings, cookies and cobblers can all have part of the flour replaced, especially with oats processed to a fine powder.
Fifty-fifty mixes or greater will be far more noticeable and may require additional liquids, but it also increases the heartiness of foods, helps us feel fuller and keep that satisfaction longer over stripped bleached flours especially, gives us healthier, natural arcs of energy, and lowers the glycemic index of foods while helping stomachs process.
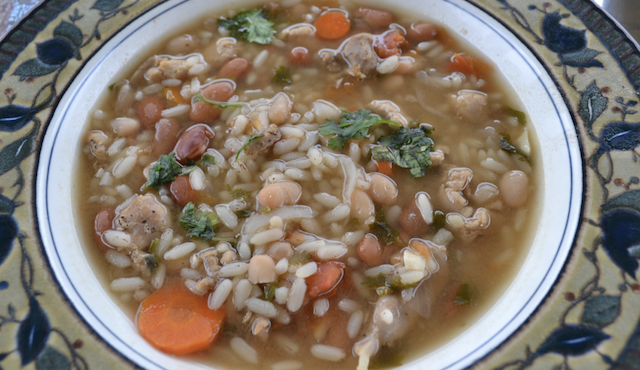
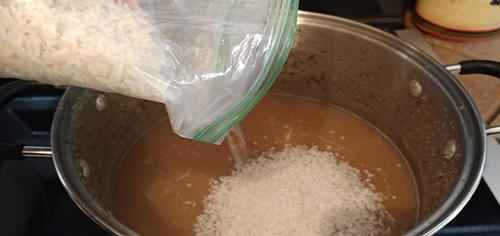
Ground oatmeal can also be used to thicken soups, stews and gravy, just like ground beans or lentils that are too old to soak up water efficiently.
Easy Non-Cereal Recipes
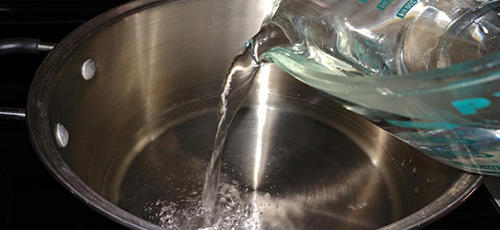
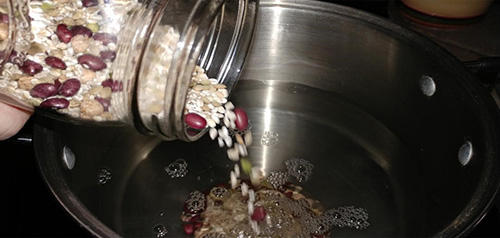
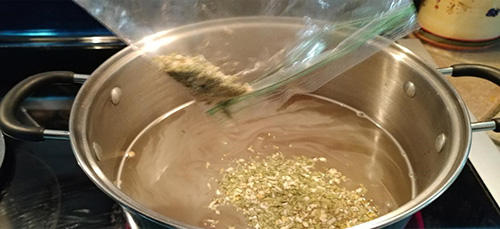
Oatmeal has a lot of applications for cooking, without resorting to a bowl of hot cereal. Most of them can be done with a Dutch oven, campfire, rocket stove, or a solar oven or Wonderbag cooker if we don’t have access to our stoves and ovens.
Ash cakes can be made out of pretty much any flour. Using some salt, milk, egg or fats will improve flavor, but the bare-bones way of doing it is to mix just a little water at a time with flour or meal – or in this case, oats – until we can form a patty, then flopping it onto a cooler section of ash. Rolled oats will do best if they’re ground to a flour or if they’re allowed to soak a bit first. As a plain, just-salted version, they make a bread we can have with soups or meats. A little sugar or fruits, and we’re getting closer to a cookie. Alternatively, we can top them with honey or jams, fruits, sweetened cream, or something like a chili or bean medley.
Baked Oatmeal Muffins – A basic recipe with add-in’s for interest and variety is here https://brendid.com/healthy-oatmeal-muffins-no-flour-no-sugar-no-oil/ along with additional links. You can also find dozens of recipes as simple or complicated as you like, with and without other flours and oils, with just about any search. They turn oats into a fast, easy finger food that’s readily portable.

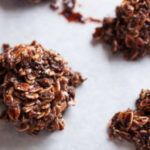
No-Bake Cookies are a staple in some lives. With just a few ingredients and few utensils dirtied, we can use up our oats to satisfy cravings for a fork or finger food as well as a sweet treat. Given the speed with which they disappear as either drop clusters or sliced squares at BSA and adult gatherings these days, during a disaster they’ll be a for-sure hit.
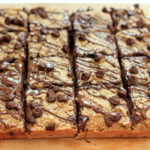
Oatmeal bars can be found as Amish Baked Oatmeal or other standard baked oatmeal, such as this one http://www.tasteofhome.com/recipes/baked-oatmeal. Oatmeal can also be turned into homemade granola bars. They’re out there in the internet world as soft chewy bars or crunchy options. All of them are adaptable to the fruits, nuts and seeds we have on hand or prefer. There are also homemade granola bars that make use of cereals that store well such as Rice Krispies, Cheerios, or Chex, which can increase the variety even more.
Crunchy granola clusters like this one that has healthier ingredients and a few extra steps and this one that uses lower-cost and easy-to-source ingredients with fewer steps in the process have a lot of versatility. There’s a lot to be said for the ability to turn out a nice snacking portion while using up inexpensive oats, today and later. And, if you’re giddy for it, making mini clusters to throw in as a homemade cold cereal can help provide a different breakfast meal even with a spoon.
Fruit crisps – A basic oatmeal crisp recipe such as this one has a lot of versatility, both now and during a personal crisis or a widespread disaster. We can use it with any pie filling we have, or regular canned fruits we strain or thicken the syrups. We can also use it to make stuffed apples, pears or peaches. It can go over cubed, mashed or pureed pumpkin or sweet potatoes as well, or can be used as a topper for a baked sweet potato. Oatmeal crisp is pretty versatile and forgiving, so we can add a quarter to a half extra oats to our recipe if we want a somewhat heartier and healthier version, or just to help us use up a few more of our rolled oats.

Cookies, Pizzas & Pie Crusts – Cookies are pretty cool as they are. Made thick and gooey, they can be a pretty hearty dessert by topping with dried or canned fruit or pie filling, with or without heavy or whipped cream. We can spread them out in a pie pan to make a quickie crust, use a crisp recipe for a pie crust, or we can bake them as a big, wide cookie to then slice up as a dessert pizza topped with cream cheese, frosting or glaze and then whatever fruit, nuts or morsels floats our boat.
Southern Oatmeal Cake – There are numerous versions of oatmeal cakes, although they’re pretty similar. It’s not the prettiest dish in the lineup, but it’s gooey happiness that can satisfy our sweet tooth without enormous expense. For an easier version that’s more storage friendly or to create some variety, we can alternate the topping with tubs of German chocolate cake frosting, reduced sweetened condensed milk, or just honey if coconut isn’t available. It’s also pretty darn nummy just with some heavy cream, whole milk, whipped cream, or clotted cream on top.
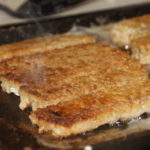
Fried Oatmeal is like fried grits. It starts with the cereal we all know, then it gets packed in a glass or a lined bowl, chilled so it sets up, and later, gets turned out and sliced, then fried in grease, butter or oil. The amount or depth of oil in the pan can change the texture some. The size of the slice both in thickness and width-by-height can affect whether it’s a plate meal like pancakes or if it can be picked up like happy French toast fingers for a non-spoon meal. As with pancakes, waffles and French toast, the topping options become endless – fried “dippy” eggs, sweetened syrups or fruits, chocolate or strawberry milk syrup, cinnamon sugar, and sausage bits and honey are favorites in our house. Chopped nuts can be included in the cereal or added on top for a little bit more texture yet.
For additional ideas about using oatmeal, do a search for savory recipes. Even when it’s served as a bowl of hot cereal, inclusions like grated radish, sprouts, fish, and tomatoes and peppers can increase the variety we’re seeing with our rolled oats and help prevent fatigue from them.
Oats Outside the Kitchen
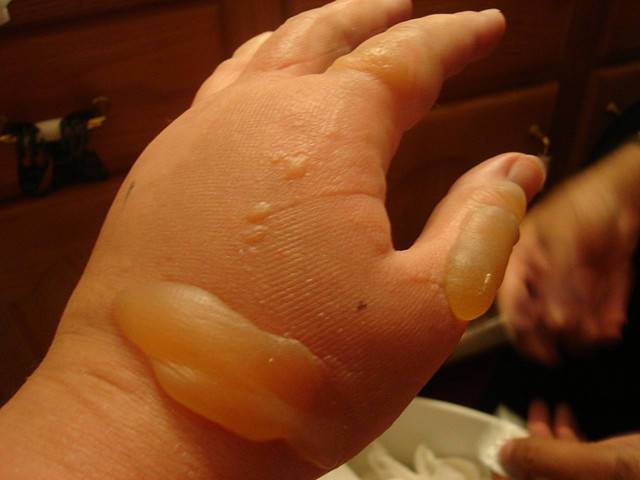
We can really feel our oats sometimes. Probably most of us have already seen or use – possibly regularly – a product that makes use of some of oats’ best qualities. Just as oatmeal is a pretty soothing and mild option for breakfast, it has a lot of uses externally, too.

Oats can be added to bathwater or used as a paste to relieve:
- Dry, itchy skin (for animals, too)
- Bug bites
- Burns & sunburn
It can also be added to soaps for its soothing qualities, or turned into an exfoliating scrub.
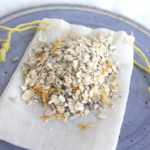
Combined with baking soda, we can use ground oatmeal flour as a dry shampoo, scrubbing it in with our fingers, then brushing it out. The two absorb oils and relieve any itching, which can be an excellent low-weight and inexpensive option during sweaty garden seasons should water be in limited supply.
That dry shampoo can also safely be used on cats and dogs, to save money on no-rinse shampoos, to avoid stressing a pet with a shower bath, to treat flea or grass allergies, or to avoid getting them wet in cold weather.
Satchels & Sachets
When we don’t really want to turn a bath into an oatmeal pot to scrub, or don’t have a tub available, we can make little balls of rolled oats, with or without additives like baking soda or herbs and oils to gain relief from skin irritations. We can use them in showers, baths, creeks, or just dampened and dabbed on affected areas.
Those, too, can be used on our pets to treat hot spots, bites, and irritated skin.
Satchels of rolled oats can also be used to:
- Absorb odors in shoes, closets, bags, coolers
- Absorb moisture from containers before sealing, or sealed with important items
Heat relieves some of the discomfort from cramps, headaches and muscle pains. Pouches can also be filled with warmed dry oatmeal to create in-the-glove or pocket hand-warmers.
Using Up Oats
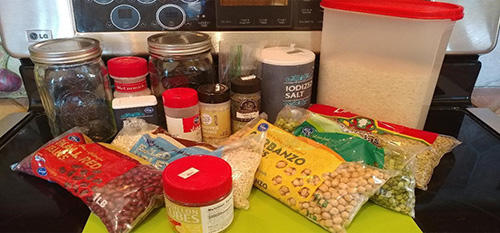
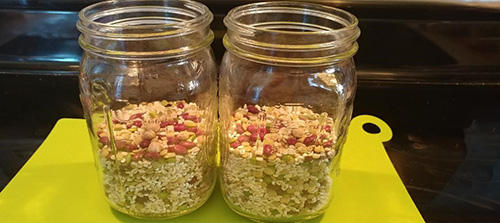
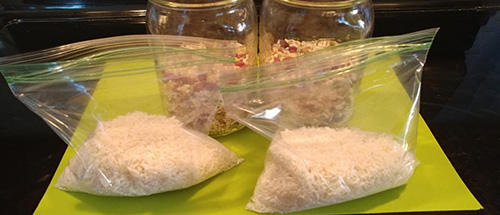
Oats are a major part of prepper food storage kits because they’re inexpensive. They store well, last well past supermarket best-by dates, have a lot of health benefits for the gut and cardiovascular system, and the fiber and whole grains of rolled oats help us feel full for longer as well as provide slow-release energy that can keep us moving through long days of work or travel.
Happily, they’re also pretty versatile, and with a little creativity we can use them to stretch our budgets now as well as increase our food storage.
There are probably fifty million more recipes out there for making oats without a steaming bowl and spoon, from breads to desserts. There are probably another dozen helpful ways to use it up outside the kitchen. These are just a few of my favorites, due to the ease or the effectiveness of them. Feel free to tag on your additional favorite non-cereal-bowl recipes and uses outside the kitchen.
Other self-sufficiency and preparedness solutions recommended for you:
Healthy Soil + Healthy Plants = Healthy You
The vital self-sufficiency lessons our great grand-fathers left us
Knowledge to survive any medical crisis situation
Liberal’s hidden agenda: more than just your guns
Build yourself the only unlimited water source you’ll ever need
4 Important Forgotten Skills used by our Ancestors that can help you in any crisis
Oatmeal – Jazzing Up the Ubiquitous Prepper Cereal Being inexpensive, rolled oats can help us save money now, and it’s a good one to stock up on for the same reasons
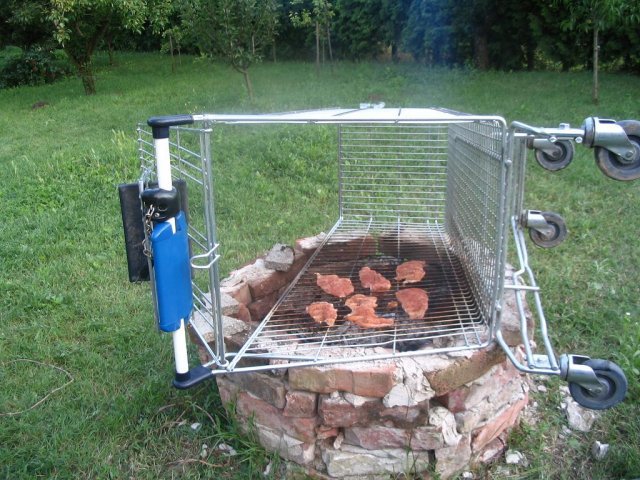 One of my favorite ways to see a shopping cart used.
 Simple bricks perform double duty as fire containment and rest for the pan.
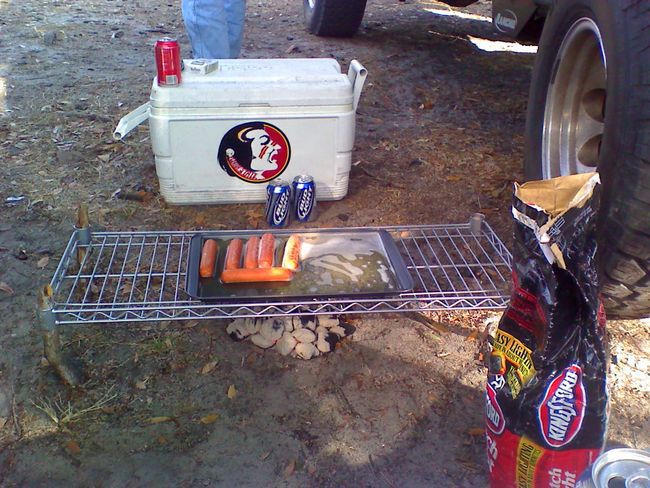 Surplus shelving also works in a pinch.
 Who needs bricks when you have rocks?
 Convert that seldom used fire-pit to Grill master.
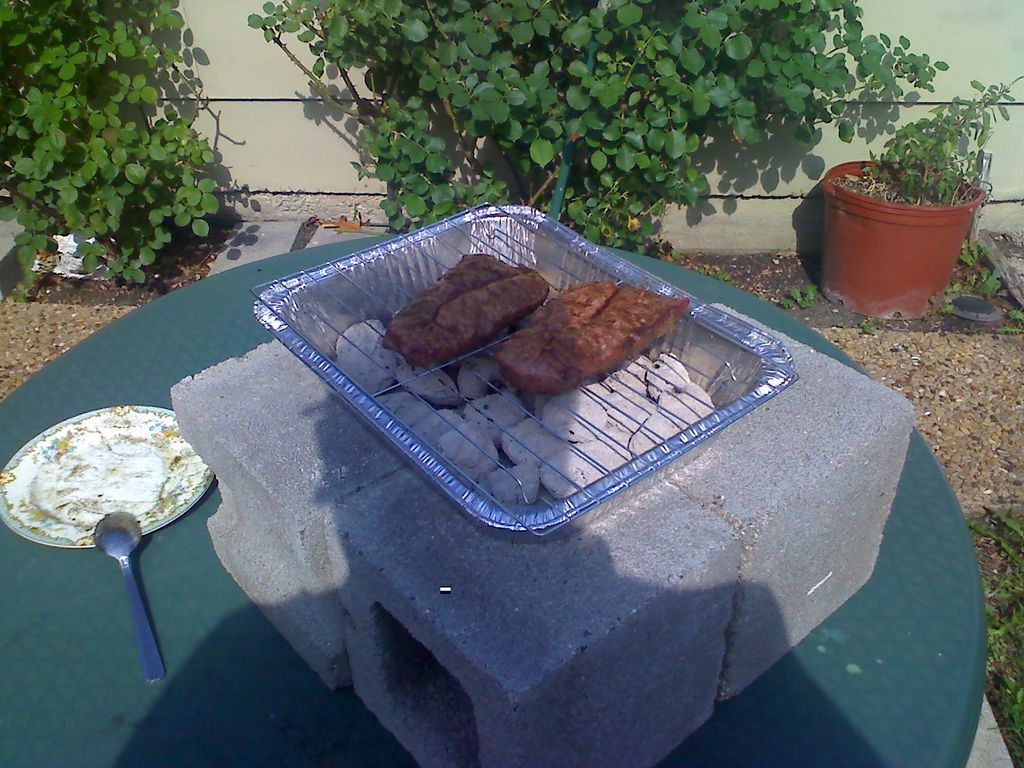 Don’t have a grill? Use aluminum baking pans instead.
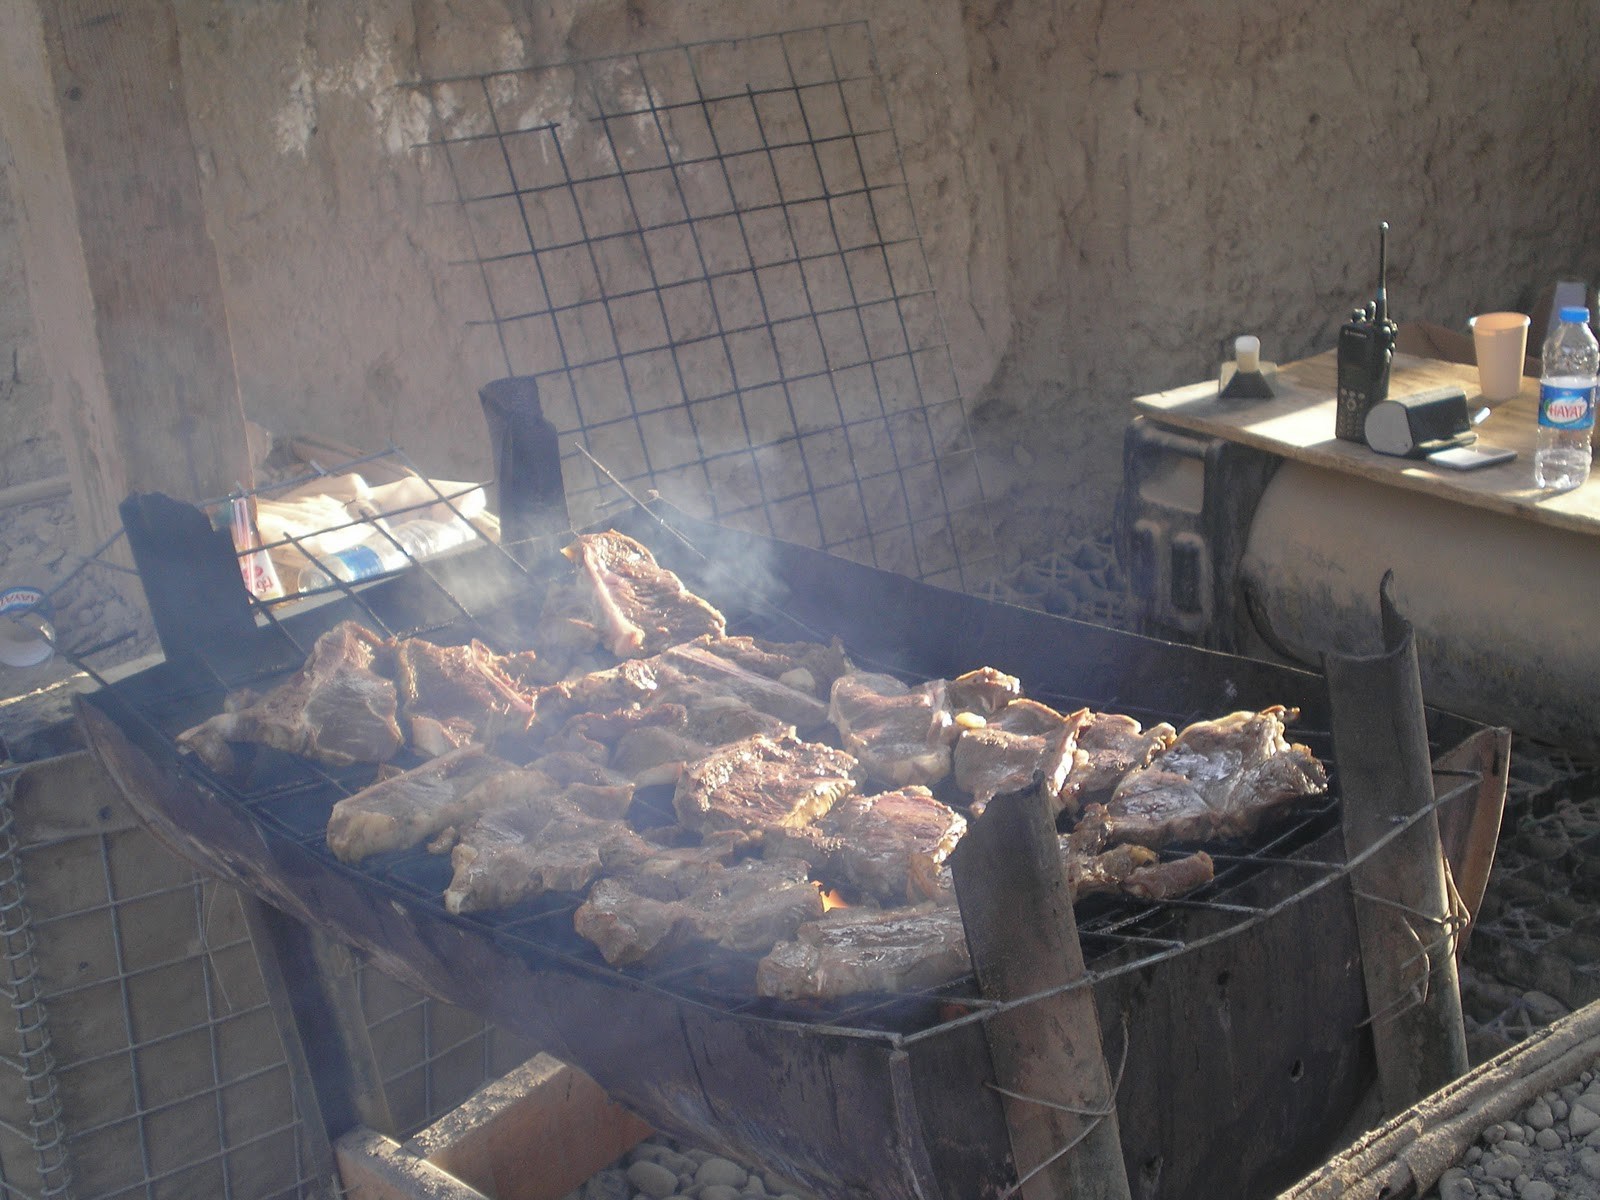 50 gallon drum slow cooker.
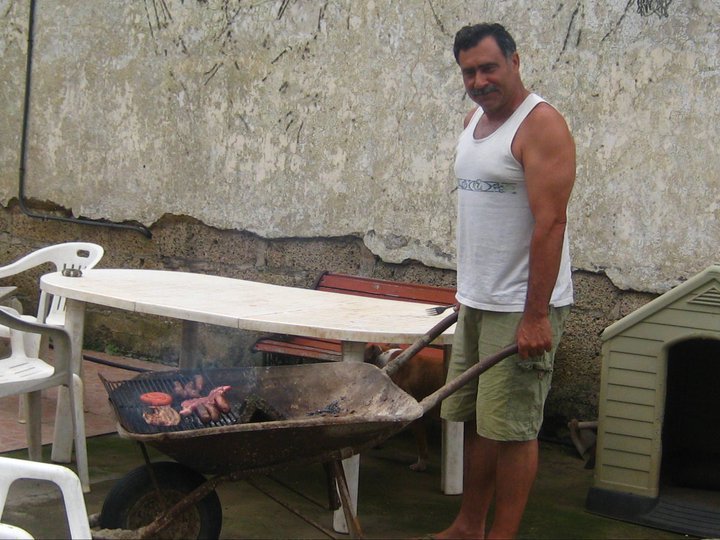 Forget a grill, we have a wheel-barrel.
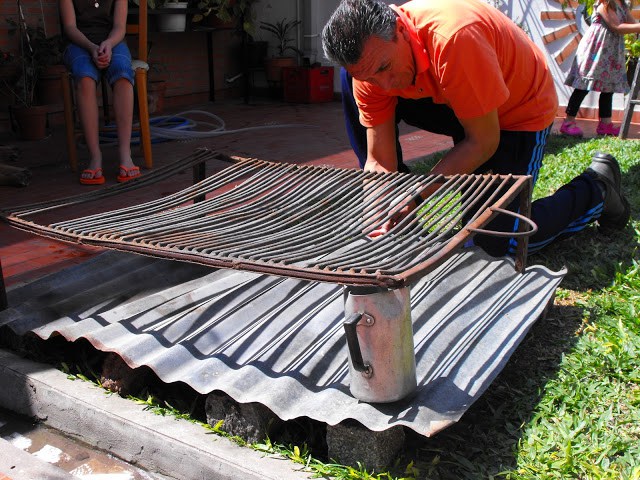 Creative support options.


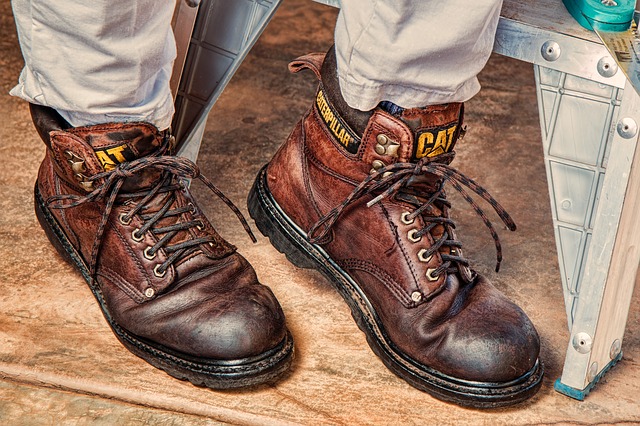 Hard work is usually best done with heavy duty work boots.