The Famine That Starved Millions
Food will always be king and the reason we have enjoyed the prosperity we have is because of easy access to food. In America, we waste 50% of the food we produce. That is astounding and gross. To those who survived the great depression of the 30’s the idea that any food could be wasted would be unbelievable.
So, how do we go from food being wasted to experiencing something like a global famine?
We have pressed the soil, resources, and planet itself, to a point where all are ready to break. The breadbasket of America and other massive agricultural areas are operating on soils depleted of nutrients and as the worlds, demand continues to grow there is massive pressure to achieve big yields year over year.
Let’s look at 4 factors that are going to affect a famine that starves billions.
Disease
There are some dangerous diseases affecting crops all over the world. UG99 Wheat Rust is a disease with no known cure that is affecting grain populations in America and Mexico. This disease could affect nearly 20% of all wheat crop is in danger of being infected but nearly all wheat crops could be infected by the disease.
There are other’s out there like Mad Soy Disease which is affecting soy crops in Brazil but has been isolated to the northern regions of the nation. We live in a world where people and commodities spread and diseases with them.
It would seem like its only a matter of time before big cash crops are leveled by disease
Soil Quality
The condition of the Earth’s topsoil is abysmal. It is estimated that 1/3 of all growing areas are losing topsoil faster than it can be reproduced. This means that every year farmers must pump loads of fertilizer and other nutrients into the soil in hopes that the plants will have enough to survive.
This drastically affects the quality of the produce and grains that are grown each year. Ideally, you want soil that is full of nutrition and it will impart that nutrition into your food. Instead, we are left with food that is mass produced but exponentially less nutritious than the food being produced in the past.
Before long, our foods will be more chemical and less nutrient or, worse yet, the crop yields will suffer dramatically.
This will lead to worldwide malnutrition and human disease.
Natural Disasters
We pull hundreds of millions of gallons of water from the ground to water these crops. Around the farmland, we decimate the trees and wild-lands. This land is then paved and is no longer capable of absorbing water.
Massive flooding is the outcome and it’s now affecting our growing areas. Without expansive wild areas to absorb the water from large storms, the water rushed to agricultural areas and worst of all it stays there.
The Earth’s natural disasters and our drainage limitations are putting us at a huge risk. The last bomb cyclone in Nebraska left 1,000,000 acres of land underwater and killed almost the same amount of calves.
With spring rains coming this could have lasting and devastating effects on food production. It only takes a few of these large-scale agricultural areas to be disrupted, plantings reduced or eliminated altogether, before the world has to tighten up on supply and people start going hungry.
Personal Food Security
With these three issues potentially having drastic effects on the food system, its safe to say you need a backup. In fact, you need a few. You want to buy, store and grow your way to personal food security. Of course, this is going to take planning and knowledge.
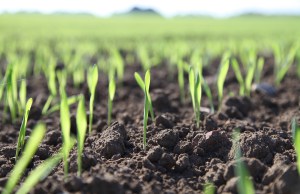
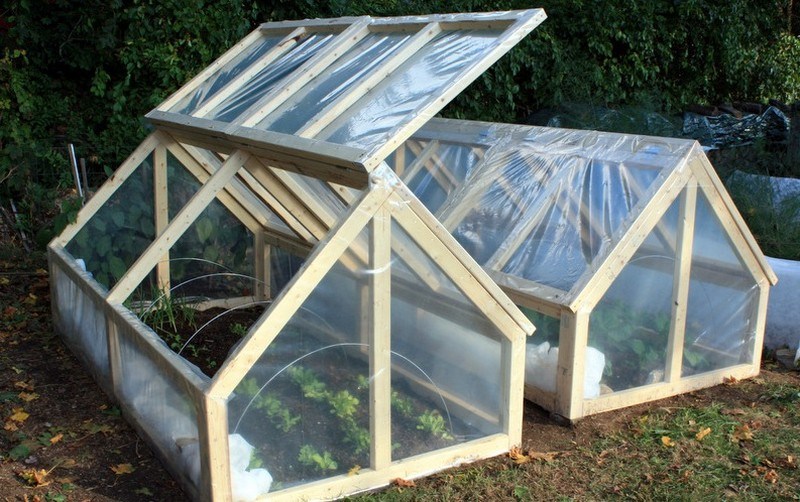
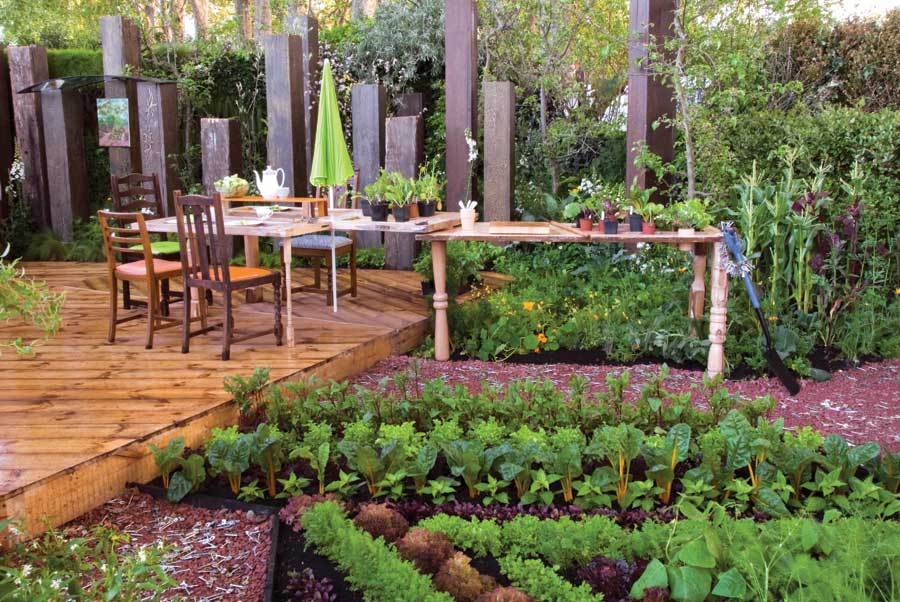
- Gardening
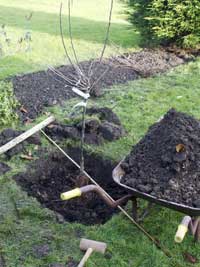
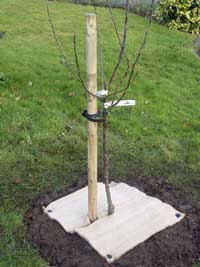
Whether you go the route of building a food forest, hydroponically growing food, green housing or traditional food growing.
- Livestock
From things as complicated and as expensive as raising cattle to simply raising chickens for eggs, you need to consider what you can do in terms of raising food-producing animals
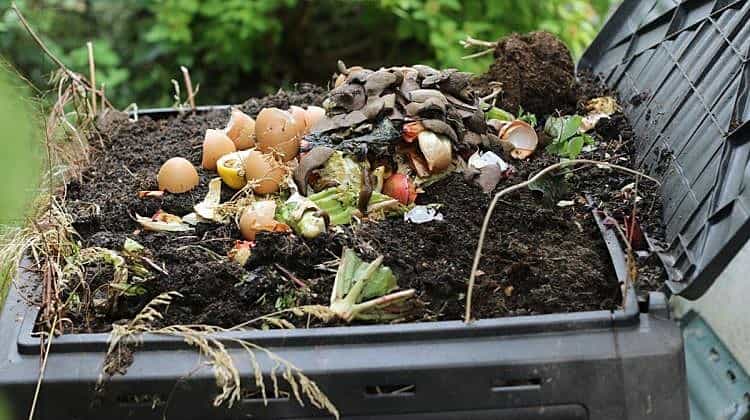
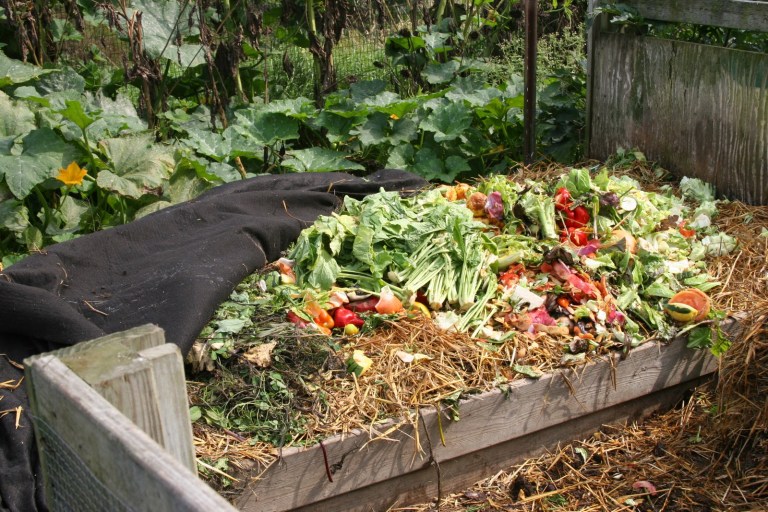
- Food Storage
Food storage is all about planning and rotation. In order to excel at this, you need to know the basics and remember, store what you eat!
- Preservation
From dehydrating to canning, you will also want to know the majority of these skills and use them to both extend your harvest in the garden and build food storage
- Foraging
There are food growing all around us, but you need to understand when and where to find them. These will be ancillary calories, but they will help.
- Hunting
Though season dependent, hunting and trapping can both be impressive ways to put meat on the table or in the freezer.
Getting Started
There is a bit of a knowledge barrier and a lot of practice that goes into all of these. You need a trusted resource that will offer you information on these topics. You could peruse the internet and read various websites to get information on these topics.
A better move is to have a tangible resource that has all of this information in it. This puts a reference tool at your fingertips whether the lights are out or not!
Wouldn’t it be great if something like this existed? Well, you may want to look for The Doomsday Book Of Medicine. This book includes information about the above info and all the info you will need to reach a level of personal food security.
Oh yea, this is also packed with other information about prepping beyond food. You can find it all HERE.
I am not saying it’s the only resource but it’s damn sure a good one!
Conclusion
As the population grows, we are going to face a greater strain on the food system. Nature is hitting back against our modified mono-cultured crop systems and things like wheat, corn and soy production will be disrupted.
This time of excess cannot go on forever. We simply cannot pull out naturally occurring nutrients and replace them with chemicals as a long-term solution. Its time to take control of your own food production. You can do this.
With the right resource, you will find yourself escaping the coming famine and building your own personal food security. The Doomsday Book Of Medicine helps you all the way.
In America we waste 50% of the food we produce. That is astounding and gross. To those who survived the great depression of the 30’s the idea that any food


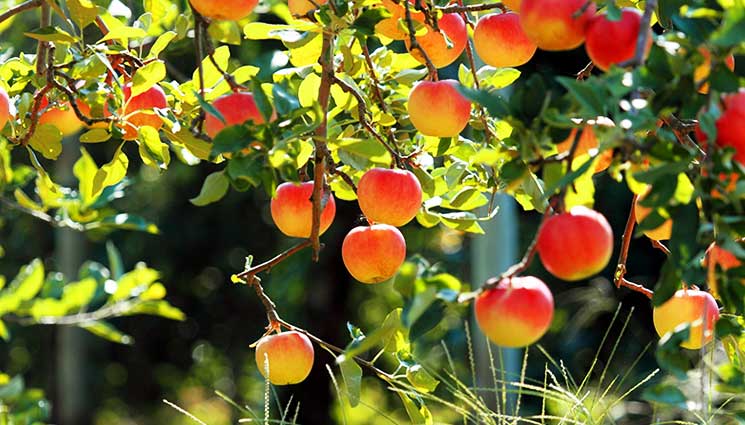
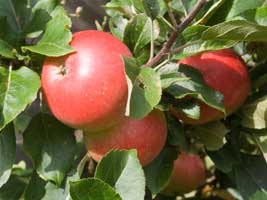
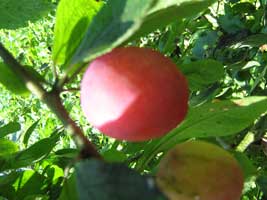
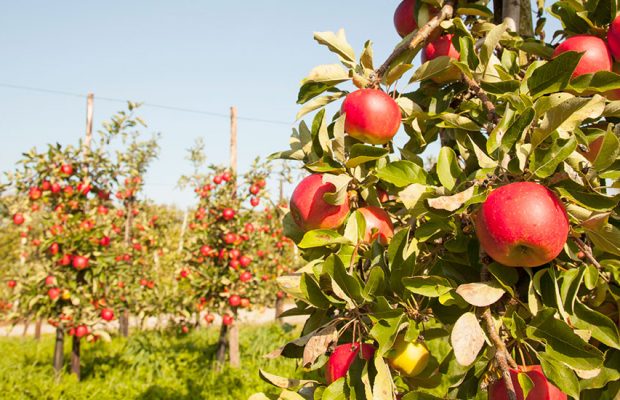
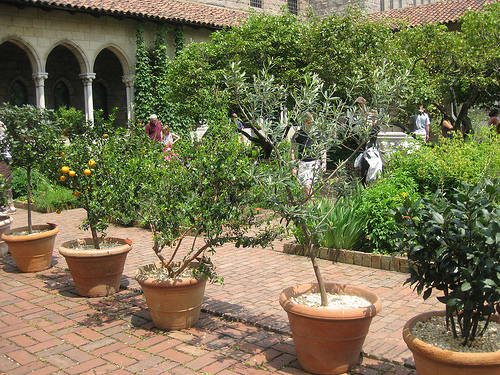
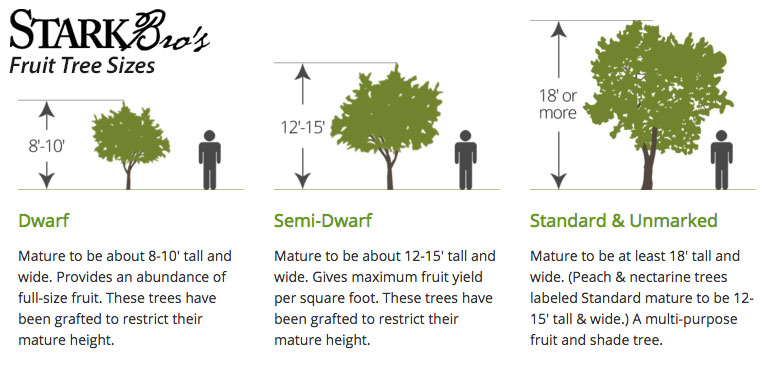 Dwarf and semi-dwarf trees produce the same type and size fruit as standards, just less per tree.
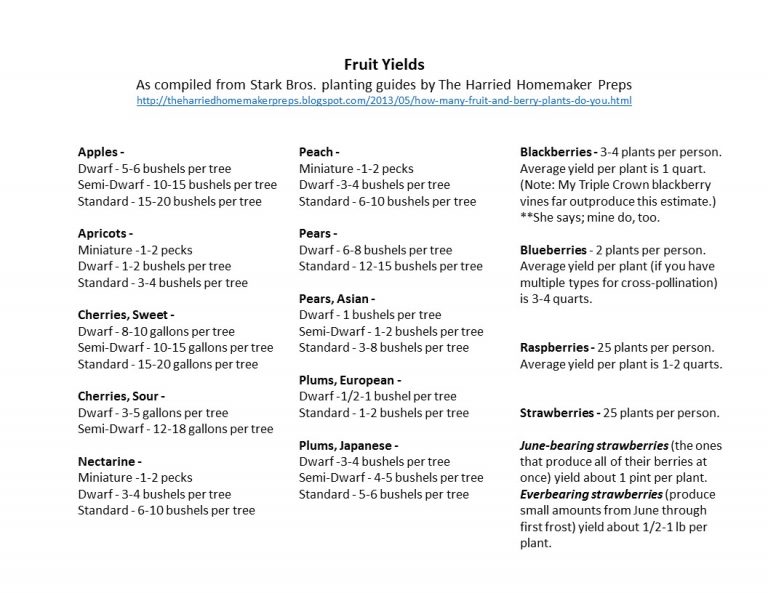 Be aware: Yields vary depending on soil types, nutrients, water, pests, pruning and variety of tree within each species. I halve the numbers from Harried Homemaker and Stark Bros. when presenting estimated to clients.
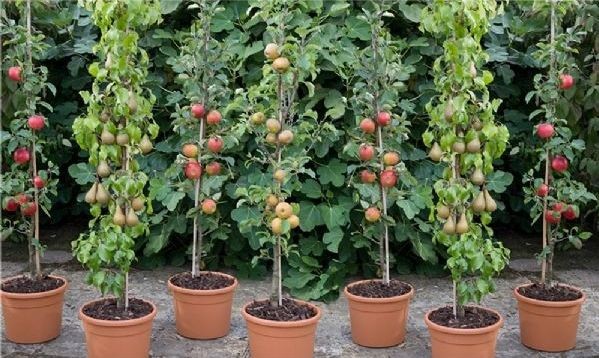 Cordon or columnar fruit is available in several species, and while expensive, it can save space to increase diversity and allow homeowners variety and resilience.
 Dwarf, container, trellis and espalier fruit can transform a compound into a more pleasant space, allow perennial production in urban and suburban environments, and let us take our fruit trees and shrubs with us when we move.
 Increases harvest season – One benefit to smaller trees is that we can spread out the harvest season. The common standard tree yields of 10-20 bushels is a lot to deal with inside the 1-3 weeks of the harvest season for each variety, and once it’s in and processed, there’s no more fresh fruit. Instead, we can tailor our home orchard for 3-6 months of fresh produce by selecting varieties from late, mid and early seasons within their species and having a couple of other species with them.
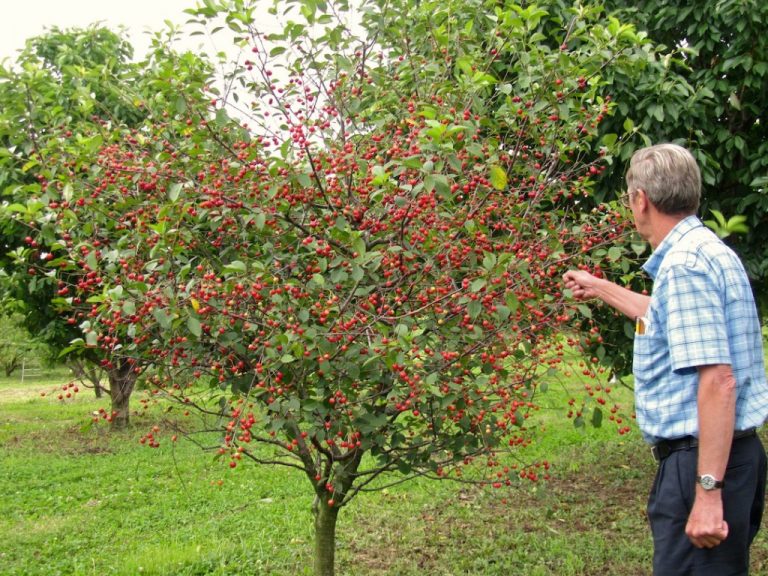
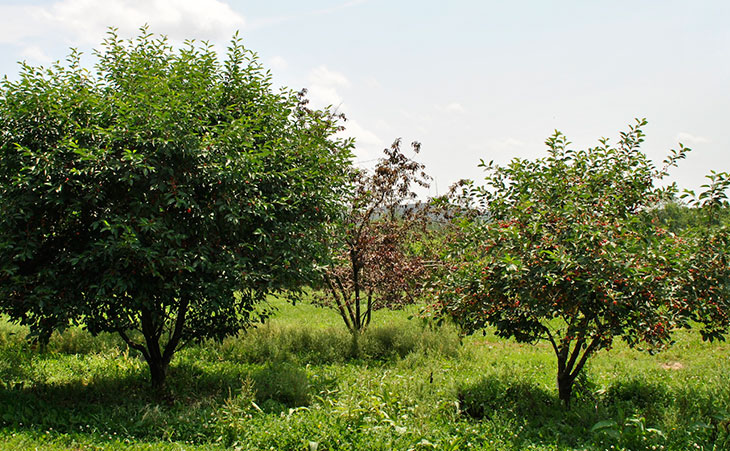 Smaller trees can allow us to increase variety and resilience in the same space. If one species, variety, or specimen is lost or damaged by pests or weather, others may survive.
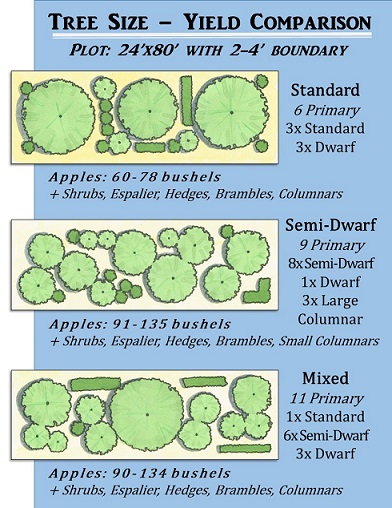 Graphic: Using a mix of semi-dwarf and dwarf trees can increase the total fruit yield in a space as well as create resiliency. *Yield estimates taken from Harried Homemaker Preps’ compilation of Stark Bros. estimates.
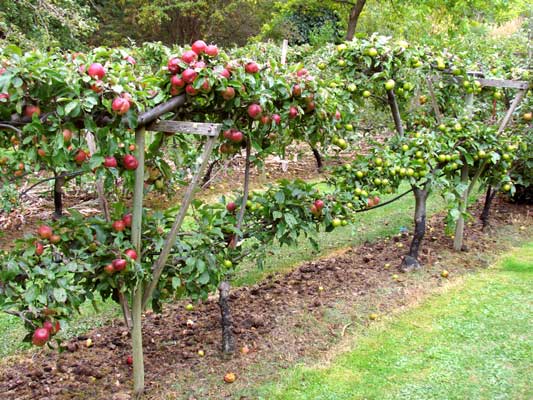 Dwarf and espalier fruit can be trained to hedges, serving multiple functions on our property as well as producing food.

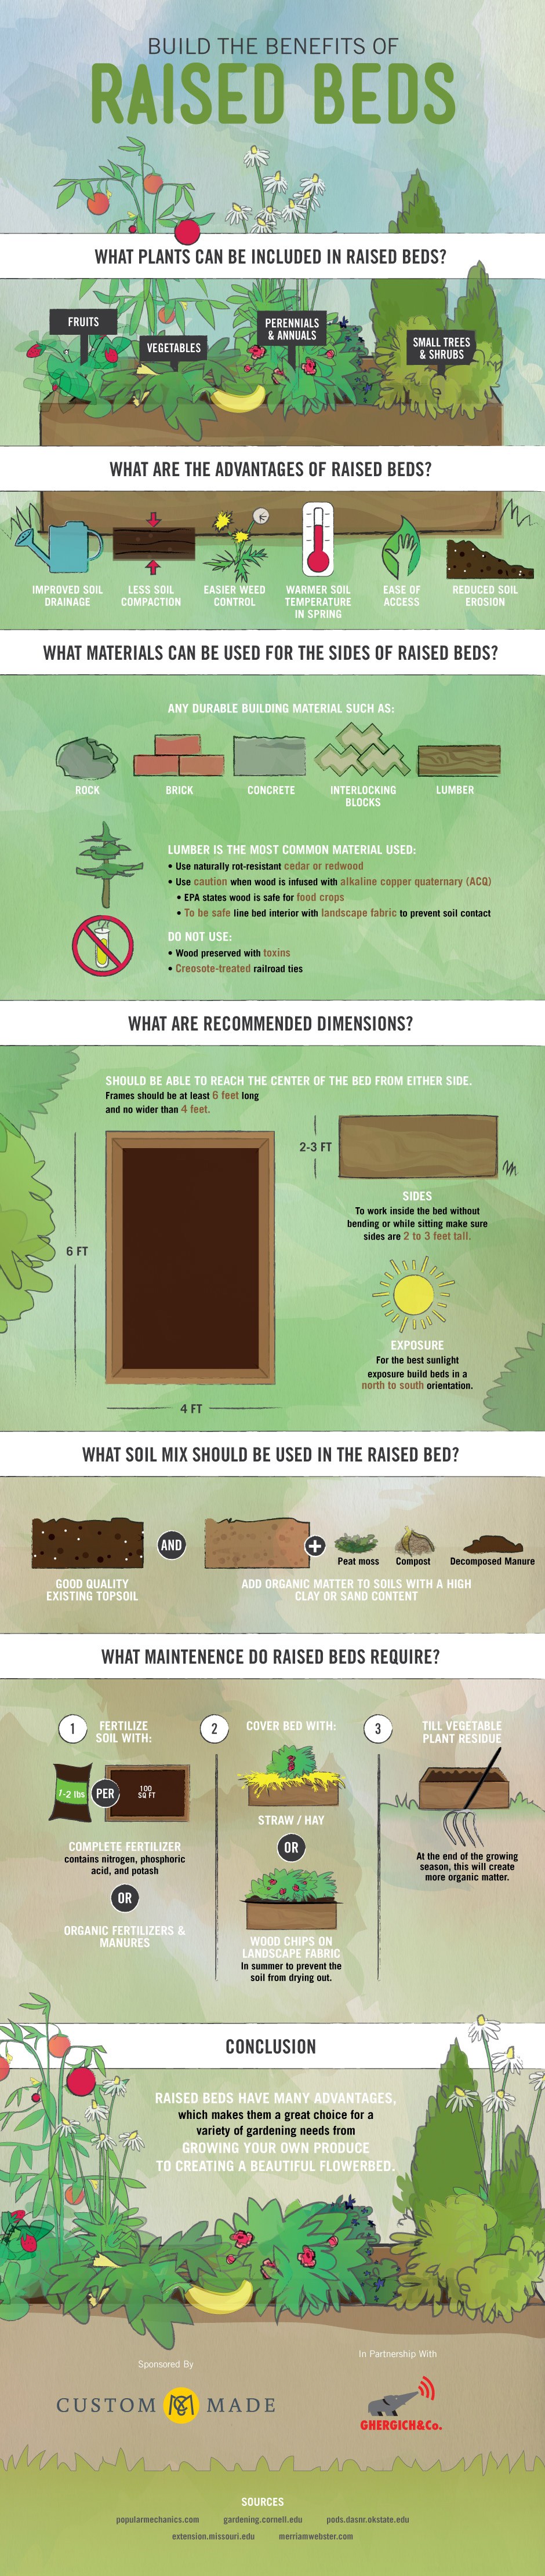 Raised Garden Beds Infographic

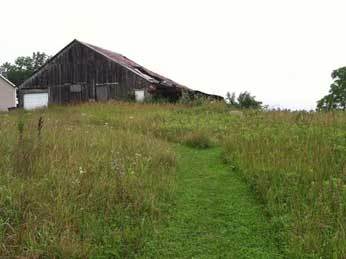 An abandoned farm in our neighborhood
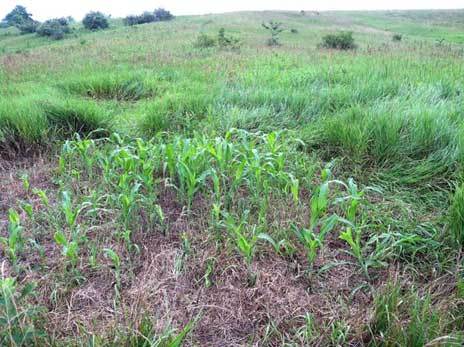 Deer like to snack on corn and beans in bed (rear left).
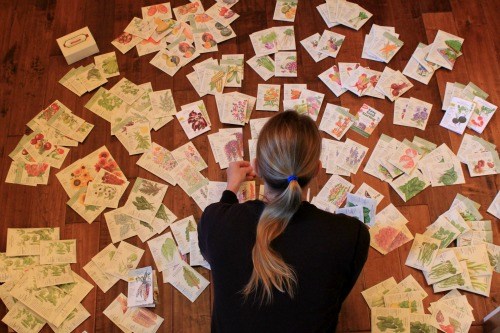
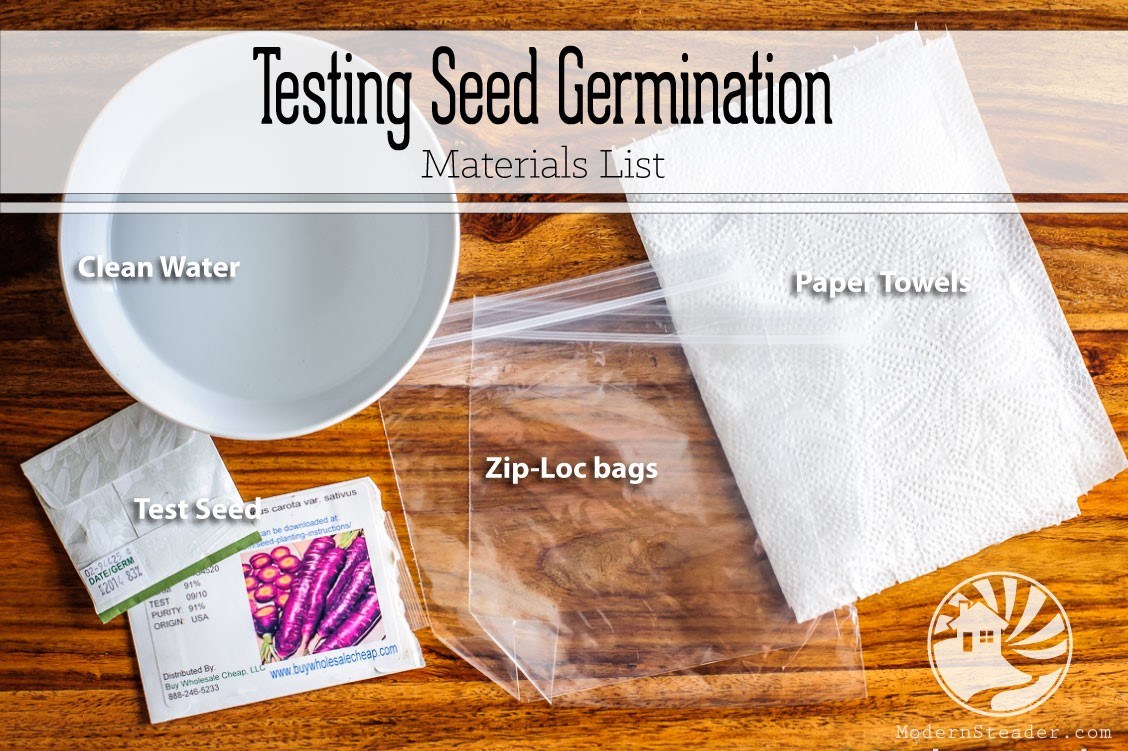
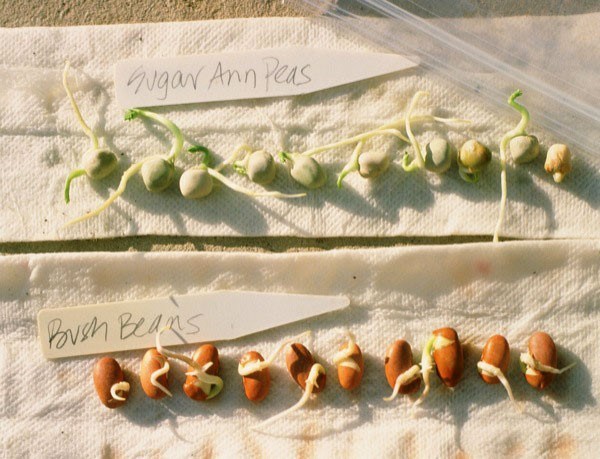
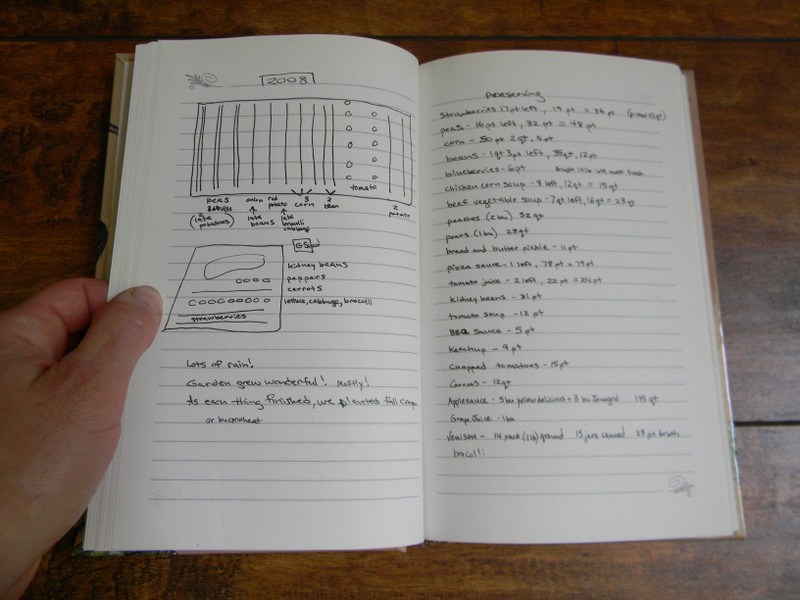 Ideally, we also keep notes at least during key periods of the year. How many little green things popped up out of roughly how many seeds?
 Ideally in a format that can be quickly and easily accessed during planning and evaluation phases before and after each year’s crop seasons.
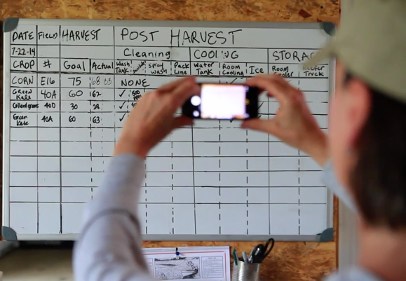 I find it easiest to stick a $2 Ollie’s dry erase board and a map pen by my kitchen door.