Sowing Concepts & Planting Styles
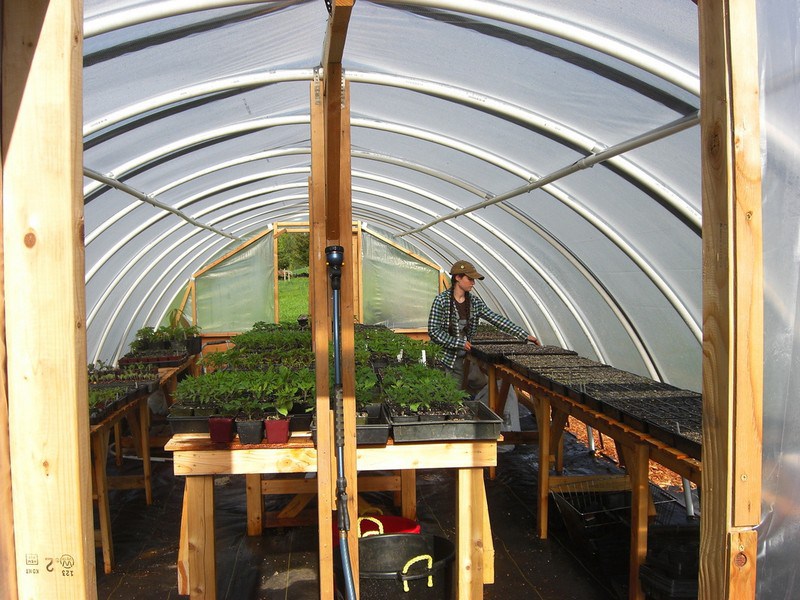
Some of us have the ultimate goal of self-reliance. Maybe it’s just “increased” self-reliance, or maybe we’d like to be almost totally self-reliant. A big part of self-reliance is the ability to produce our own food, whether we’re working with planters in a window to avoid the common recalls or plotting out our 30K square foot pantry garden. Regardless of scale, maximizing our production is something we all strive for. There are some terms and sowing concepts we may see but not really understand that relate to sowing seeds, especially, that can help us maximize our yields.
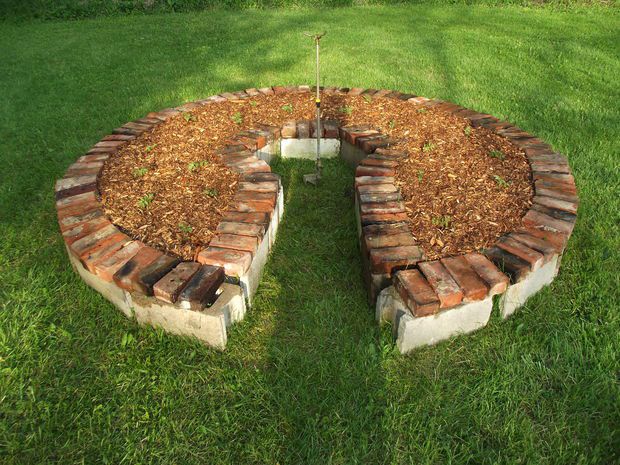
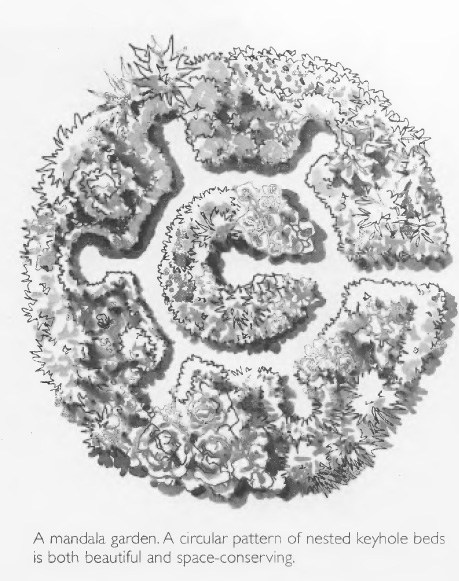
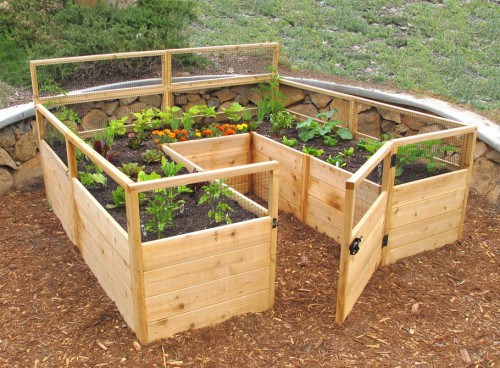
Some of those concepts include underplanting, underseeding, sub-sowing or under-sowing, succession and staggered planting, and congestion planting or fill beds. A lot of the ways we can maximize production from our space overlap and interact, which means the terms get used together or in place of each other. That can lead to some confusion on what each really is. I’ll largely use small-bed examples to try to clarify the concepts, but they can be expanded to larger plots
Congestion Planting
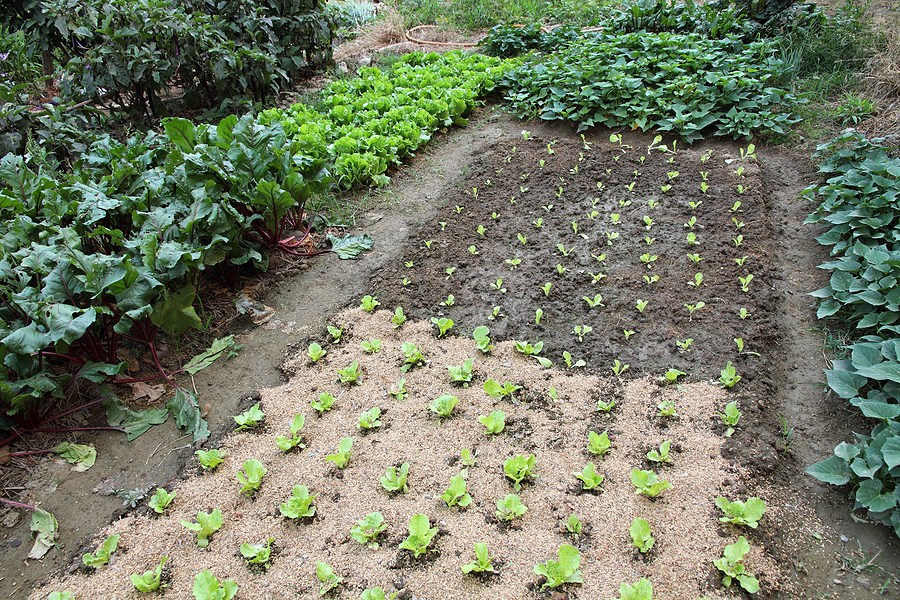
Congestion planting has two main facets. In some cases, congestion planting refers to the use of a bed instead of separated single rows, even in bare-earth, tilled-ground plots. In other cases, it refers to absolutely packing something into a space – a “fill” or “blanket” sowing style.
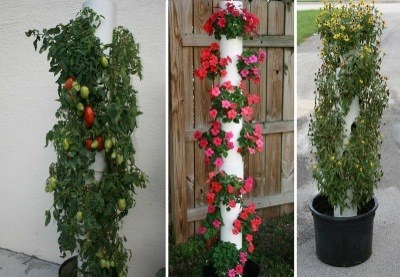
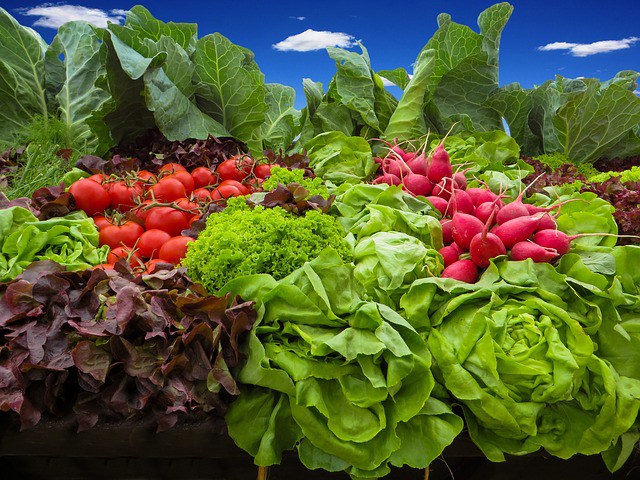
The latter can be visualized as blanketing marigolds around tomatoes and cabbages instead of having one marigold to one crop plant, with bare earth around them. It can also be seen in spread seeding – sprinkling or machine throwing something like lettuces or a game plot mix over a surface. When we talk about congestion planting a companion like sweet alyssum or a cover like buckwheat, this is what we mean – dense blankets. It’s done to maximize benefits from a companion, create a zero-bare-earth or total-canopy systems, and to choke out weeds.
In other cases, congestion planting is used to maximize harvest.
Creating a diagonal grid or staggered line instead of a straight line or a square grid lets us put more plants into the same area. “Gaia’s Garden” by Toby Hemenway has a good example of the “row” version of this, which can be applied to annuals as well as perennials. Congestion planting a grid of plants in a workable bed instead of separating rows of crops lets us get more yield out of the same space, too. For example, take a 12-foot by 6-foot garden area. In this case, it’s for spreads of about a foot – because there are an awful lot of plants that fit that space, beans to pak choi, fingerling potatoes to corn, candle peppers to rattail radish – but it works for 15-24” plants as well.
Instead of getting 36 as in a single-row row-cropping example, we’re able to get 42 primary plants into the same area with a diagonal grid (AKA: staggered grid, offset grid). That is a ratio that scales up.
Read More: Conventional Guides to Crop Rotation
A “straight” or “square” grid (squash the row cropping lines together) would have netted 48 primary plants, while the diagonal grid allows for an additional 12 companions or smaller crop plants with the main crop, for a total of 54 yielding plants in a 4’x12’ space. Both exceed the yield from single-row sowing.
*Individual interests, planting style, and needs, as well as choosing a 3’ instead of a 4’ bed, will determine if a diagonal or square grid is more efficient.
In addition to the increased total yield from congestion planting, there are other benefits to congestion planting in beds – raised or in-ground.
Eliminating the walkways between each row means there is less compaction, which makes for better root and soil health through better water movement and increased aeration. The shade created by the mature main crops will help keep soil cooler and moister than open rows with bare earth between plants. It will also allow for cooler-season annuals like radish, spinach and lettuce later in the season than they would normally be palatable. Once established, the canopies also help reduce weed growth, whereas the space between rows allows for sunlight to penetrate to the soil line, making weeds more of a factor.
Eliminating the walkways between each row means there is less compaction
Succession Planting & Staggered Planting

Mini Farming: Self-Sufficiency on 1/4 Acre
Succession planting isn’t an overly new concept, and it’s probably one of the most-heard terms. In succession planting, the goal is to not have dormant space and open earth in production spaces. Crop cycles are timed so that we maximize our space and growing season, avoiding lost time and wasted area. We have our tomato and pepper transplants ready and staged so that as lettuce and cabbage comes out, we plug in the next start immediately. Heading toward autumn, we start additional cabbages and sometimes greens so we can stick them in sweet corn plots immediately.
“Succession planting” is also sometimes used instead of “staggered” planting and harvest – staggering sowing dates this time instead of designing a staggered row.
With staggered planting, we start our seeds at weekly or two-week or even monthly intervals. We may do only a few plants at a time, we may do a couple of square feet at a time, or we may do a few rows or a partial plot at a time. For things like radishes, we may put in 12-18 every two or three days for a while, skip a week, and do a few more sets.
Staggering our planting allows us to harvest reasonable amounts. We can start some early and late for fresh eating, and plot out periods when we expect to have the bulk of determinate tomatoes coming in, spreading out the canning workload around our tree crops and other annuals, vacations, and our busiest parts of the seasons.
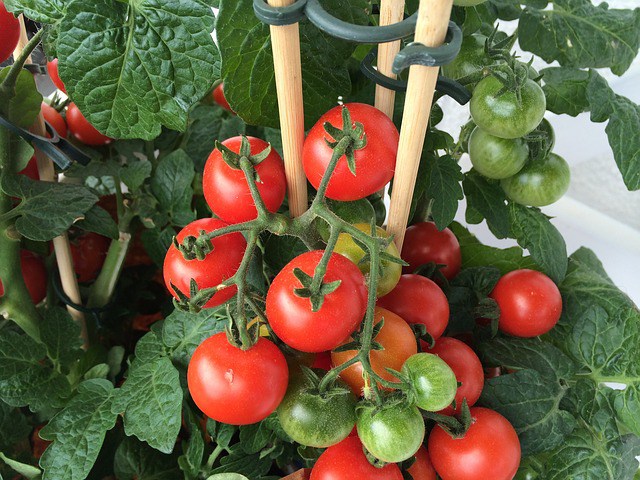
It also allows us to hedge our bets. We can start the first 2-5 tomatoes, then another set, and hold off on the main body of our for-canning tomatoes until we’re certain weather will hold for them. Then we take a break, and either root some of the suckers we pinch or start a few more seeds, and plant additional tomatoes that will still be in full production later in the season, or that can be grown in containers or in a protected area, extending our tomato harvest into cooler weather. We could easily divide our tomato season into thirds or quarters instead, starting seeds for each segment so that they’re yielding excesses for canning, but so that a late drought, low-calcium problem, or early cold, wet weather doesn’t affect our total harvest as much.
Succession and staggered planting aren’t exactly the same, although the terms are sometimes used interchangeably. Staggered planting is more a factor to take into account with succession planting. Succession planting is similar to “zero bare earth” or “full canopy” planting in that there is always something active in the garden during growing season. It can be used with tilled-earth methods as well as the mulch-bed systems, and with transplants or the concept of underseeding and underplanting.
Underplanting & Underseeding
Underplanting is an umbrella concept that includes underseeding (AKA: sub-seeding, sub-sowing, under-sowing).
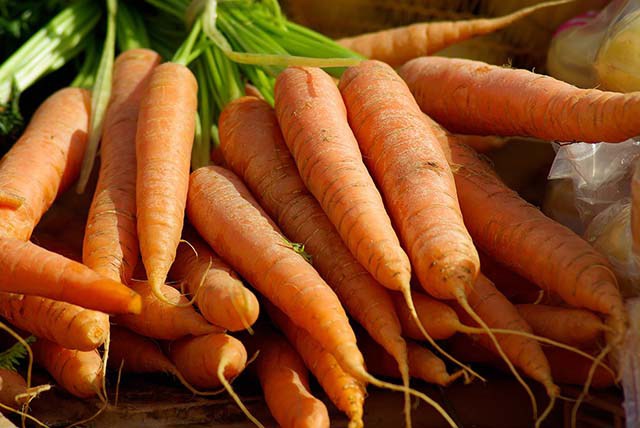
Underseeding is when we drop seed while another plant is still actively growing. It’s a little different than the staggered seeding that produces best results in a Three Sisters mound. In underseeding, we wait for our Three Sisters mound to start crinkling from frosts or reaching its maturity, and we plant something like beets, radishes or greens underneath the corn, beans and squash.
The timing is important. We want to be cutting down our hungry, mature plants about the same time the seed is germinating below them, so the cool season plants don’t face as much competition. We can do it in the mounds mentioned, or we can do it along the sides of rows and within beds as well. It’s limited to non-tractor farming unless mature plants are low enough and well-spaced enough for single- or multi-row equipment to get through. The tight spaces make it something much more common for a backyard kitchen garden or containers than large-scale field crops like wheat and beets.
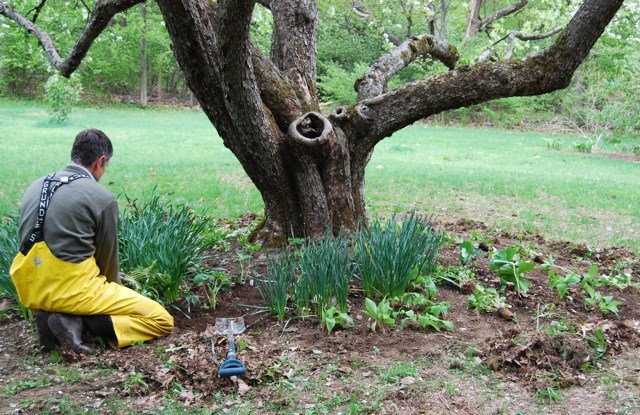
Underplanting has applications both for perennials and for annuals.
Deciduous trees take some time to leaf out in spring. By building up a no-till bed around their bases, even dense canopies can have some early garden space eked out for radishes, beets, turnips, greens, and some others. Cut-and-come-again crops like spinach and lettuces will benefit from an extended season in a lot of climates due to the cooling shade and reduced evaporation. Depending on orientation and climate, things like onions and some herbs may be fine all season under an apple tree, and in some cases, a summer cover crop such as crowder peas or buckwheat may be possible. Edible ornamentals like hostas and wild food such as upland cress or mock strawberry are additional options for the bases of trees.
The benefits to underplanting trees and shrubs extend beyond the additional and early harvest. The trees themselves benefit from less mowing compaction, increased biomass, and pollinators that camp out due to constant pollen and nectar access. In some cases, the crops and herbs we choose to grow may actually repel some tree pests and disrupt some diseases or their vectors.

In the case of annuals, underplanting acts more like the Three Sisters example.
For example, consider a plot where lettuces are interspersed with a line of beets of turnips or radishes, and maybe some small head cabbage (with bunches of marigolds if inclined). When the root veggies are pulled and it’s warm enough for tomatoes, those starts go out, with the lettuces and cabbages still thriving. Some of the lettuces are pulled instead of cut, opening up a little space around the new tomato.
With an egg and a handful of compost, tomato starts are plenty big enough and aggressive enough – especially since they have deeper root systems than most cutting lettuces – to grow without problems. Cabbages are timed to be cut and have the roots severed as the tomato grows to 18-24” tall and they start encroaching on each other. By the time the tomato is starting to rob from and shade out lettuces, the lettuces are bolting or going bitter anyway, and can be cut a final time. If they’re already bitter, they lay right on the ground, providing some additional shade and mulch for soil, which retains more moisture. That’s about the same time the tomato needs every bit of nutrients and less competition for flowers and fruit set, and – especially in raised beds and containers in dry and hot climates – enormous amounts of water.
The system works in reverse again as the season ebbs and tomatoes start to dry off. We underseed spinach and chard, prune our tomato aggressively so it concentrates on maturing its fruit about the same time our baby plants start popping up, and by the time the spinach and chard are starting to struggle from the competition, our tomato should be done for the season. A serrated blade or pruning shears gets used to sever the roots and cut the stalk, and our bed stays in constant production.
Both underplanting and underseeding are intended to make sure that not only is garden space actively doing something, but that there is no exposed earth. They limit the total amount of space we need to produce significant yields, and they reduce the amount of time we wait in between harvests.
Seeding schemes
Congestion planting, succession planting, staggering seed sowing, and underseeding or underplanting are just a few ways we can maximize our yield within a given amount of space. There are labor and water-saving benefits to some of them, but the primary goal is to make the most of our cultivated land. Using our space to maximum efficiently may allow us to grow additional crops, or we may find room for rabbits, water catchment systems, composting, chickens, an outdoor seating area, or shrubs and trees that will further increase our yields or act as passive solar heating and cooling devices.
Even more than when we select what types of seeds and the specific crops we want to grow, deciding upon a planting or sowing style can hugely impact our gardens and crop spaces. Someone who wants to use a tractor for all phases of growing and maintenance may not find as much use for most of the discussed styles, but for others, an efficiency planting style might be worth some consideration.
Some of us have the ultimate goal of self-reliance. Maybe it’s just “increased” self-reliance, or maybe we’d like to be almost totally self-reliant. A big part of self-reliance is the

 Preparing for the future requires forethought; the more you accomplish before an emergency event, the less you’ll need to accomplish during or after one. Stockpiling alone, however, can only carry you so far. You must be able to find renewable food sources. Once the SHTF, it will be too late to harvest Ramen at Walmart. Even if you could get your hands on that last brick of tasty noodles, fighting a gang of thugs for looting privileges is not sound tactical advice. If the gangs control your local Walmart, what then? Wouldn’t you rather be able to safely feed you’re your family from home than having to wander the means streets of some post-apocalyptic city scavenging for a nice clean dumpster? So, let’s assume you’ve already taken care of your short-term physical needs. You’ve got plenty of Evian and