Bug out Bags and Survival Vests
A Bug Out Bag, Survival Vest or Both
As preppers we all spend a lot of time looking at, revamping and assessing our bug out bags (BOBs). Even once you think you have a great setup a new idea comes along and gives you a whole new perspective.
So why do we use bags, granted they can carry a lot of our gear and supplies and can be very comfortable but do they offer the best option for both urban and wilderness preppers?
In this article we will be looking at the pros and cons of using a combined tactical vest and bug out bag system to offer maximum comfort, optimization, safety and conserve the maximum amount of energy possible when on the move.
So, first things first, why have a survival vest at all? Wearing a vest can give you better personal protection from knives, gunshots and physical trauma. They can also aid in distributing the weight of your gear over your body and allowing you to carry more (if you need/want to) and have instant access to certain pieces of kit.
On the other hand a vest will add additional weight to your setup and can be difficult to move around in / wear with a pack. The next thing you will need to think about it what are you using it for?
![]()
Here are some points that you should consider before buying a vest:
- Does the maximum storage allow you to carry more gear in weight than the vest itself?
- Have you optimized access to important gear in your pack already? Once you have, will moving that equipment to a vest make things easier?
- What are you putting in it?
- Is it worth it compared to just storing everything in your bag?
- Are you carrying weapons? Where will you be storing munitions? Do you need quick access to shells, magazines or loose rounds?
So You Decided To Suit Up
So, you are getting a vest. Which one do you want? There are many different types of tactical vest available designed for a range of climates, objectives and load outs. If you are going to buy a vest make sure you try it on first with your pack, check that it is breathable and adaptable. By adaptable I mean, can the pockets be removed, replaced or upgraded? Can the vest have a tactical belt attached or detached? Does the vest have additional webbing or facilities for attaching

UTG 547 Law Enforcement Tactical Vest
further gear? Do you want a built-in pistol holster or will you be using a hip or drop leg holster?
A good vest to start out with for maximum customization would be a basic Molle web vest. This allows you to attach your own pockets and facilities where ever you want and what ever size you want. The downside here is the webbing itself. The pockets can detach, be ripped off or the webbing itself tear and come loose.
To avoid this a basic commando vest could be a better way to go. This kind of vest allows the best of both worlds by having built-in pockets around the midsection about the size of an AR-15 single stack magazine, a medium sized dump pocket on one side of the chest and pistol magazine sized pockets on the other side. This type of vest can also come with a pistol holster and radio pocket depending on the brand. These vests usually also have molly webbing along the sides and back for carrying additional gear when not wearing your pack. Certain grenadier vests will also have a tactical belt laden with pockets that could be used for a variety of gear. A kind of prepper Bat-belt. Just remember what is in each compartment.
The down side to these vests is that they can limit maneuverability and get very hot when fully stocked with equipment. Finding one with mesh padding as opposed to leather or thick material is preferred.
The last type of vest we will look at is a heavy protection vest such as the U.S. army`s Interceptor body armor. These usually have a crotch guard and padded shoulder and arm plates that come down to the elbow joints. These vests have limited storage space and a significantly heavier and hotter than other types of vest. As they are built for heavy combat they can withstand gunfire and knife blows so they do offer the most protection of the three. The Interceptor vest, for example, was tested to stop a 9×19mm 124-grain FMJ bullet at 1,400 ft/s with minimal back face deformation, and it has a V-50 of roughly 1,525 ft/s. This means that the bullet in question must travel faster than 1,525 ft/s for it to have more than a 50% chance of penetration. (An unlikely prospect, given the muzzle velocity of a typical 9mm handgun or sub-machine gun) This vest weighs up to 33.1 pounds (15kgs) unloaded.
What are you packing?
A flashlight or headlamp. The contents of every prepper’s BOB will be different, so it makes perfect sense that the contents of the vest would also be different. But what do you choose to keep on your person at all times? A simple and easy way to decide what gear you should choose is to play out a survival scenario and what ever gear you will need as a bare minimum is. Here is a basic example of items you could store in your vest.
- Glow sticks
- A road flare
- A knife
- A Water bottle
- A Fire steel
- A Lighter
- A Bandana
- A Basic medical kit
- A Mylar blanket
- A Water filter
- Paracord
- Food (energy bars or something of that size)
- Fishing or trapping gear
- Munitions
Keeping a miniaturized survival kit on your person at all times may also be worth putting together or spreading over the space of the vest compartments.
In conclusion…
A vest can be either a great help or a great hindrance. The best way to find out if it is going to help you or not is to test out a range of configurations and scenarios. Above all, remember that your setup will have to be suited to all the yearly conditions that you will be faced with.
A Bug Out Bag, Survival Vest or Both As preppers we all spend a lot of time looking at, revamping and assessing our bug out bags (BOBs). Even once you think
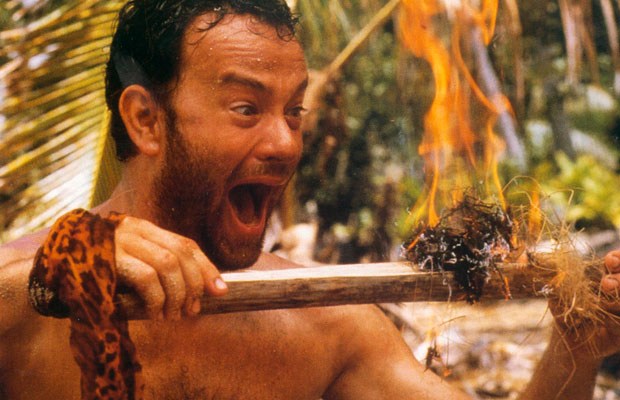

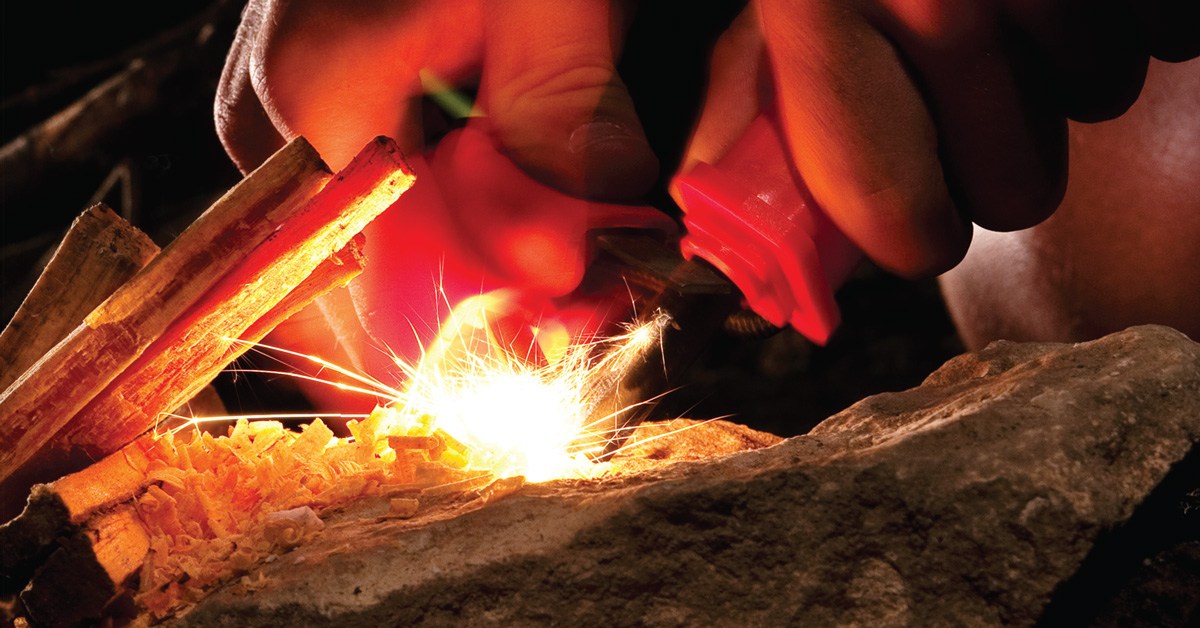 The ferrocerium rod is at the heart of most bushmen’s and survivalist’s fire starting kit.
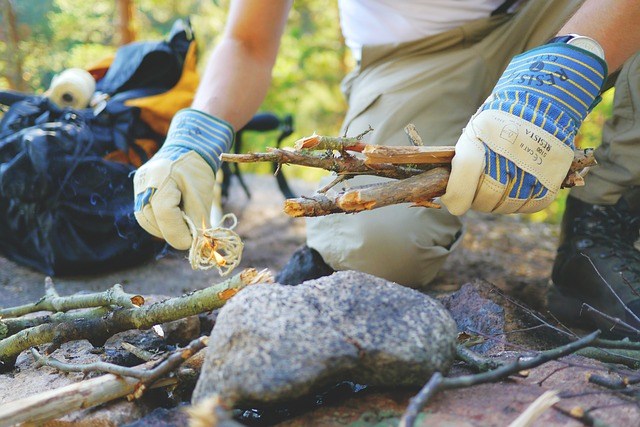 Creating a fire takes some finesse with the right elements of tinder, ignition and fuel.
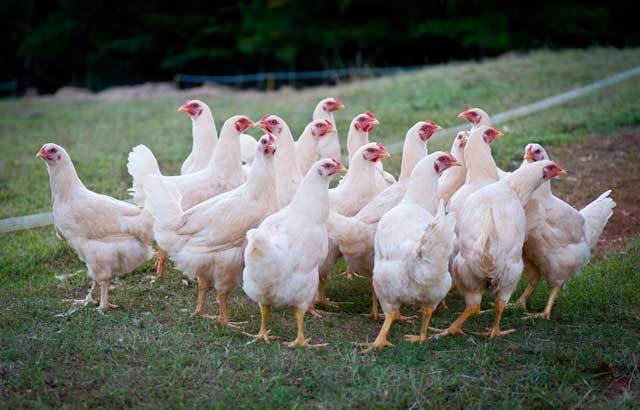


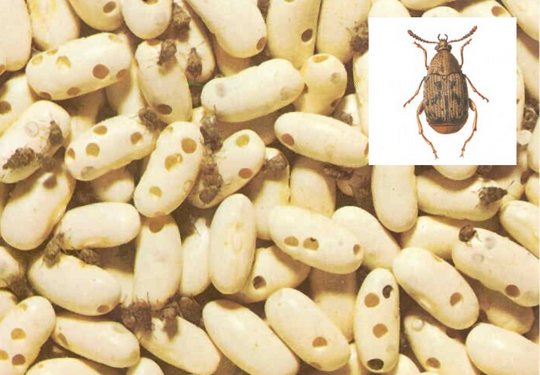
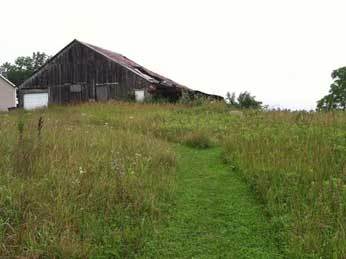 An abandoned farm in our neighborhood
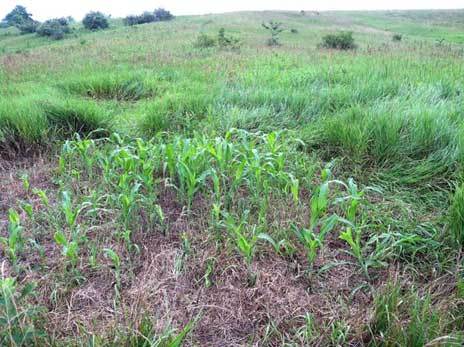 Deer like to snack on corn and beans in bed (rear left).
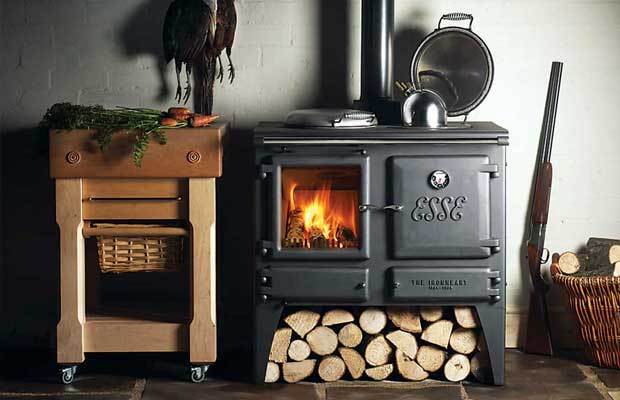
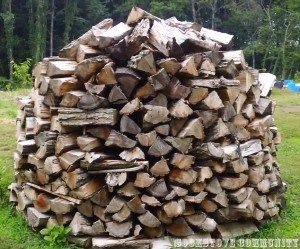 If you’ve got the time and energy, cutting your own firewood for the winter is one of the most rewarding aspects of living in a cold climate, both mentally and economically. There’s something to be said for the satisfaction of surviving the winter on your own terms: Gas, propane, electric they all require middle-men in some way or another. With wood heat, you have the option of gathering your own fuel and maintaining sole responsibility for how it’s burned and why, all at a cost that is far lower than that incurred by other heating methods.
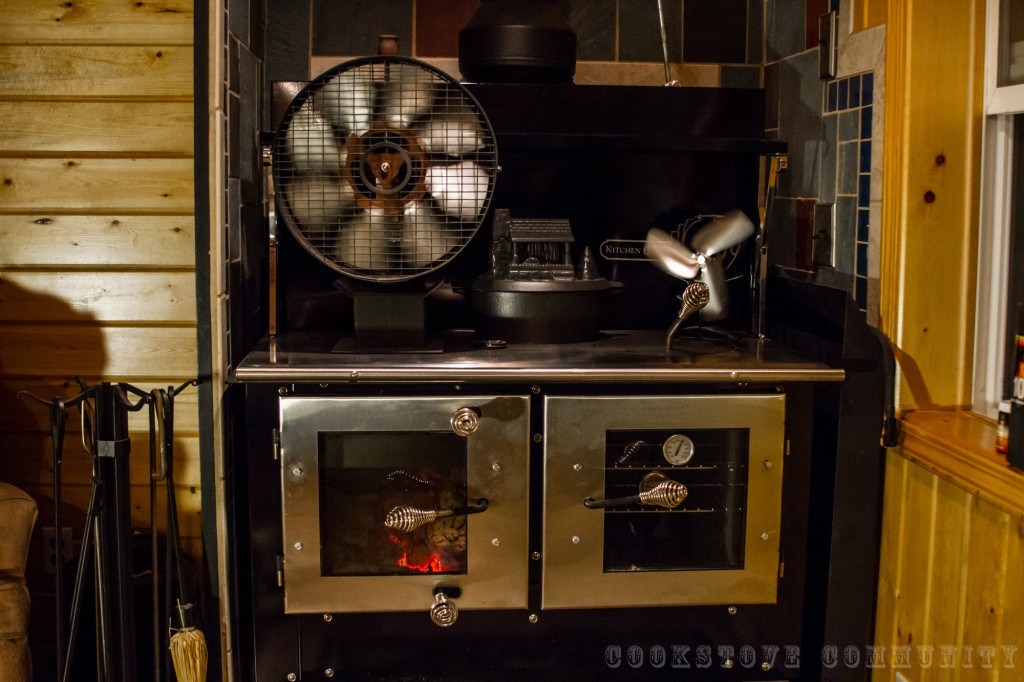
 The Esse Ironheart Cookstove.
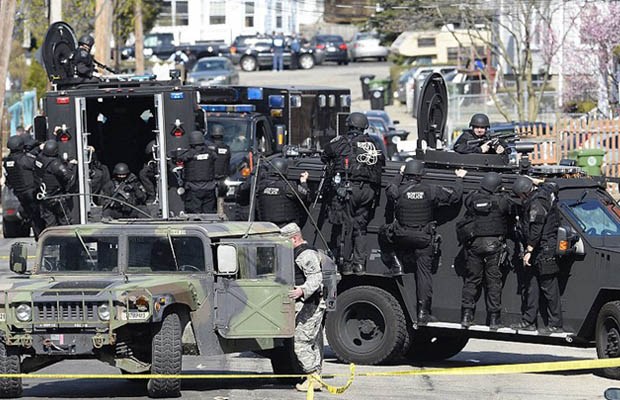
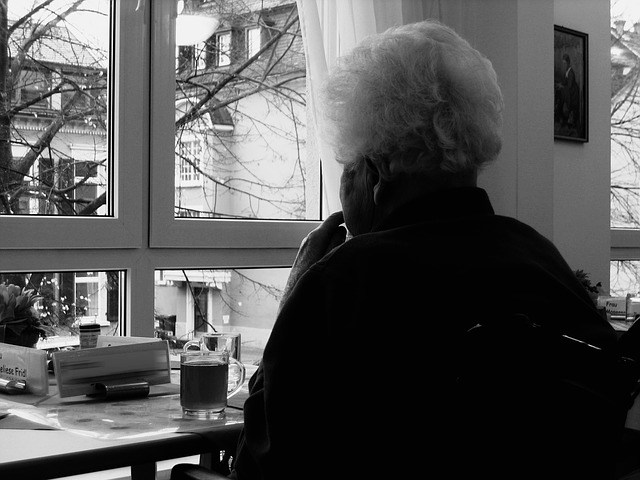
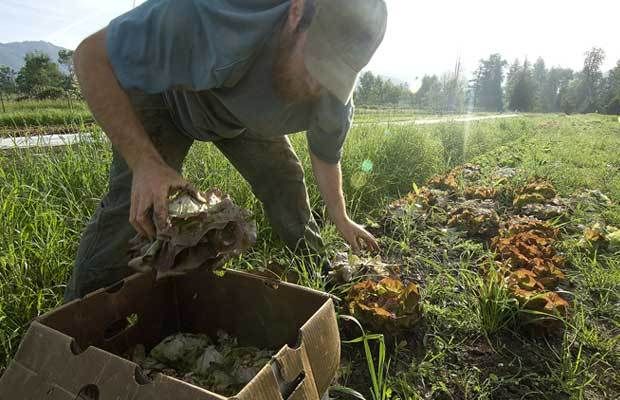
 You don’t want to have your health working against you in an emergency.


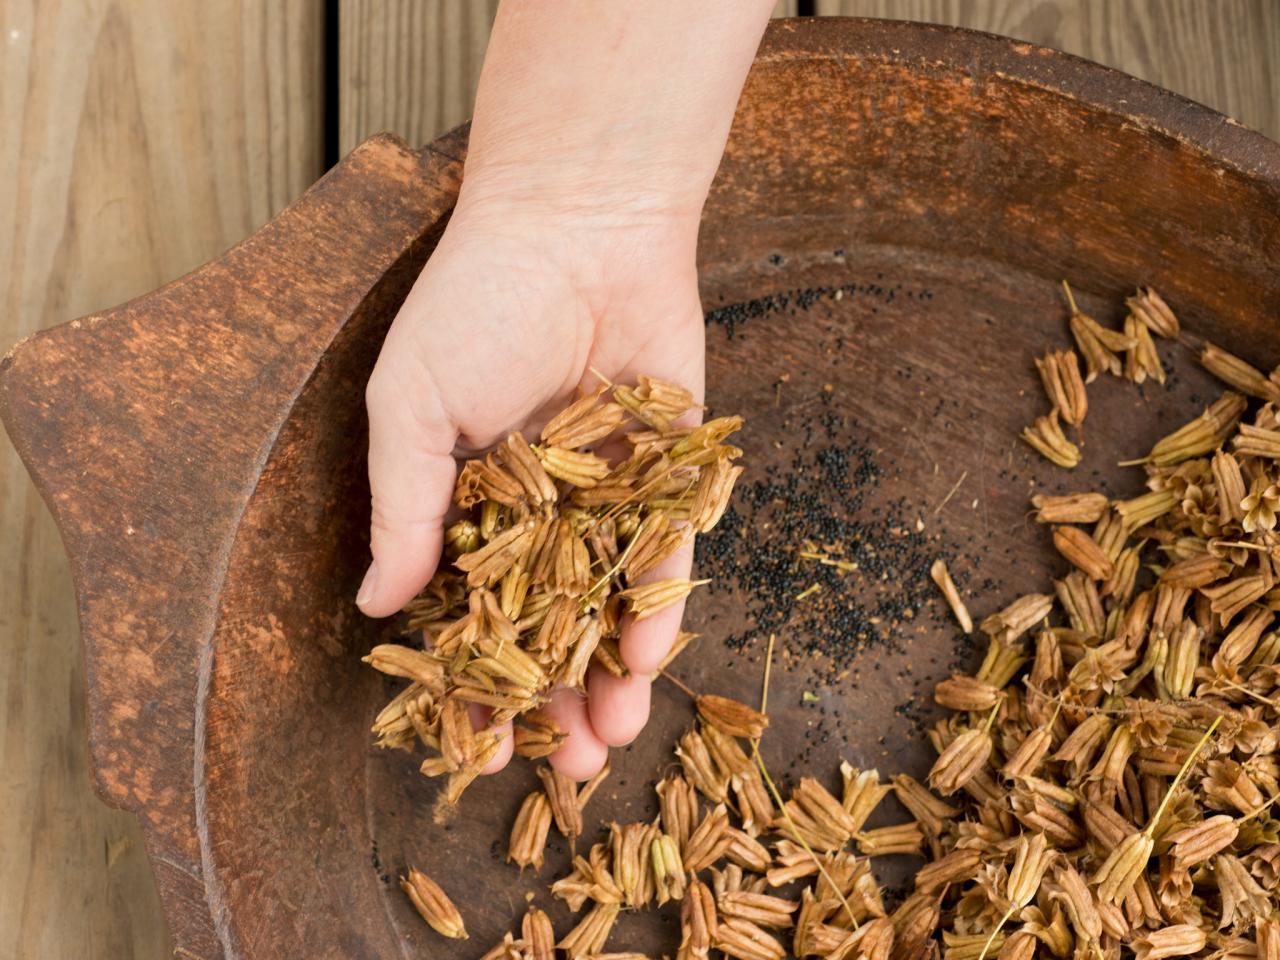
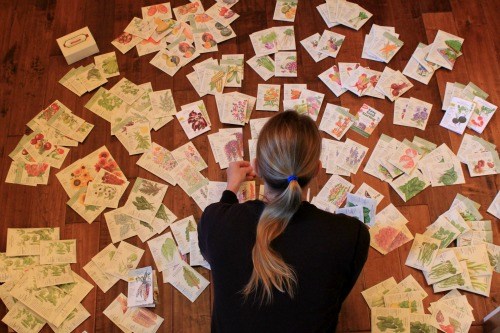
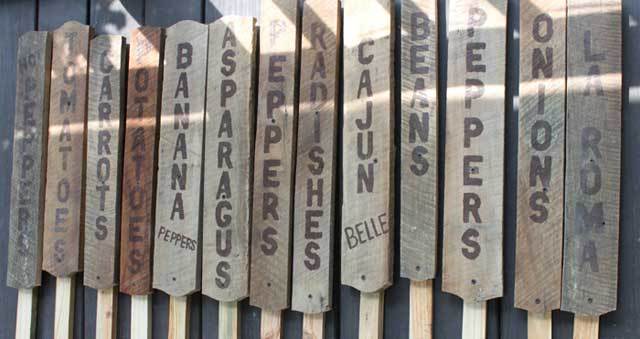
 Ideally, we also keep notes at least during key periods of the year. How many little green things popped up out of roughly how many seeds?
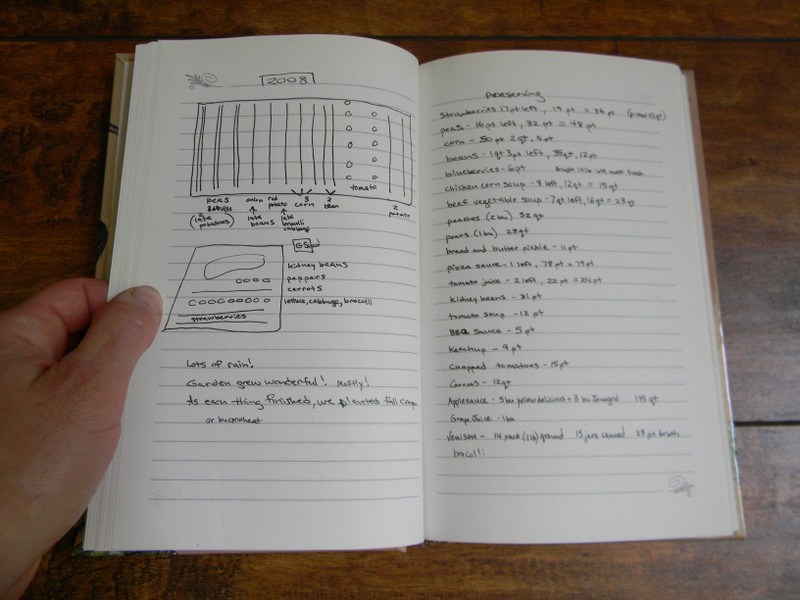
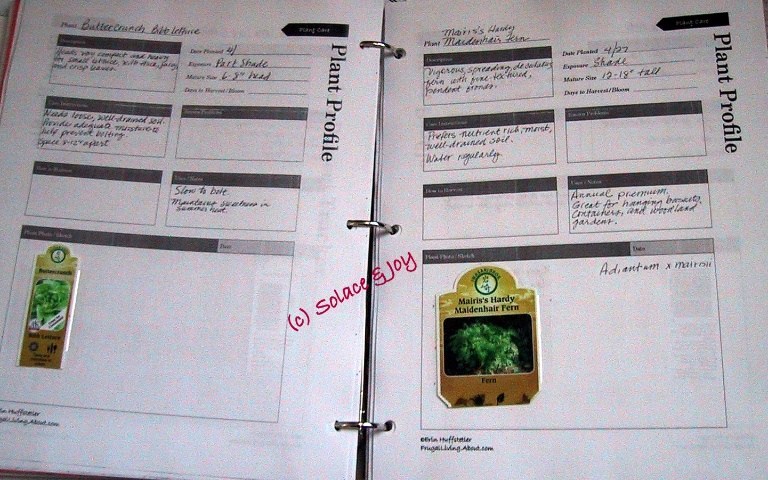 Ideally in a format that can be quickly and easily accessed during planning and evaluation phases before and after each year’s crop seasons.
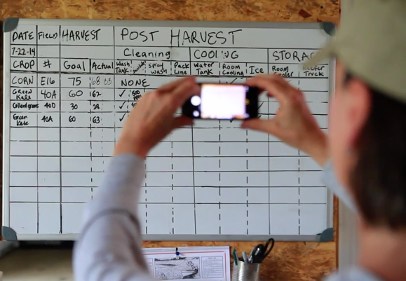 I find it easiest to stick a $2 Ollie’s dry erase board and a map pen by my kitchen door.