Survival Gear: Setting Your Group Standard
Everyone likes to think they are unique and many people even go to great lengths to show the world just how special and creative they are. You have seen these types of people, maybe you are one yourself. Those who have tattoos all up one side and down the other (no judgement), who have multiple piercings and giant gauges in their ever expanding earlobes. They wear all manner of fashion that seems to be designed purely for shock value and their hair is carefully combed into their eyes.
Now before I get anyone upset, I am not advocating anyone dress any differently. I am a firm believer in the philosophy of if you want to let your freak flag fly, go right ahead. You aren’t bothering me at all. Except maybe the hair thing on guys today… I just want to cut that mop out of your eyes because it would drive me insane…And stop with the hair products maybe…
Seriously, I love variety and if you feel that you are expressing yourself, go right ahead. More power to you! However, in a survival situation there are times when being the only round peg in a room full of squares could be a disadvantage so today I want to talk about conforming.
The importance of the group standard to preppers
Now when I mention conforming, I am not talking about conforming to my version of society, your morals or style of dress or personal hygiene habits. I am talking about the decisions you will make regarding the survival gear and equipment that your larger mutual assistance group is going to use. It is important to formalize a group standard on several major pieces of gear if you want to function cohesively as a unit.
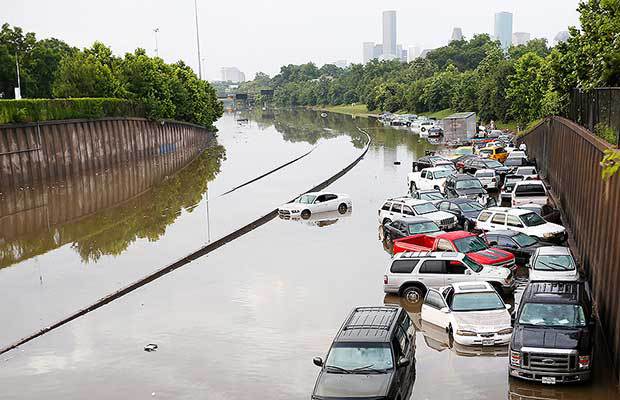
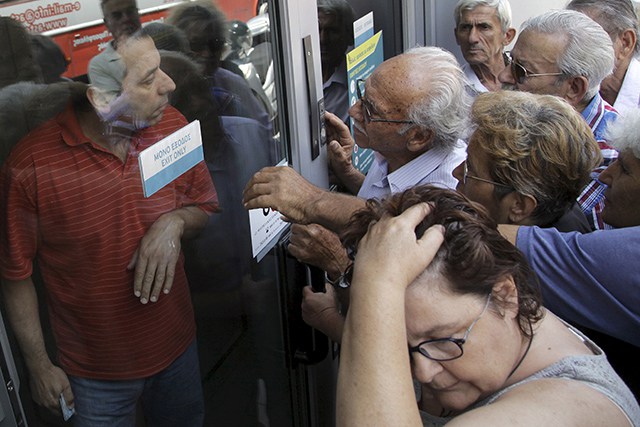
If each person is unique, their own purple flower with magenta ombre highlights, and does their own thing – you aren’t a group at all. You are just a bunch of individuals hanging around together and believe it or not, that could be a drawback. Let’s imagine a SHTF scenario for example. It’s bad, really bad and you are huddled together with your survival group, trying to get by and taking each challenge as it comes.
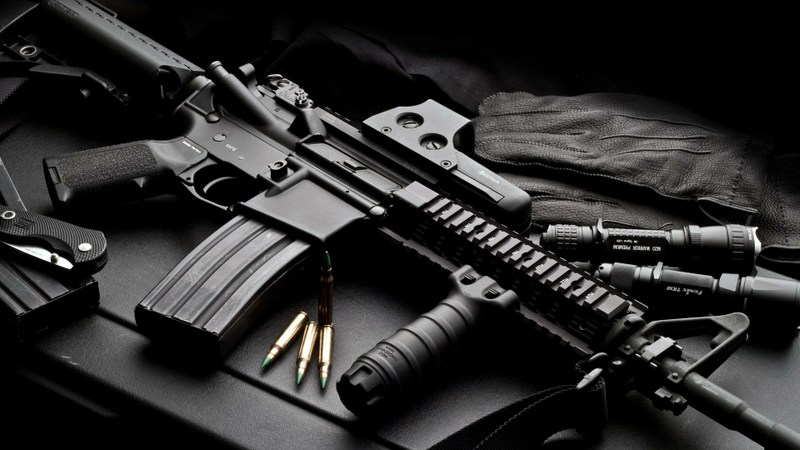
Choosing standard firearms
One of our posts that has had the most discussion back and forth has been The AK-47 vs AR-15: Which Rifle is Better? I wrote this back in March of 2014 but debates about the best firearm in a SHTF scenario have probably been raging since men were carrying around flintlock pistols. We are unlikely to find consensus as a whole prepper or survivalist movement, but your own survival group needs to come up with one choice and stick with it.
Why can’t I have my AR15 and Bob have his FN SCAR? Why can’t Julie carry her KRISS Vector while Mary rocks the tried and true AK-47?
I can give you a lot of reasons:
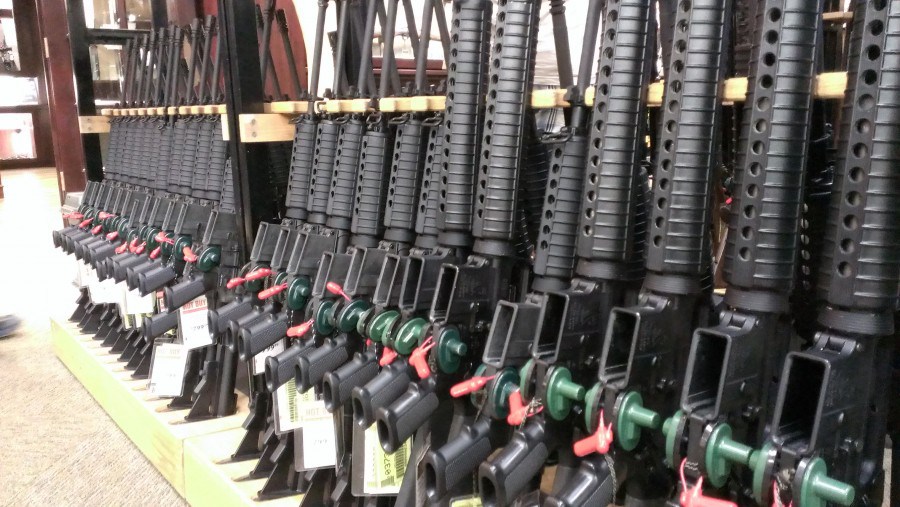
Standard firearms behave the same way. One you learn the mechanics of your AR15, every other AR15 behaves the same way
Magazines: Each of your battle rifles should use the same magazines so that if needed, you can grab a spare one from your buddy, lock and load and keep going. You never want to find out that you are under attack and nobody around you has the same magazine, or that two people do, but they aren’t with you at the moment. Try telling your buddy to just hold them off-while you reload a few more magazines.
Spare Parts and Accessories: Let’s say someone has a rifle that has a part malfunction that renders that rifle inoperative. You could either let that sit on the shelf or you can use the spare parts to fix other rifles that may need it. Yes, you should always have spares but it’s far less trouble to buy three of one thing as opposed to one different part three times. You won’t have to learn how to pull apart three different weapons either although knowing how would be a good skill.
You can also look at accessories the same way. I have at least 3 different sets of scope rings I got for 3 different scopes. If I were to have the same scope as my buddy and mine went bad, if needed, I could simply swap his out with mine. The alternative of strapping that nice Vortex Strike Eagle down with duct tape isn’t a good option.
Operation and features: Standard firearms behave the same way. One you learn the mechanics of your AR15, every other AR15 behaves the same way. Learn how to disassemble one, you know how to disassemble all of them. Have a misfire? You know how to quickly clear one AR…I think you get the point.
Reliability: I will also add this minor factor in there. Assuming you buy comparable quality firearms, the make of your rifle and the reliability will be comparable to the other rifles so your lifespans should work out close to the same period of time assuming proper care and maintenance. I know I had an M-16 from the 70’s when I was in the Army and it worked just fine. I did get some new hand-grips though.
Choosing standard calibers
This one should be in the same category but I wanted to break it out because we could be talking about Shotguns, Rifles and Pistols above with your standard firearms. Your ammo should be the same for all firearms as well. So if you have standardized on Glock for example for your pistol, everyone should have the same caliber. This can be .45 or .40 or .357 or .9mm but everyone should carry the same ammo. Same point as above for magazines. When you run out, someone else’s magazine and the ammo naturally will slide right back into your pistol. Which pistol caliber is the best? That is a different argument and a completely different post.
Choosing standard camouflage
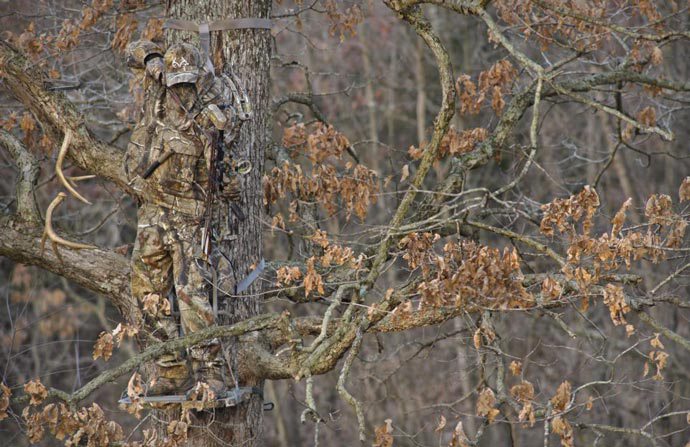
Uh, yep! I think camouflage is very necessary in a survival situation.
Is camouflage necessary? It really depends on what you envision as being possible in your survival group. Do you see this as the end of the world as we know it? Do you imagine hostile refugees coming down your street to demand food or the use of your women? Do you expect to be fighting traitorous UN forces who are marching across town? Do you think you will need to hide? Do you think you will need to hunt?
Having the same outfit can prevent someone from easily sneaking into your perimeter unnoticed. Granted, they could be wearing the same old Woodland Camo fatigues I wore in service and if that is what I chose for my group I would be in trouble. There is a case to be made for selecting something a little more novel like German, Australian or British camo. I prefer the easy options available at any hunting store in the US made by RealTree. They match your local foliage and if you are caught in them, you can easily say you were hunting. No need to look like a paramilitary type and gain unwanted attention if you don’t have to.
Choosing standard communication equipment
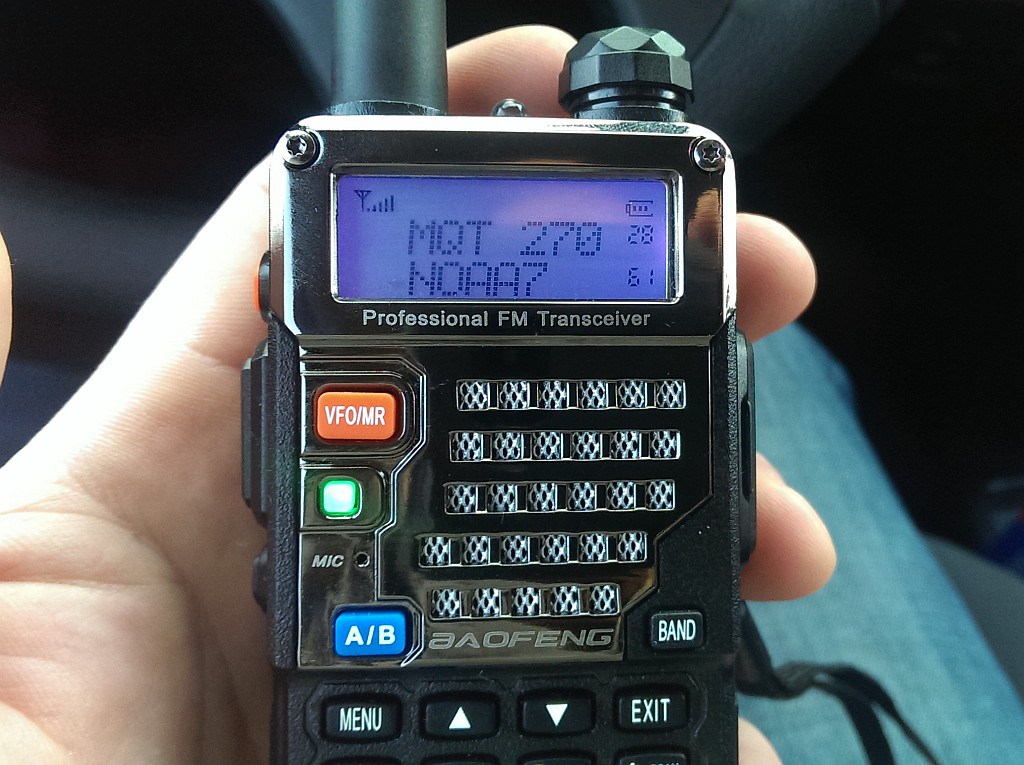
Baofeng makes a great, affordable radio for preppers.
I am referring to shortwave radios here. Radio frequencies are the same no matter what equipment you have so why do we have to purchase the same radios? I will give you two reasons. The first is batteries and the second is operation. I have yet to see two HAM radios that were programmed the same way. I know there is software that can make this easier, but to my mind if everyone has the same radio, everyone will know how to use it the same way. Less problems, fewer mistakes. You can choose from a lot of manufacturers and spend a little or a lot of money, but radios should also be the same for your group. My personal choice is Baofeng’s BF F8HP model.
Conclusion
There you have a few of my reasons and rationale for setting a group standard and in these instances at least, not trying to be a purple unicorn with sparkles. I am sure there are those out there who have different opinions so let’s hear them!
Everyone likes to think they are unique and many people even go to great lengths to show the world just how special and creative they are. You have seen these


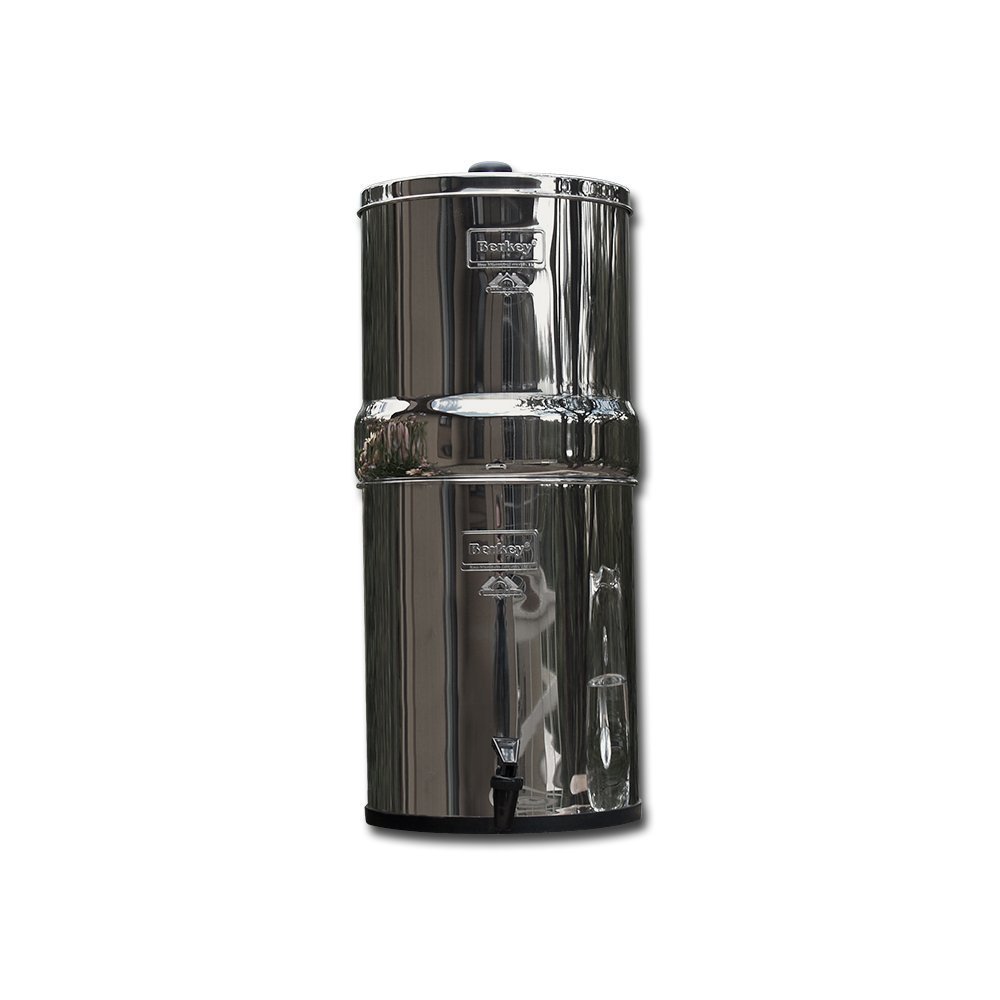 Berkey BK4X2-BB Big Berkey Drinking Water Filtration System with 4 Filters – 2 Black Filters and 2 Fluoride Filters
 Okay, a lot of people don’t have a 12.5 gallon container lying around, so let’s break it down. To make two gallons of the bleach, one heaping teaspoon of the calcium hypochlorite goes into 2 gallons of water. To make drinkable water, 1/8 (about 8 drops) tablespoons of the bleach goes into 1 gallon of water. Let stand covered 30 minutes, aerate to taste.