
“There’s almost nothing you can’t can!”, answered the dashing and well-prepped prepper from behind the screen. Since yours truly has been up to no good recently, I thought I would entertain you once more with yet another ‘masterpiece’ on food-preserving methods.
Why the title? Well, as you know, there are some things which go along marvellously with the canning process and some things that do not. Or so they’ve told me. Anyway, quite recently I learned that with a little bit of patience and thorough research, anything kind of prepping food could be, well, canned.
This time, I’ve set upon doing a really wild experiment – attempting to can cheese. Yes, you’re probably asking yourself right now why would I bother doing that when I can probably find the same product in the supermarket at a super-low price?
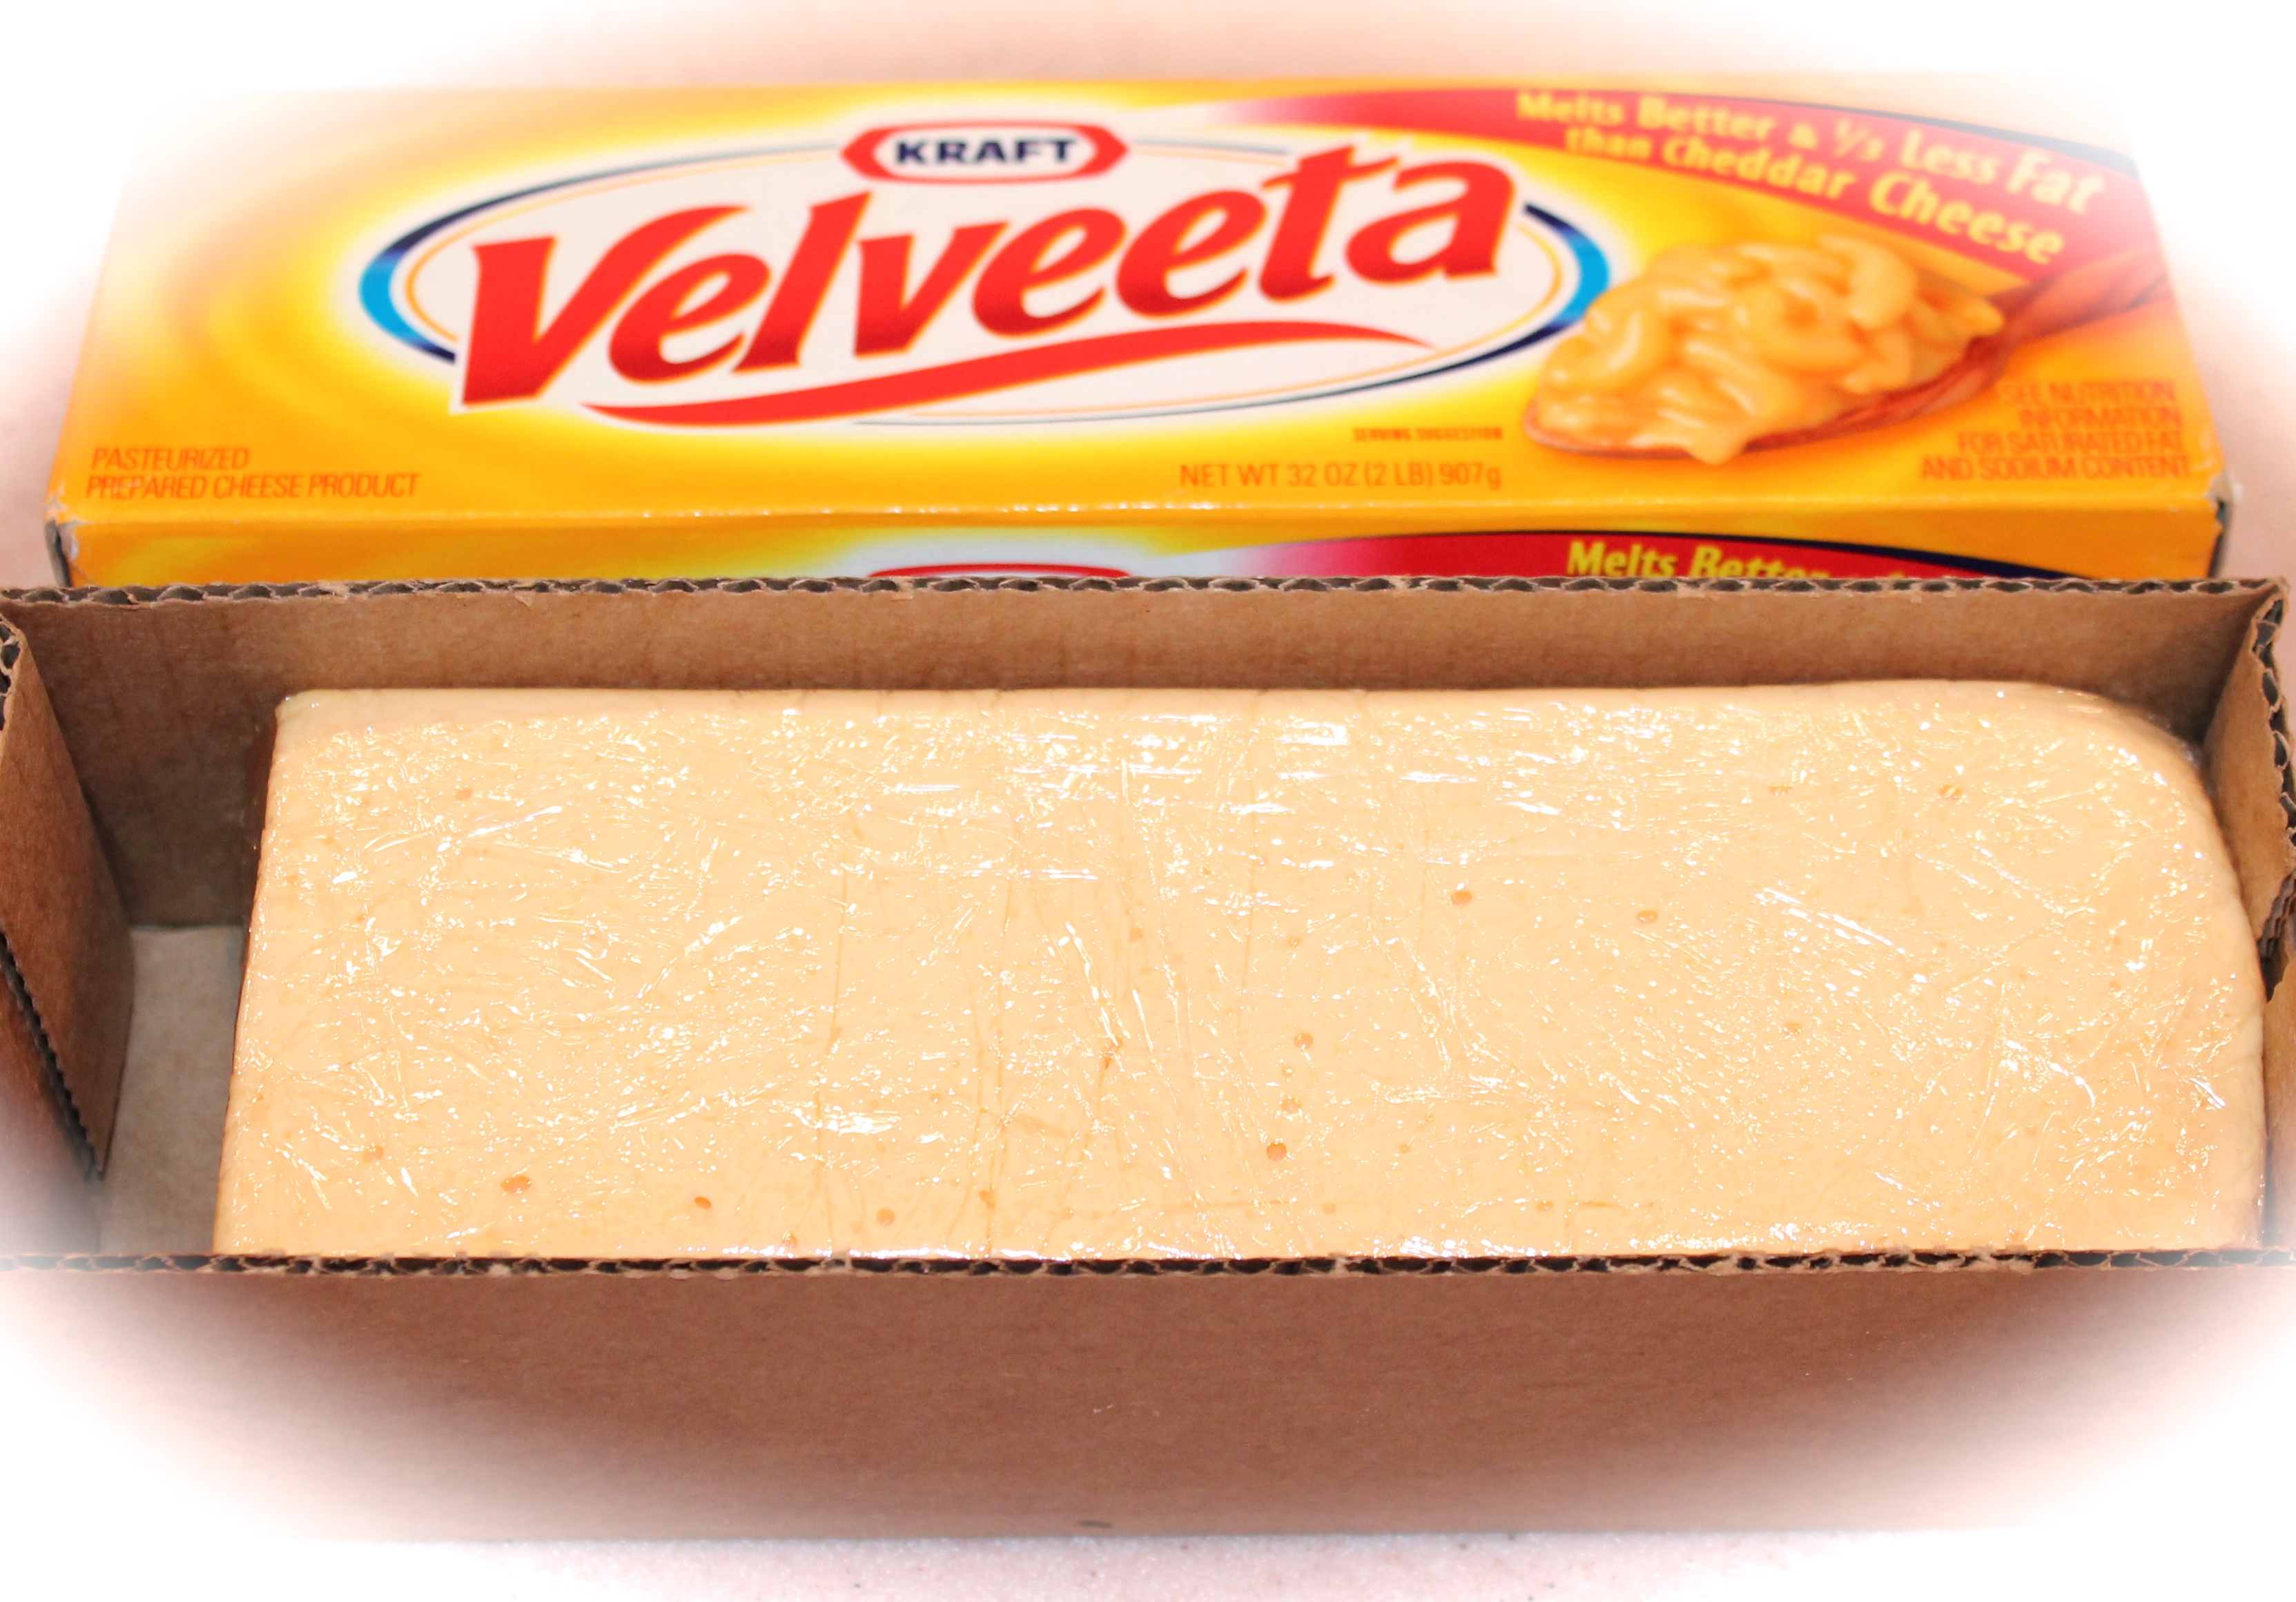
Because I can do without spending extra money on something I can do in the comfort of my own home. More than that, Velveeta cheese, aka the guinea pig of my first attempt at canning cheese, is an all-time favorite for both myself and my family.
Although I always make sure that there’s at least one unopened pack inside the fridge, I can’t keep up the pace with the rest of the family. What I like about Velveeta is its silky and smooth texture which reminds me of Cheddar. Actually, it’s sort of a cross-over between Cheddar and mozzarella – goes along great with pasta dishes, but can also be eaten plain, with some nuts and grapes on the side.
Anywho, for my first attempt at canning cheese, I’ve used a 16 oz block I got from my corner store. My aim was not only to prologue its shelf life but also to add even more variety to the pantry of emergency foods. And so, after a little bit of experimental kitchen time, I came up with this easy cheese-canning method. I can’t say for sure, but I think you can replace Velveeta with mozzarella or another soft cheese. So, here’s what you’ll need to do in order to get canned Velveeta.
Ingredients
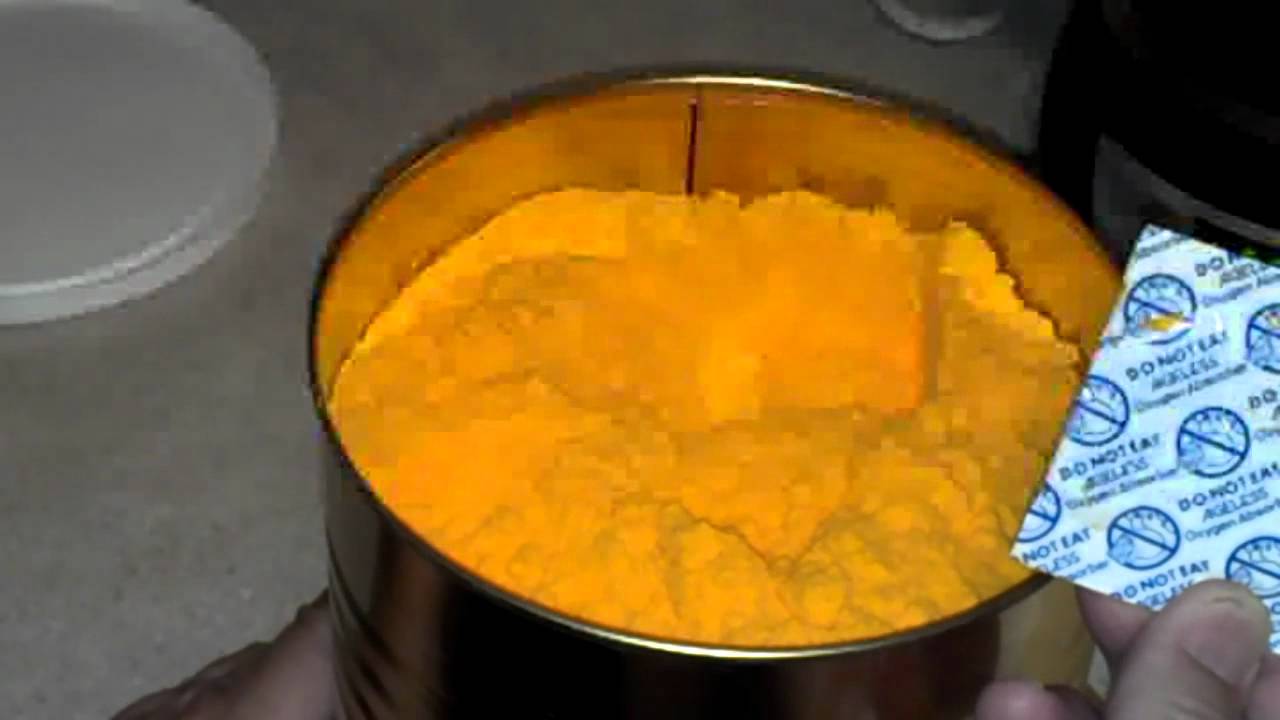
- One block of Velveeta or a similar soft cheese (aim for family packs).
- Pressure canner.
- Old-school grater or electric food processor.
- Canning jars.
Have you done gathering all the necessary gear and ingredients? Neat! Let’s make some canned cheese then. FIY, although in the US the closest thing we have to canned is string cheese, in other corners of the globe, canned cheese is very common (think about Feta or cottage cheese). Anyway, here’s how you turn a block of regular Velveeta into a canned delight.
Step 1. Get all your ingredients together and put some water in the pressure canner. Don’t forget to set your electric canner to 10 PSI for the best results.
Step 2. Take a soft cheese knife and cut the block into manageable pieces.
Step 3. Carefully grate each piece. Don’t apply to much pressure, though. Remember that you’re working with Velveeta which can become mushy if you squeeze it too hard. On the other hand, if you choose mozzarella over Velveeta, you can skip the grating part and sort of make thin stripes with a fork or something.
Step 4. Prepare your canning jars. While making the recipe, I’ve learned that warming up the jars a bit goes a long way instead of waiting for them to cool down as you normally do when canning various other stuff. So, after washing the jar with liquid soap and water or boiling them, while they’re still warm, place them inside your pressure canner.
Step 5. Grab the bowl or plate of shredded cheese and fill each jar. Don’t forget to leave a small space between the jar and the lid (at least 2 inches). As the cheese melts, it will leave behind a tiny amount of oil.
Step 6. After filling each jar with cheese, place the lids, and tighten them gently. As always, don’t apply too much force because the canner will do that on your behalf. A word of caution before putting on the lids – make sure the jars’ mouths are clean and that there’s no extra moisture. To make sure the lids create an airtight seal, I would recommend submerging them in hot water before putting them on the canning jars.
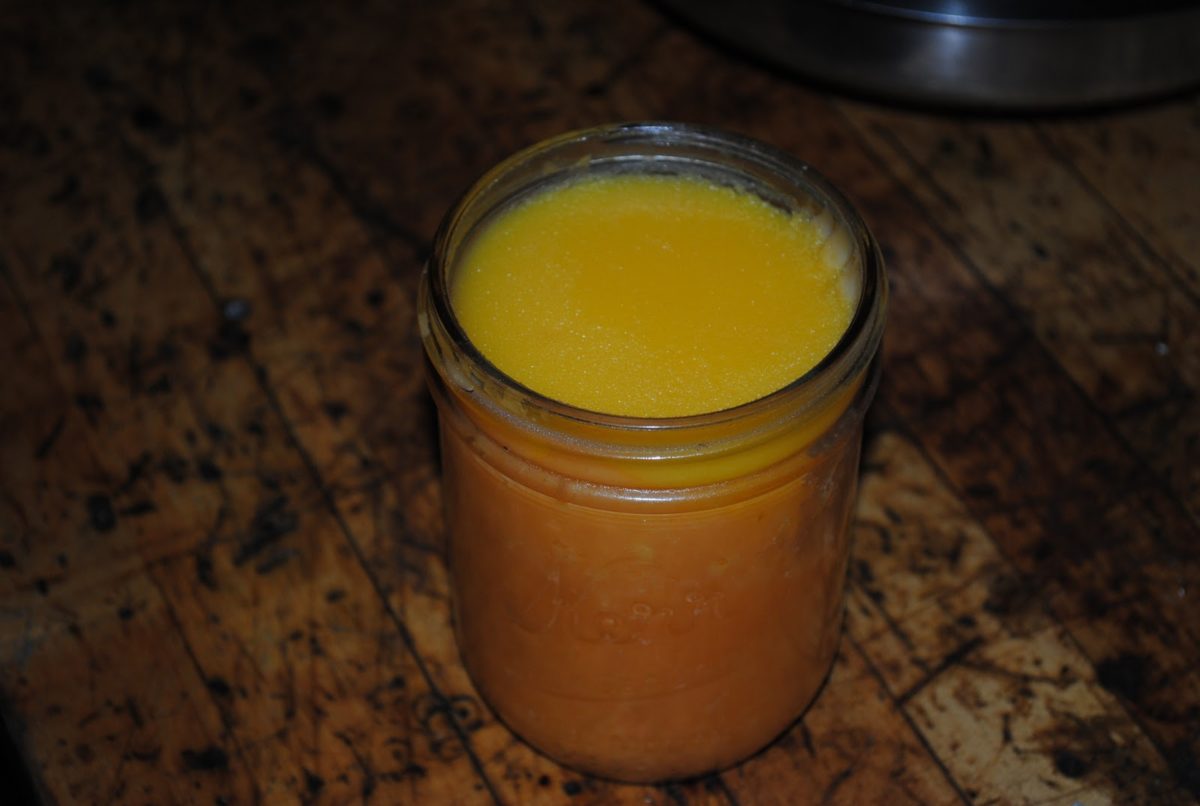
Step 7. Bring the water inside the canner to a boil and cover. Leave the jars to simmer for about 40 to 45 minutes. Remove the jars from the canning machine and allow them to cool on their own. A solid piece of advice would be not to force-cool the jars. You’ll end up smashing them. The spread’s ready to be eaten right after the jars feel cool to the touch.
That’s basically it! Now, this recipe will get you about four or five regular canning jars of chunky Velveeta. If you like a smoother spread, try boiling the cheese beforehand. Take a big pot and toss the cheese inside. Use a spoon to stir the mixture.
When the cheese has melted, and one tablespoon of apple cider vinegar. Continue to stir. After the mix begins to thicken, kill the flame, and place the pot aside for five minutes. Don’t allow the melted cheese to cool down completely, as you will not be able to can it. Repeat the process above in order to can this batch of cheese.
Well, I hope this answers your question on the fine and very subtle art of canning. Yes, we can, and yes, we will do it, because our household emergency stashes will thank up from the bottom of their heart. Hope you’ve enjoyed my piece on canned cheese and do hope that you will try to prepare at least one batch. Let me know in the comment section how this experiment turned out for you.