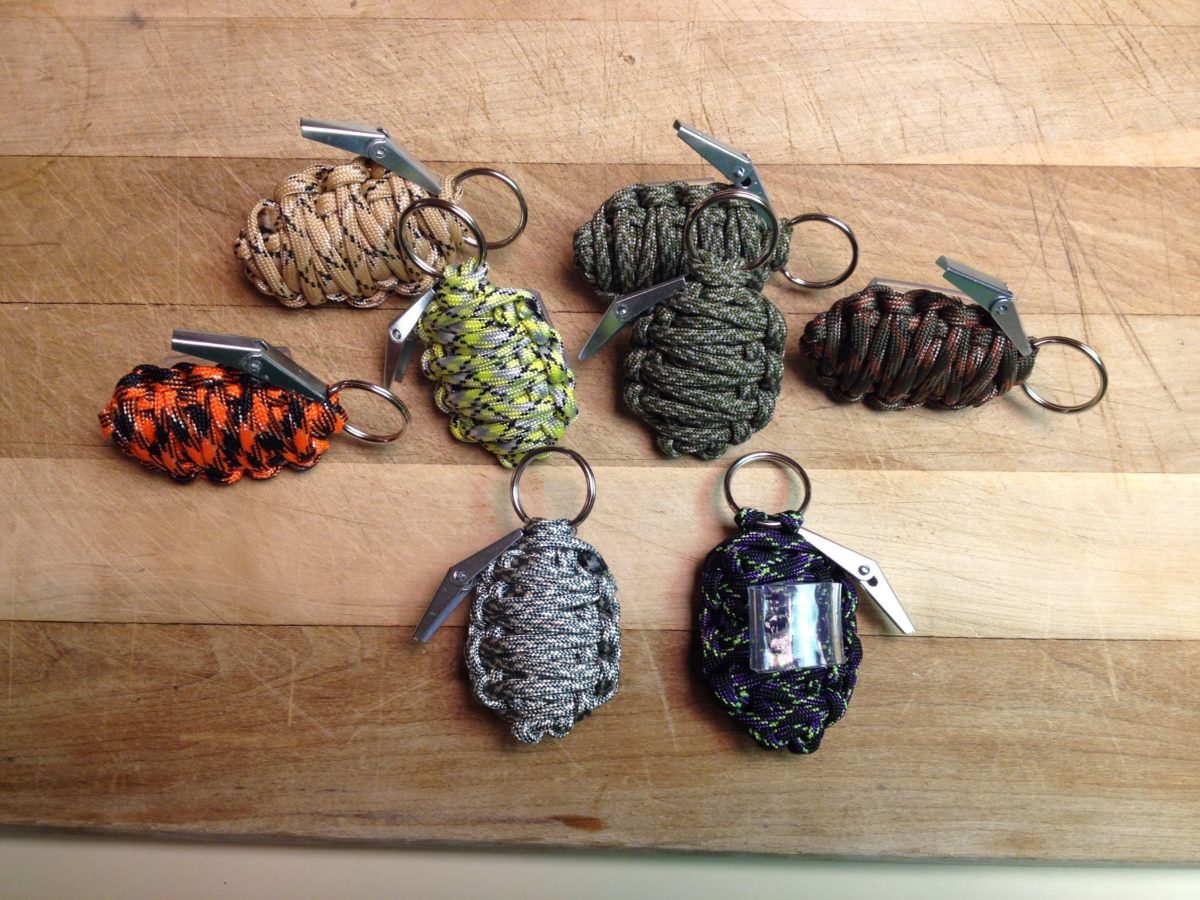

You can wipe that smile off your face because I ain’t going to teach you how to make a real grenade. Apart from the fact that they’re illegal, which means that I will be up to my eyeballs in SWAT the minute I hit the “publish” button, it’s not the topic of today’s article. Remember that scene from Rambo, when John unscrewed the cap of his knife to take out a piece of cloths? Well, that’s exactly what a paracord grenade is – a very small container that comes will all the items you will need to get out of shit hits the fan situation.
So, why is called a paracord grenade if it doesn’t explode? Well, maybe because it’s shaped like a grenade and because having one tied to your belt makes you a bad MF.
Anywho, in my opinion, every prepper should have at least one of these neat accessories. Yes, I am well aware of the fact that your bug out bag has everything you will never need, but you never know what could happen – maybe you’ll lose it, forget to take it or perhaps you may be compelled to abandon it in order to run faster. So, without further ado, here’s how to make your first paracord grenade.
Materials required
For this project, you will need the following items:
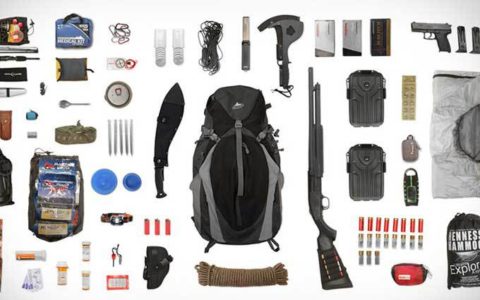
- Survival items of choice. I packed an emergency blanket, a signal mirror, a magnesium rod, two pieces of paper, a small pencil, six Band-Aids, some fishing line, and a small fishing hook.
- 550 paracords. For this project, I used black and red 550 paracords.
- Rubber bands.
- Scissors
- Paracord fid (they look like regular knitting needles, but they’re used for paracords).
- Mini carabiner.
- Aluminum foil.
All done gathering your supplies? Good! Here’s how to make your paracord grenade.
Step-by-step paracord grenade
Step 1. Place some aluminum foil on your work table. Use a knife or a pair of scissors to cut the excess foil.
Step 2. Place your survival items in the center of the tin foil.
Step 3. Fold edges as to create a grenade-shaped package.
Step 4. Tie the black and red paracords to the small carabiner. To ensure that both paracords will be wrapped tightly around the package, use a Larks Head Knot for both of them. If you don’t know how to make this type of knot, check out the video below.
Step 5. Place the carabiner on top of your package. Right now, the red paracord should go on the left of your package, while the black one should run along the right edge of your package.
Step 6. Secure paracords to package by applying two rubber bands right below the mini carabiner.
Step 7. Tie the red and black paracords ends at the bottom of your package. For this, you will need to use a square knot. If you don’t have any clue on how to do that, check out the video below.
Step 8. It’s now time to make the first knot. Now, take the paracord piece on the left side and make an S shape right below the package.
Step 9. Grab the end of the left paracord and get it through the loop that’s on the left side.
Step 10. Now pull until there’s no more slack. Leave the loop on your right side for the time being.
Step 11. To close the loop on your left side, you will need to grab and pull the upper part of the loop that on your right side.
Step 12. Now you can pull the upper part of your right loop to close the left one.
Step 13. To cover the rest of the package’s surface with black paracord, make several Solomon knots. If you don’t know how to do them, watch the video below.
Step 14. Once the entire surface is covered, start the second pass using your red paracord. Follow the steps above to add another layer of paracord. When you’re done, use a square knot to secure the red paracord to the mini carabiner.
Step 15. Attach the paracord grenade to your belt or bug out bag, and you’re done.
Additional considerations on the paracord grenade
Keep in mind that the paracord grenade can be used only once – just like a regular grenade. If you run into trouble, undo the knots, take out the items inside, and save the paracords for later use. I wouldn’t recommend attempting to make a paracord grenade in the field because it’s a time-consuming process.
Now, if the above-mentioned steps seem too difficult, you can use one type of paracord instead of two. The process is the same: start with a square knot at the base of the mini carabiner, Solomon knots all around, and finish up with another square one.
As far as the contents of the paracord grenade are concerned, you’re free to add or remove items. When I first did this project, I used the same items as John Rambo. One thing I forgot to add was a firestarter. Of course, the magnesium rod is important, but you can also try to add things like a bit of char cloth wrapped around in plastic or even a wad of steel wool. Think of it this way: the paracord grenade mirrors the prepper’s personality. Your bug out bag contains all items needed in the field, but this small container should pack only those items you can do without.
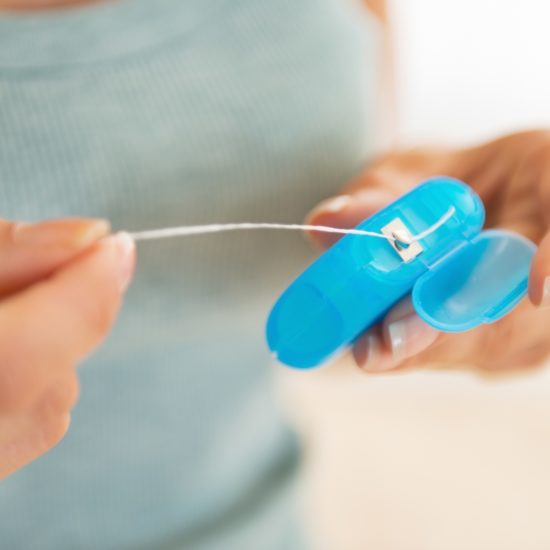
Another thing to keep in mind is to add some sort of protection for sharp or pointy items. For instance, if you want to pack a pocket knife or fishing hooks, wrap them in some tissue paper or cloth before putting them inside the package. If you want to weatherproof your package, place your items inside some plastic wrap first before packing them in aluminum foil. You may also want to add some dental floss in case the paracord is too big.
That’s basically it on how to create a paracord grenade. What’s your take on my little DIY? Hit the comments section and let me know.