HomePosts Tagged "how to make"

You know that S really HTF and broke it when you have no other choice than to drink water out of muddy puddle you found on the side of the road. Perhaps a call-to-action to some but, to most of us is what makes survival gritty. Fortunately for us, there’s plenty of ways to make that unpalatable water safer to drink, and not all of them rely on water purification tablets or sterilization bottles.

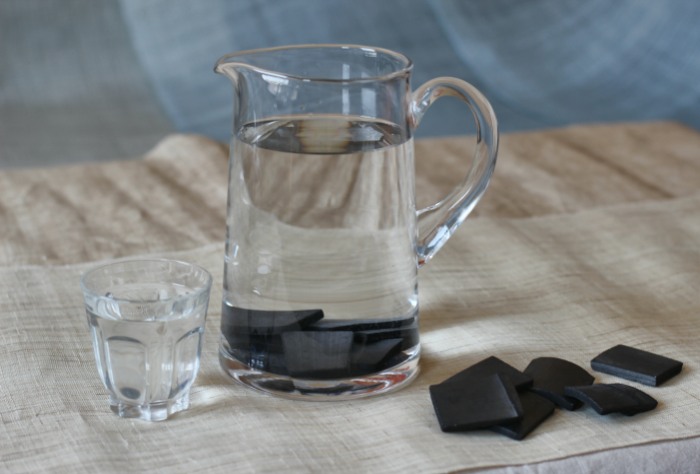
In an SHTF situation, it’s possible to filter water by using charcoal and nothing else. Yes, I know that the charcoal and water really don’t mix, but truth be told, this is the second-best water purification method after boiling. What I like about this little experiment is that it really brings out that cavemanish side of us which we desperately try to suppress and hide.

So, if you’re stuck out there in the wild, with no water-filtration sippy cup, no purification tablets, and not sources of water other than puddles and stinky ponds, here’s what you will need to do in order to whip up a charcoal-based sterilization system.

Word of warning before we start – through the time-honored method is great at getting rid of most bacteria and dirt, I would advise you to start looking for another water source. Works like a charm for a day or two, but wouldn’t bet my kidneys on it for anything longer than that.

Materials needed

  • Empty plastic bottled (I’ve tried it on an old Coca-Cola bottle).
  • Canteen.
  • Survival knife.
  • A handful of pebbles.
  • A handful of sand.
  • Charcoal
  • Water carrier (cup, mug or anything to store the purified water).
  • A clean piece of cloth or a bandage.

Making a charcoal-based water purification filter

Step 1. Gather all your materials. You can use a piece of charcoal from your campfire. Still, seeing that some necks of the woods are filled with tourist, there’s a slight chance of stumbling upon an extinguished fire pit, thus sparing you the trouble of starting a fire.

Step 2. Use your survival knife to cut the bottom of your plastic bottle. Don’t discard the keep.

Step 3. With the cap still on, put a couple of pebbles inside the bottle.

Step 4. Use the pommel of your knife to stuff the peddles.

Step 5. Add a layer of sand. Again, use the back end of your knife to make sure everything’s neat and tidy.

Step 6. Add the piece of cloth or bandage and arrange it.

Step 7. Toss in your charcoal. You may have to smash it in order to fit inside the bottle.

Step 8. Add another piece of cloth or bandage.

Step 9. Add more sand.

Step 10. Put some pebbles on top, and you’re all set to go.

More on the makeshift water filtration system

See how simple that was? Congrats on your first charcoal-based water filtration system. However, there’s one more thing you’ll need to do – test it. Do bear in mind that although the system’s great at removing most of the dirt, slime, and bacteria from the water, it won’t get rid of everything. So, in order to test your charcoal filter, fill your canteen with water from a puddle or other water source. Be careful to avoid picking up too much dirt or other things floating in the water.


Put an empty water carrier underneath your water purification system and begin pouring water from the canteen. Don’t fret or pout if the water inside the carrier is still dirty. It takes about three or four attempts to get clear water. Just keep trying. The results will certainly speak for themselves – not like you got any other choice.

Design-wise, it’s very important not to forget about the cloth pieces. Apart from charcoal, they also play a key role in the whole water purification system. What happens if you add a single layer or forget about them? You end up with charcoal-black water, and that’s a major turn off.

Careful when choosing the pebbles and sand. If possible, remove as much of the dirt and dust from them before sticking them inside your bottle. As far as the sand part is concerned, if you cannot find any, you can also replace the sand layers with more cloth and pebbles.

For the best possible results, I would 2-liter plastic bottles. You should also consider attaching some sort of handle near the open end to make the filtration device easier to hold. If you want to add an extra layer of filtration, cut a small hole in the plastic cap and fill the inside with a thin piece of bandage or cloth. You may have to wait a while longer for all the water to drain in the carrier, but at least it’s a bit cleaner.

Again, this water filtration method is designed for short-term use, not for the long-run. If you’re still lost, try to look around for other water sources. For instance, some tree holes contain a fair amount of water, but you’ll need to whip up some sort of siphoning system (that’s why I included a small tube in my B.O.B). You can always crush the stems of fleshy plants for extra water.

One more thing – choosing the right pieces of charcoal. Sure, all charcoal is the same, but for this to work, you will need to scavenge two intact pieces. You will end up with zilch and a lot of dirty water if you use crushed charcoal. Ideally, you should at least keep one or two pieces of charcoal inside your tinder box, but you can also make some by starting a fire.

That’s about it on how to make an efficient charcoal-based water filtration system. It’s a very basic rig, but it gets the job in a shit hits the fan situation. Do you think my design needs some improvement? If you feel like something’s missing, don’t be a stranger and hit the comment section. Would also like to hear your thoughts on other ways to purify water in the field.

See also the video below that shows you how the charcoal works in purifying the water:

Fortunately for us, there’s plenty of ways to make that unpalatable water safer to drink, and not all of them rely on water purification tablets or sterilisation bottles.

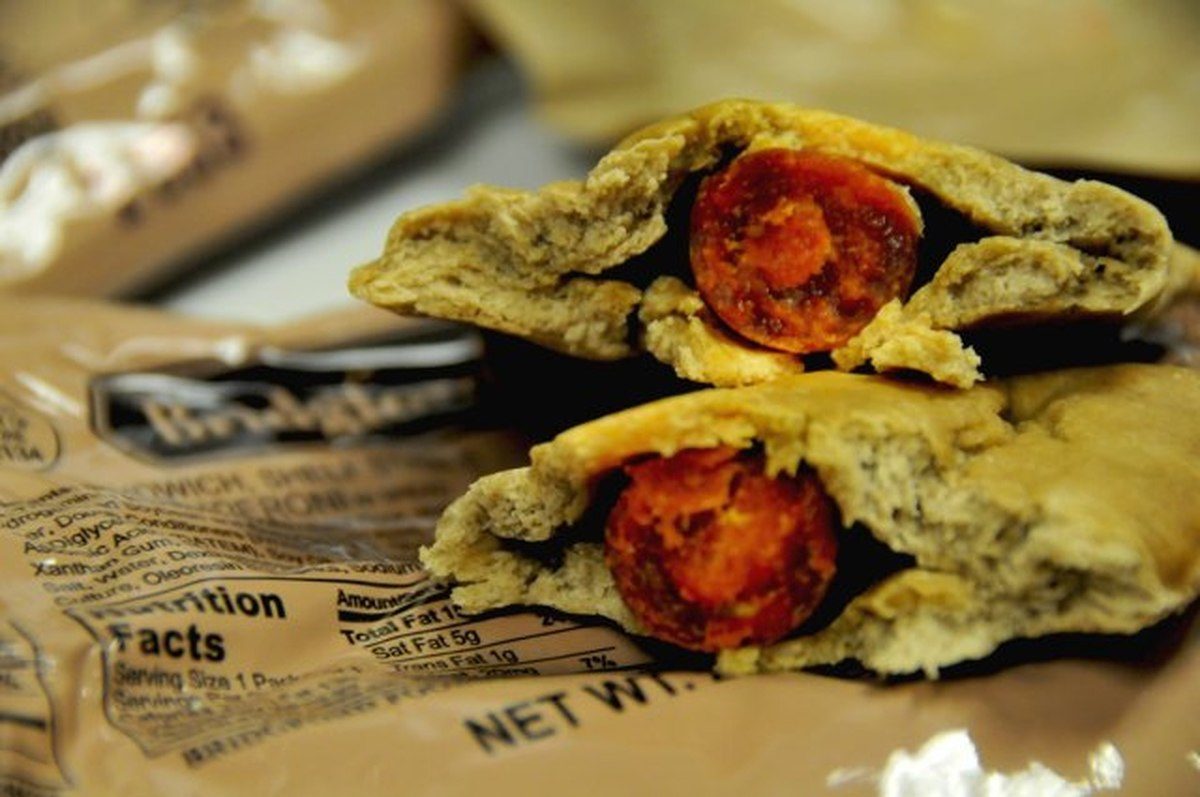
You know ‘em, love ‘em, and, most of the time, you buy them by the pallet. No wonder MREs are so popular since they make excellent snacks while providing your body with all the proteins and fats it needs to keep on rolling. But let me ask you a question here – is it really necessary to go to the military supplies store to buy MREs every time you run out? The answer’s “no” because these delish treats can be baked in the comfort of your kitchen. What’s even great is that you already have all the ingredients this recipe requires.

When I was doing my research for the first piece on pickling meat (be sure to check it if you haven’t done so already), I discovered, much to my bemusement, that there are lots of preppers out there who wanna know the best places from where one can buy Meals Ready to Eat. Can’t say that I wasn’t tempted in pulling a fast one by doing a piece on top 10 places that offer great bargains on MREs, but, then again, I really wouldn’t want you guys to spend more of that hard-earned cash.

I came to realize that my folks were baking MREs, long before the stuff hit the market. So, is this a family recipe? Yes, it is! An old one, at that. Mom told me she picked it up from my great-grandmother’s recipe book, who was a sister of mercy back in WW1. Apparently, this stuff would sell like hot cakes during the Great Depression, mostly because they go along so well with a glass of beer or moonshine or whatever (that raised a couple of eyebrows, back in the time).

After baking the first batch, my wife and I did the math: we spend somewhere around 20 on the ingredients for 8 jumbo-size MREs (although we could have made more if yours truly wouldn’t have sampled the mix too many times). That kind of money will probably get you around 4 or 5, and we still got enough left for another batch.

Still not convinced? Keep on reading for our killer survival ration baton recipe.

Why should I bother baking when I can always hop on the Internet to buy some more?

Because, contrary to popular belief, knowing your way around the kitchen is as important as learning how to swim or perform CPR. And we’re not talking here about whipping a quick breakfast or curing meat for long-term storage.

Nope, far from it! Cooking’s a no-brainer if you know how to follow a couple of simple steps.  And by that, I mean that you’ll be able to whip up a delicious and nutritious dish in no time, even if you’re that kind of person who sees the kitchen as just a room. Since I know most of you guys enjoy a good survival ration baton every now and then, I’m going to show you that it’s easy-peasy.

As I’ve said, the recipe involves ingredients found around the house – honey, assorted nuts, sugar, oats; stuff like that. There’s nothing fancy about this recipe, and it will only take you a quarter of an hour, tops. The result – 8 crunchy and sweet energy bars, each of them packing at least 3,000 calories. Check out it for yourself.

Get ready to ruuuuuumble!

As I’ve told you, all the ingredients for this recipe will cost you around 20 bucks, at most.  If you’re not too keen about going shopping, you can always order them online. Now, for 8 survival ration bars you’re going to need:

  • 5 cups of dry milk powder.
  • 3 tablespoons of honey.
  • 3 tablespoons of water.
  • 1 cup of granulated or white sugar.
  • 1 pack of gelatin (at least 3 oz)
  • 1 cup of peanuts or assorted nuts.
  • 2 cups of dry oats (you can also use normal oats).
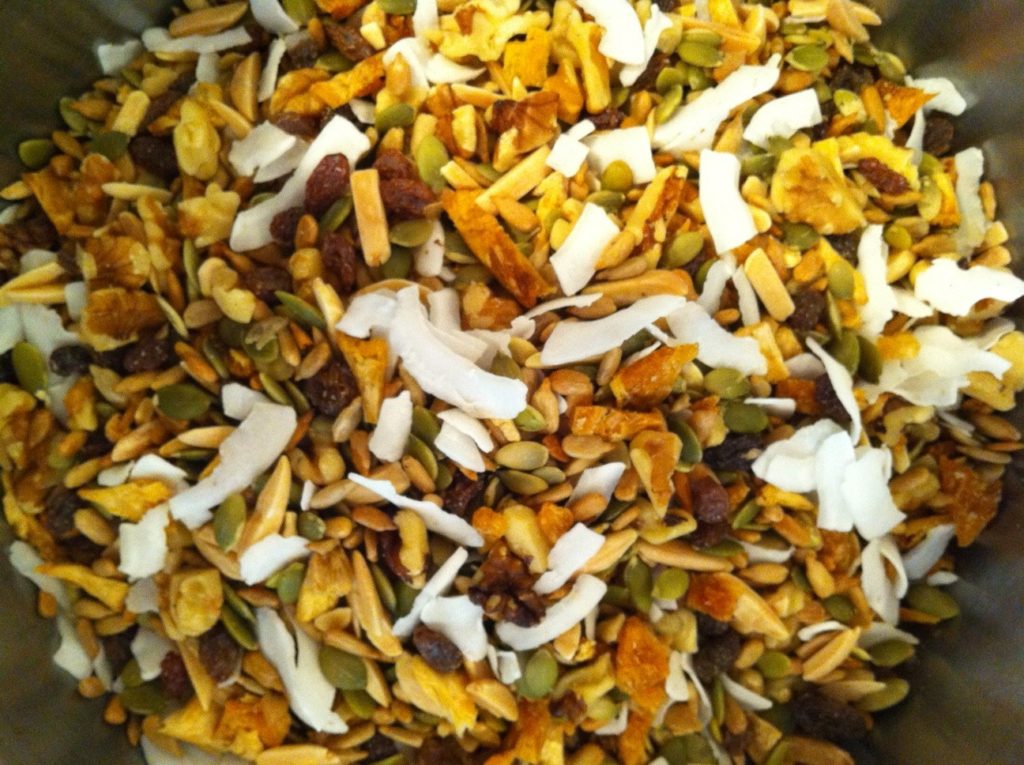
  • 1 cup of dried cranberries (if you’re not too fond of cranberries, you can replace them with trail mix or assorted dried fruits of your choice).

Managed to grab all the ingredients? Neat! Let’s start making some survival bars.

Step 1. Preheat you over. Aim for 350 degrees.

Step 2. Grab a large bowl from your pantry and mix the following ingredients in order: milk, oats, nuts, and sugar.

Advice: use a wooden spoon or spatula to mix the ingredients (avoid using metal because the resulting mixt will have a bitter taste to it). Don’t stir too fast. You’ll want your mix to be a little chunky. What I like to do is to sort of dip the spatula and bring everything from the ground up top. Do this for a couple of minutes to make sure that there are no air bubbles left.

Step 3. Time to prepare the gelatin for the bars.

  • Grab a small pan and empty the gelatin pack’s contents inside.
  •  Add three tablespoons of water (don’t add more otherwise you would end up with mush).
  • Add three tablespoons of honey to the pan.
  • Crank up the heat and bring the mixture to a boil.

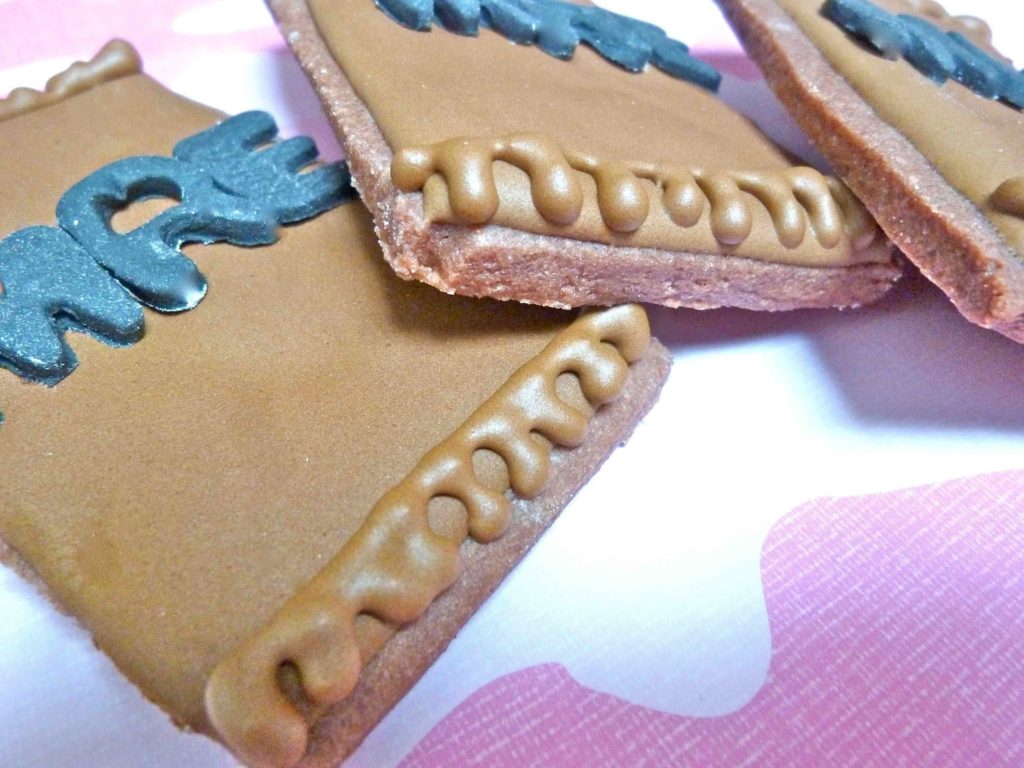
If you want to add a dash of color to your energy bars, try using some edible paint. Go crazy with them.

Step 4. It’s now time to put together everything – the dry and the moist ingredients. One thing you shouldn’t do would be to let the gelatin and honey mixture cool down completely. If you do that, you won’t be able to mix them with the dry ingredients.

So, toss the spatula aside, and ready your hands. Yes, you’re going to use the hands for this part. It’s much easier and, why not, fun. Don’t forget to wash them hands before messing with the mix.

Just like before, stick your hands inside the mix and bring the stuff on the bottom right to the top. Do this for a couple of time to make sure your dry ingredients are thoroughly mixed.

When you’re done, grab the gelatin pan. Pour a little over the mixture and use your hands to knead the stuff. Continue pouring and kneading until there’s no more gelatin.

Advice: the first time I tried doing this one on my own, the dough turned out to be way too dry even after pouring the entire contents of the pan. To make is moister (wipe that smirk off your face), add a little bit of lukewarm water or even a tablespoon of milk.

Knead, knead, and knead again, until everything’s hunky-dory. If you want your batons to be extra puffy, cover with a clean cloth and it aside to rest for around half an hour. Plastic wrap also works if you don’t have a cloth.

Step 5. Place some baking paper on an oven tray and pour the mix right in the middle. Then, using a spatula or your hands, spread it around as to cover the entire surface of the tray. Over should have reached the desired temperature by now.

Step 6. Use a pizza knife or the other end of a wooden spoon to separate your energy bars. I like to make them rectangular, but you’re free to try out any shape you like (next time, I think I’ll make them in the shape of hearts or Christmas trees just because I can).

Step 7. Stick the tray into the pre-heated oven and bake for 20 to 25 minutes (might takes less if you have one of those convection ovens). Here’s what I like to do in order to see if the bars are ready to be taken out of the oven.

FYI, this trick works for all your baking needs (cake, cookies, pastry). So, what I do is take a toothpick or small piece of wood (grandma used a clean straw from the broom), and sort of poke a small hole in the middle of the dough. Take out the toothpick and look at it – if the dough’s still clinging to the toothpick, it means that it’s not yet ready. On the other hand, if the toothpick’s clean, take it out of the oven before it hardens.

Step 8. Take the tray out of the oven and allow the power bars to cool down before bagging them. You can store them in zip-lock bags or airtight plastic container.

More on home-made MREs

That’s about it for the baking part. It’s exactly what I’ve been telling you – simplicity itself. Now, some of you are probably wondering about shelf life.

Well, since this recipe calls only for ingredients with very long shelf life, in theory, they should last for quite a while if you’re careful enough to store them in a proper environment. Still, if I were you, I would bake a fresh batch every couple of months or so just to be that the B.O. Bs are up to speed.

For those of you with peanut allergy, I would advise you to replace them with dehydrated fruits. You can also use more oats if you like that stuff.

Also, if the good, old doc told you to cut back on the sugar, you can always 86 the sugar from the recipe and stick to honey, pun intended. I wouldn’t use artificial sweeteners like stevia because that would give the bars and unpleasant, metallic-like taste.

The best thing about this recipe is that no matter how clumsy you are in the kitchen, you’ll still be able to make it to the finish line. First time I tried baking MREs, I poured the mixture from the side, instead of putting it in the middle of the tray. Yeah, I ended up doing more cleaning than actual baking.

If the power goes out, which tends to happen of a weekly basis where I live, you can still bake these thingies if you have a gas oven, a thing I highly recommend.

Another thing you can try out is to try an all-nut version (without fruits). Of course, that would definitely make the calorie count go through the roof..

So, have fun with your baking and don’t forget to hit the comment section to show me how your MREs turned out. Ta-da, guys!

Is it really necessary to go to the military supplies store to buy MREs every time you run out? The answer’s “no” because these delish treats can be baked in