
First off, properly splinting any part of the body requires careful attention to details, knowledge, and practice. We strongly recommend only qualified medical personnel perform splinting (or any advanced medical treatment for that matter). However, due to any number of unknown factors, qualified medical attention may not be available. With that disclaimer out of the way, let’s get started.
General rules regarding splinting of an injury
If you suspect a broken bone, dislocation, or sprain, the suspected area should be splinted and possibly immobilized.
Splinting is not a permanent treatment of an injury, although it does reduce the chance of further escalating the injury.
How does a Splint Work?
A splint consists of a rigid material accompanied by the use of adhesives or tying material to hold the rigid material in place. This prevents the targeted area from movement, which reduces the possibility of future injury. The rigid material should be placed from one side of the injury to the other and secured on the ends. Once secured, the entire affected area is commonly wrapped to ensure a secure hold. Be sure however to not block circulation by over-tightening the splint.
How is a Splint Made?
Splints can be quickly made from a wide variety of basic materials. Common splint materials can include: sticks/branches, layers of newspaper or cardboard, cut up pieces of a foam sleeping pad, thin strips of metal, etc. Basically, anything straight and rigid can be used as a splint.
For digits, a couple of standard Popsicle sticks, (or any similar object) wrapped with tape usually does the trick.
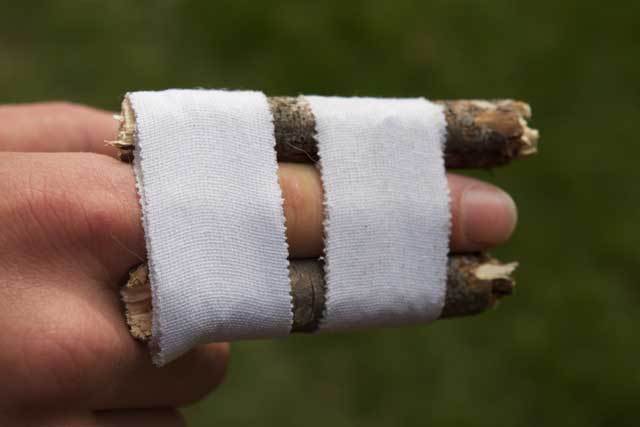
Splinting Fingers
Fingers and thumbs are commonly splinted body parts, as we tend to unfortunately put our hands where they don’t belong. For digits, a couple of standard Popsicle sticks, (or any similar object) wrapped with tape usually does the trick. Before splinting, carefully straighten the digit and first treat any surface wounds. If you know a digit is dislocated, it should be set back into place before being splinted. Once the digit is stabilized, cooling it with ice will help to reduce any swelling.
Select a straight, rigid, relatively flat object such as a ruler, paint mixer, layers of cardboard, sticks, etc to use as a splint.
Splinting Wrists
Wrists are incredibly complex body parts and can suffer a wide variety of injuries. Without proper medical attention, it can be difficult for the average Joe to identify the specific injury suffered and exactly how to treat it. If you or a partner suffers a wrist injury however, something still needs to be done about it until it can be properly treated.
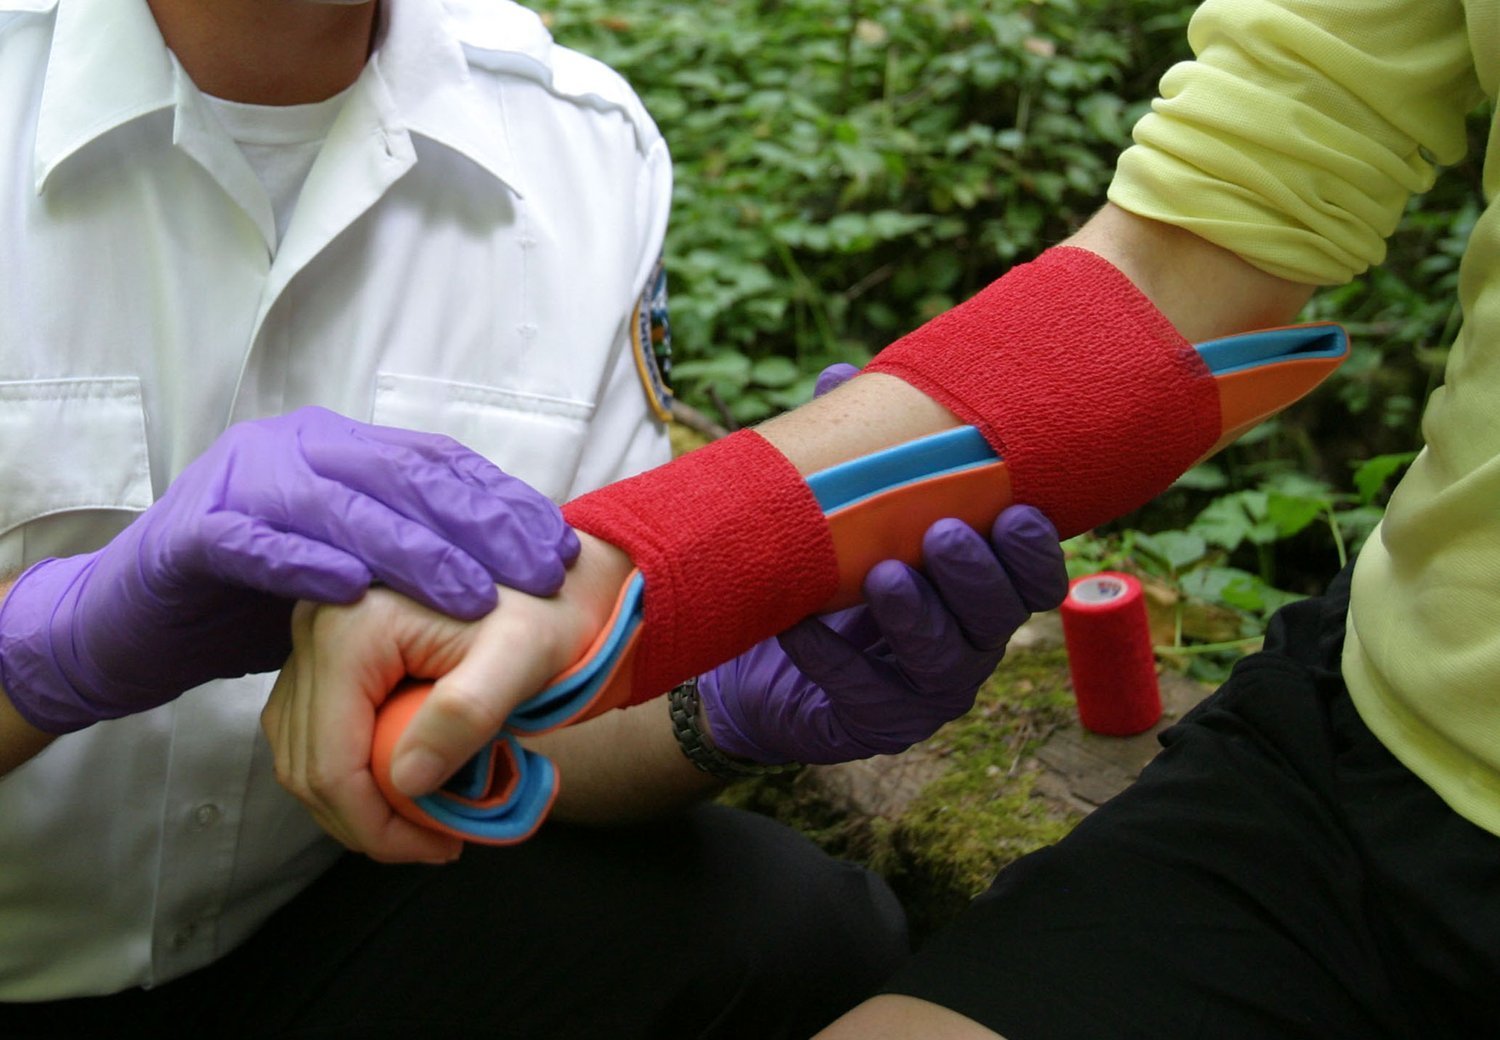
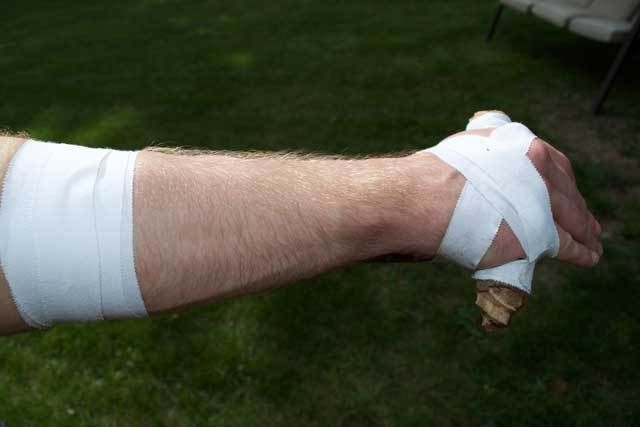
With any wrist injury, first carefully clean any surface wounds in order to prevent infection. Select a cylindrical object roughly 3 to 4 inches long and 1 to 1 ½ inches in diameter (depending on hand size). This is placed in the hand, adding stability to comfort the victim. Select a straight, rigid, relatively flat object such as a ruler, paint mixer, layers of cardboard, sticks, etc to use as a splint.
Place the splint over top the round object so it’s touching the fingers on the inside of the hand. Carefully tape around the split and forearm. Encircle the top of the hand and splint. Depending on the injury, the thumb can be left free or splinted along with the wrist. Cool the area with ice if possible to reduce any swelling.
Splinting Arms
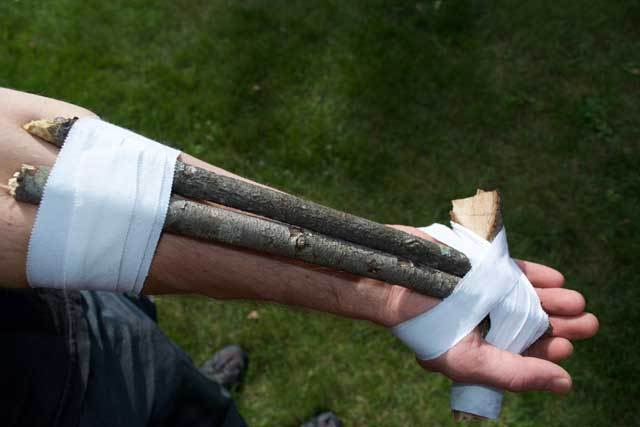
If the injury is a forearm, it should be splinted with a straight, rigid object, secured above and below the injury using the same process as the wrist above. If unsure of the exact location and extent of the injury, err on the side of caution and splint the entire forearm, including the wrist.
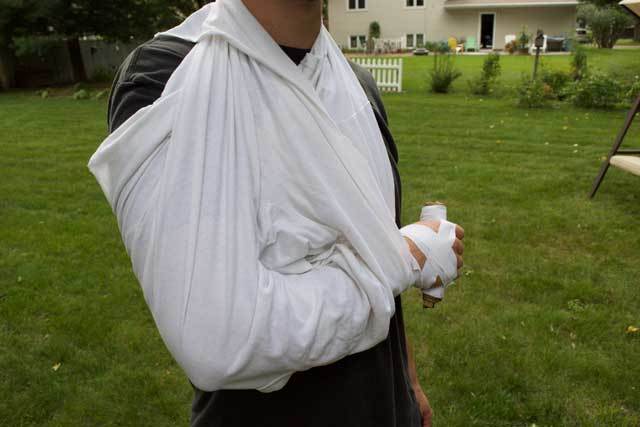
Use any piece of cloth and fold it into a triangle. Carefully bend the uninjured forearm to a 90° angle, placing the elbow snugly into the folded part of the cloth.
All other arm injuries should generally be splinted with a sling in front of the body. Use any piece of cloth and fold it into a triangle. Carefully bend the uninjured forearm to a 90° angle, placing the elbow snugly into the folded part of the cloth. Tie the sling between the shoulder and wrist. Lastly, tie another piece of cloth around the victim’s waist and sling, immobilizing the arm against the side of her/her body. In the picture to the left, we used a ½ torn up shirt we had lying around that we had previously used to make some char cloth.
Splinting Legs
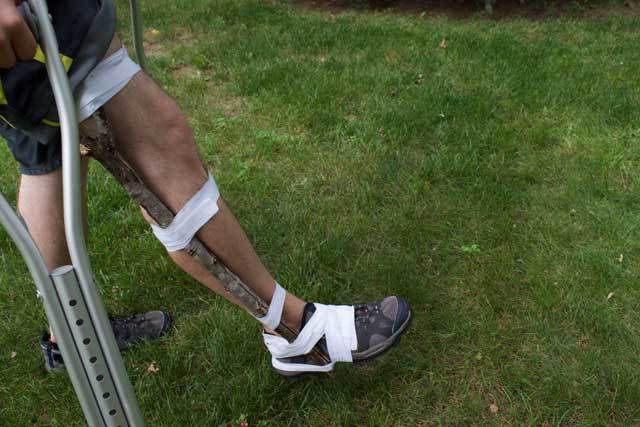
Lower leg and ankle injuries should generally be immobilized together with the foot placed in a neutral (standing) position. To do this, use long, rigid objects such as branches/sticks, pieces of metal, foam from a sleeping pad, etc. These should be run along both sides of the leg between the knee and bottom of the foot. Secure the splint above and below the affected area. Take care when securing around the ankle, by wrapping underneath the foot to the side of each splint. When finished, the foot should be immobilized from the knee down. Once splinted, weight should not be put on the leg, as this can lead to further injury.
Upper leg injuries are far less common and typically cannot be treated solely in the field or at home. In order to avoid further damage, a splint should be placed on both sides of the leg between the hip and knee. Carefully secure it above and below the injury, wrapping the entire splint. Cooling the area afterward will help to reduce pain and swelling. This type of injury can be very serious, and professional medical treatment should be sought as soon as possible. Meanwhile, the individual should not put any weight on the leg, instead using crutches.
Takeaway
Once again, with any potentially serious injury, we highly recommend seeking professional treatment.
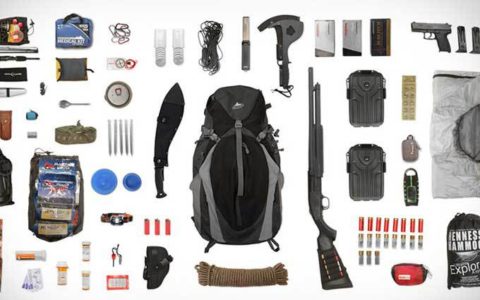
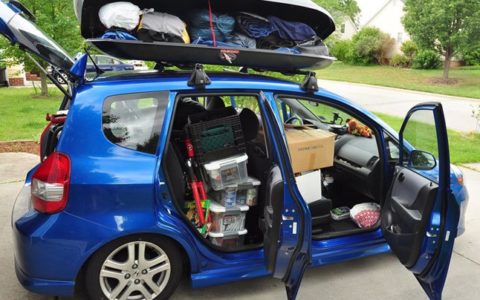
When assembling your bug out bag, or any preparedness kit for that matter, having the right tools for the job is essential. Rather than hunting down the right stick for an injury, we urge you to consider adding a SAM splint to your kit. These universal splints are inexpensive, compact, incredibly lightweight and completely mold-able to fit nearly any injury. They can be used repeatedly, offering a lifetime of various uses.