
Wait! Before closing this article, hear me out. Yes, I know it sounds utterly disgusting, but you would be surprised to discover than dandelions are, at the same time, yummy and quite healthy.
In fact, according to some researchers who have nothing better to do than to test out just how edible wild plants are, dandelions are packed with zinc, potassium, iron, and calcium. If that wasn’t enough to convince you, then get this – dandelions are the second-best source of natural beta-carotene after carrots.
Even more, research indicates that tinctures and teas made from the stems and flowers can reduce blood pressure and help patients with diabetes better manage their blood sugar.
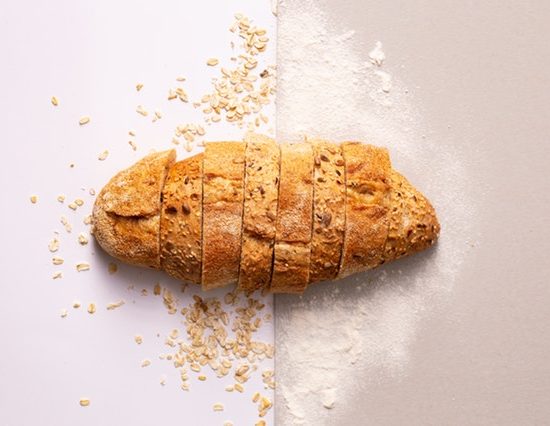
Anyway, because I’m always on the lookout for ‘exotic’ emergency food recipe, I’ve stumbled upon this little jewel while doing a bit of research on healing plants. It’s true that dandelion tea is great for the digestive system, but when mixed with a bit of flour and baked until golden-brown and crispy, it becomes a treat worthy of a king’s feast.
Interestingly enough, although tea made from dandelion flowers is a bit on the bitter side, bread is very sweet. Don’t know if it’s because of the extra honey or the taste of baked dandelions. Anyway, here’s how to prepare a loaf of delicious dandelion bread (has quite a ring to it, don’t you think?).
Gathering the ingredients
To make dandelion bread, you will need the following:
- One cup of freshly-picked dandelions.
- Half a cup of honey.
- Three tablespoons of veggie oil.
- One egg.
- Half a teaspoon of salt.
- One and quarter cup of cow’s milk.
- Two cups of regular flour.
- Two teaspoons of baking powder.
Are you ready with the ingredients? Well, time’s a-wasting. Let’s get cooking!
How to make dandelion bread
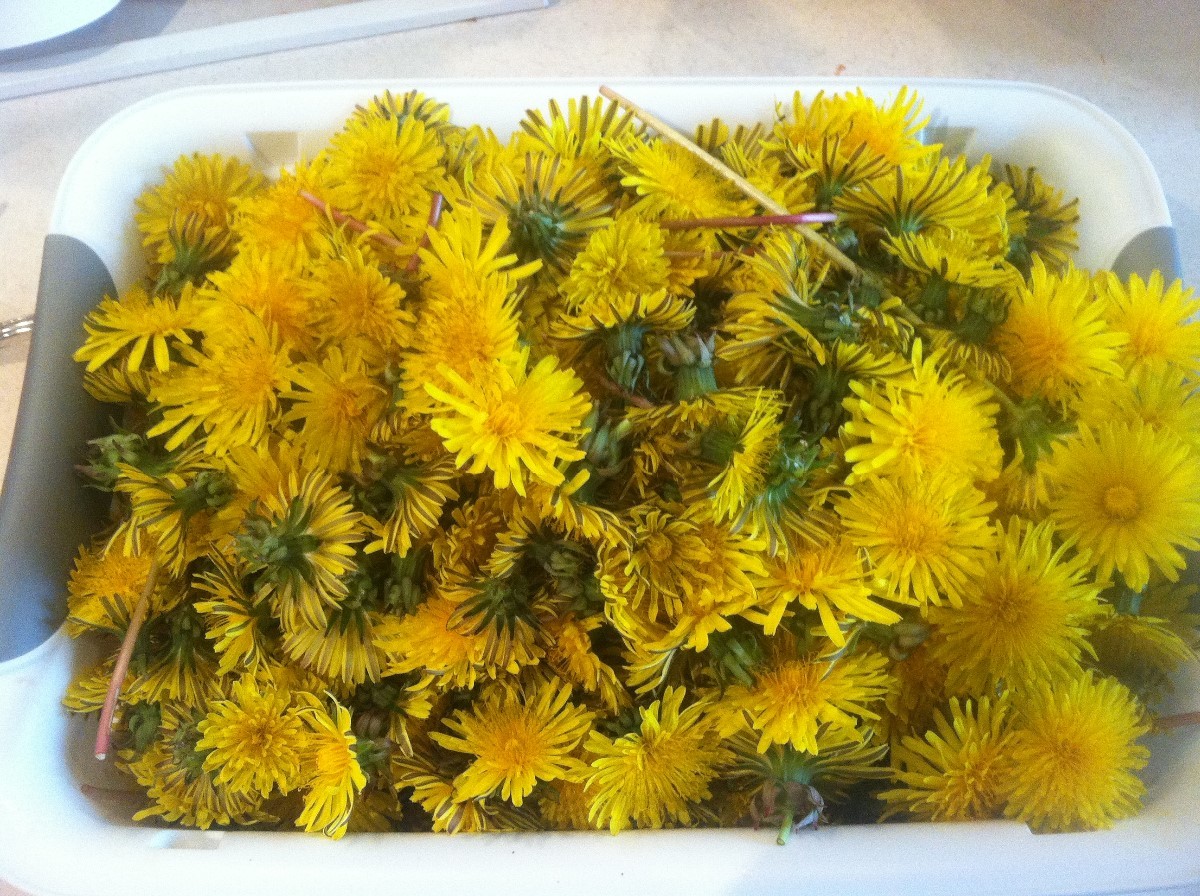
Step 1. Go out the back and pick up some dandelions (just enough to fill a cup). Discard the roots because you’ll only need the flowers and the stems. Head to the kitchen, toss them in a strainer, and give them a good wash. Make sure that there’s no dirt left on them.
Step 2. Place your dandelions in a bowl and grab a cutting board and a sharp knife.
Step 3. Use your knife to separate the flowers from the stem. You can toss the stems into the garbage or add them to the compost pile. Your choice.
Step 4. Mince the dandelion petals. Don’t worry about getting a couple of stems in the mix.
Step 5. Pre-heat your oven. Aim for 400 degrees Fahrenheit.
Step 6. Grab a large bowl from your pantry. Add the flour and your minced dandelion flowers. Give it a good stir and add a pinch of salt. Last, add the baking soda and continue mixing.
Step 7. Get a deep plate. Add your milk, honey, oil, and egg. Use a whisk or a fork to combine the ingredients. You can add a little more honey if you like your bread sweet.
Step 8. Pour the milk, egg, honey and oil mixture over the dandelions and flour. Use a fork or your hand to incorporate all of the ingredients. If the mix feels too gooey, add a quarter cup of flour and keep mixing.
Step 9. Grab a bread pan from your pantry and put some baking parchment inside. To prevent the parchment from sticking to the pan, brush the inner part with sunflower oil before arranging the paper.
Step 10. Transfer the mix to the baking pan and use a spoon or spatula to spread the mix.
Step 11. If you like all-cereal bread, you grab a handful of sunflower seeds or your favorite mix and sprinkle some on top of the bread.
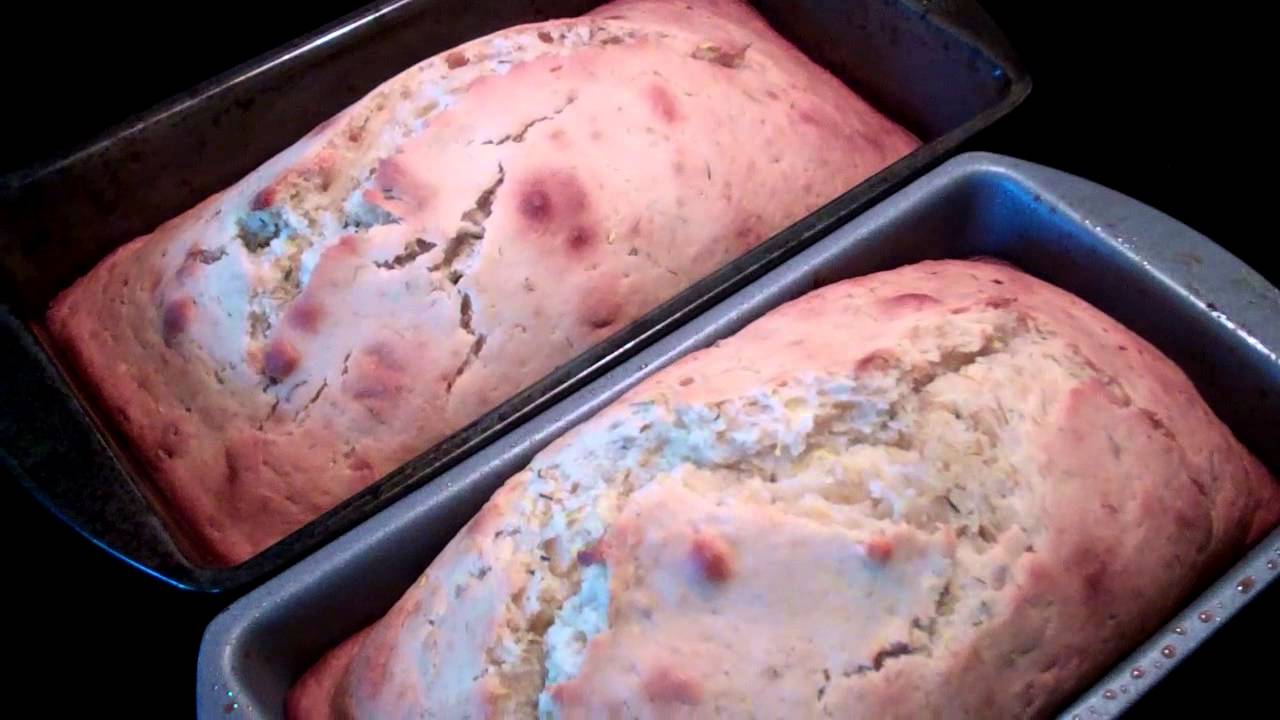
Step 12. Stick the pan inside the oven and set your timer to 15 minutes. Bear in mind that, in some cases, it may take a while longer. The bread loaf should have a golden-brown color.
Step 13. After the surface begins to change color, lower the oven’s temp to 350 degrees Fahrenheit. Close the hatch and leave it in for another 20 minutes. There’s a quick and easy way to find out if your dandelion loaf’s done. Works for any kind of pastry, by the way.
Grab a toothpick or a clean piece of wood and stick it in the thickest part of the dough. Take out the stick and look at it. If there’s dough on it, leave the loaf for another 10 to 15 minutes in the oven. Don’t forget to lower the temperature to 300 degrees Fahrenheit. If the toothpick comes out clean, it means that it’s ready.
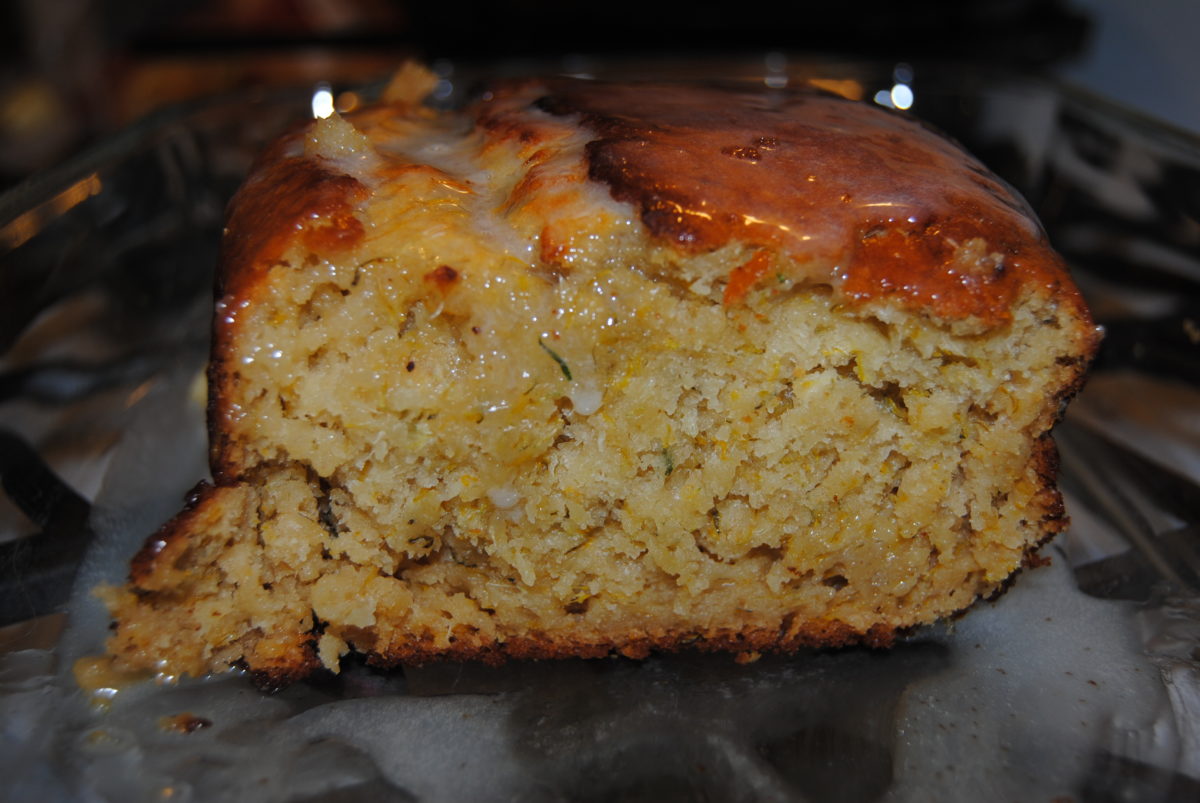
Step 14. Take the loaf out of the oven and allow it to cool for a bit before cutting it.
Congrats! You’ve just made your first dandelion bread loaf. What I like about this recipe is how easy it is to make it. With regular bread, you would need to use yeast in order to make the dough grow. More than that, it takes a bit longer to prepare, since you need to allow the yeast to act before placing it in the oven.
Word of caution before preparing this recipe – take care when choosing your dandelions. Unripe dandelions aka those that kids pick up and blow on it to make the flowers fly are very toxic.
Only use mature flower – you can easily recognize them by their yellow tint. Giving them flowers a quick wash will get rid of most dirt and earth. However, I would recommend submerging them in cold water and leaving them to soak overnight. Give them a rinse before adding them to the flour and baking soda mix.
Dandelion bread’s very tasty and pairs off nicely with smoked salmon and Velveeta cheese. It makes for an excellent breakfast with a thin layer of butter or margarine, of course.
As for storage, I placed a couple of leftovers in a vacuum-sealed bag (be sure to check out my piece on vacuum sealers) and tossed them in the pantry. Two weeks later, the bread’s still crunchy and highly edible.
Like my kick-ass dandelion bread recipe? Hit the comments section and let me know what you think.