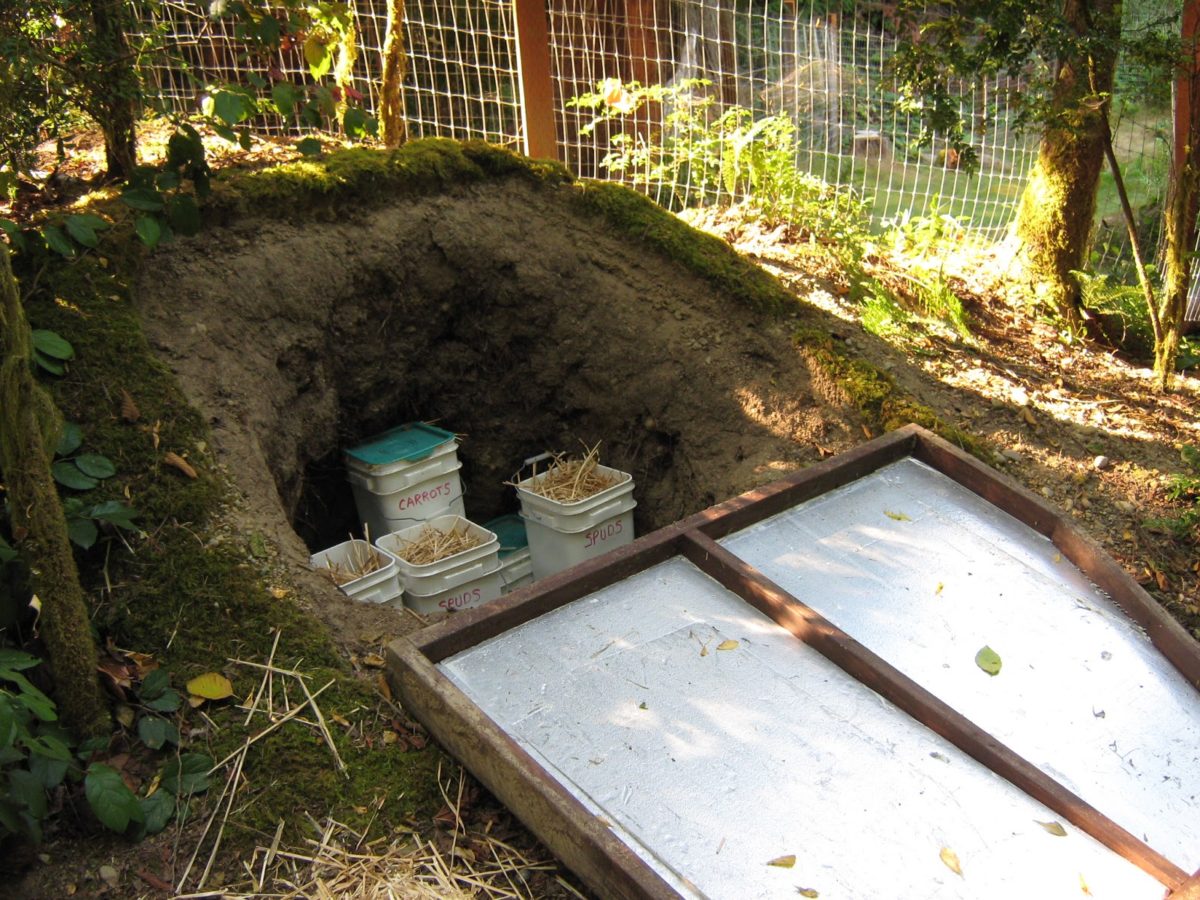
I would lie if I said that I don’t envy all those wonderful homesteaders who managed to put a couple of bucks outside for the root cellar. Yeah, those things are really great (if you have them, of course) and not to mention very useful during any kind of shit hits the fan situation – a hole in the ground, some stones, a couple of shelves, and you’ve got yourself a gigantic fridge capable of storing veggies, legumes, pickles, and whatnots.
Ingenious, that’s what it is! However, if your home doesn’t come with a root cellar, building one from scratch takes a lot of time, energy, and, yes, a shit-load of money.
Fortunately, there is a way to tap into Mom Nature’s icy powers without the need to fork over too much cash. Being a very determined guy, I have searched high and low for ways to recreate a root cellar without actually having to build one. Sounds crazy, right? Not in the least, as you’re about to see.
The idea to write this short and sweet piece came to me after watching a documentary on National Geographic about ancient food storage methods. Can’t remember the name of the show, but there were these two guys traveling around the world and interviewing homesteaders about how they make food last longer.
In the last part of the show, there was this man from China who was quite a bit of a local celebrity, thanks to his top-notch Kimchi. For those of you who don’t know, Kimchi is Asia’s version of pickled cabbage. However, instead of using canning jars, homesteaders would place the thinly-sliced cabbage inside a ceramic jar, which would later seal with wax before burying it in the Earth.
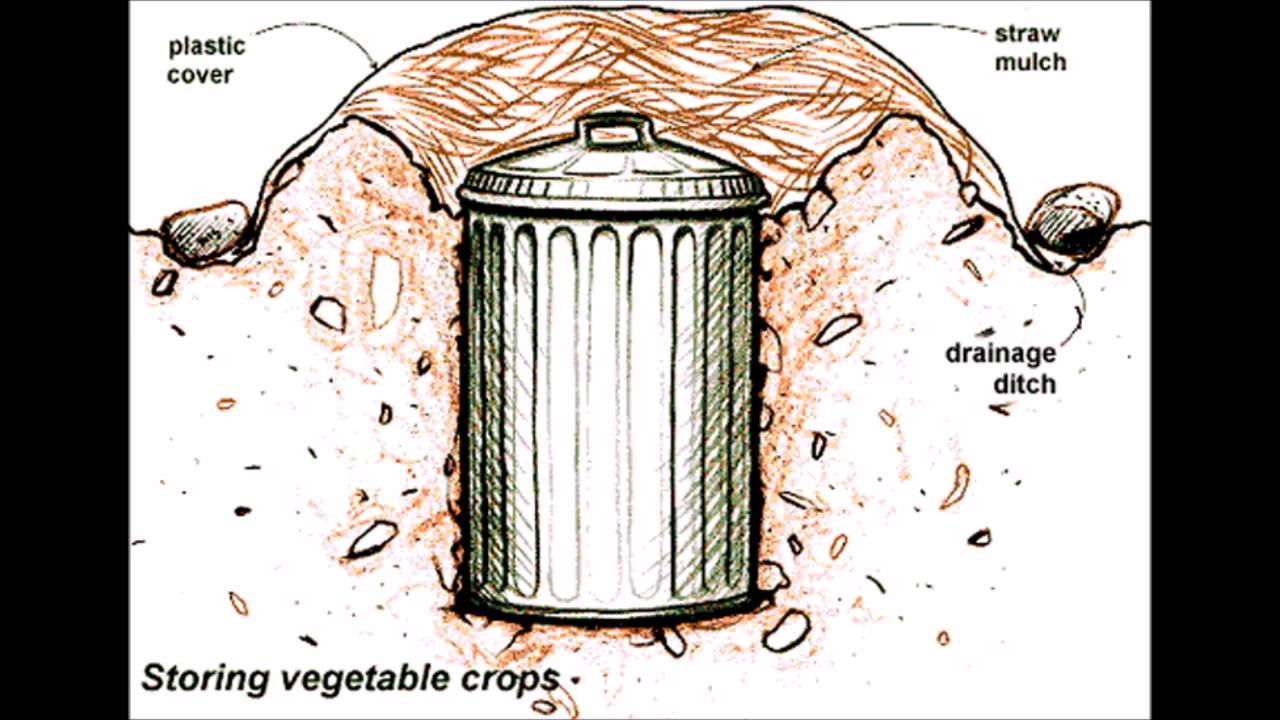
So, with this in mind, I snooped around the Internet and found a simple and cheap way of making a mini version of the root cellar using only an old metal barrel. Here’s how to whip up a backyard cellar in order to store your veggies.
Gathering the necessary materials
For this project, you’ll need the following:
- A shovel.
- A barrel (I would go with a galvanized metal barrel because they’re easier to clean and fare much better underground compared to the plastic ones).
- Rocks (shape and size don’t matter).
- Straw.
- Several pieces of plywood to cover the lid.
Ready with the gear? Neat! Let’s get to work, then.
How to build a mini root cellar in the backyard
Step 1. Find a suitable place to dig a hole. I would advise you to place your barrel\future root cellar in a sunny spot. You should also make sure that there are no water pipes or electrical lines running nearby.
Step 2. Once you found a suitable location, grab your shovel and start digging. The hole will need to take the shape of the barrel. As for depth, it all depends on the size of the barrel. Just be sure that the rim stays on top, with the remaining underground.
Step 3. After you’ve finished digging the hole, remove any deep roots or pebbles from the bottom. Moreover, ensure that the end of your pit is dry.
Test the ground – if it feels moist to the touch, it means that there’s water underneath which is a big no-no. I know it’s annoying, but if this happens, you will need to find another location for your root cellar. Mark the spot in case you’re thinking about adding a well to your property.
Step 4. Fill the bottom with the rocks you’ve brought.
Step 5. Place the barrel on top of the rocks. Ensure that the body of your barrel remains below the freezing line while keeping the rim up top.
Step 6. Place some earth around the barrel to seal it in. Don’t put on the lid yet.
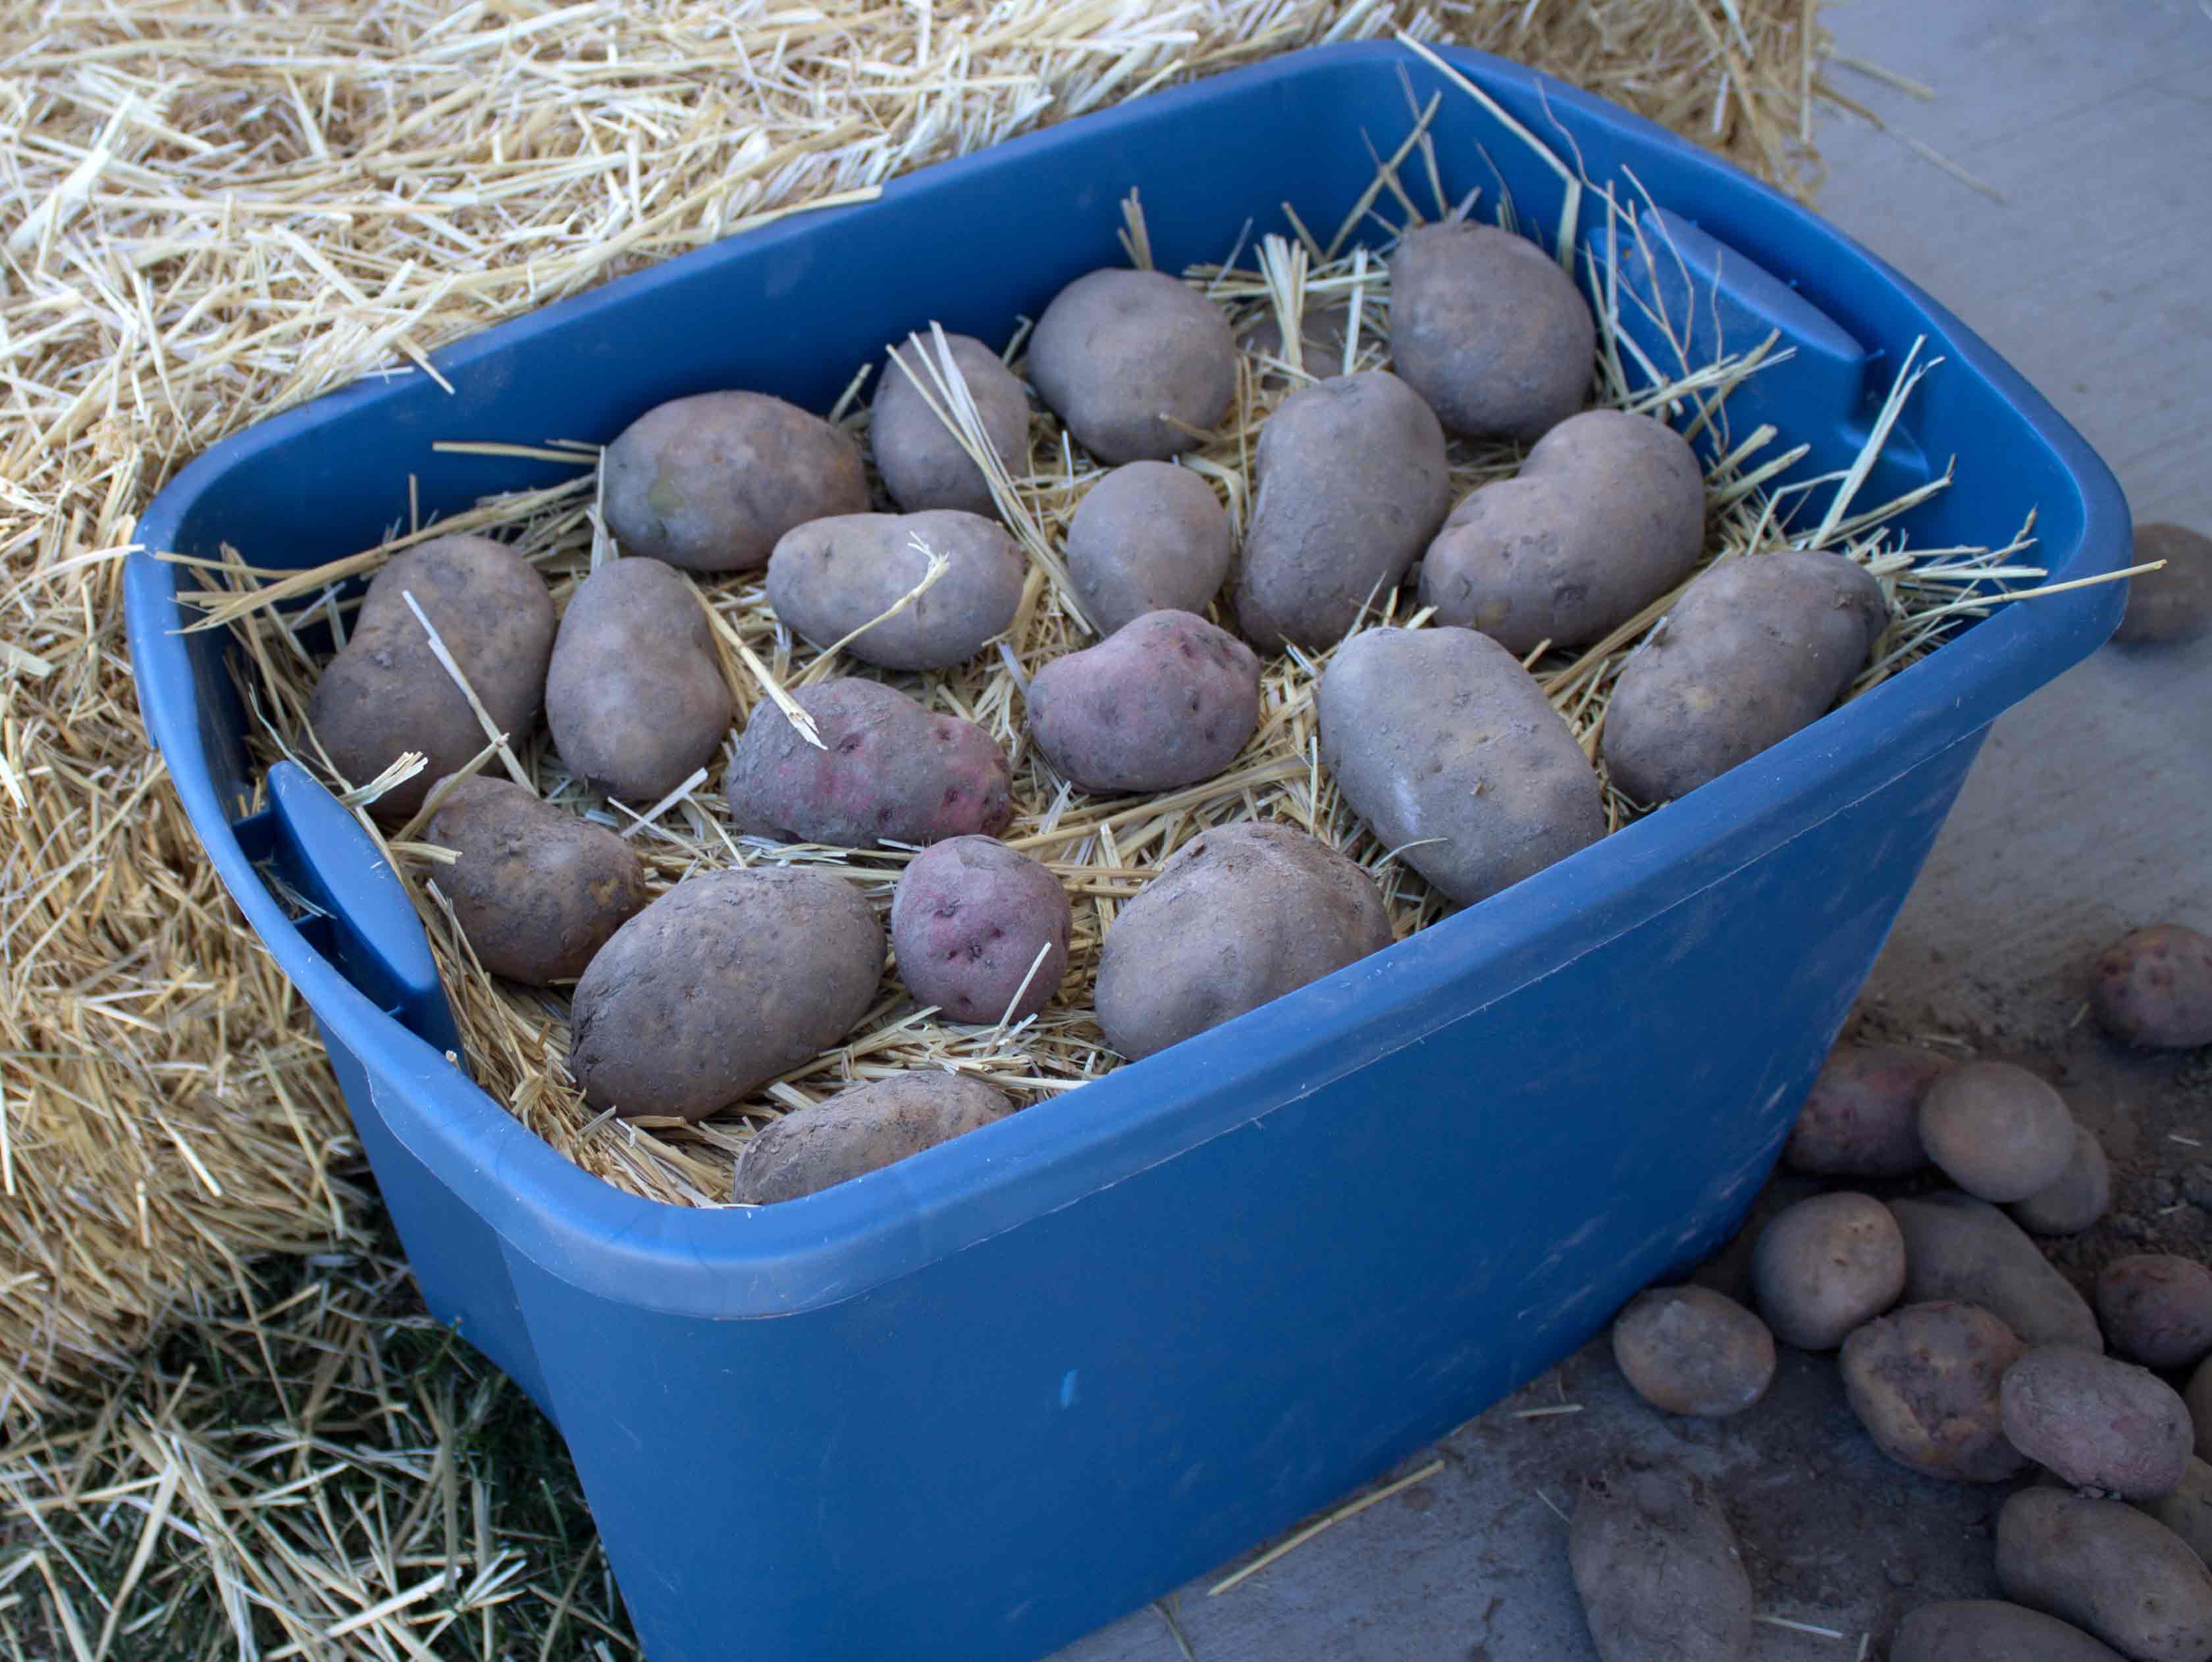
Step 7. Prepare the veggies or fruits for storage. If you’re not sure about the thingamajig’s cooling action, you can try it out on a couple of potatoes.
Step 8. Place a handful of straw on the bottom of the barrel.
Step 9. Place your veggies on the straw. You can add more vegetables if you like. Just remember to put some straw between your veggie layers.
Step 10. Put the lid on the barrel, put the plywood boards on top, and cover with dirt. Congrats! You’ve just made your first backyard root cellar.
Additional Consideration on Mini Root Cellars
Building’s the easy part, but knowing what and how to store – that’s a bit challenging. The first rule of the game is never to mix your veggies with fruits. If you plan on storing fruits, you should consider placing a second root cellar.
The reason why fruits and veggies should never be placed in the same barrel is because of ethylene, a plant hormone which induces ripening in fruits. The same substance that makes fruits yummy-yum-yum will cause your veggies to ripen and rot a lot faster.
A root cellar built in this fashion will allow you to store food at a decent temp (somewhere between 32- and 40-degrees Fahrenheit), with humidity at around 95 percent.
For this reason, you’ll be able to store even short-lived veggies such as cauliflower, brussels sprouts, celery, kale, endive or leaks. If the seal holds, you can look forward to a scrumptious carrot-based dish even after six months. As far as fruits are concerned, you should ensure that your root cellar has a bit of moister compared to the one used to store veggies.
After consuming every veggie or fruit from the barrel, I would recommend giving it a good wash with the power hose and use plenty of detergent. I can’s put my finger on it, but I believe that this kind of contraption can also be used the summer to keep your fruits and veggies cool.
In most cases, the mini root cellar can extend the shelf life of fruits and veggies by at least a couple of months, with one exception – kale. If you’re planning on storing some kale, keep in mind that you can’t keep it in for more than two weeks.
Think I’ve missed something? Have another way of building a root cellar in your backyard? Hit the comments section and let me know.
If you didn’t start digging, you may also want to check out this offer coming from our partners at Easy Cellar. As well as the many benefits of having one in your backyard.


