Any SHTF story begins like this: “so, there I was, once upon a time (in December), in the wild, no water, no food, and with wolves on my ass.” Well, not exactly like that, but you get the picture. What I meant to say was that in every survival-type situation, water becomes denominator. And for good reasons – you need water for digestion, heat regulation, breathing, living, stuff like that.
Today, I’m going to hit you with my very best FUBAR story – how I converted my heater and toilet into open bars. See, when you’re at home, in the city, you fail to realize just how important water is. Sure, tune on the tap, and, voila, you have water. The nasty part comes soon after there’s no more water coming from the taps and you have no idea what to do next. Keep calm, my friend! Water can be siphoned from any area of the house, and I’m going to show you how I did it. Let’s start with the heater first.
Sucking Water out of the Heater, Dracula Style
“Listen to them (water heaters). They’re the children of the night”, and what music they make when you plug a hose in them to suck out that water. Backtracking a bit, a couple of months ago, there was a power outage in Fresno. A big one at that – must have at least 2 days, if not more. Anyway, I was at home, thinking about going out to buy a couple of stuff for my household emergency kit.
Ironically, we’ve just the last drop of bottled water to prepare formula for the tyke (bundle of joy that little monster is). I need to say that some time ago, at father-in-law’s bequest, I swapped the old electrical water pump for a brand-new, computer-controlled one. Yes, I know it’s the stupidest thing a prepper can do, but, hey, it’s hard to talk your way out of the wishes of a retired Marine.
So, the power goes out. Naturally, I went for the breakers. Nothing! Tried everything I could think of but to no avail. Soon enough, I came to realize that I didn’t have a drop of water left in the house. Okay, so what do I do? And then it hit me – I recalled reading in a book or something about using the water heater’s contents to augment my non-existing water sources.
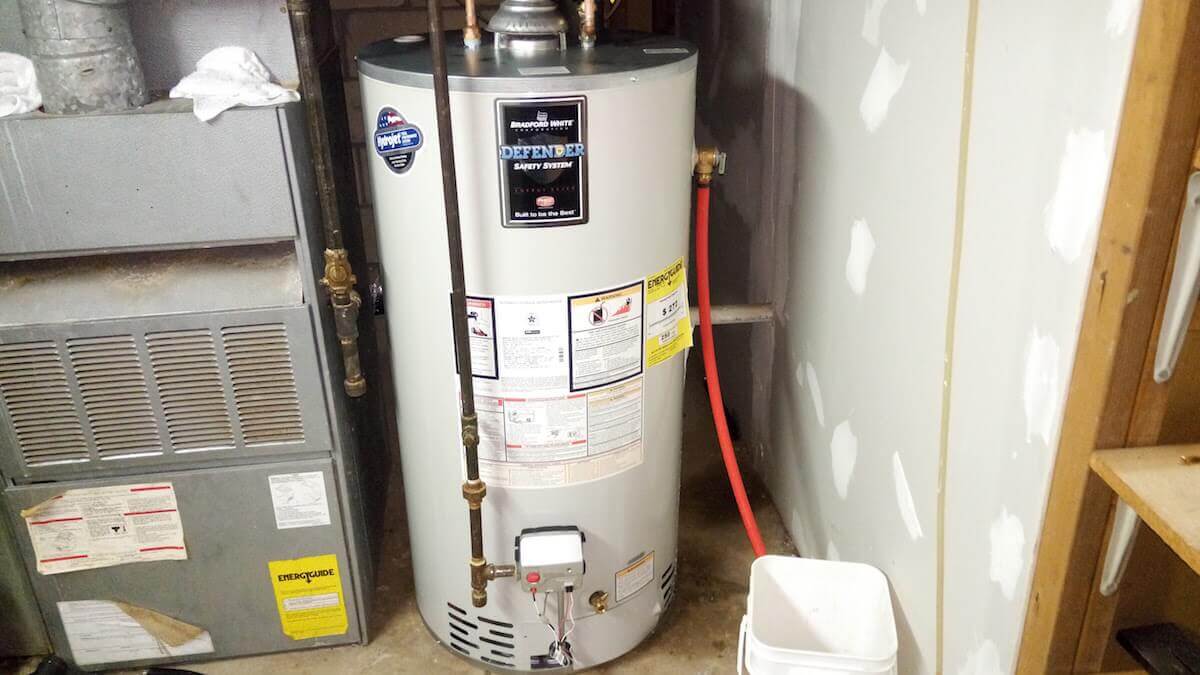
So, after some careful deliberation, I grabbed my toolbox, a hose, and a bucket and got to work. Here’s what I did. One short disclaimer though: my heater is electric. This means that the things I’m about to show may not apply to you if it’s running on gas or an older model.
- Turn off the heater
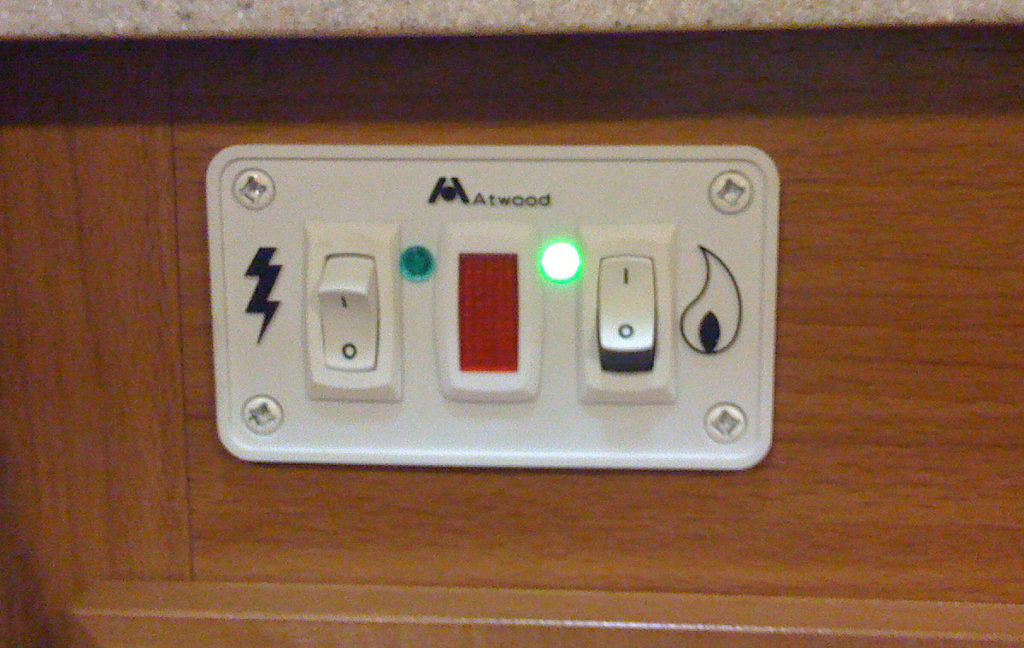
You can’t just siphon water from the thing while it’s still running. For once, the thing has a lot of fail safeties in place to prevent leakages. And two – the water inside has around 104 degrees Fahrenheit, which means that you’ll wind up with a nasty second-degree burn if you try anything. What I did was to unplug the thing completely (could still have had some juice in the system, so I took no chances) and let it be for the next 12 hours.
Naturally, I had to make do without the water from the heater. I’ll tell you in a sec, what I did in the meantime. While searching online for my water heater model, I’ve discovered, much to my amusement, that the damned thing had a sort of blanket around it to help keep the water hot. If you want the water inside to cool off faster, I would advise removing the heater’s “coat.” This will cut back on the cooking time by at least a couple of hours, if not more.
Now, in case you have a propane water heater, don’t forget to close the gas intake valve before cutting the electrical power. It should be somewhere at the bottom of the heater. Best thing to do would be to read the heater’s manual for more info. Same thing as before – allow the heater to cool down before attempting to siphon the water inside.
2. Figuring out where the drain valve is

Okay, after allowing the heater to cool down, next on the list is to identify the drain valve. In my case, it was way in the back (had to move the water heater to gain access to it; hard to since the support was nailed to the floor). Most heater models have plastic drain valves. However, some of them have metallic taps. Whatever the case may be, rotate the heater, until the valve’s facing you. If your heater is on a rack just like mine is, don’t take it down. The slope will allow the water to drain faster.
3. The old hose-and-bucket switcheroo
Take a hose (I’ve used an old sprinkler hose which I was keeping in the shed) and attach it to the drain valve. Place the other end in an empty and clean bucket. Don’t forget that some of this water will be used for stuff like cooking, washing, and drinking.
So, storing it in a clean container is a must. One thinks to keep in mind – water heaters are not that great at water filtration as other appliances. You may have to sterilize the water before drinking it. There are plenty of ways to do that: boiling, distillation, chlorination, tossing in a couple of water purification tablets. The choice is up to you. I, for one, boiled the living hell out of that water before I poured it into clean bottles.
4. Open the valve and let it rain!
Before attempting anything, open a sink faucet anywhere in the house but the place where your heater is. Once you’ve placed the hose inside the bucket, open the drain valve halfway. When the water’s starting to come out of the hose, you can fully open the valve. Keep an eye out on that bucket because it’s going to fill up pretty fast.
Be sure to change buckets once the hose starts to resurface. You can store the water from the heater in the bathtub, collapsible water carrier or inflatable kiddie pool. On average, there should be at least 50 gallons of water inside the heater at all times. Just don’t let that water go to waste. Once you’ve siphoned every last drop of water from the thingamajig, don’t forget to close the tap.
Finding even more water around the house
Do keep in mind that the heater is not the only emergency water source around the house. Even though the pump may be out of commission, there’s still water in the pipes. The quickest way to get some extra water would be to find a low-lying outlet like the one connecting the toilet tank to the pipes and to remove the part that goes into the tank.
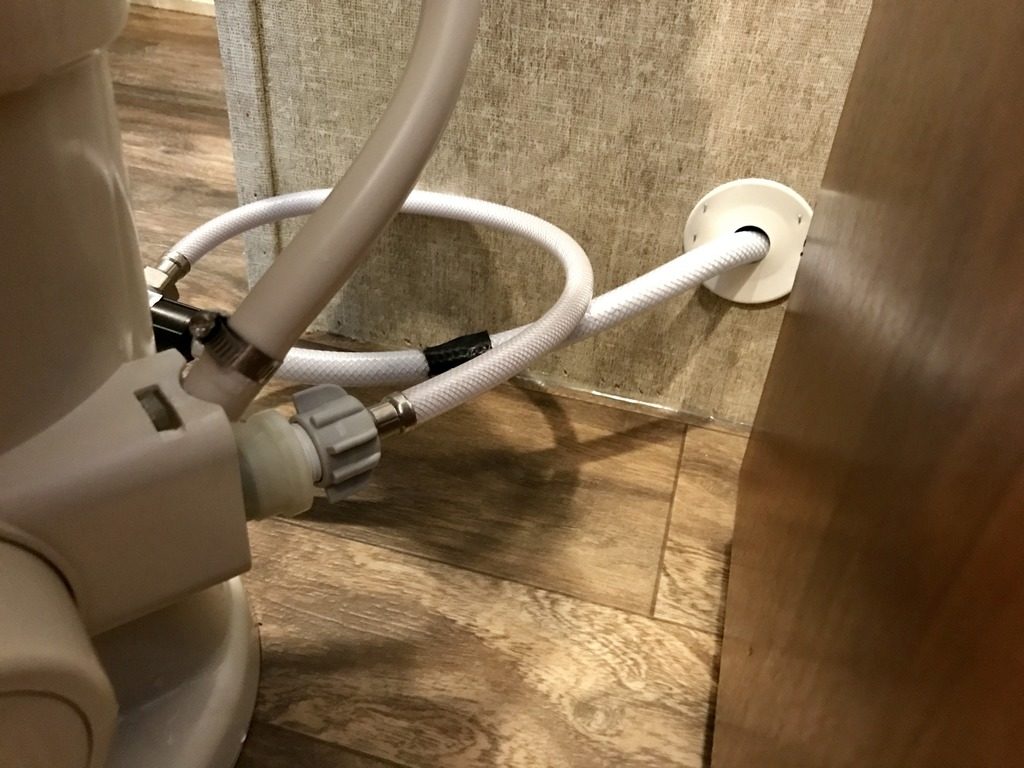
Get a bucket or a plastic bowl and put the disconnected pipe inside. Gravity will do its magic, and the remaining pipe water will slowly appear in you basic. Of course, there are always at least 2 gallons of water inside the water tanks which can be used for stuff like washing dishes or cleaning.
Just remember that neither the water inside the heater nor that drained from the toilet tank or pipes is entirely safe to drink. As always, if it’s intended for long-term use, although I do not recommend it, use one or more water purification methods to remove harmful bacteria.
This concludes my mission with this article. If you have anything to share about it, please feel free to comment or send us an email. Have a good one.


