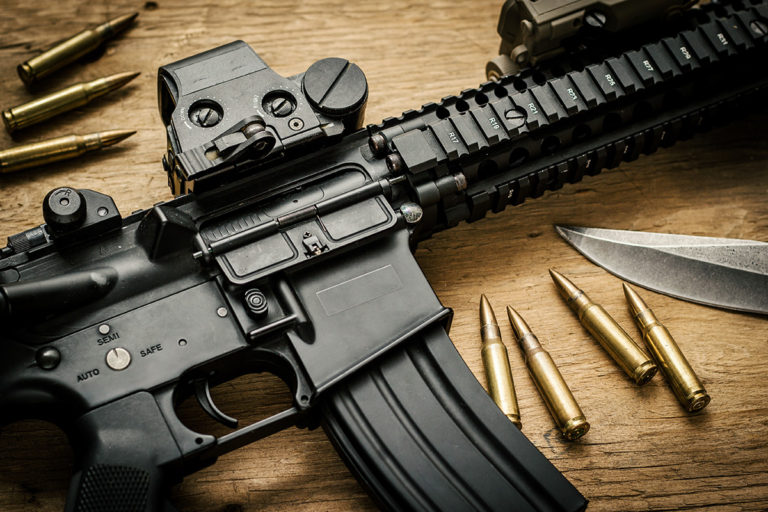
What is “Gunsmithing”? It is the process of repairing or modifying firearms. You can do it on your own firearms without any problem, and you might be able to do it for friends and family, especially if you don’t get paid for it. But if you do it as a “business”, then you will need to be licensed by the Bureau of Alcohol, Tobacco, Firearms and Explosives (BATFE).
There are three aspects necessary to do successful gunsmithing: Knowledge (what to do), Skill (capability to do it) and Tools (what to do it with).
Tools are perhaps the “easiest” aspect to achieve. After all, it is a binary condition. You have the tools you need or you don’t have them. If you need a tool and don’t have it, all you need to do is track it down, and be able to afford to buy it (or rent it or borrow it) or be able to make it.
Tools for Disassembly and Reassembly
Gunsmithing tools are often similar to “regular” tools, but sometimes there is that slight, critical difference. For instance, the “first” type of tool to consider is the lowly screwdriver. No you can’t go down to the big box store and buy their no-name cheap screwdriver set. Or go to the fancy tool store and buy their top-of-the-line screwdriver set. Most “regular” screwdriver sets have a limited number of sizes AND their blade shape is a blunt wedge (taper ground). And this is a recipe for disaster when working on firearms. They have a lot of screws, often of the slotted persuasion, and in a wide number of sizes. Your “standard” tapered screwdriver set probably won’t have a blade of the right thickness or width, and without this degree of fit, the screwdriver will mar up the slot. Even if by some lucky coincidence the screwdriver is the right size, the tapered sides of the blade have a tendency to cam the blade out of the slot, which messes up the top edge of the slot. And firearm screws are often blued so any marks you make tend to really stand out. If you are looking at a gun with buggered up screws, the odds are someone who did not know what they were doing (and had the wrong tools) has been monkeying around inside of it (or failed to get inside).
What you need is a screwdriver set with a wide number of sizes AND parallel sides (called “hollow ground”). Because of the number of sizes, the best choice is usually a set with one or more handles and a large number of bits.
Their beginner’s sets are not cheap, and their top of the line set with 75 standard, 4 Phillips, 17 hex (Allen), 11 Torx®, and 13 specialty bits for sights, scope mounts, grip bushings, Ruger ejectors, and other unique applications, along with 7 assorted handles, runs $320. You can get cheaper hollow ground sets, but they usually won’t have the variety of bits and may be of lower quality than the Brownells sets, but can still be quite adequate. It is a reasonable methodology to start out with a small set, and add additional bits as you need them, although when you find you need a bit, you “should” stop what you are doing until you can get the correct bit. But this is often unacceptable in the real world. If you are gunsmithing professionally, get every bit you can; otherwise, get any new bits you need every time you access a new firearm. If there is a bit which you use “a lot”, having a spare of that bit is wise. Note that if you don’t have the right sized bit, you can grind a bigger one to size.
You may find some Phillips screws, particularly in rifle stocks, and Allen (hex) screws have become fairly common. Thus having Phillips screwdrivers (or bits) and a set of Allen wrenches is recommended. Allen bits are available, but the “L” shaped wrenches tend to be more durable.
Another thing found in abundance in firearms are “pins”. These can be solid or “roll” pins. To get them out and back in, you need the “second” type of tool to consider, a set of punches in various sizes. For solid, flat end pins, you use flat face, constant diameter “pin” punches. For roll pins, roll pin punches with a little bump in the middle of the face are strongly suggested. If you will be doing a lot of roll pins, a set of roll pin “holders” would make things easier; since each holds the pin in position and drives it part way through. Occasionally you will have a pin with a rounded end, and a “cup” face punch is optimal for these. If you have a pin which is stuck or extra tight, a “starting” punch is often suggested, but I don’t trust these. They are tapered, and although they do reduce the chances of bending or breaking a punch, only the face is the correct diameter, and I’m concerned they could deform the pin hole. Pin punches come in various lengths; shorter ones tend to be more durable, but if not long enough to drive the pin all the way out, less useful. A non-marring (brass) pin punch set may be useful, but for me, the deformation they could suffer outweighs the low mar factor they offer. However, a non-marring “drift” punch of brass or nylon (or both) should definitely be included.

By themselves, punches are of limited use. When driving a pin in or out, you need a way to provide some impact force to the punch, and you need something to support what you are driving the pin out of, and a place for the pin to go without running into anything. These aspects are provided by a small hammer or mallet, with brass and sometimes rubber or plastic faces, and a “bench block” with holes you can drive the pins into.
To handle small parts, a selection of hemostats, large tweezers and precision “needle nose” pliers is in order. I also include a pair of parallel jaw pliers, a small Vise-Grip and a strip of thick, raw leather (to protect the part from the Vise-Grips) in my pliers assortment, but these are usually not required for normal disassembly or assembly. Assorted picks and probes can help you get gunk out of a tight space as well as help to manipulate small parts.
These are the “universal” basic disassembly/assembly tools. Specific firearms sometimes have specialized tools which make it easier (or in some cases “possible”) to disassemble or reassemble that firearm or class of firearm. If you will be working on that particular firearm, some of its specialized tools could be considered “basic”.
Tools for Maintenance and Testing
In order to keep a firearm functioning optimally, you need to maintain it. Maintenance usually involves cleaning it after use (or after it is exposed to an adverse environment). A cleaning kit is in order to clean out the bore. This includes some solvent, a caliber specific set of patches (squares of cloth), “mops” (fuzzy cylinders) and (soft) wire brushes, and a rod to push these items through the bore. Cleaning rods can damage the muzzle (and thus accuracy), so some sets have a bore guide included in them; some others use a coated rod or a very soft rod material. Some sets, particularly those intended to be carried with you, use a cable to pull the cleaning elements through the bore instead of a rod used to push. Alternatively, some people prefer to use a “bore snake” these days, claiming these pull-through combinations of mop and brush are quicker and safer (than rods). To clean the rest of the gun, a selection of brushes and cloths is in order.
The bore of a firearm is critical to its performance, so a way to check out its condition is necessary if you are considering acquiring a particular firearm. And for that matter, after you clean the bore, you want to check that you did a good job and that no damage has occurred over time. The reasonably priced way to do this is with a bore light; a lighted bulb which fits, or a drives a fiber optic tube which directs the light, into the bore. Alternatively, you can use a mirror, prism or “light pipe” to direct an external light source into the bore. For the well-heeled, there are even “bore camera” systems. If you see crud in there, you need to do (or redo) bore cleaning to get the crud out so you can see if there is any damage under the crud.
Once you get a firearm clean, you want to lubricate it with the appropriate grease and/or oil, and perhaps give it a wipe down with oil or other protectant to provide some protection against rust to the finish.
If the firearm is operating correctly for you, then it is sort of “self-testing”. If there is a new (to you) firearm for which you want to verify the functioning, or an existing one which it seems might be having problems, testing is in order. For testing feeding function safely, some “dummy rounds” are wise. Polymer dummies are cheap, but I prefer machined aluminum ones, or even better (if you can still find them these days), ones made of actual brass and bullets, but of course, no primer. Avoid ones which are “painted”, as the paint tends to flake off in the firearm. If you reload, you could even make your own; just mark them so you can tell them from active ammo at a glance. For testing the hammer and/or trigger function safely, a brightly colored “snap cap” (or six, for revolvers) would be useful. In order to verify a firearm is correctly headspaced and thus safe to fire, “GO” and “NOGO” gauges for that caliber are useful but costly. A complete set for a caliber, with GO (measures against the minimum factory specification), NOGO (measures against the maximum factory specification) and FIELD (measures against the maximum safe headspace after lots of use) will probably run $90 or more. You can buy the gauges individually, but do NOT mix brands of gauges for a caliber.
This is a good starting set of tools. Tune in next time for a discussion of Knowledge and Skills.


