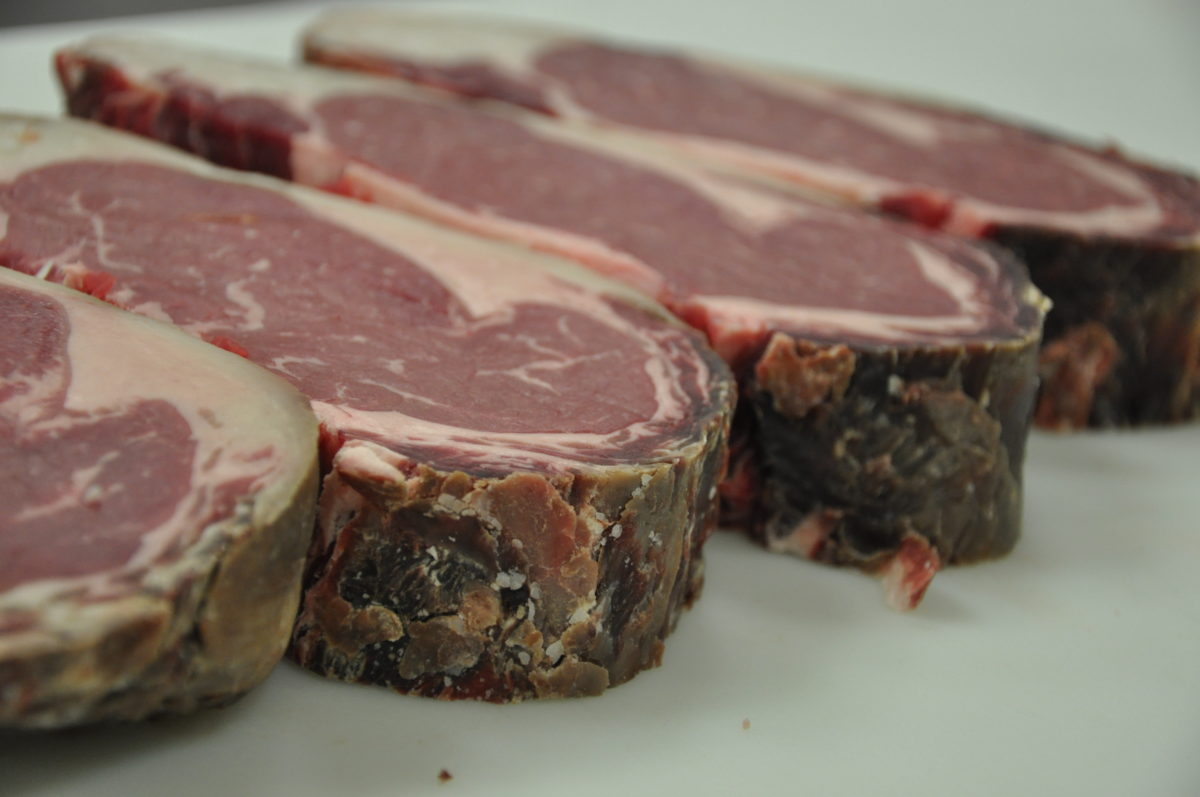
I will never understand how restaurants can get away with charging a hundred bucks for a piece of old beef steak. Sure, it’s delicious, melts in your mouth, but, c’mon, does a man have to sign an arm-and-leg lease to enjoy a good steak? Anyway, should’ve started by saying that I’m a big fan of aged food; cheese, fish, meats.
You name it! The bad news is that these are not the types of foods one can make at home. Or so I thought after stumbling upon this recipe. The funny part is that I was actually looking for a way to clean the freezer without using anything, well, toxic, when this little jewel sprung right into my eyes.
So, why should you try aged meat? Well, because it’s easy to make. On top of that, get this: the oldest beef cut in the world is 13 years old! Imagine having ready-to-eat meat at home without having to brine, refrigerate, go shopping, or hunt. Well, it’s possible, and I’m going to show you how to do it.
So, without further ado, here’s how to make your own aged beef.
Gathering the ingredients
As I’ve said, this recipe doesn’t require any special ingredients like salt, vinegar, or whatever else people use to preserve meat (not touching that topic with a ten-foot pole). Still, the cut of choice will ultimately determine the taste. The recipe I mentioned about involved large cuts of meat – the bigger, the better. Would be a good idea to go to a butcher’s instead of hitting the supermarket. Anywho, avoid small cuts, and choose meats that pack some fat – whole ribs, porterhouse cuts, rib steak, or New York strips.
That’s basically it as far as the ingredients are concerned. For aging, I would advise using a zip-lock bag instead of food wrap – does a better job at keeping the air out; meat should age on its own. The last thing you’ll need is more air.
Arguably, refrigeration’s the best way to go about aged beef, but considering that our grand used to prepare meat long before fridges were invented, I would venture to guess that the root cellar is also a good choice.
As for quantity, a two pounder’s more than enough in my opinion – if you’ve never eater aged meat in your life, better make a smaller batch. Otherwise, you’ll get stuck with something with an extra chunk of meat.
All done gathering your stuff? Great! Let’s get to the ‘cooking’ part.
How to Prepare Aged Beef
Step 1. Prepare the fridge or designate a shelf in the root cellar.
Make sure that fridge’s clean. Stinky food, molding, and, grime will affect the aging process. So, if something smells bad in there, better toss it in the trash. One more thing: remove cheese, garlic, onion, or fish from the shelf assigned to the aged meat. Garlic and onions are fine, but not during the aging process (gives the meat a funny taste).
Step 2. Set temp and check humidity
The funny thing about meat: if it’s kept in above 40 degrees Fahrenheit temps, it will go rotten. On the other hand, if you stick it in a below 32 degrees Fahrenheit enclosure, it will freeze. So, in this case, the sweet spot would be 36 degrees Fahrenheit. Set the fridge’s thermostat accordingly and don’t forget to check the humidity inside (should be around 60%, give or take).
Most modern setups can display values such as temp and humidity. Still, if you have an older model, I would strongly recommend buying a hygrometer (a device that measures indoor humidity). It’s quite affordable and can be used around the house as well.
Step 3. Preparing the meat.
If you decide on paying a visit to your local butcher, ask him to leave the meat as it is; most tend to trim the excess, which is a definite no-no in this case. Wash the meat a couple of times, dry with paper towels or something, and place in a zip-lock bag.
Advice: if you want to hasten the aging process, try wrapping your meat in cheesecloth. Keep in mind that the cloth must be changed each day to prevent sudden dehydration.
Step 4. Store the meat in your fridge or root cellar.
Grab a small oven tray from the pantry, put the meat inside, and stick in the freezer. That’s it! All you need to do now is wait for the meat to age.
Additional considerations on aged meat
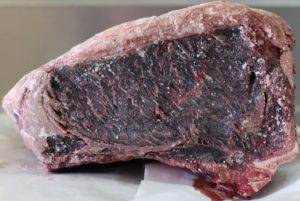
Color’s very important in figuring out how long should the meat age. For instance, if your cut has a darker color to it, the aging process takes anyway from a couple of days to one week (don’t forget to check up it each day). On the other hand, if the beef cut has a lighter color, it needs at least 7 days to age. Still, I wouldn’t advise you to keep it longer than 30 days. Always remember that there’s a fine line between edible aged meat and a spoiled chunk of something.
Another thing to keep in mind is that the fridge’s thermostat might not be able to keep up with the process. When you’re done checking the meat, recheck the temp and humidity.
The whole idea is to allow the meat to dehydrate on its own – that’s why it’s a good idea to turn on the fridge’s fan and to set it on low. In some cases, the in-build fan may not be enough. Not to worry – just grab a laptop or desk fan and place it inside the fridge on the same shelf as your aged meat.
When the aging’s complete, remove the cloth from the meat and set it on a plate. I should warn you though that the meat might give off an unpleasant smell even after removing everything from the fridge. Don’t worry about that – use a knife to cut the outer layer. Leave a little bit of fat.
Now, given the proper conditions, meat can be preserved longer than 30 days. However, if you plan on taking it out of the cloth and ziplock bag, you should eat it within one or two days.
That’s it for how to make aged beef steak. What’s your take on this? Hit the comments sections and let me know.


