HomePosts Tagged "recipe"

Chimichurri (Spanish: [tʃimiˈtʃuri]) is an uncooked sauce used both as an ingredient in cooking and as a table condiment for grilled meat. And yes, this is Argentina’s Favorite Sauce.

Food historians think that chimichurri was invented by gauchos to flavor meat cooked over open fires. If so, the gauchos probably used dried herbs as fresh herbs would spoil.

Argentine in its origins, chimichurri is typically made of finely-chopped parsley, minced garlic, oregano and white vinegar – though there are regional variations, with Uruguay adding red pepper flakes for an added kick. The name’s origin is unclear. Numerous linguists hold the name, chimichurri, as derived from Basque’s tximitxurri, pronounced chee-mee-CHOO-ree; stumbling interpreted as ‘a mix of several things in no special order’. 

Another story claims that the name comes from ‘Jimmy’s curry’, Jimmy, being an Englishman who joined the fight for Argentine Independence. His name, being difficult for Argentines to pronounce, morphed into chimichurri.

Miguel Brasco, an Argentine food critic, believes the word was coined when the British failed in their invasion of Rio de la Plata in 1806 and were taken prisoner. The detainees requested condiments for their food and mixed English with Spanish.

Perbacco chef, Staffan Terje believes that chimichurri is identical to Sicily’s salmoriglio sauce, which is served mainly on seafood.

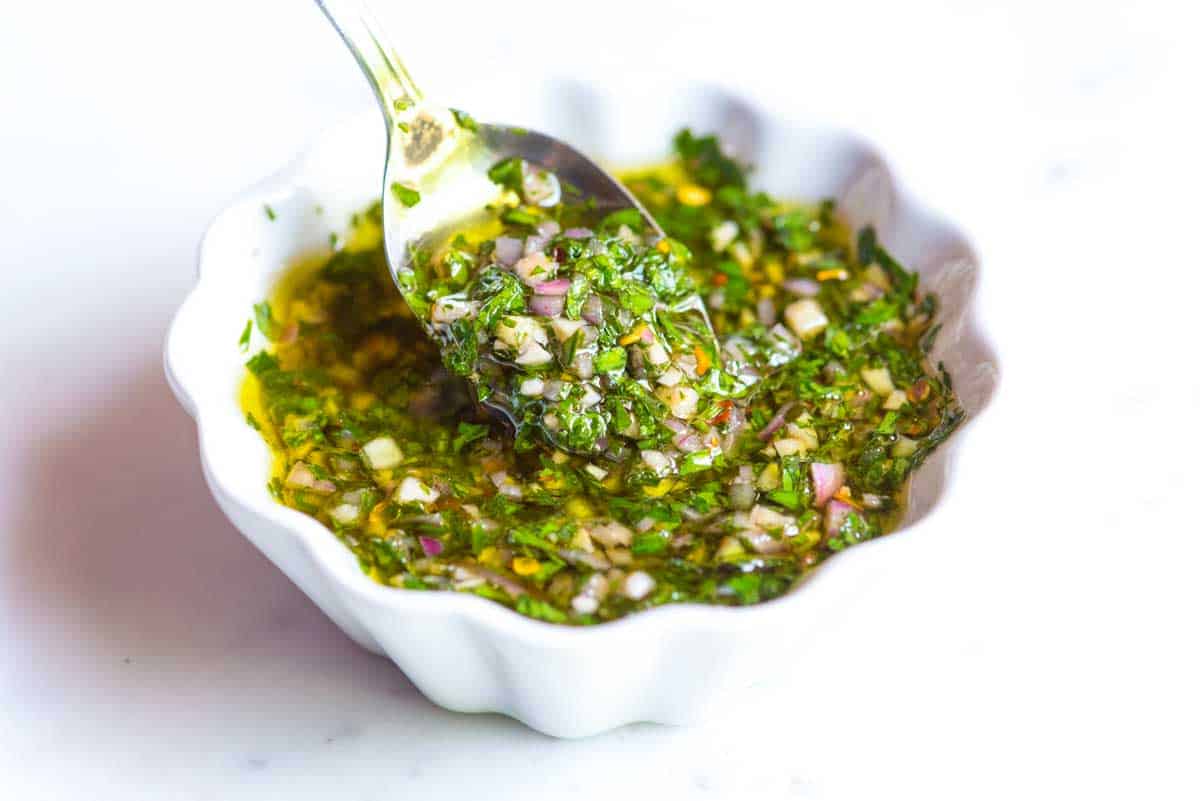
So what is Chimichurri? A zesty, green sauce made with fresh herbs, garlic, vinegar, chili pepper and olive oil that livens up pretty much anything you throw at it.

Let’s be honest, jalapeño Chimichurri is perfect as a topping for a grilled steak or a relish for lamb or chicken. Or served with tortilla chips.

When your garden is overflowing with peppers and summer herbs, whip up a batch of jalapeño chimichurri then store it in your fridge or freezer to keep those summer flavors alive all year round!

It’s as versatile as your favorite white t-shirt. You can use it 100 different ways. Steak, shrimp, fish, vegetables and chicken all love it — especially if they’re grilled or roasted. It even passes tossed with pasta or spooned over fresh tomato slices. Stirring it into scrambled eggs is a good idea, too.

But I promised you a recipe. Here’s we go.

Remember – you can make the sauce by hand or with the help of a bender or food processor. By hand works perfectly fine, it just means the sauce will have a bit more texture. The food processor makes quick work of things so choose whichever method you like best.

MAKES 1 CUP

YOU’LL NEED

1/4 cup vinegar or lemon juice
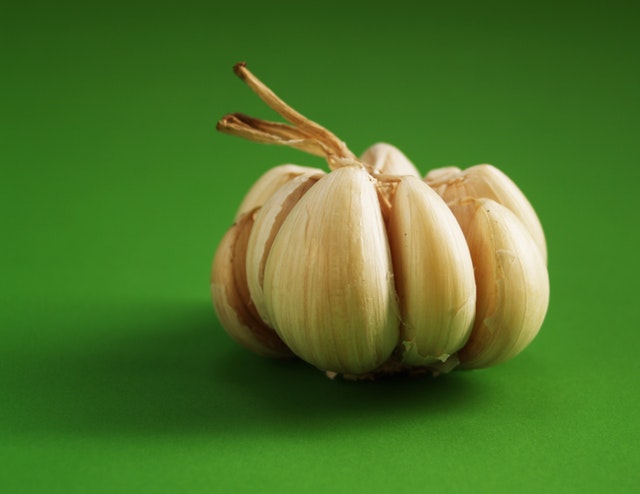
3 cloves garlic
1 jalapeño, halved and seeded
1/2 cup fresh parsley or cilantro leaves
2 Tbsp. fresh oregano
Pinch of chili flakes
Pinch of salt
1/4 cup extra virgin olive oil
Ice cubes

HOW TO MAKE IT

  1. Place vinegar or lemon juice, garlic, jalapeño, resh parsley and or cilantro leaves, fresh oregano, and a chili flakes, and a large pinch of salt in a blender.
  2. Pulse a few times to start then blend on medium speed. Slowly add extra virgin olive oil and 2 to 3 ice cubes. Puree until smooth.
  3. Scrape down the sides if necessary. Season with additional salt and chili flakes to taste. Serve over grilled fish, chicken, steak, pork, or veggies!
  4. Transfer any leftovers to a glass or plastic container with a tight-fitting lid. Store up to 2 weeks in the refrigerator.


Chef’s tip: Divide the jalapeño chimichurri into ice cube trays and freeze and use 1 to 2 cubes as desired per recipe.

corn tomato chimichurri salsa
Courtesy of Claudia Sidoti

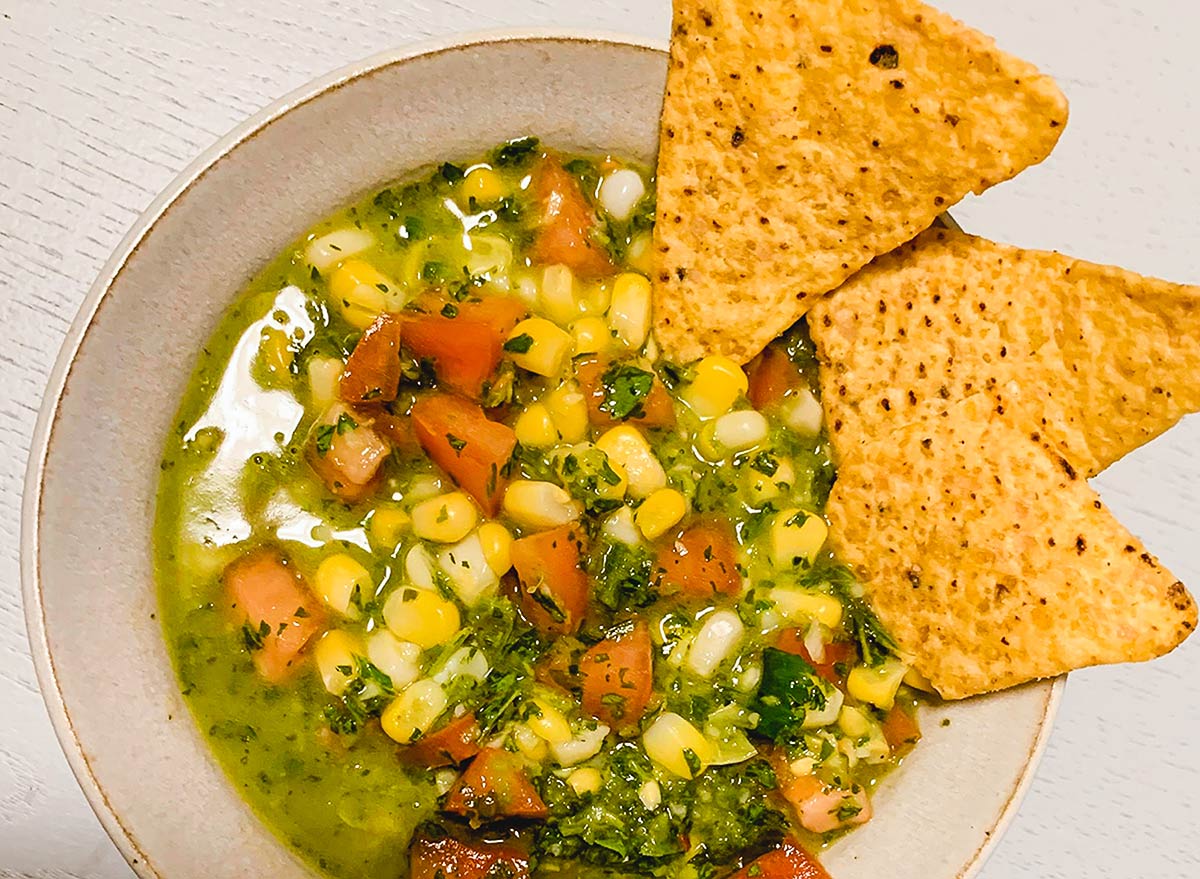
Turn your jalapeño chimichurri into a fresh corn & tomato salsa and stir in 1 large diced tomato and 1 cup fresh charred corn kernels! Serve with tortilla chips. 


Until next time, enjoy this perfect Summer Jalapeño Chimichurri.


Article’s Source  

Food historians think this sauce was invented by gauchos to flavor meat cooked over open fires.

My great granny made her eggs just like this. I loved to spend the night with her when I was little so she could make me breakfast.

She had a little cast iron skillet on a hob and she stirred and stirred and stirred until they were perfect golden little blobs floating in butter. The crunch at the first bite says it all, perfectly toasted bread goes a long way with scrambled eggs.

Watch this and then I’ll probably see you in the kitchen.

No way they could have known that over 250 years later, their recipe would be shown to over a million viewers worldwide.

Garlic and honey are two wonderful ingredients from nature. Both of these have strong anti-inflammatory properties and are great as a home remedy for fighting both colds and the flu.

Besides having strong anti-inflammatory properties, honey and garlic are also good for your immune system. So, at the first sign of flu, grab this garlic-infused honey, or even garlic clove, and suppress those viruses that are trying to make you ill. Garlic is filled with allicin, a compound known to have anti-microbial and even anti-cancer properties.

Homemade Fermented Honey Garlic
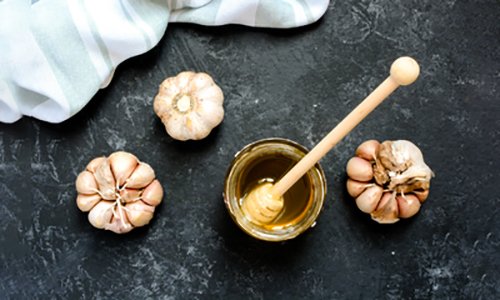
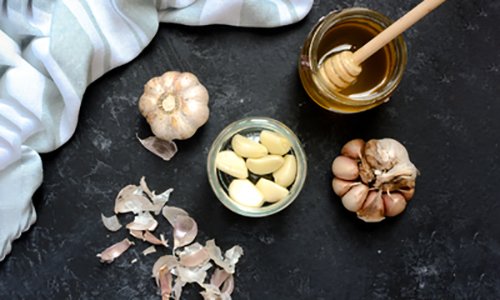
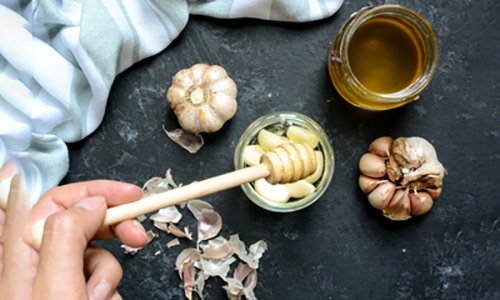
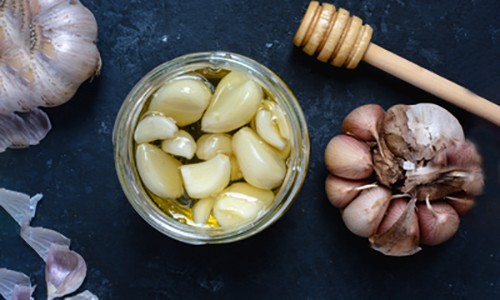
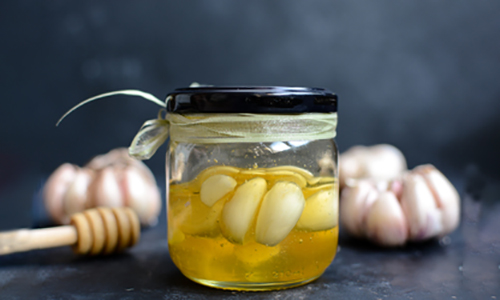
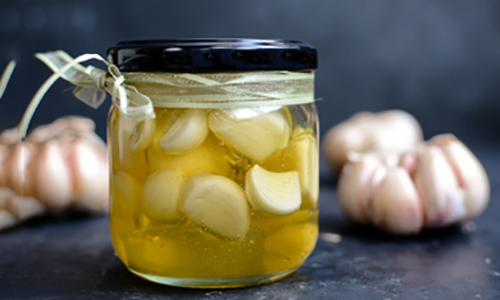
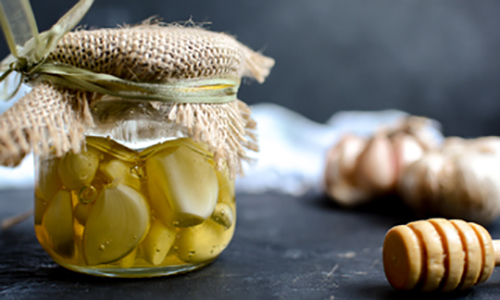
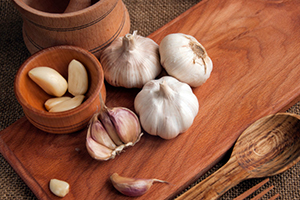
The antibiotic quantities of garlic appear to be a direct result of allicin. The allicin is very sensitive, however, and cooking or heat treatment may destroy its benefits. The best way to get that allicin is by consuming the raw garlic, but many people cannot stand the smell or taste of it.

Although it has been shown through clinical studies that garlic can reduce the number of colds by 63% and reduce the length of cold symptoms by 70%, the overpowering flavor of garlic is just a deal breaker for some.

Luckily, honey is something almost everyone enjoys. As stated above, honey has strong anti-inflammatory properties but is also anti-viral and anti-fungal. Of course, as we all know, honey has a great flavor, and this natural delicacy can make even garlic taste better.


The combo of honey and garlic makes the garlic more palatable and easier for us to use. Besides, when infused with honey, the garlic properties become even more potent while at the same time improving the benefits of the honey.

The recipe for this remedy is very simple, and over time, the mixture will taste better. The garlic is ready to eat after a few days, but as time passes, it will develop complex flavors. In no time, you will not only love this flavor but also enjoy it as an addition to your pasta or pizza or smeared over warm toast.

Fermented Honey Garlic Recipe

Preparation time: 15 minutes + inactive time

Serving size: 2 ½ cups

Ingredients:

  • 1 cup garlic cloves, peeled;
  • 1 ½ cups honey (I used acacia.).

Instructions:

#1. Gather your ingredients.Homemade Fermented Honey Garlic

#2. Peel the garlic and place it into a clean jar.

Homemade Fermented Honey Garlic


#3. Drizzle the honey over the garlic. You can pour the honey directly over the garlic or drizzle in by using the wooden honey spoon. Do not use a metal spoon as the honey has an acidic pH and reacts with metallic surfaces. This reaction may damage the honey.*

Homemade Fermented Honey Garlic

#4. Once the garlic is covered with the honey, place a lid on the jar.

Homemade Fermented Honey Garlic

#5. Make sure the cloves are covered in honey. You can flip the closed jar upside down and place it in a dark place.


Homemade Fermented Honey Garlic

#6. Within a few days, the fermentation will begin. Bubbles will appear.** This is the first sign your garlic is ready to consume. (Of course, you can wait a few days more or even weeks, until the honey is thinned down and garlic drops to the bottom of the jar).

Homemade Fermented Honey Garlic

#7. At this point, you can store your fermented garlic in a dark place (not the fridge) and let it age.

Homemade Fermented Honey Garlic

NOTE:

*Although you are only touching the honey with a metal spoon for a short time, you still do not want to risk any honey spoilage or destroying its natural healing properties.

**If your fermentation does not begin, you may have too much honey. In that case, add a splash of water (about a tablespoon) and close the lid again.


Other self-sufficiency and preparedness solutions recommended for you:

The vital self-sufficiency lessons our great grand-fathers left us

Knowledge to survive any medical crisis situation

Liberal’s hidden agenda: more than just your guns

Build yourself the only unlimited water source you’ll ever need

4 Important Forgotten Skills used by our Ancestors that can help you in any crisis

Secure your privacy in just 10 simple steps

Garlic and honey are two wonderful ingredients from nature. Both of these have strong anti-inflammatory properties and are great as a home remedy for fighting both colds and the flu. Besides

Why compost or throw out those old brown bananas when you can have the smell of delicious banana oat bread wafting through your house in about an hour?  The prep time on this recipe is less than ten minutes and utilizes stuff you likely have in your pantry right now.  The use of quick oats is a healthy, satisfying addition that I love.

If you don’t have an hour to wait for the baking, your overripe bananas will freeze perfectly, allowing you to use them whenever you’re ready.  You can use whatever kind of flour and oil you prefer, and even sweeten with honey instead of white or brown sugar.

Here’s what you’ll need:

  • 1 c. flour
  • 1 c. quick oats
  • 1 t. baking soda
  • 1/4 t. salt
  • 1/2 c. oil
  • 3/4 c. sugar or honey
  • 2 eggs, beaten
  • 3 overripe bananas, mashed
  • 1 c. raisins or nuts (optional)

First off, preheat your oven to 350° and flour a 9×5 loaf pan.

Mix your flour, oats, baking soda, and salt in a small bowl and set aside.

In a large bowl, mash your bananas and add your sugar or honey, oil, and eggs and stir until well blended.

Finally, add the dry ingredients into the banana mixture and blend thoroughly.  If you want raisins or nuts, now is the time to add them.

Pour into your greased and floured pan and bake for 60-70 minutes until a toothpick inserted in the center comes out clean.

That’s it… just let it cool for ten minutes or so and dig in!  Mmmmm… banana bread.


Other self-sufficiency and preparedness solutions recommended for you:

Healthy Soil + Healthy Plants = Healthy You

The vital self-sufficiency lessons our great grand-fathers left us

Knowledge to survive any medical crisis situation

Liberal’s hidden agenda: more than just your guns

Build yourself the only unlimited water source you’ll ever need

4 Important Forgotten Skills used by our Ancestors that can help you in any crisis

Secure your privacy in just 10 simple steps

Why compost or throw out those old brown bananas when you can have the smell of delicious banana oat bread wafting through your house in about an hour?  The prep