7 Survival Skills You Should Know
Disasters and emergency situations are a part of our lives. You may not plan on getting lost in the wilderness while heading out on adventure plans, but it can happen to any of us. You may lose your way or get in an accident and end up in the wilderness.
Now, it is all about how you respond to such a situation that plays a significant role in your survival. With the right skills and knowledge, your chances of surviving the emergency situation will be high. Having a positive attitude will greatly increase your chances of finding solutions to problems that can occur in a survival situation. The key is to put your knowledge to use and create your master plan for survival in the wilderness.
While it is nice to have all the tools, food and water along with you, you may lose your basic survival kit and would have to survive the emergency situation with nothing except the tools in our head. No matter how scared and alone you may feel, optimism makes a big difference and impacts your ability to handle the survival situation.
This article is about all the skills you need to learn and remember that can help save your life in any wilderness survival situation. Having a working knowledge of these skills will improve your ability to survive in the wilderness drastically. You may not have any equipment with you, but with the right knowledge of the below-mentioned skill you will still do fine.
This survival guide ensures that you are physically and mentally prepared to face any situation without any tools with you and help yourself at all times. Learning these skills can help you make it through most dangerous survival situations and bring you back home safely.
There are a number of skills but the seven survival skills mentioned below are the most basic ones that you should be mastering first because these are the skills that will help keep you safe for a longer time until you are rescued.
Making Fire
It is important to keep the wind direction and the surrounding area in mind when trying to start a fire.
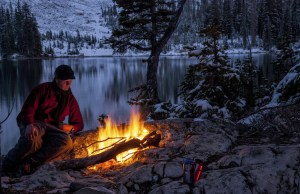
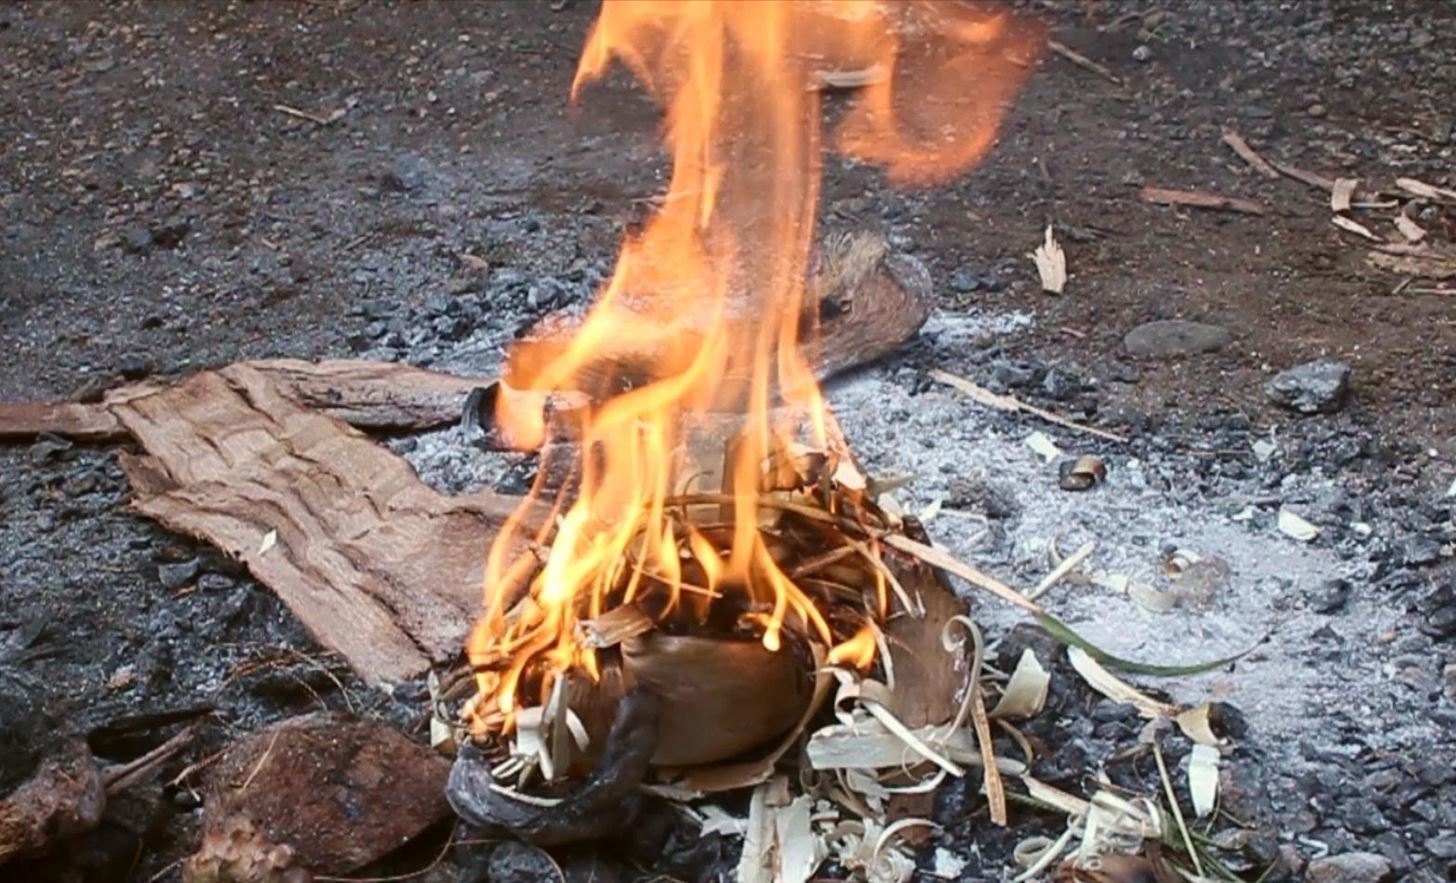
The first survival skill you must know is how to make a fire. Knowing how to build a fire that burns through the night is crucial. Fire provides you heat, light and smoke keeps you warm and comforts you during the night. You can use it to cook food, purify water, as a signal for help, as a source of light, to see in the dark, make tools and also for keeping critters away. It also creates a sense of security and safety.
When traveling in the wilderness, it is always better to carry a few fire-starting tools like lighter, matches, firesteel, etc. You could also light a fire with the help of eyeglasses, water bottles, and cell phone batteries. In case you do not have any of these available then fire by friction is the most effective technique that you can use.
There are various other methods of starting a fire with a bow drill, flint, and steel, fire plow, fire saw, hand drill, etc., depending on what resources you find around you. It is important to keep the wind direction and the surrounding area in mind when trying to start a fire. Make the fire away from hanging branches, stumps, logs, dry grass, and leaves as it could turn out to be dangerous.
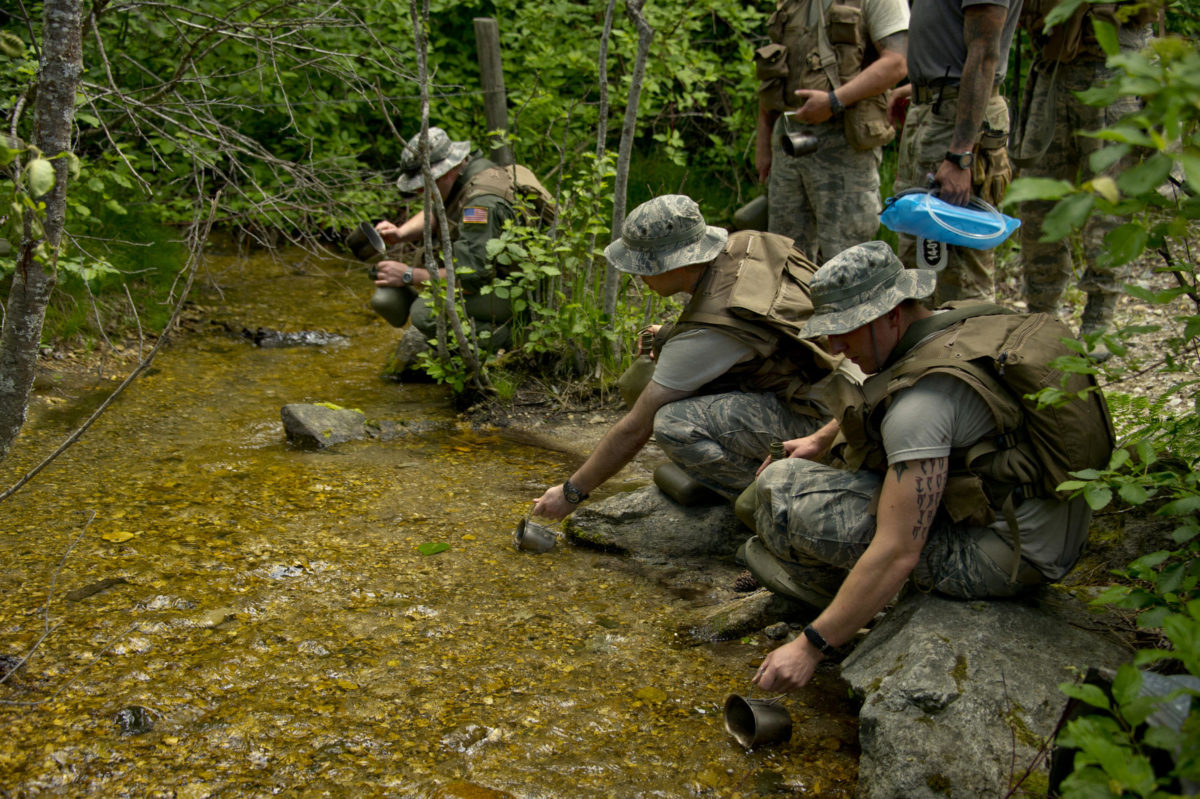
Finding and Purifying Water
Finding water will be mostly dependent on the surroundings you are in.
The next most important priority is water. Finding and purifying water is of primary concern in a wilderness survival situation. The best sources for drinking water in a wilderness are springs, headwater streams, and morning dew. You can find water by following the sound of a flowing river or grazing animals.
Finding water will be mostly dependent on the surroundings you are in. Large plastic bags can draw water from tree leaves; you can tap a tree to get some water. Dew on the grass is another brilliant source of water; you can collect water by running a piece of cloth through the grass. In the desert area, you can find water by digging up a dry creek bed. Stagnant water is not suitable for drinking even if you boil it.
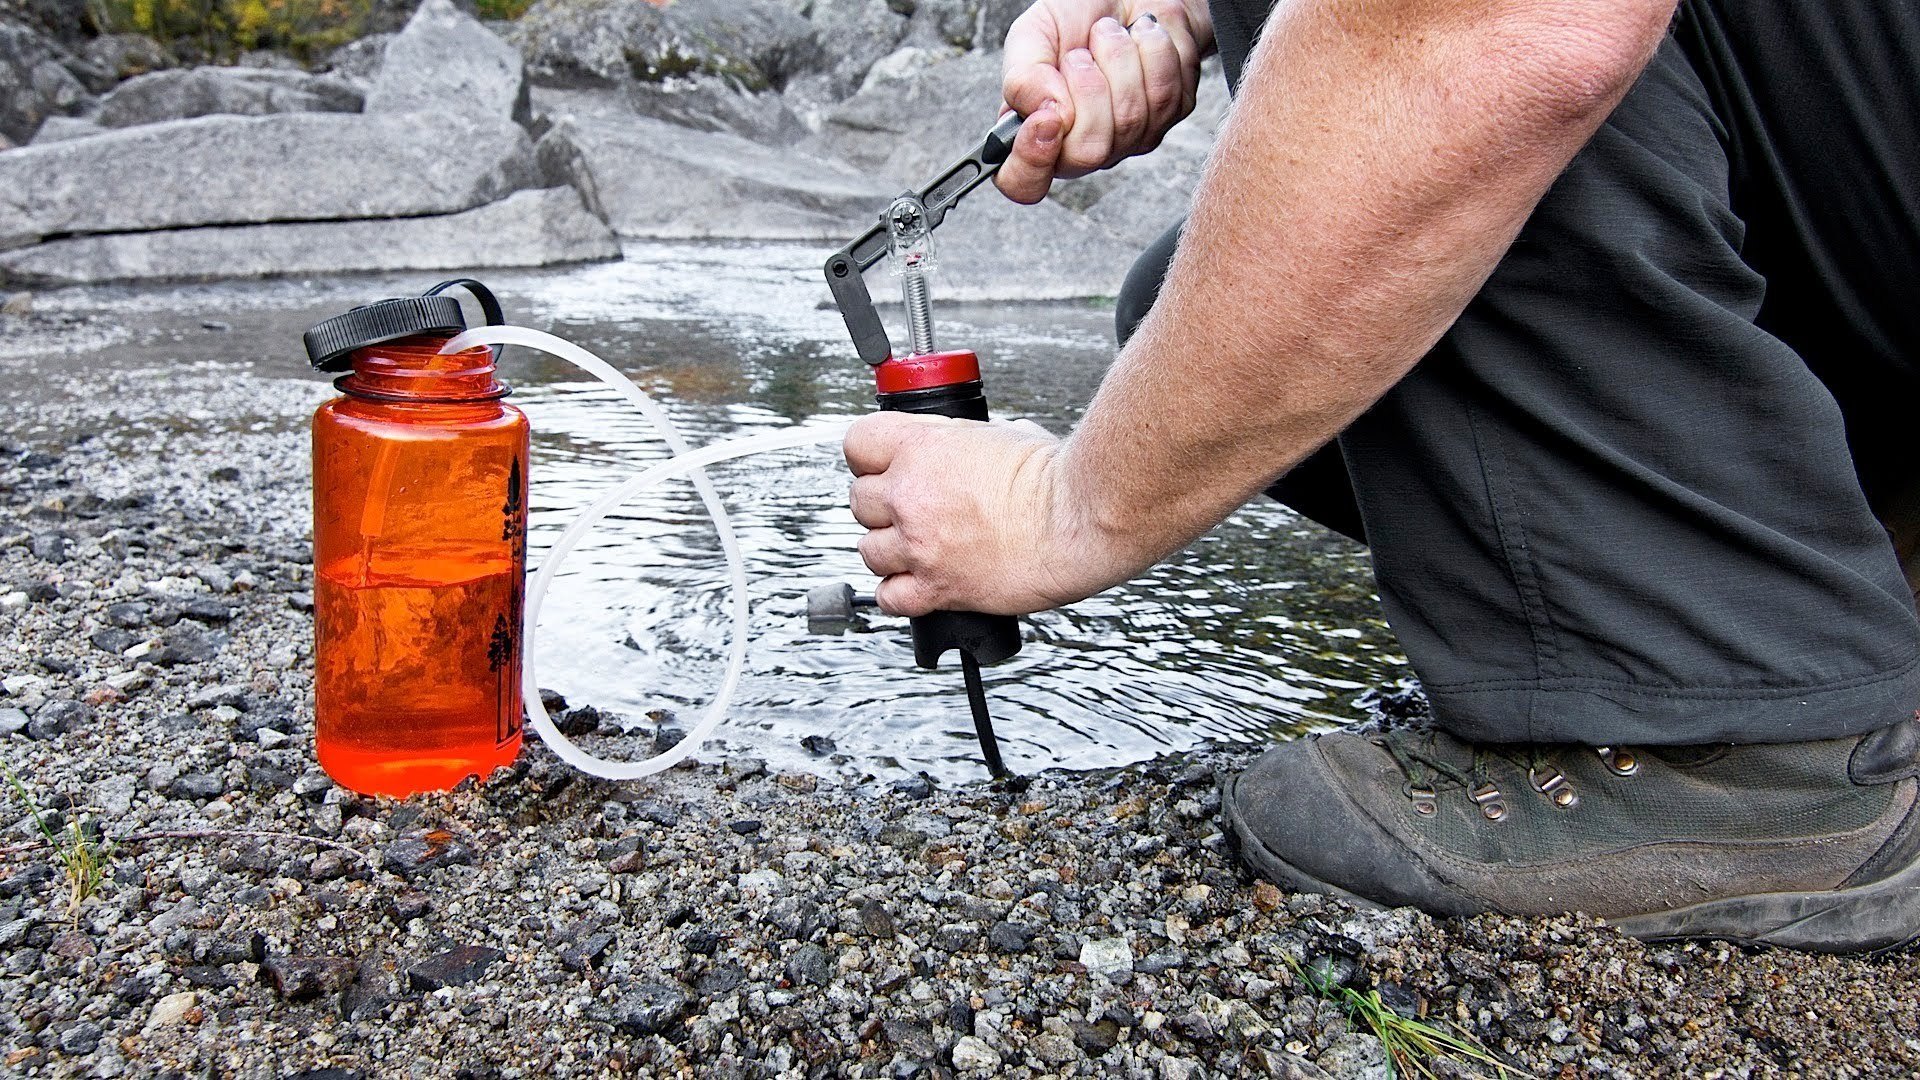
Once you have found water, purifying it is another task. You can purify water by either boiling or filter it.
If you have a fire then boiling is the best way to purify water. Even if you don’t have a container to put water in, you can heat up some rocks, drop them into the water and let it boil for 2-3 minutes.
For filtering, allow the water to stand till the mud settles to the bottom and then you can use any cloth to strain out remaining silt.
Building Shelter
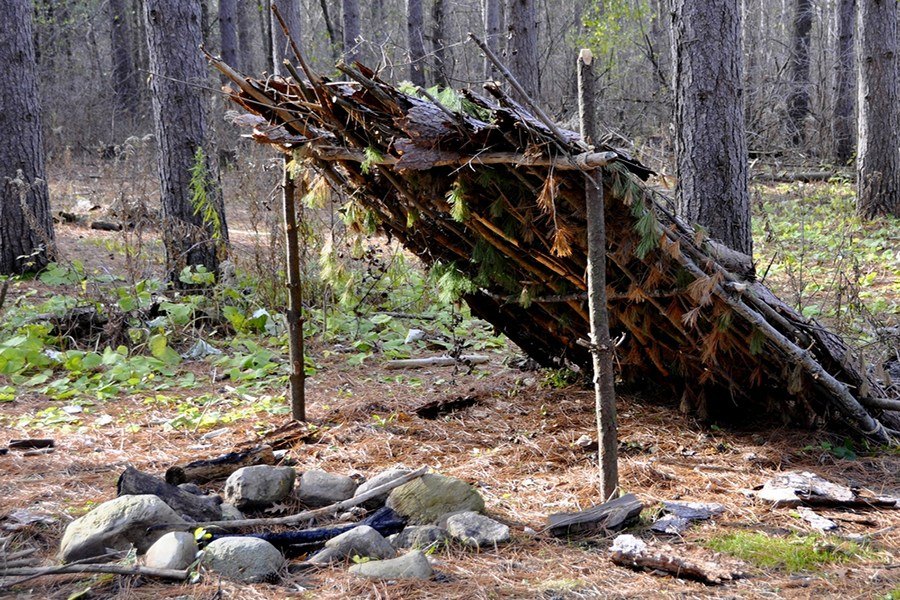
You can collect materials that could be put together as a rough shelter to help you get through until help reaches you.
You are going to need a shelter at some point until you are rescued. You should at least carry a tarp in your kit, if not a tent. A tarp could be a lifesaver when stuffed with leaves or grass as a barrier from the wind, snow or rain. In case you lose your bag, you can build your shelter as long as you can collect materials that could be put together as a rough shelter to help you get through until help reaches you.
Being able to build a shelter is vital in a wilderness survival situation. You need to consider the location before planning to build a shelter. A good survival shelter must block all the outside elements and protect you from the ground, freezing temperatures, heat, winds that insulate cold or heat, snow, driving sleet and rains.
There are various kinds of natural shelters to consider such as caves, hollow stumps, and logs. You can also build shelters such as a debris hut, lean-to, scout pit, snow shelter, etc., The type of shelter depends on the supplies available to you. The debris hut is the most practical and easiest to construct in almost any environment.
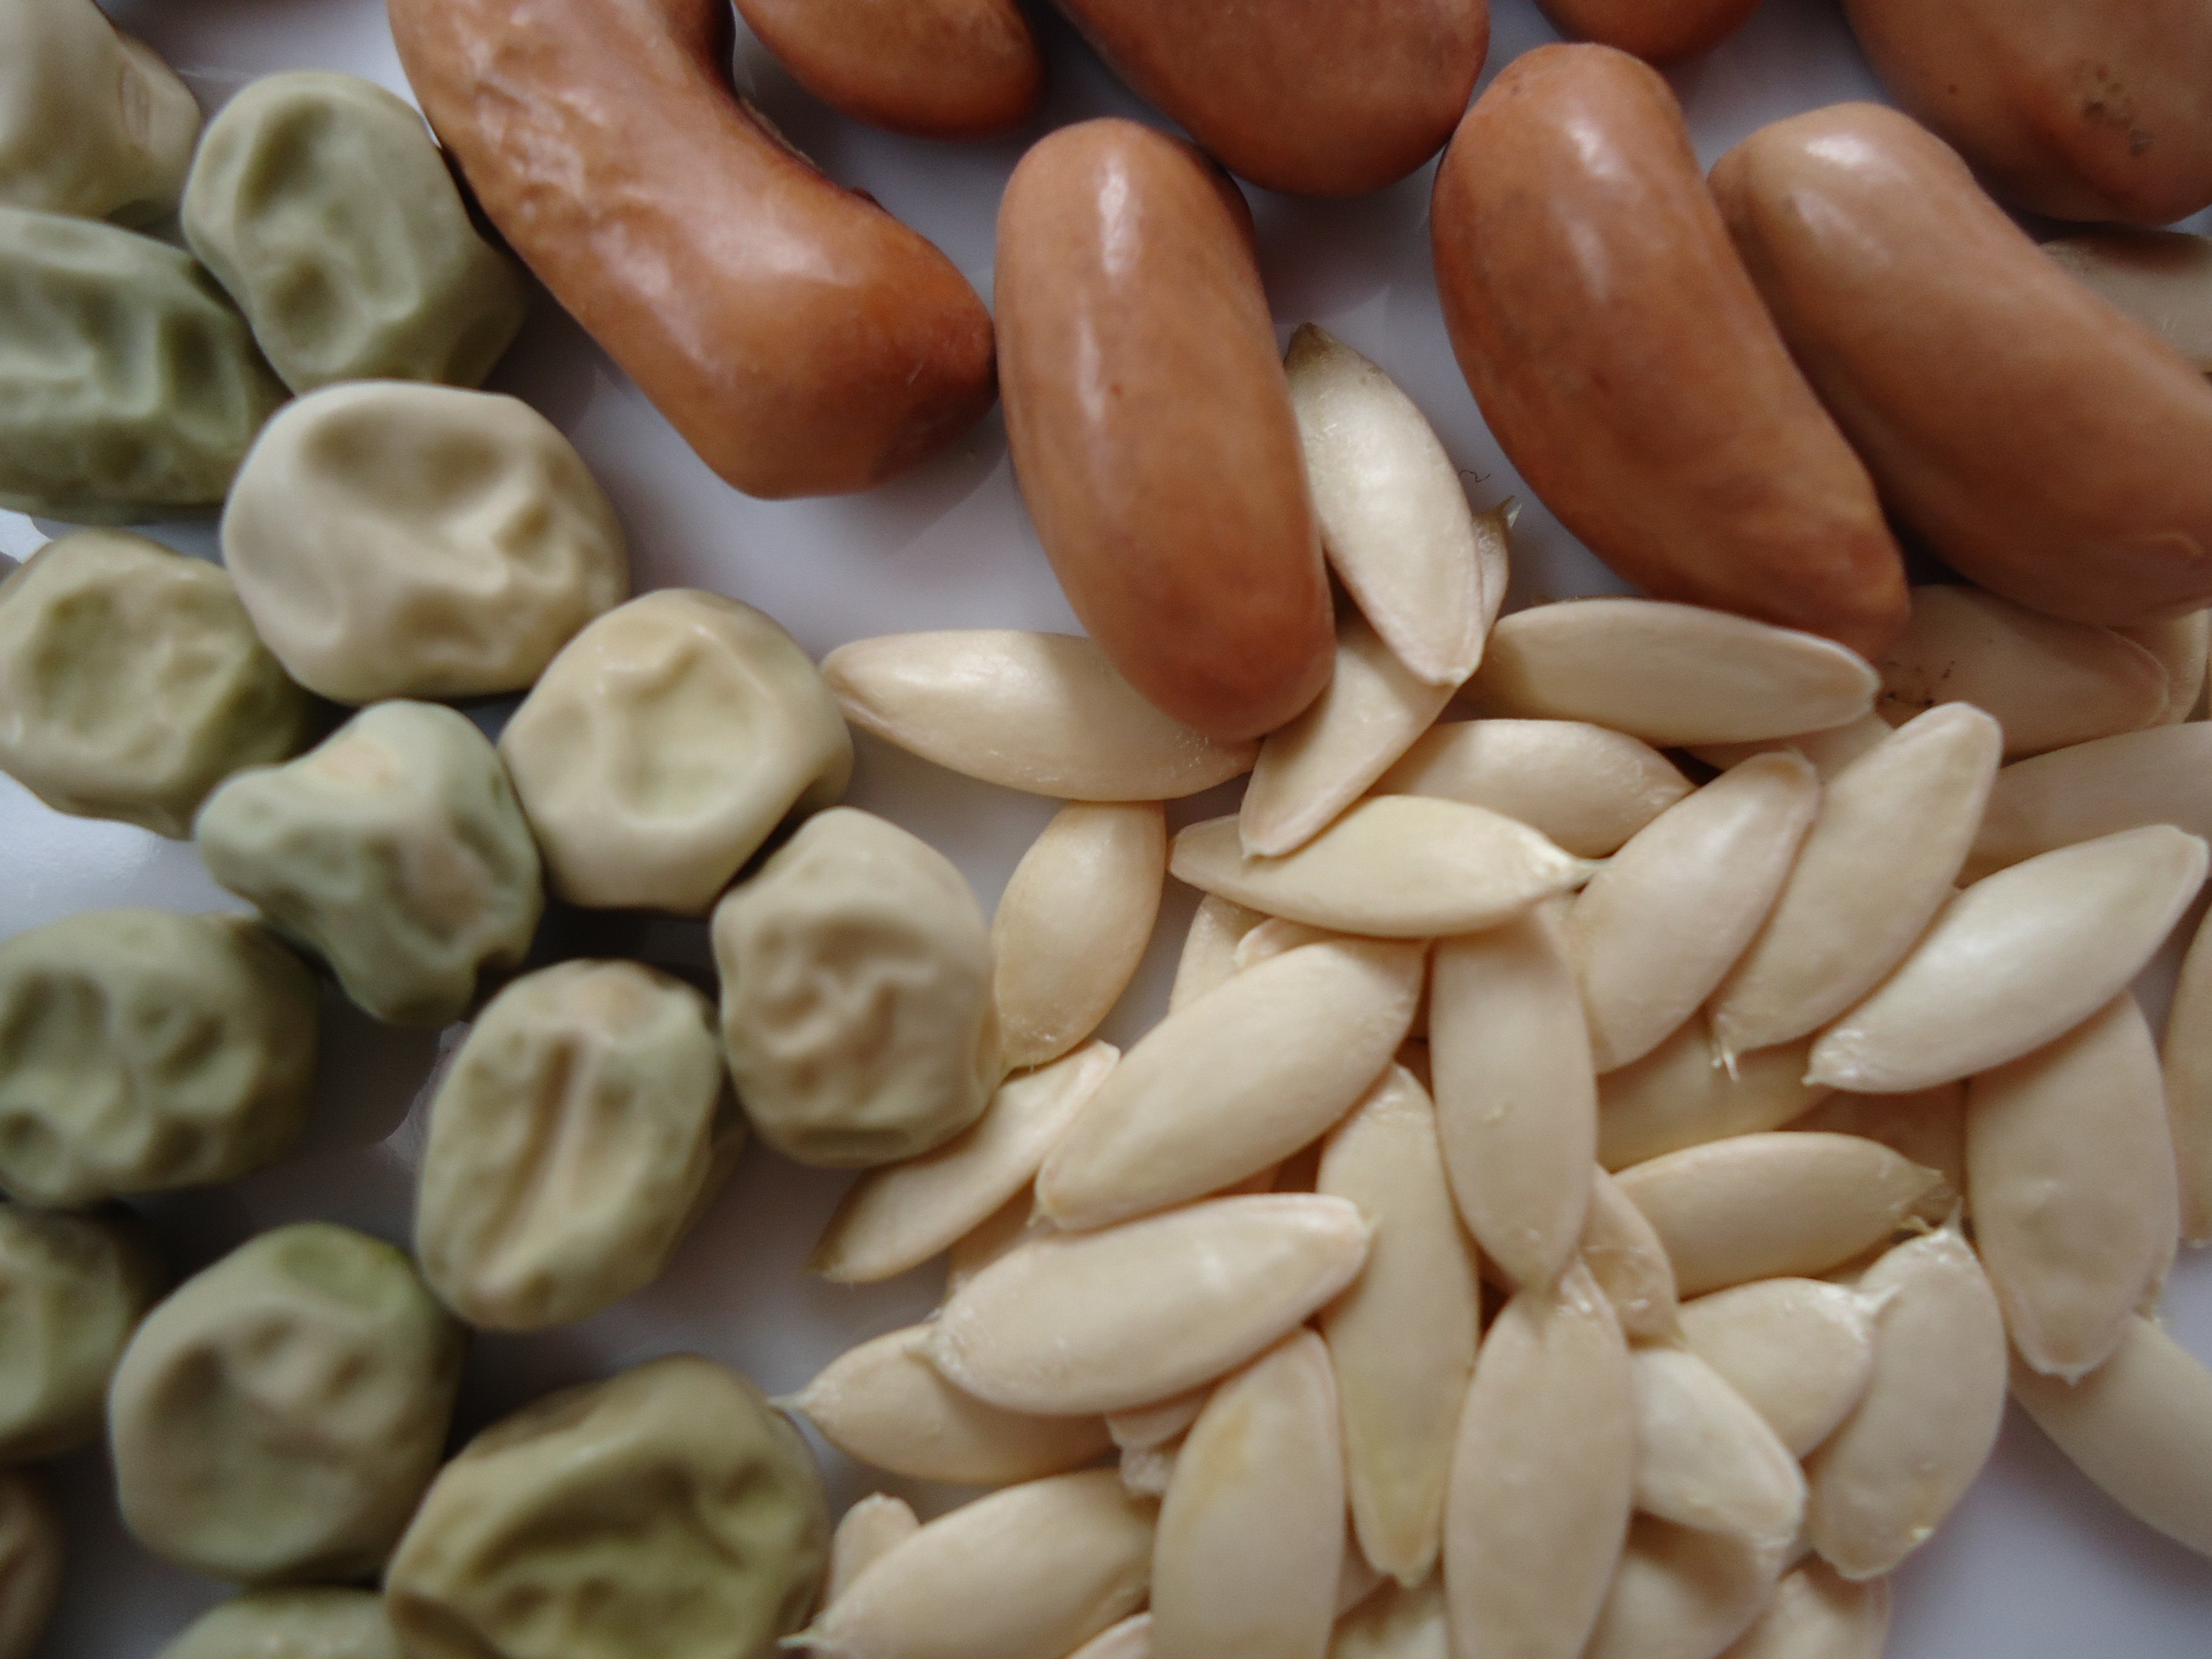
Finding Food
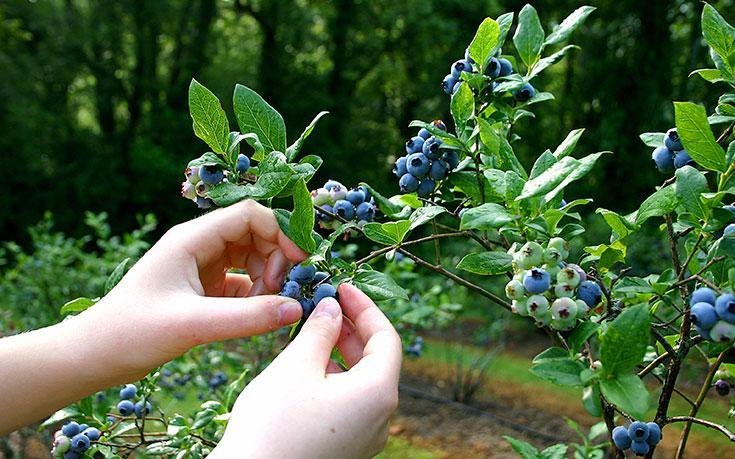
If you do not have any food with you, you will have to find something to eat
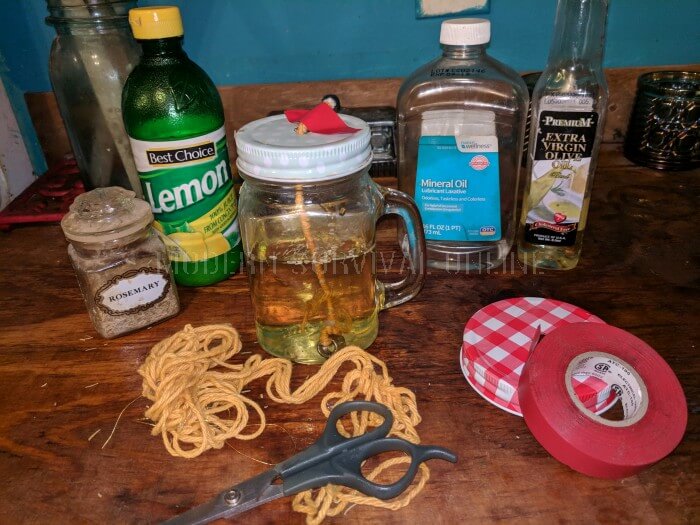
Food might not top the survival essentials list, but it is equally important as you will start to lose strength if you do not eat for a long time. It is wise to keep a small container of olive oil as it is packed with a huge amount of calories and can be used for other things as well. But if you do not have any food with you, you will have to find something to eat. Fishes, small animals, plants, and berries are some options that you can look for in the wilderness.
Most of the natural environments are filled with all these and various other foods. If you are around a lake or a river, fishing could be the best option in any survival situation. Hunting small animals with snare traps could also be considered if placed at the right spot.
Plants are another natural and best options that can satisfy your hunger during survival. But it is very important to identify any plant you plan to consume. Do not eat unless you are not sure about the plant as many plants can be poisonous. The best and readily available options are acorns from Oak tree, nut and inner bark from Pine tree, stalk, root and tuber from the Cattail of the grass.
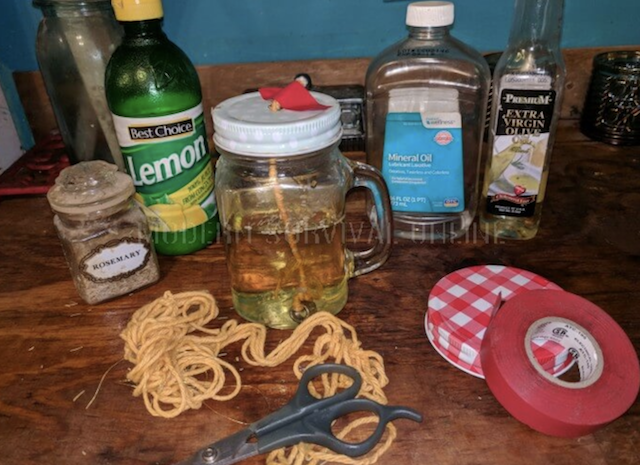
Paracord Use and Paracord Knots
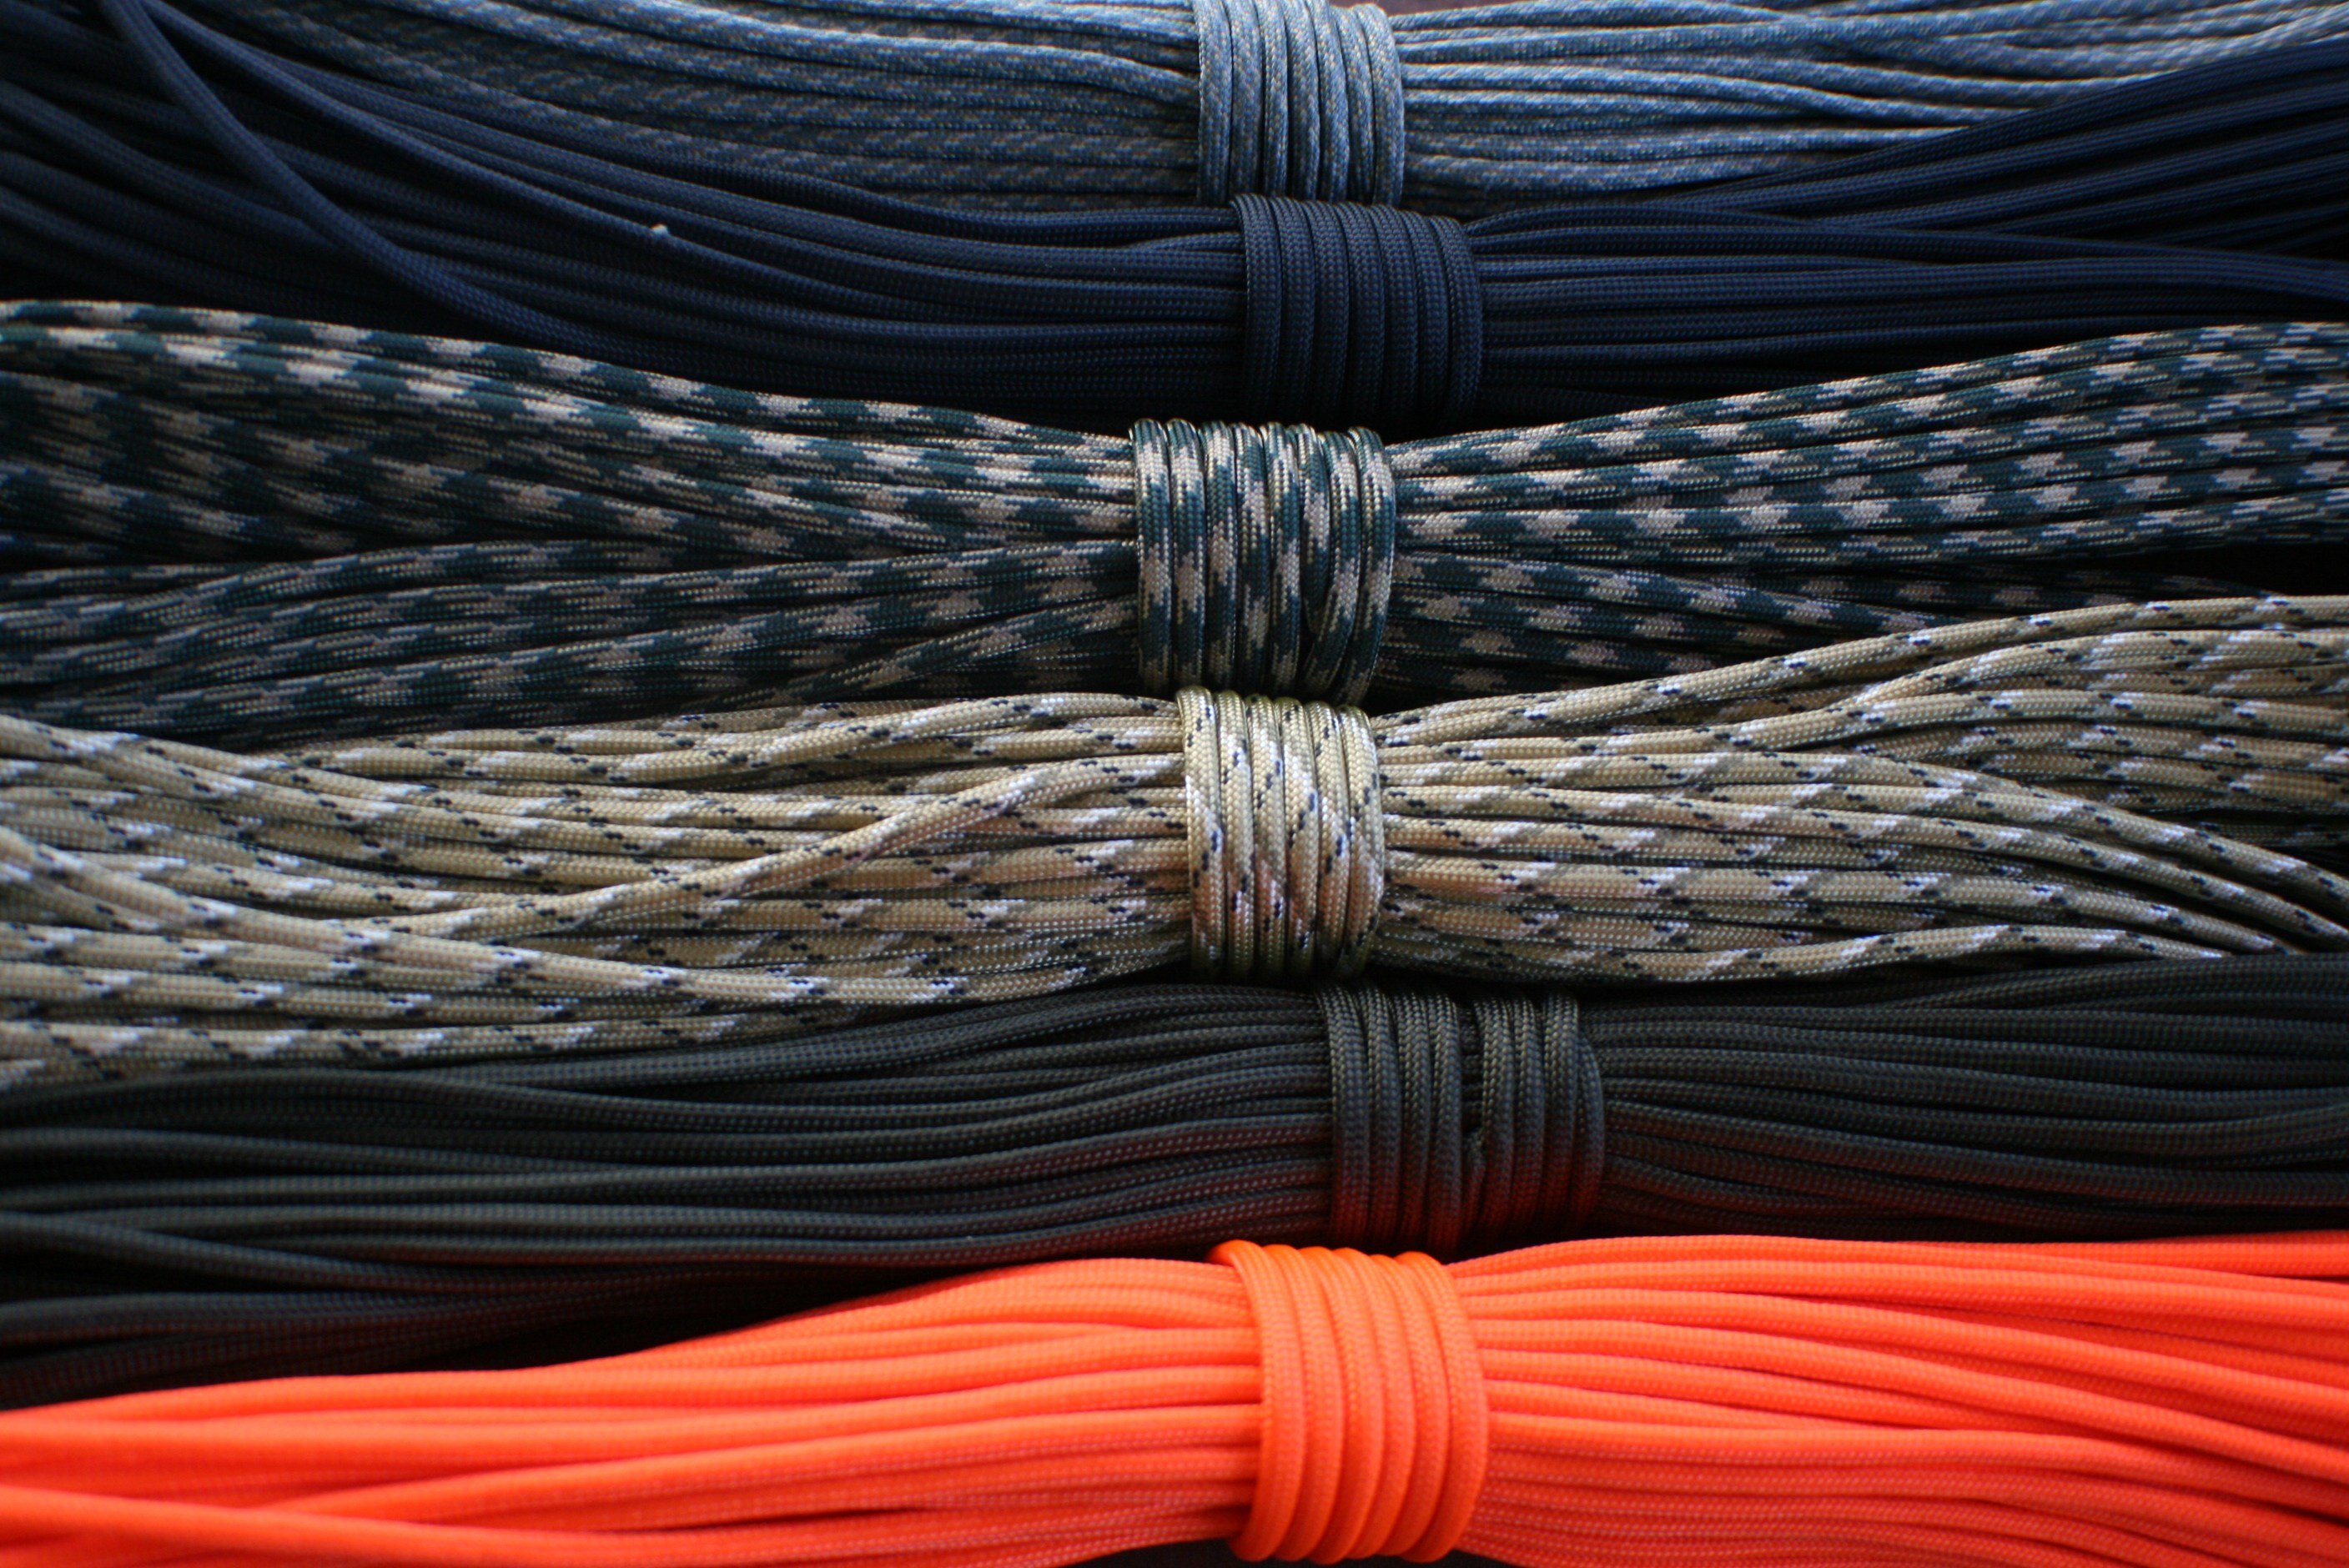
There are extensive uses of this survival tool like building shelter, making fire bow, snares, fishing lines, and stringer, securing an animal, building raft, ladder, etc.
Paracord is a very important survival tool that should always be kept handy. It is made of nylon, and it gives incredible strength and durability that can accomplish a variety of tasks. It is made in a braided form and can hold up to 550 pounds of weight. It is quick drying and resistant to rotting.
Paracord could be used in almost any wilderness survival situation. Paracord can be used intact, or the inner strands of it can also be separated and used for any work. There are extensive uses of this survival tool like building shelter, making fire bow, snares, fishing lines, and stringer, securing an animal, building raft, ladder, etc.
There are some cool Paracord projects that you can try yourself.
Paracord also has many uses in first aid and can be used as a signaling tool as well. All these abilities make paracord a powerful weapon.
Paracord Knot tying is another essential skill in survival techniques. It is a fast & easy way to make a quick safety harness. There is a kind of knot for every survival situation. There are numerous ways of tying paracord knots but taut-line hitch, figure eight knot, square knot, clove hitch and bowline are the most important and widely used paracord knots in any survival situation.
Self Defense
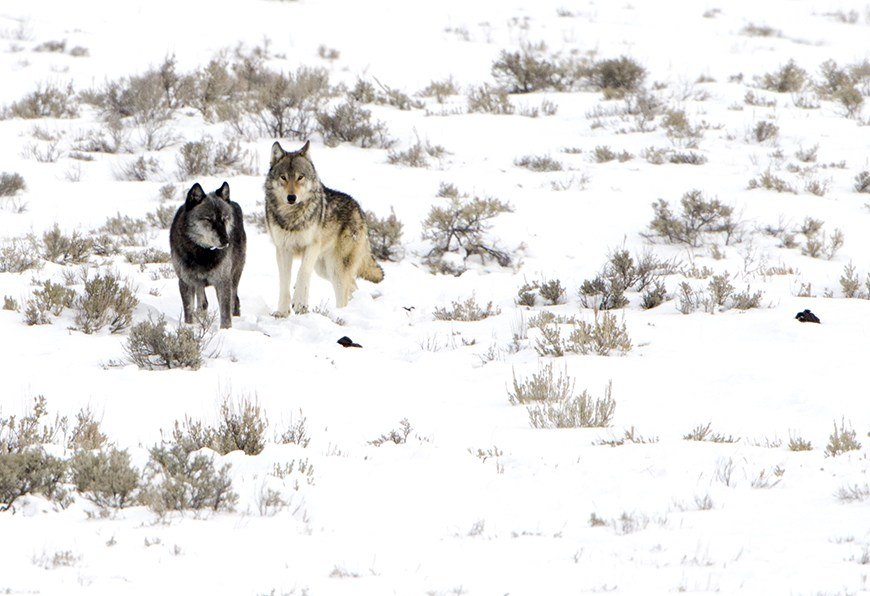
Self-defense is another very important skill in any wilderness survival situations. It is always recommended to carry a few tools or some weapon with you like a knife or pocket saw or any other sharp object that you can protect yourself with. If you do not have any of these, then you can probably make a weapon with the resources and materials available to you. You can find many potential weapons in the wilderness.
Self-defense weapons could be anything like a sharpened stick, branch, or a club or bow and arrow or an axe or simply a piece of rock. You can make a war club or an axe by using a sharp rock and a branch of the tree. All these could be a defensive weapon even in the most untrained hands in survival situations.
If you are at risk from any animal, do not panic or run away from it. It is better to face the animal and get away from it slowly. Throw anything that you can find at it. In case the animal attacks you, try to block its mouth with your non-dominant hand and smash its snout or directly hit it in the eye. Once the animal is temporarily disabled, run to find something that you can hide in. Arm yourself with any sharpened object that you can attack the animal with.
Learn to Communicate
Survival is your priority, but you also need to be rescued. One of the skills required in any survival situation to be rescued is to communicate. Communication is the key, and proper signaling plays an important role. Signaling is drawing attention. The rescuer must be able to recognize your signals and so you need to know effective communication skills.
Considering some wilderness places might not have cell coverage, you can use the following ways to communicate.
- Construct unnatural objects that do not sync with the surrounding area and are easily noticeable. Use colors, materials, and shapes that can draw the rescuer’s attention.
- A mirror can be used to reflect during the day. Aluminum foil, watches, silver parts on credit cards or anything shiny can also be used.
- At night flares, torch and flashlights work best.
- You can build a signal fire at a certain height in an open space and keep it ready to be lit instantly as you notice any plane or a helicopter.
- A wave is considered as a signal to not land. Instead, form your arms in a “Y” shape indicating that you need help.
- Wave your arms or a t-shirt attached to a branch of a tree vigorously; your movement will be noticeable.
- Radio is surest and fastest way of communication. Learn how to operate and be familiar with the radios in your unit.
- Whistles are another sure communicating tool that can be heard from far away. Always try to carry a whistle with you or learn how to whistle.
- If you’re moving, it is better to leave some things behind as a signal at prominent clearings.
By maintaining a positive attitude and with the help of the above survival techniques you can not only successfully survive any wilderness situation but also you can get yourself out safely. For any situation Prepare, Adapt and overcome is the key to succeeding.
Disasters and emergency situations are a part of our lives. You may not plan on getting lost in the wilderness while heading out on adventure plans, but it can happen