Ultralight Get Home Bag List
This is my stab at a Get Home Bag after reading endless posts and recommendations, as well as experimenting with my camping gear. The total weight of my personal get-home bag, minus water and handguns is 13.7 Lb.
There are a number of criteria I considered during this exercise:
- Distance – how far will I likely need to travel?
- Why – why am I’m being forced to walk home anyway?
- Terrain – lakes, streams, rivers, roadways, built-up areas, residential areas, and sub-divisions.
- Climate – Piedmont area of the Carolina’s, although I travel through the Appalachians and further south on occasion.
- Flora/fauna – what sort of natural resources are available?
- Most importantly – My own aching back.
Distance – Daily commute is 32 miles each way, although the straight line is significantly less.
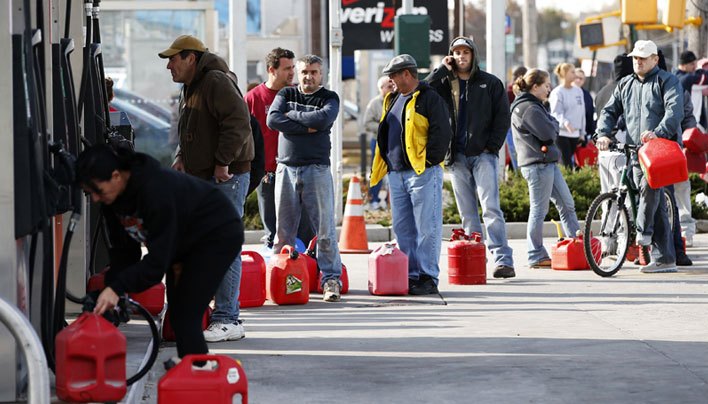
Why – The only reason to be hiking home would be due to some regional or larger disaster. This area takes hurricanes in stride, although an inch of snow will bring the place to a standstill. So WHY implies the roads are down for the duration, IE: I can’t just camp out and wait for the government to unscrew whatever has been screwed up. We don’t get earthquakes, and snow does eventually melt. And those are pretty much the only thing that can shut down the road systems here. So it has to be something very bad, probably due to external forces, and most likely dangerous, with curfews, checkpoints, and the like.
Terrain – Since my assumption for the reason to walk home is that there’s been an SHTF event of some sort, (See WHY), the terrain aspect becomes one of how to avoid contact with anyone else as much as possible. This in turn means avoiding as much as possible all roadways. This in itself has a problem: we have lots of waterways of various sorts, and waterways imply bridges to get across, and that’s where the roads are. Which I want to avoid.
So I acquired the best maps I can lay my hands on. In this case, they’re aerial photos, aka, Google maps, with topology superimposed.
These allow me to chart a number of routes out of the semi-suburban area I drive to every day using non-road paths. The power line and pipeline right of ways show up clearly on photo maps and typically avoid high-density population or dwelling areas as much as possible. The companies that build these things know that getting a grant for a right of way costs money, and the right of ways through built-up areas are especially costly. They use legions of surveyors to plot the most cost-efficient routes, which just happen to match up with my goal: the minimal possibility of contact with others.
Climate – Seasonal variance of ~ 20F to 100F+, sometimes colder, but rarely. So my clothing load-out changes somewhat on a seasonal basis, but that’s primarily changing the outerwear I carry in the car anyway. In summer I always have a relatively light, IE; down to 40F jacket, in the winter it’s much more substantial with heavier backup garment.
Flora/fauna– there is a ton of usable and edible stuff wild here. Just need to know what it looks like, and if it needs special preparation to be edible. Think burdock root, or Jerusalem artichoke, and small game.
My aching back – I assume, based upon my current hiking/camping trips that I’m good for roughly 8 – 10 miles in broken country per day without killing myself. So I judge seven miles per day given my security concerns.
So a minimum of four days of cross-country hiking, while avoiding everyone, at the same time everyone else is either trying to get out of the city, or into the city, along with an unknown, but probably poor security situation.
Breaking out my standard camping gear gives me an immediate starting point, but I want to:
- A – Lighten it up
- B – Make it fit inside my car spare tire, IE; out of sight.
- C – Add some security items.
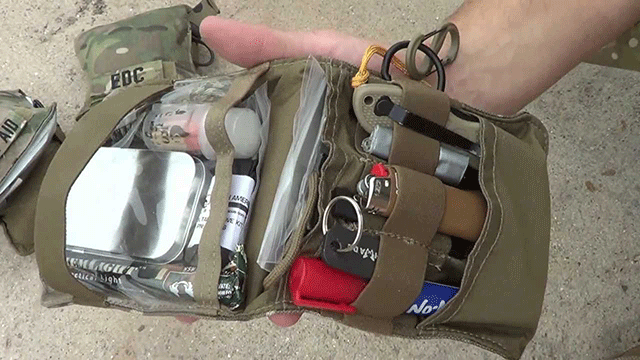
What I’ve come up with is described below, with the various items grouped roughly by purpose. This set of equipment goes far beyond the basic needs of a four-day walk in the woods: I explicitly decided to expand the resources under the working assumption that Murphy never takes a vacation, and if worse came to worse, I wanted the ability to live off the land for a while if need be, due to injury, or possible adverse government or militia control. Thus the radio and binoculars for comms and surveillance, and the specific planning for travel off maintained paths. Am I a TEOTWAWKI paranoid nut case? No, but having been in NOLA during Katrina, I have somewhat less than inspired faith in the government, and am a firm believer in the Boy Scouts motto.
Also note that I have a static car kit that includes a woolen watch cap, gloves, flashlight, headlamp, fixed blade knife, my best-hiking boots, wool blend hunting socks, MOLLE first aid kit, and a couple of liters of water.
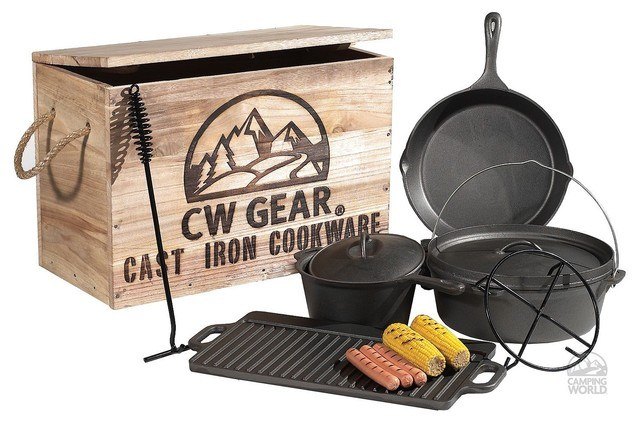
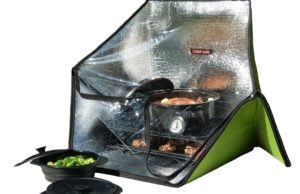
From my camping kit, I’ll subtract the sleeping bag, ground pad, tent, stoves, propane canisters, cooking gear, and sub my rucksack for the full-size pack. I’ve also made heavy use of a Food Saver to vacuum pack as much stuff as I can.
Categories in no particular order:
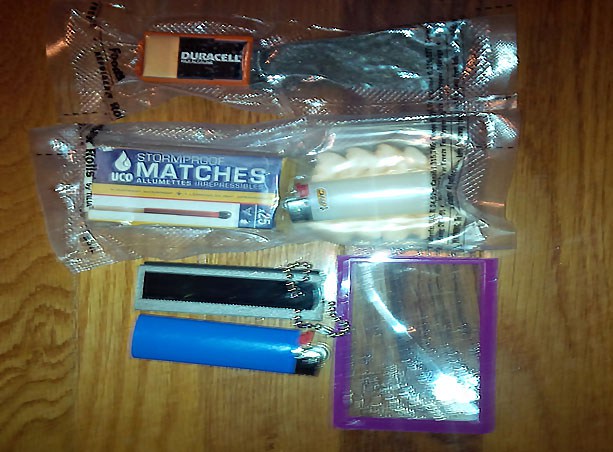
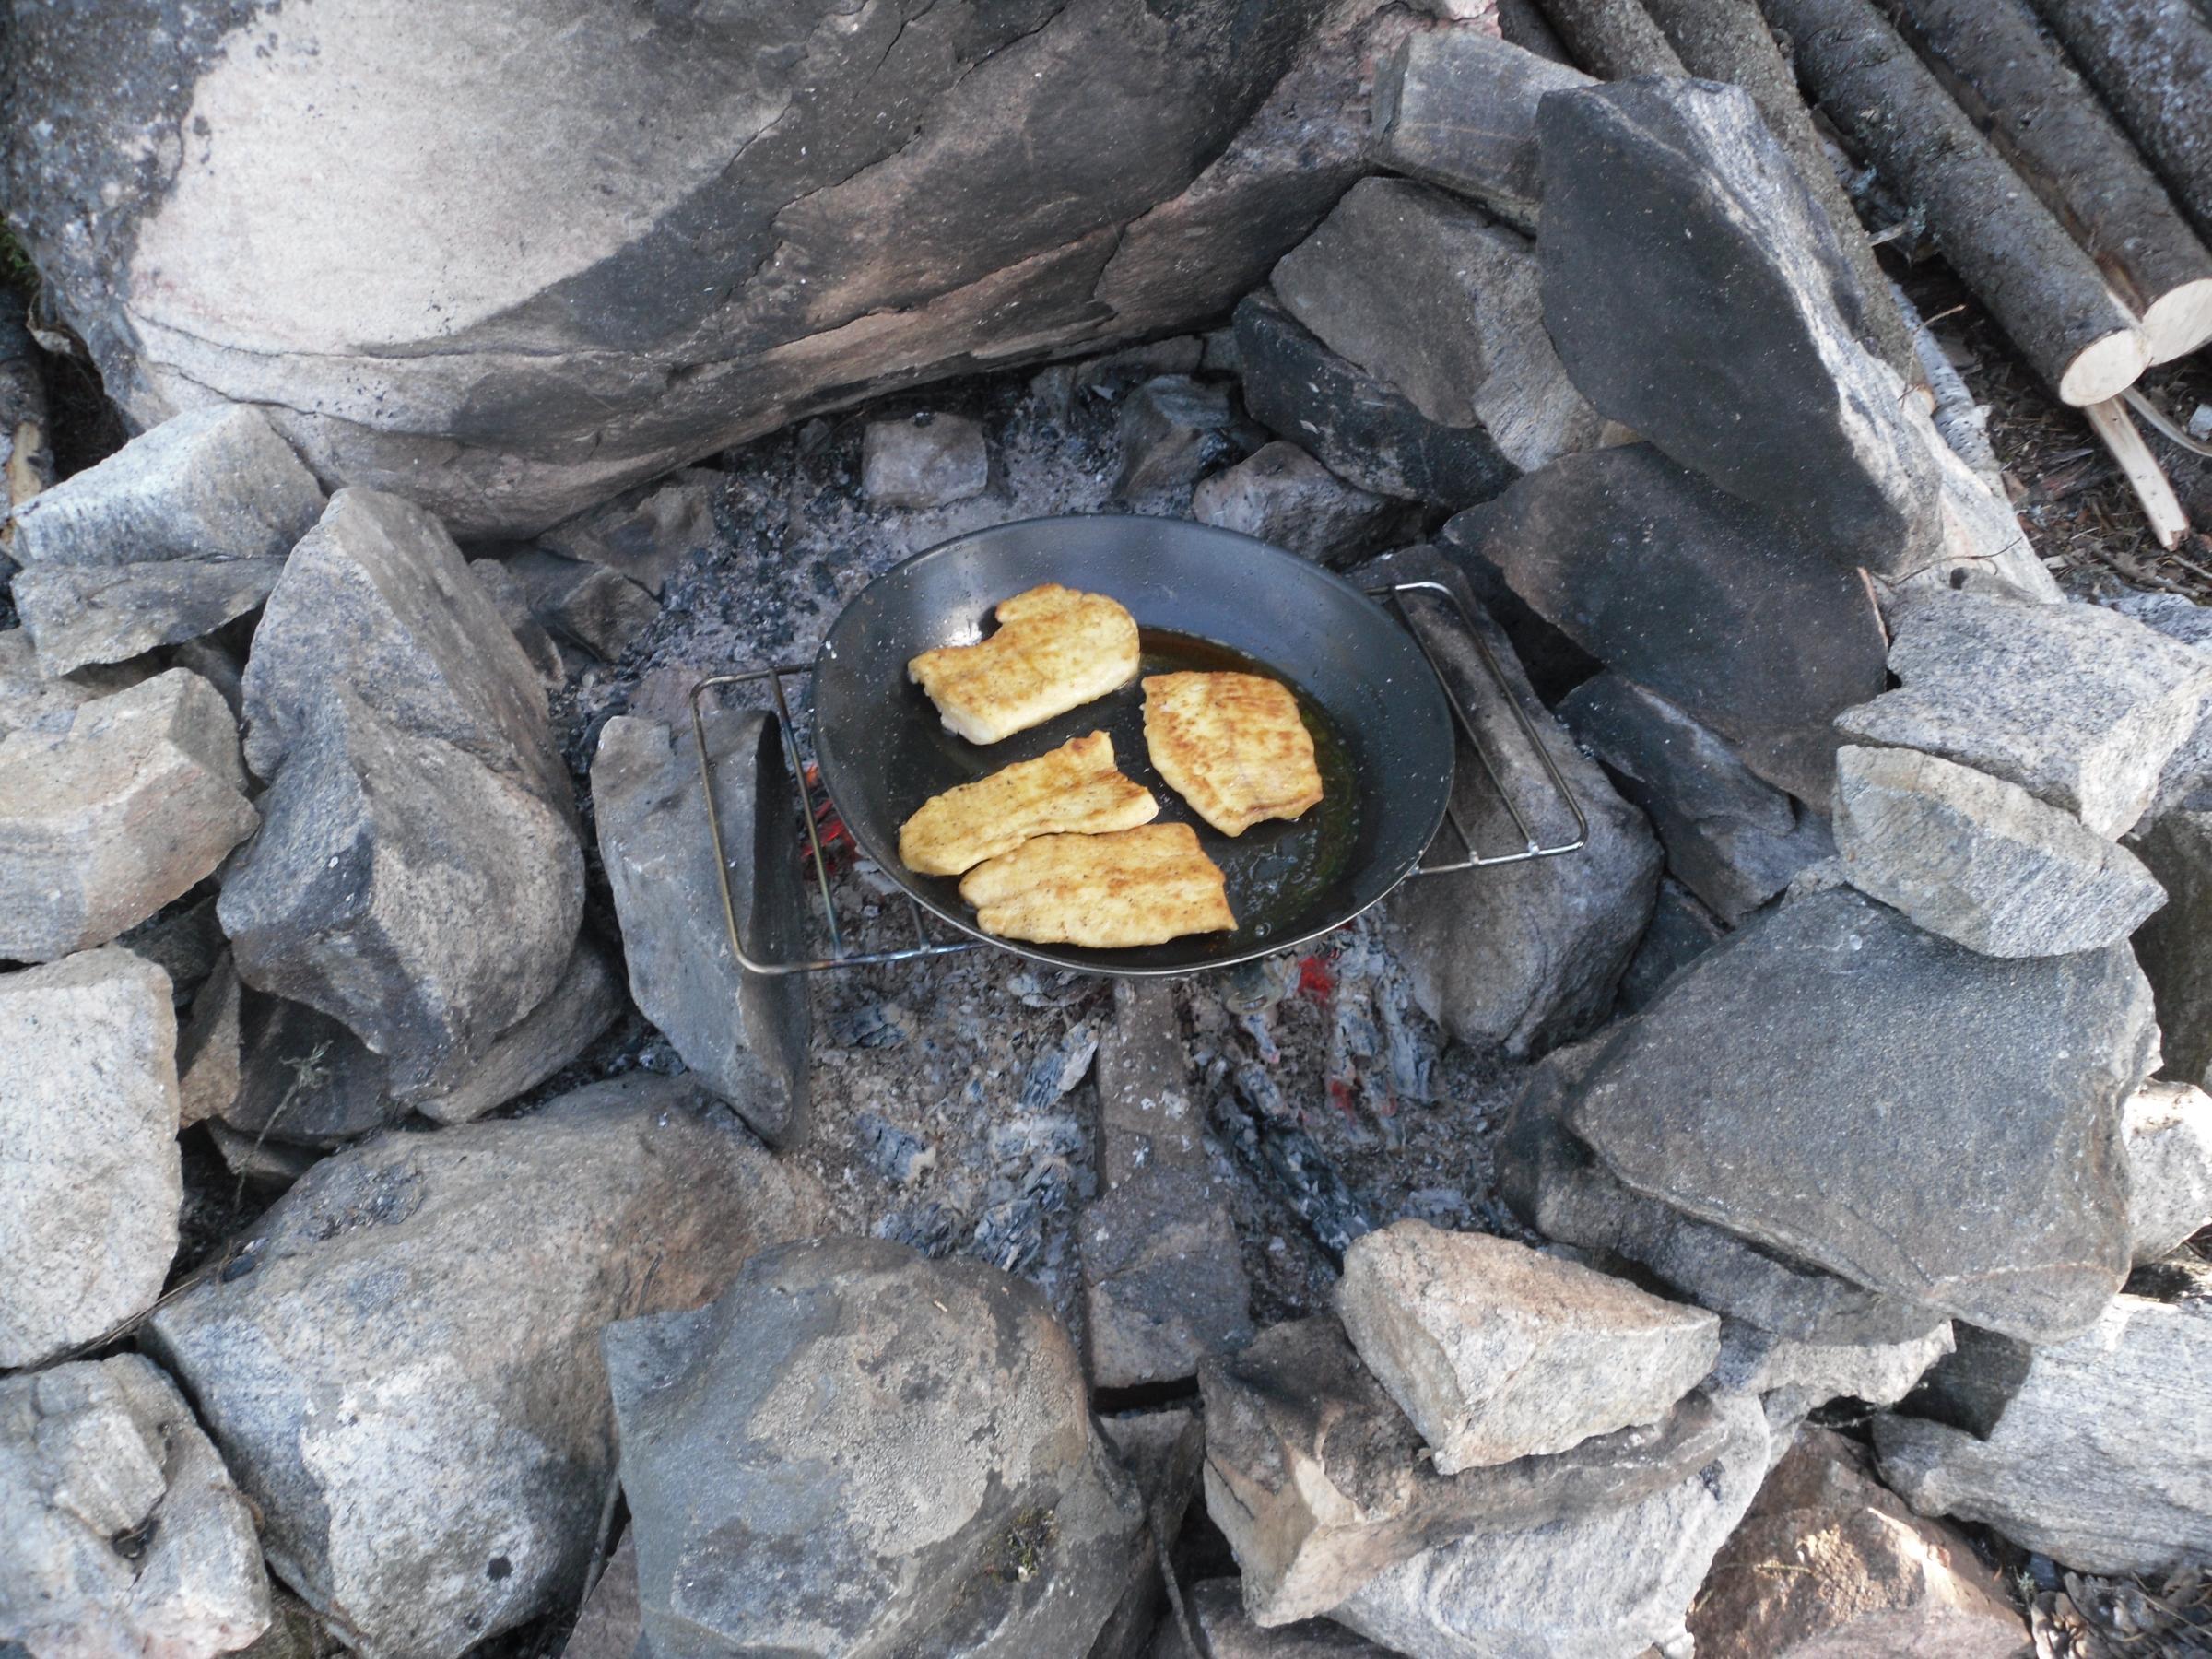
Fire stuff: a bit on the overkill side, but it weighs virtually nothing:
- Fine steel wool and a 9v battery.
- Storm matches, mini bic, and commercial tinder
- Magnesium/Ferro bar
- Another bic – This one in my pocket
- Credit card Fresnel lens
Food and refreshment cache:
- Three MREs – packaging removed, sealed in vacuum bags. A bit on the heavy side, BUT: They heat themselves without fire and are calorie heavy.
- Four dehydrated chicken soup packets.
- 1 dozen packets of good dehydrated coffee.
- Two plastic sporks. No biggie if lost or broken: a spoon or chopsticks can be whittled from wood.
- I’m thinking I should add a few packets of Gatorade powder too.

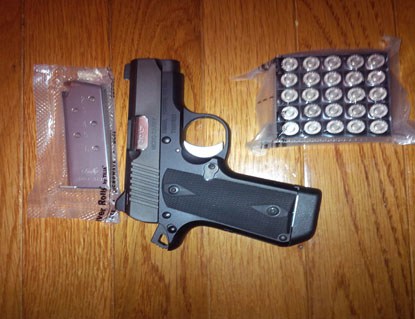
Protection:
My daily summer concealed carry Kimber in .380. This weapon lives with me no matter what else I may have with me. Small enough to fit in my front jeans pocket in a soft pocket holster.
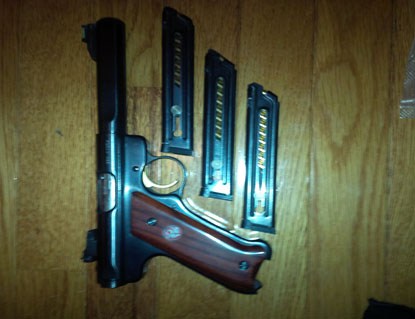
My routine camping/hiking weapon: Ruger long barrel MK III in .22. It’s far more accurate than I am out to 50 yards or so. Lives in the rucksack now with 50 rds and an oiled leather holster.
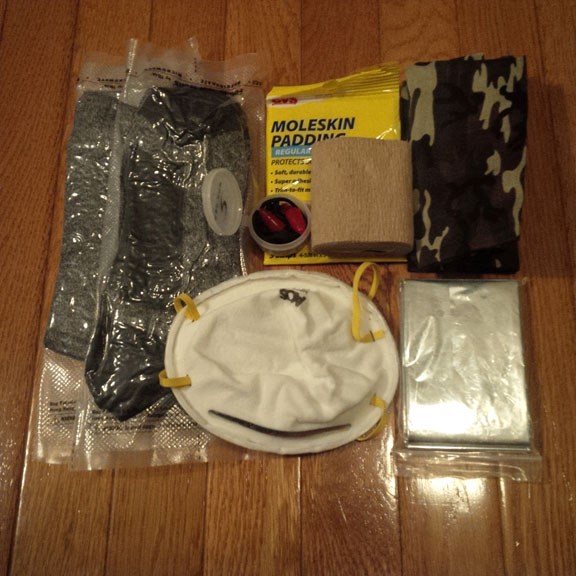
Health & Comfort – 1
Didn’t know what else to call this group…..
- Two pair of clean wool/Dacron socks
- Some moleskin
- Ace bandage stuff
- A pair of earplugs
- An N95 particulate mask
- Two cotton bandannas
- Survival blanket
- Wool sweater, not shown. Vacuum packing shrinks it to ~ 25% original
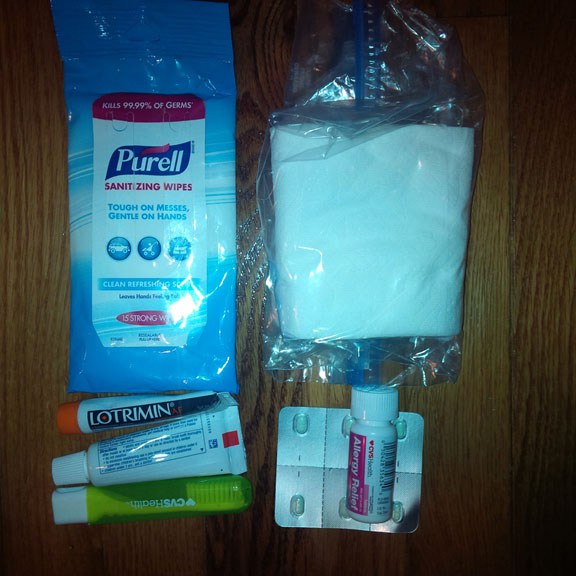
Health & Comfort – 2
- Sanitizing wipes
- TP
- Lotrimin: if you use your feet a lot and stay in your boots for days on end, you want this stuff. Just believe me.
- Toothpaste and mini brush
- Three specific meds:
- Ibuprofen- 30
- Benadryl – 20
- Immodium – 6
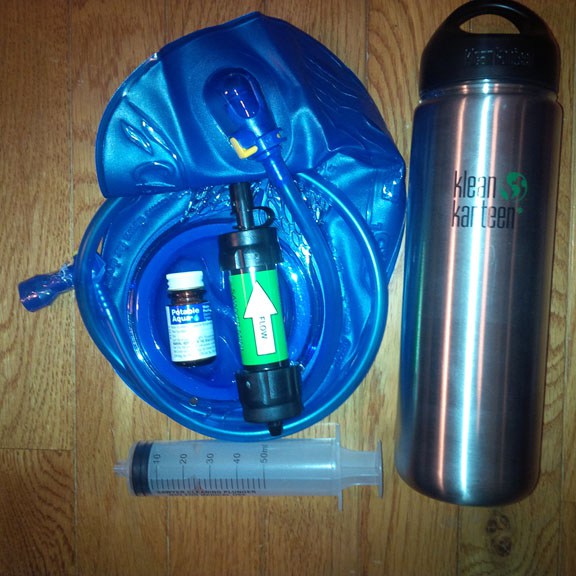
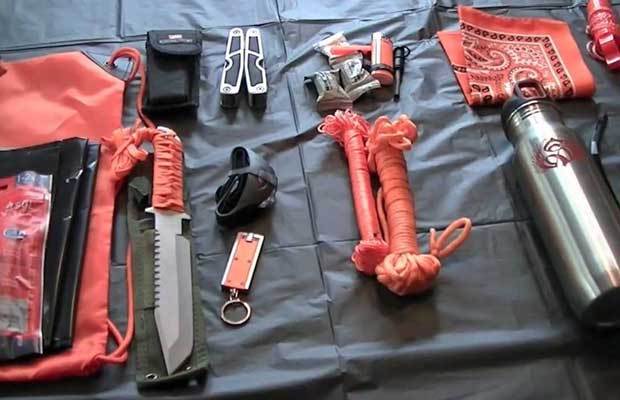
Water is critical, right up there with warmth.
- 1-liter stainless bottle. I can boil water in it if need be.
- Camel-back 2 L. water bladder with a bite valve.
- Chlorine Dioxide water purification tablets: 50 doses at 1 liter each.
- Sawyer Mini water filter
- Microfilter with a syringe to push water through the filter.
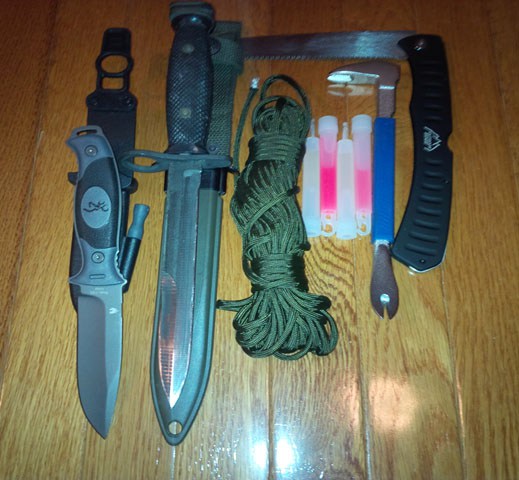
Knives & Tools – 1
I carry a folder at all times: not shown here, it was in my pocket. Browning survival knife with self-sharpening sheath and a ferriconium stick on the sheath. This knife is well made, full tang, four-inch blade. I wouldn’t be really keen on banging on it to split wood, but for every day, campuses it’s fine. The handle is a bit small for my paws, or if wearing gloves.
My longtime friend the M-7 bayonet. It’s much heavier than the smaller knife and doesn’t have the fire stick attached, but after years & years of being abused, it’s my favorite over a bunch of traditional hunting/camping/survival blades I own. I could probably kill a bear with the thing too.
The bayonet lives in the get-home bag and the Browning in the center console of my daily driver.
- Fifty feet 550 para-cord – no explanation required.
- A few 10-hour glow sticks.
- A mini pry bar. Lowes calls it a trim bar; at seven inches long it’s quite capable of opening ordinary windows or doors.
- The folding camp saw. Works far better than the wire or chain “survival” saws. Weighs in at 4 ounces so I don’t mind.
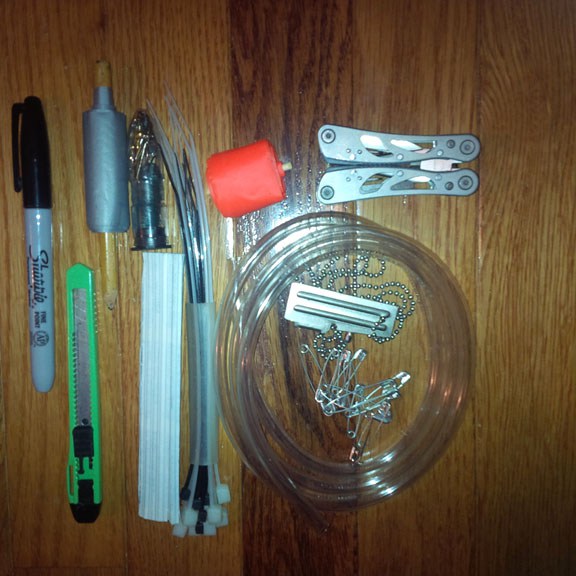
Knives & Tools – 2
- Sharpie – leave messages, or mark an area for surgery.
- Mini razor
- Pencil with 25 feet of duct tape
- Fishing kit – Plastic container with: 50 ft. 50 lb. line, 6 small hooks, 3 swivels
- Can use the line for snares as well.
- Twist ties – light repairs, etc.
- Tie wraps – repairs
- Orange surveyors tape – mark trails, etc.
- Mini tool
- Four feet plastic tubing – use w hydration kit, siphon fuel, etc.
- P-38 can opener
- Bunch of safety pins
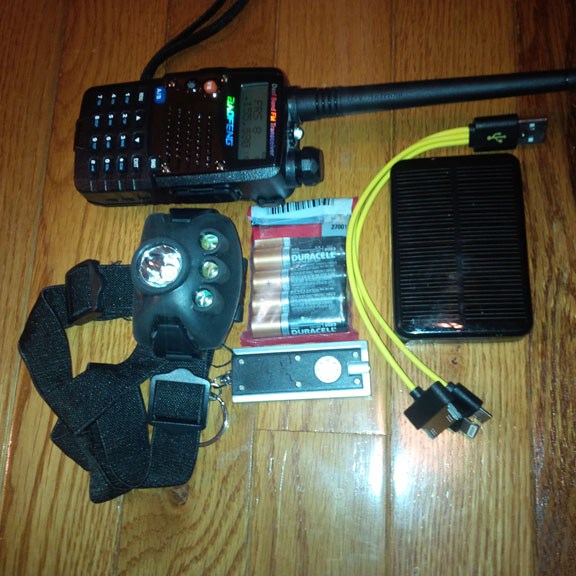
Electrical stuff
- Baofeng hand-held. Programmed with the local HAM, EMS, sheriff, state police frequencies for use as a scanner, I also programmed in the FRS, CB, GMRS channels for two-way comms.
- Headlamp
- Extra batteries.
- Micro LED light
- Solar battery with an adapter cable. 5000 mAh output. Will recharge the radio or my cell.
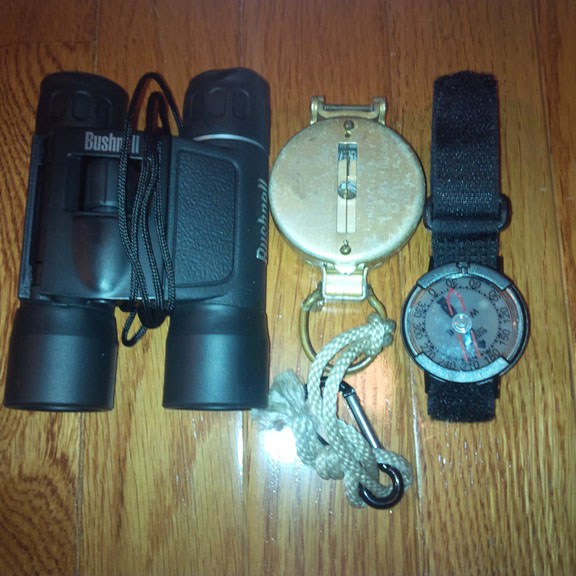
Navigation
Tools to get from here to there, and to see where you’re going and who’s around.
- Mini binoculars 7X
- Tradition lensatic compass
- Wrist compass
- Maps not shown, but a set of satellite maps with topo overlay for the entire area I tend to travel through.
- I’ve also pre-planned a few off-road routes to get from work to home or other “safe houses”. If one looks closely there are pipeline and power line right of ways that cut through everywhere, and mostly avoiding residential areas.
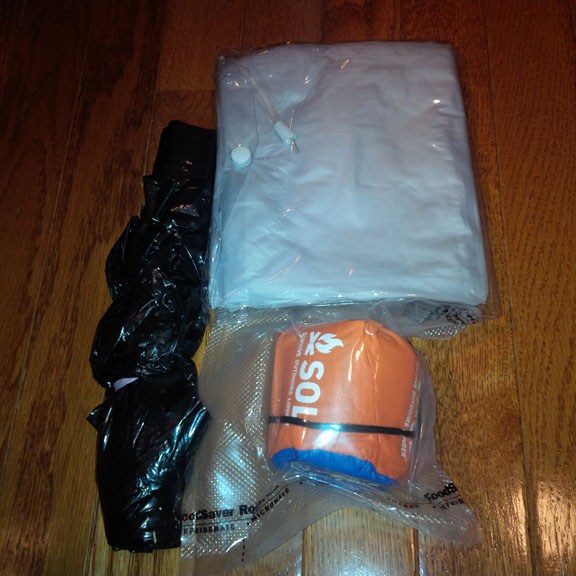
Shelter and such like
- Two 35 Gal contractor bags. Cover your pack, flotation, rain poncho, ground cover, etc, etc.
- Rain poncho
- Single person bivi sack.
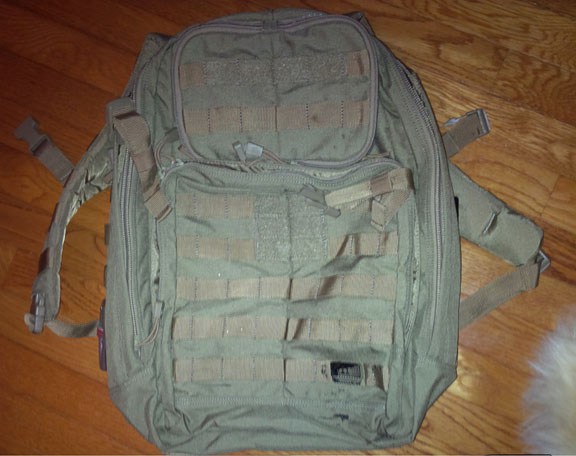
The ruck
Amazon grade, 15 liter, MOLLE compatible ruck sack.
The most important features are: having a bazillion compartments, pass through holes for the camel-back hydration tube, and both sternum and waist straps. I like the MOLLe feature as well. I’ve a surplus combat aid kit, that’s been expanded to accommodate lesser problems than combat injuries. Also a water bottle carrier. Both use the MOLLE attachments.
This is my stab at a Get Home Bag after reading endless posts and recommendations, as well as experimenting with my camping gear. The total weight of my personal get-home


 Other experts focus on short-term survival; I recall an episode of Bear Grylls where he is shown
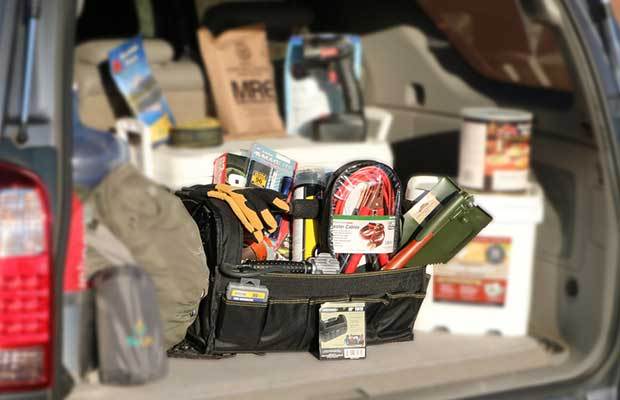


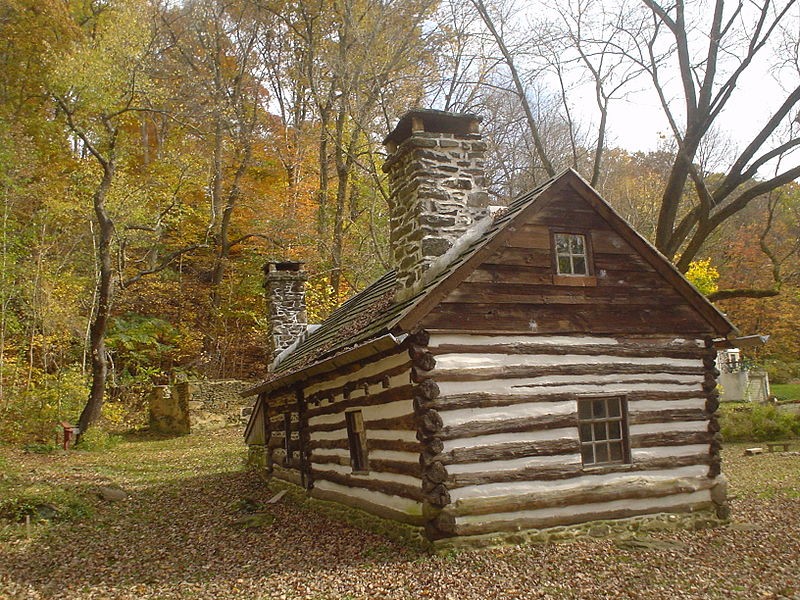
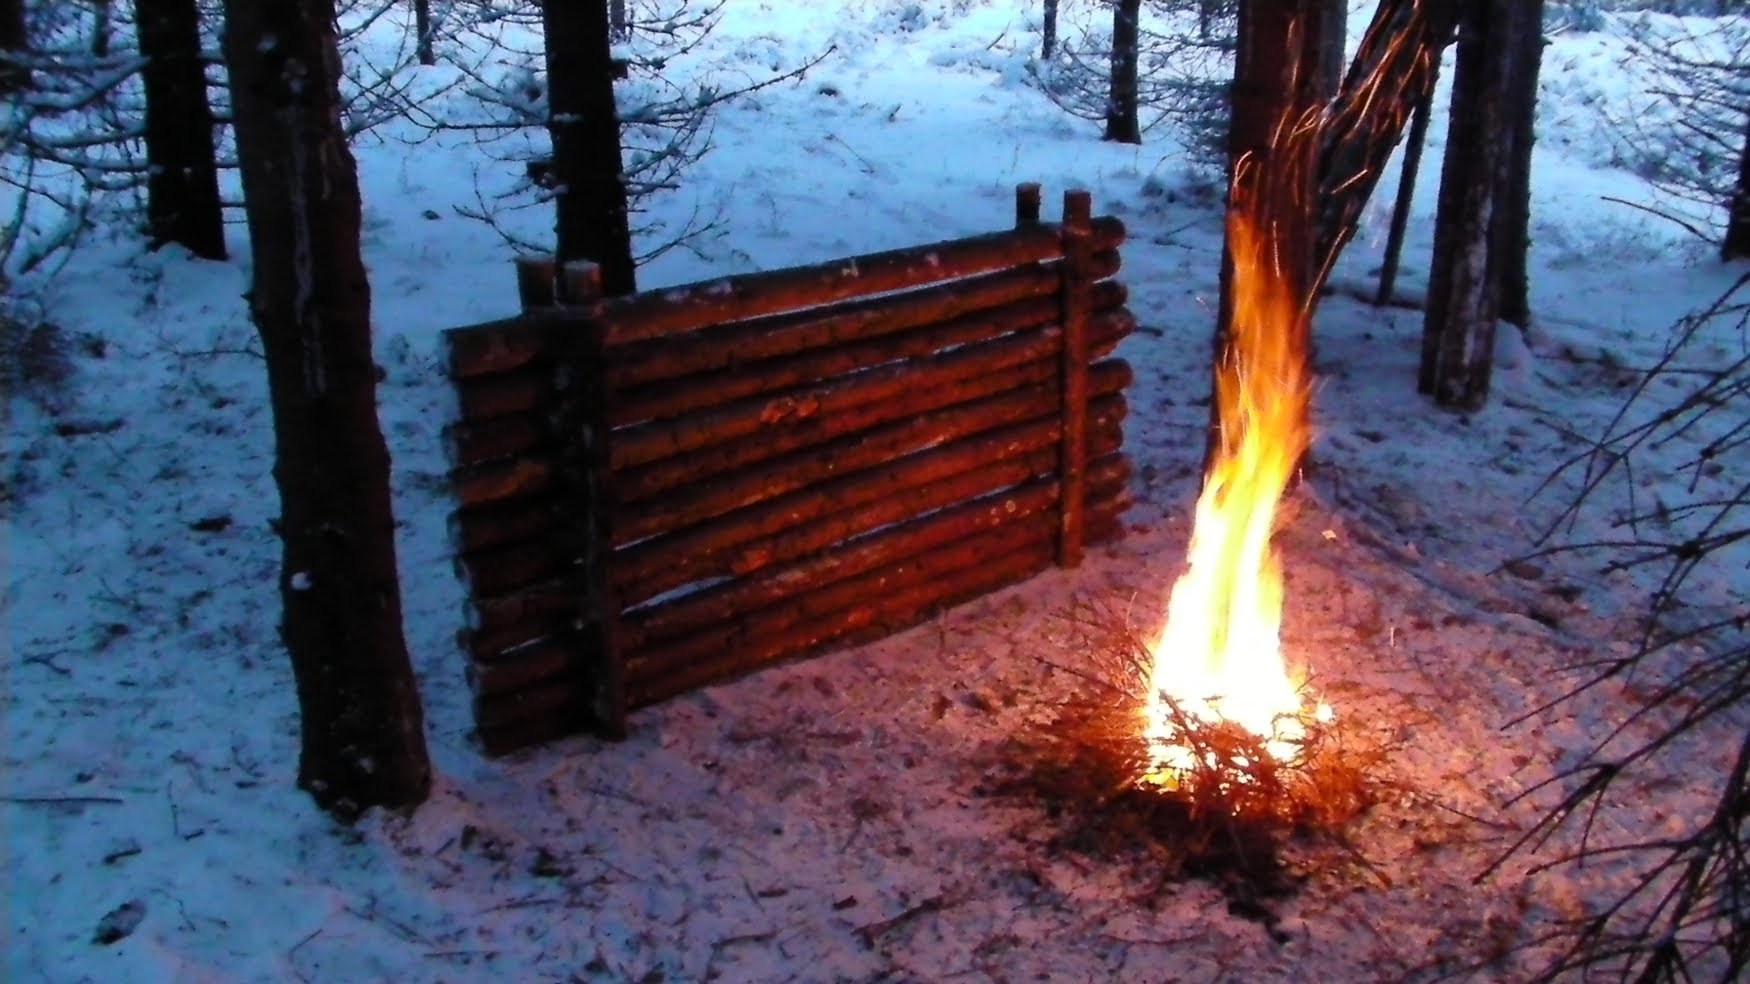
 First, let’s look at what you will need to make your survival shelter. Ideally, you don’t want to be carrying a ton of tools around with you, so we’ll focus on building a shelter that only requires you to have minimal basic tools that you’ll probably already have packed: an axe, a fixed blade knife and a multi-tool. Let’s not beat around the bush, if you were going to build the same shelter at your own leisure, you could make the process a lot quicker using a whole host of other tools, but this isn’t about speed, this is about building a shelter to keep you safe.
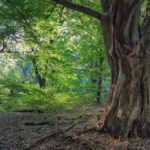
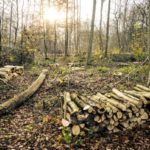 The majority of trees are suitable for building a survival shelter. Even though hardwoods such as walnut, poplar or oak will give you a more durable build, they are harder to work with. Instead, choose Pine, Cedar or Spruce. If you don’t have an option – just build with whatever trees are growing in your area.
 And there you have it – a long lasting survival shelter than will keep you safe, warm and dry. The instances in which you might need to build a structure of this quality and stability are rare, but as mentioned earlier, rather plan for all eventualities, than end up in a situation of needing a permanent structure and not knowing how to create one.