Camouflage and Concealment: The Art of Staying Hidden
Urban Camouflage and Concealment
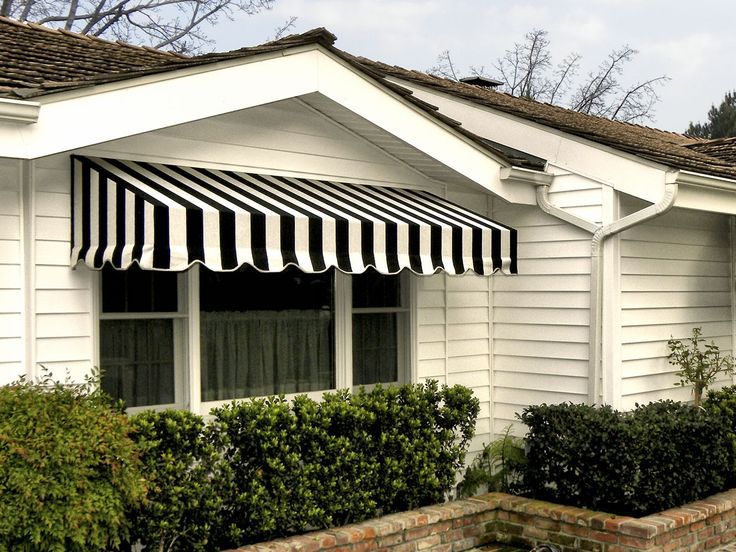
It makes me laugh when I see a lot of SWAT Teams and PSD guys wearing Tactical Black and other colors that look cool but do nothing but make them stand out. In reality, black is one of the worst colors to wear. Ask yourself, what is black in nature? Look around you and what in your surroundings are black? I expect very little… In urban areas, most walls are white, gray or cream… Light colors! The colors you wear should blend in with your background whether its day or night.
At night dark colors stand out, especially when moving past light backgrounds and in urban areas most backgrounds are light colors. Even in rural dry areas when moving through low bush and fields the silhouettes of people in dark colors are easy to see at a distance.
You do not have to have expensive patterns to give you good camouflage and concealment, a gray dress shirt and a pair of light khaki pants is way more effective than tactical Tim dressed in SWAT black!
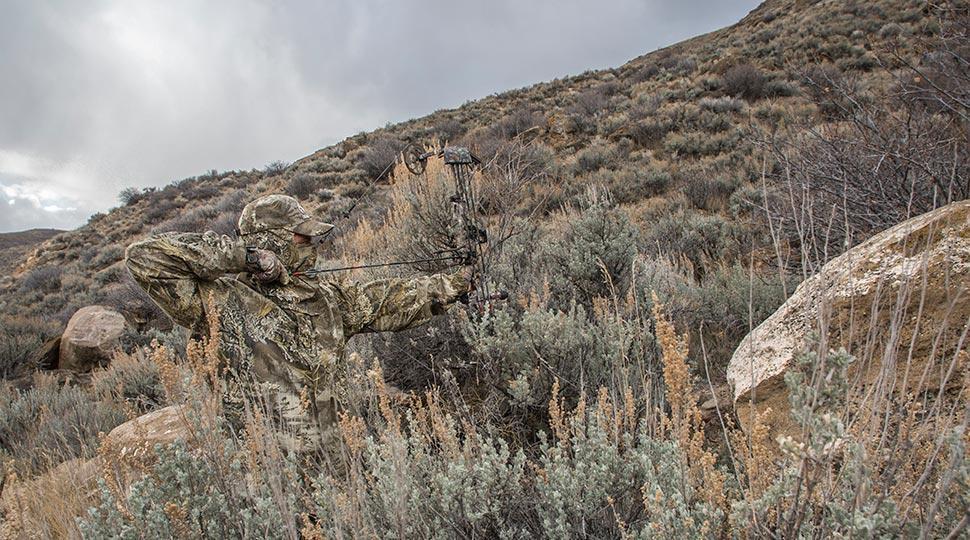
Movement and Rural Camouflage
Modern humans are positively disadvantaged when surviving in and moving one foot in rural and wilderness areas. Most people these days have never spent a night outside without any cover, let alone in bad weather. When you’re in the woods or bush you need to get comfortable in the environment. I remember one of my military instructors telling me that to be able to fight in an environment, you must first be able to live comfortably in that environment, and this is true. If you’re having difficulty living day-to-day how can you operate?
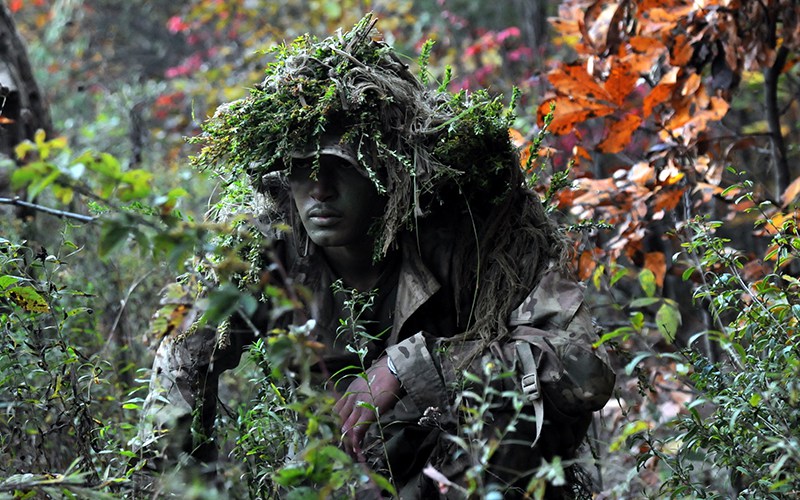
Camouflage your face, neck and any areas of the exposed flesh with mud, ash or charcoal from fires. Or use a balaclava or scarf to cover your face and wear gloves.
You need to start using all your senses as the animals do, learn to identify sounds, smells, movements and what they mean. You need to especially be able to identify things associated with people, like footprints, cigarette stumps, broken twigs or foliage, fences, straight lines, domestic animals, aircraft, vehicles, talking, etc. Think about human smells like fires, food, fuel, human waste, and tobacco; if your senses are sharp in bush or wooded areas you should be able to smell or hear people before you see them. When moving you must do so quietly and regularly stop to look, listen and smell for any indication of people. If you identify people in your proximity are you going to take cover, evade or ambush?
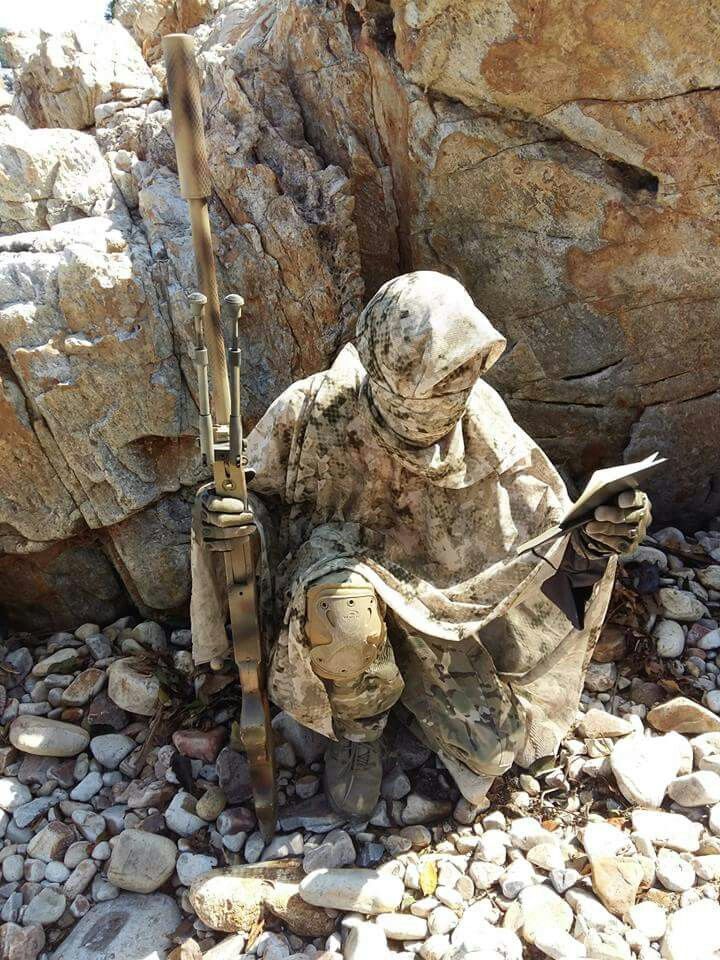
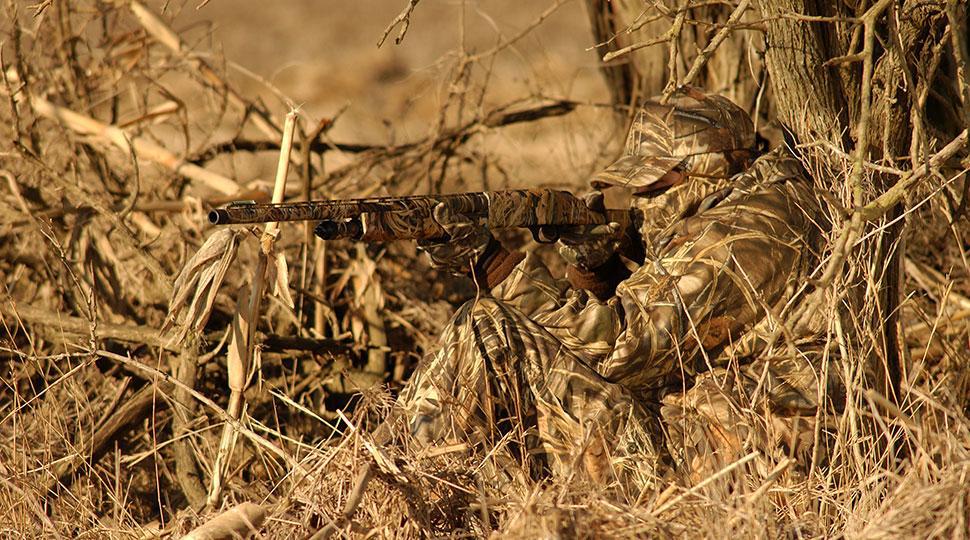
You should always consider camouflage and wear clothes that blend in with your environment, in urban areas wear light blues and grays in rural areas browns and greens. As I have said before there is no need for military camouflage clothing as this will just draw attention to yourself.
Basic fieldcraft, things are seen because of these reasons: Shape, Shadow, Silhouette, Shine, Spacing & Movement.
- Shape: Disguise your shape; use foliage or rags to break up your outline.
- Shadow: Keep in the shadows and always be aware that you are not casting a shadow that could be seen by your opposition.
- Silhouette: Don’t stand out against skylines, lights, white walls, etc.
- Shine: No chrome, shiny watches, mirrored glasses, sparkly jewelry and the like.
- Spacing: If moving with others, remain spread out, but not too regularly and do not bunch together.
- Movement: Move carefully, as the sudden movement draws attention and is the main reason camouflaged personnel and animals are seen.
The basic guidelines for camouflage are
- Learn to blend in with your surroundings.
- If you are using foliage to conceal yourself or your position don’t use too much or too little.
- If you are in a long-term hide remember to keep your camouflage fresh, dead foliage will alert people to your position.
- When moving avoid skylines.
- Don’t use isolated or obvious cover; it’s the first place others will look. Consider hiding in thorny bushes or nettles as most people will not expect anyone to hide there.
- Camouflage your face, neck and any areas of the exposed flesh with mud, ash or charcoal from fires. Or use a balaclava or scarf to cover your face and wear gloves.
- Take all noisy objects from your pockets, such as keys and coins and make sure nothing on your person rattles.
- Make sure there are no shiny surfaces on your person, equipment or clothing.
Guidelines for Movement
You should always move quietly and cautiously and avoid stepping on dry twigs or breaking through foliage and undergrowth as this will make noise and leave an easy trail to follow. If you know you’re going to a rural area or possibly going to be in an escape and evasion situation avoid smelly foods, strong soaps and aftershaves, as these will be easy to smell by those used to being in the bush. Always be careful not to leave signs you were in an area such as footprints, broken foliage, human waste or trash. Trash and human waste should be carried out of a hostile area and disposed of when safe to do so.
You should always move in “bounds” from one piece of cover to another. Your bounds should never be more than, say 50 yards, especially at night. When you stop at the end of each bound you should use your senses to try to detect any human presence then plan your next bound. Moving in short bounds is the safest way to move through populated areas or places there are unfriendly forces. Remember, always be prepared to take evasive action or defend yourself.
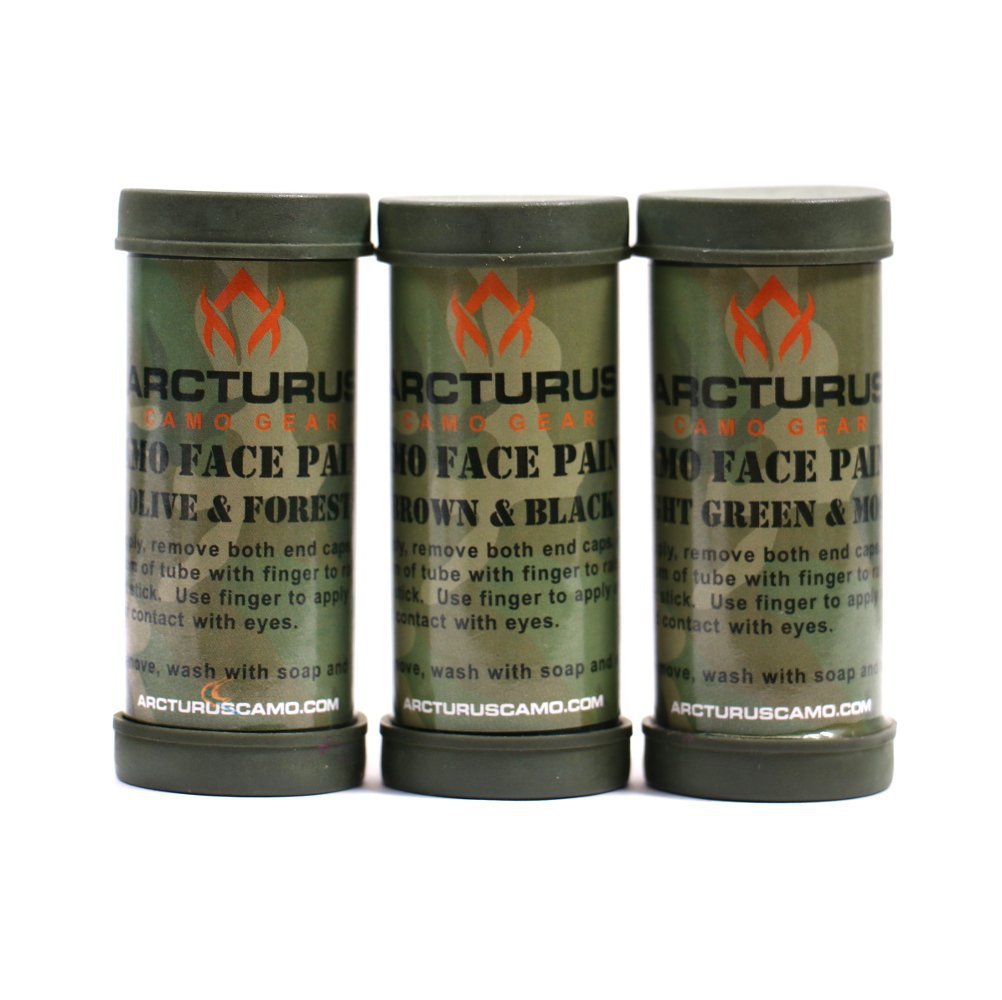
Camo Face Paint Sticks – 3 Pack – 6 Colors
The speed at which you travel will depend on whether it’s day or night, the type of terrain you’re in, people or police patrols in the area. Never push yourself to your limit, you always need to have energy in reserve so you can run in an emergency; tired people are also rarely mentally alert. If you must run from your opposition try to do so only for a maximum of a few hundred yards, then slow down and move quietly, cautiously and cover any signs of your direction of travel. Do not use obvious routes, which tend to be the easiest routes to use; head up hills and into thorny areas, etc.
There are no set time periods for halts but you should try to take ten minutes in every hour on long journeys. Tracks, paths, and roads make for fast, easy travel and can aid navigation but can also be very dangerous as your opponents will watch them closely. To be cautious walk a few meters off to the side of any roads or tracks. Places to expect sentries are at the entrances to urban areas, on bridges, crossroads and on high prominent terrain.
Avoid being silhouetted when crossing skylines and hills, go around them rather than over them where possible. If you need to cross an obstacle or skyline then keep low and crawl, if it’s a fence, crawl through it or under it. If you have to cut through a fence, cut through the lower strands and then disguise the hole with undergrowth or tie the wire strands back together, never cut through the top strands as this will be easily noticed.
Moving at night
You need to learn to treat the night and darkness as your friend, darkness affords you cover. Many people are afraid of being in the dark especially in rural areas or derelict buildings; you should use this to your advantage. If you are moving you should always try to stay in the shadows, if you get caught in a beam of light or car headlights you should freeze, the chances are that you will remain unnoticed. You must have your immediate reaction drills for encountering a person, being caught in the light of the hostile fire at the forefront of your mind. Being caught off guard will get you captured or killed.
There are both natural and man-made noises that are useful to you because they can cover up or disguise the sounds that you make when moving. The best time for moving covertly is during bad weather; rain will cover the noise of your movement and any ground sign you leave. Bad weather also keeps people undercover, lowers the morale of those standing guard, learn to love bad weather.
General guidelines for rural movement
- Wear clothing that blends in with local people and the terrain.
- Do everything possible to disguise evidence of your passage; cover footprints, never break twigs or undergrowth and repair broken foliage.
- Avoid contact with all people unless absolutely necessary.
- Litter, food and human waste must be buried or carried with you.
- Learn about tracking, then you’ll be aware of what anyone following you will be looking for.
- If moving with others spread out and when crossing obstacles such as rivers or roads etc. take up positions to be able to give warnings of any threats that might be approaching. Also, stay low move fast and cross one by one.
- Always be ready to take cover from gunfire or people you may encounter by surprise.
- Remember certain smells indicate human activity; odors float downhill in cool air and rise in warm air.
- Watch for stones, leaves or logs that have been moved, the undersides of these will be darker in color and damp environments, this can be an indicator of human activity or the location of hides.
- Always look for straight lines as they are rare in nature and are usually man-made.
- Learn to identify unnatural vegetation, such as green leaves among dead branches or areas of too much foliage as this could indicate human activity such as hides or ambushes.
These are some basic guidelines to get you thinking, these skills can’t be learn sat in a comfy chair, you need to get out and learn and practice them. Everything I have written about here is simple and the main thing required is situational awareness and common sense!
Modern humans are positively disadvantaged when surviving in and moving one foot in rural and wilderness areas. Most people these days have never spent a night outside without any cover,


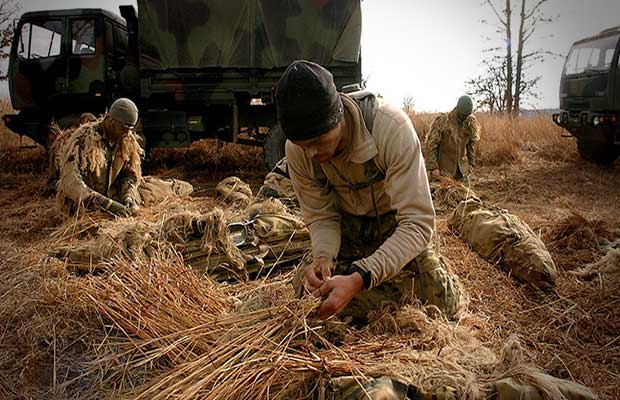
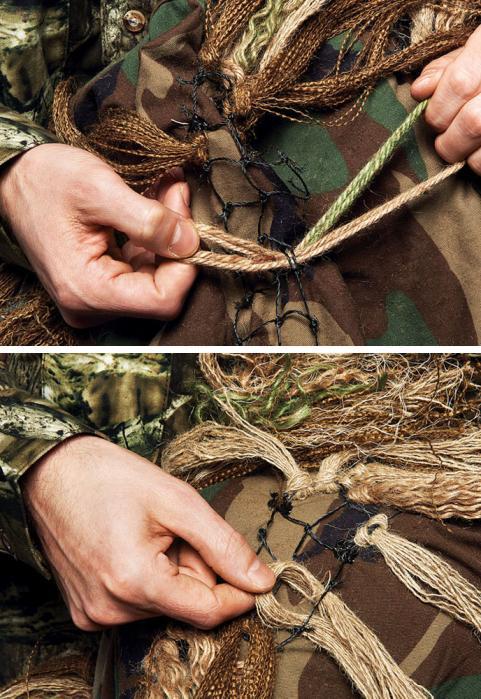
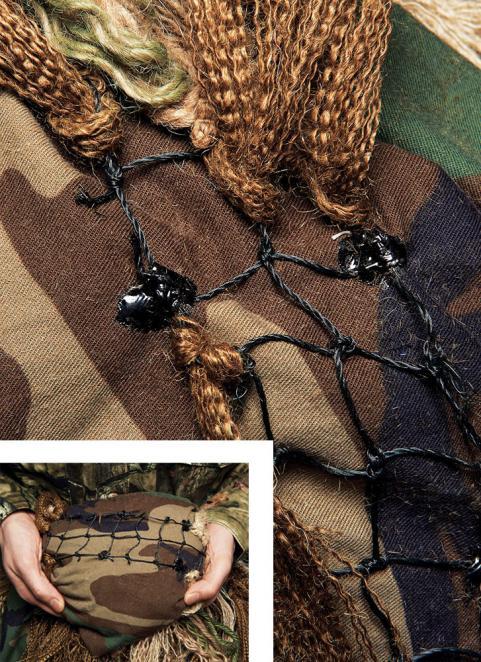 Add the netting
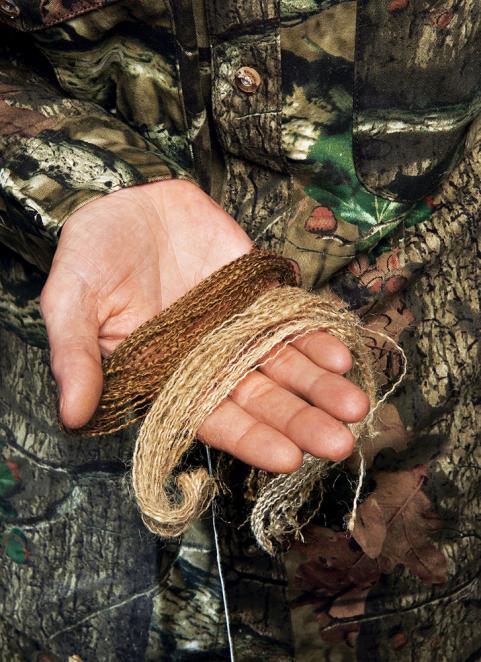 Ready the Burlap
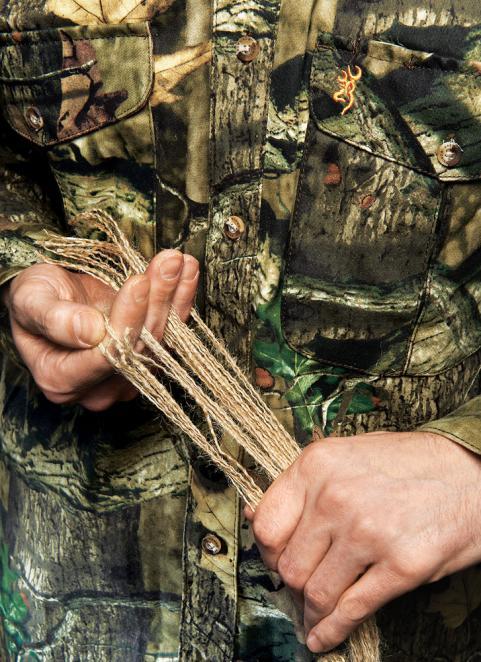 Separate the strands