Plan Your Work
Site Selection
To thrive, garden plants need sun, water, and good soil. Taking the (short) time to identify a site that offers the best combination of all three will dramatically increase your odds of successfully growing food.
During the prime growing months (May-Sept in the Northern Hemisphere), inspect your property for sites that offer the most sun exposure throughout the day. From those options, look then at the sites with the best drainage.
Worry less about the soil conditions at first, because you can control that easier than the prior two variables by using raised garden beds. But by all means, if you have sites of equal sun/drainage rating but different soil quality, pick the one with the better soil (most vegetables like a sandy loam consistency).
If you have more than 0.25 acre of land on your property, then another factor to consider is proximity. You’ll be making a lot of trips to your garden over time, so picking a convenient spot relative to your house (your kitchen and tool storage area, in particular) will result in reduced schlepping, which your future self will be awfully appreciative of.
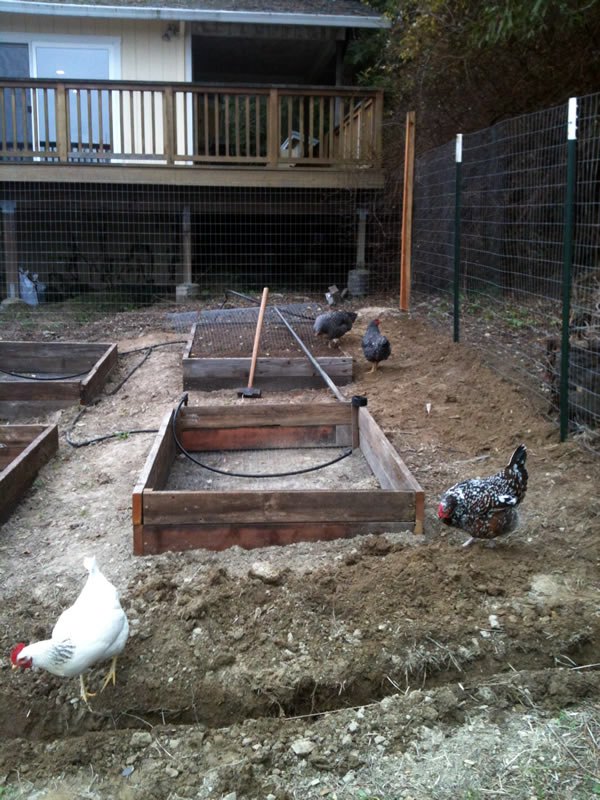
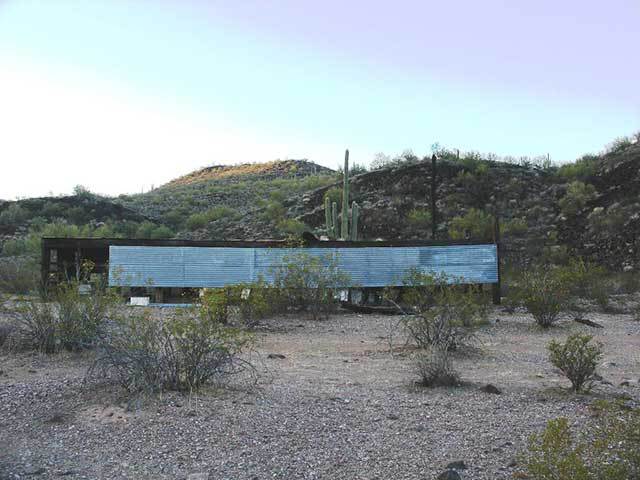
In my case, I selected a spot tucked into the corner of my yard nearest the kitchen door and tool shed. It’s not the sunniest section of the property, but it still gets about 80% of the day’s sunlight while being easy to access. Months later, I remain very happy that I made this trade-off.
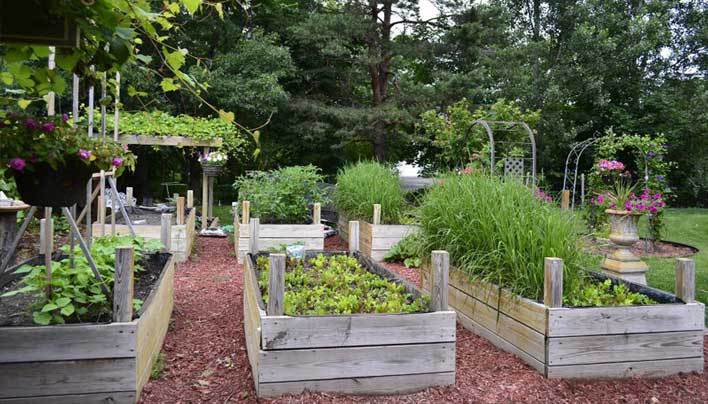
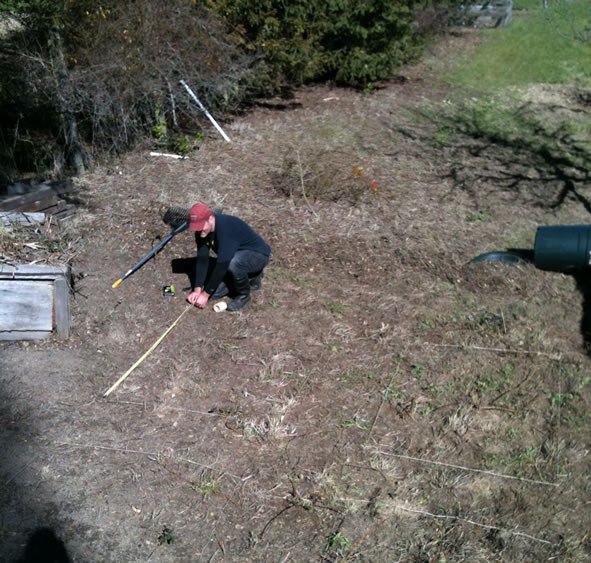
Here’s a picture of what the plot looked like before I started working on it:
Make Your Measurements
Measure twice, cut once, the wise carpenter advises. This applies just as well to gardeners.
Once you’ve determined where your garden is going to go, then it’s time to start visualizing the specifics about what it’s going to look like.
If you’re going to be taking this on as a one-manpower job, as I did, it’s better to start small. You can always expand upon your initial plot in future years.
In my case, the spot I selected provided enough space for a 22′ x 17′ garden footprint. In my opinion, that’s plenty of room for a first-time gardener to handle.
With your footprint perimeter in mind, start brainstorming how to best use that space. How many beds can it accommodate? Do you want a few large beds or many small ones? What do you want to grow? Where in the garden do you want to grow them?
Get some paper. Or use a whiteboard. Diagram it out.
Once you have something visualized, show it to other gardeners. Bring it down to your local nursery. Ask experienced folks for their opinion. You’re sure to get some good feedback that will improve your plans.
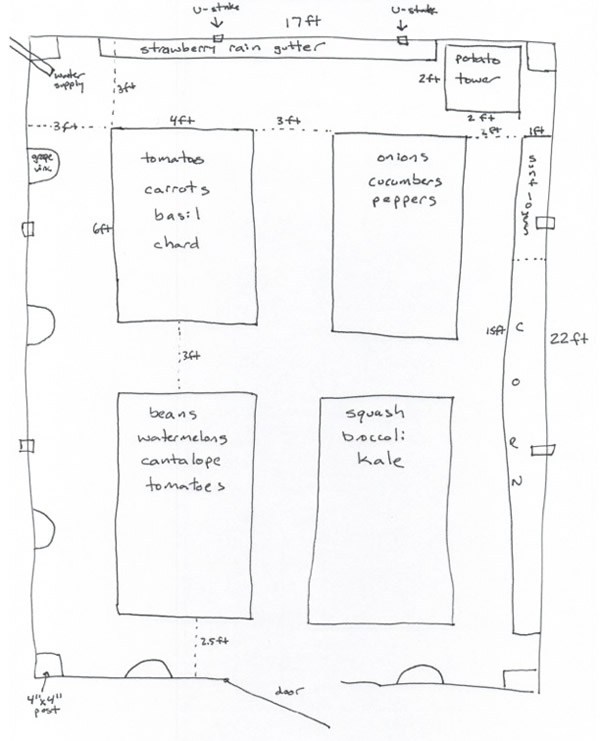
Here’s the rough sketch I made for my garden:
With your visual plans now in hand, head out to your plot with measuring tape, a ball of twine, and a handful of stakes. Begin by marking the perimeter of your garden, then progress inwards to mark exactly where the raised beds (and any other physical components) will be.
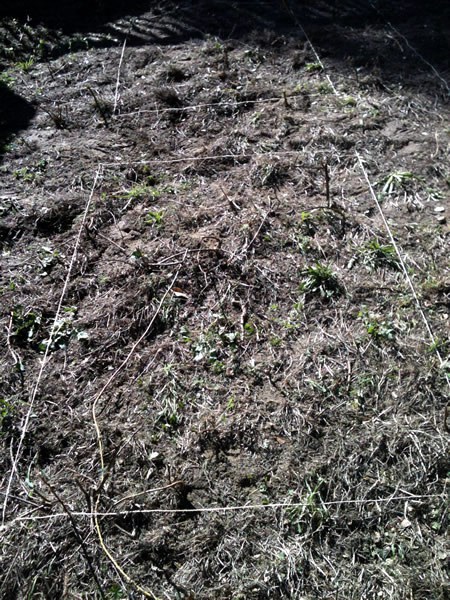
Below is a photo of where I decided two of my 6’x4′ beds would go:
When you’ve outlined your garden, take a walk around it. Is there enough clearance? Squat down between the beds. Do you have enough room to maneuver comfortably? Will you be able to reach across them from all angles? If not, move the stakes around until you’re content with the results. This is by far the best time to make design changes. (It’s a heck of a lot easier to move twine around than a box filled with 30 cubic feet of dirt!)
If you’re going to be putting in an irrigation system, now is the time to give thought to where the hoses will run. Map out how the main hose will bring water from your main spigot to the garden, as well as where the daughter hoses will run to each raised bed.
For a garden this size, you don’t need an irrigation system – you’ll be able to water by hand with a standard garden hose if that’s your choice. But I highly recommend laying the piping for one, if you can, when you initially build out your garden. It’s a lot easier to activate an installed system than it is to dig through a mature garden later to put one in.
Work Your Plan
Constructing Raised Beds
Now that you know where your raised beds will go, it’s time to build them. Fortunately, this requires only the most basic of skills. So you carpentry novices (like me) can handle this just fine.
Get yourself enough 2″x4″ boards to build the beds you’ll need. Cut the wood to the length you’ll need for each side of your bed frames, depending on how big you want your beds to be. I went with 4’x6′ dimensions; most people prefer 4’x8′.
I highly recommend building double-height sides. That essentially means building two box frames and placing one on top of the other. In my first gardening foray a few years back, I only used single-height sides and found myself constantly weeding. With double-height sides this year, I’ve barely had to weed at all.
Use 1″x”1″ stakes in the corners to add stability to your double-sided frames.
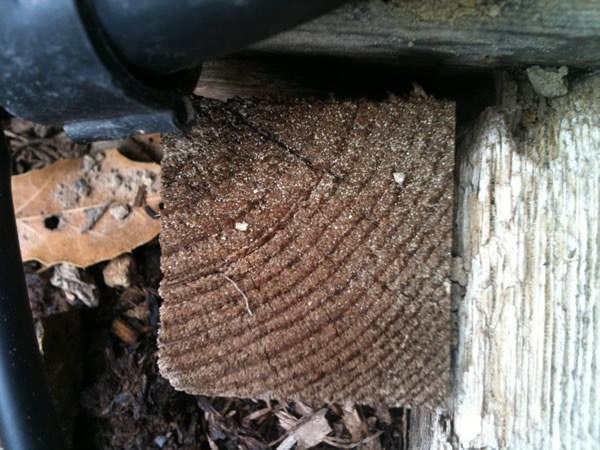
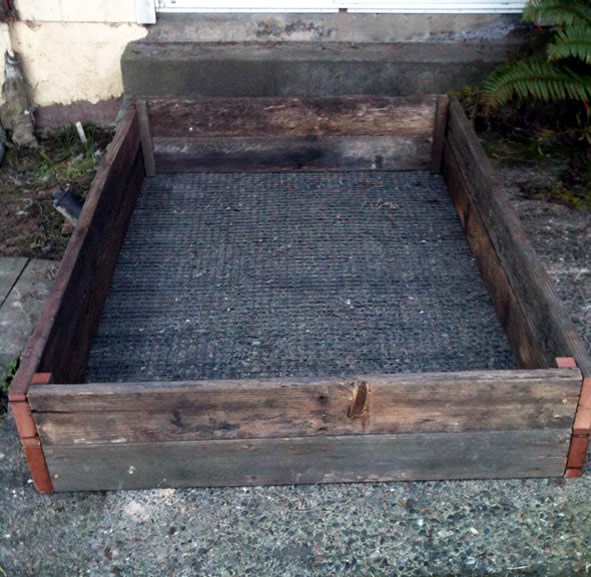
After your frames are built, you should cover the bottom with mesh wire to prevent burrowing rodents from attacking your plants from below. Out where I live, this is an absolute must; the gophers here are so bad that they drove away the initial Russian settlers back in the 1800s (and those Russians had a pretty high tolerance for hardship!).
I recommend using finer wire mesh (i.e., smaller holes) than standard chicken wire. The smaller the holes, the smaller the odds are that a critter can squeeze through them. Simply use a staple gun to attach the mesh to the frame – and voila! Your raised bed is ready for installation.
Installing Your Raised Beds
Carry your raised beds over to your garden site. (While I was able to do this myself, you’ll find an extra pair of arms is very welcome for this quick task).
Before you lay the beds within the twine outlines you measured out earlier, remove the ground vegetation within the footprint first. A hoe or the flat end of a pick works well for this (I used the latter):
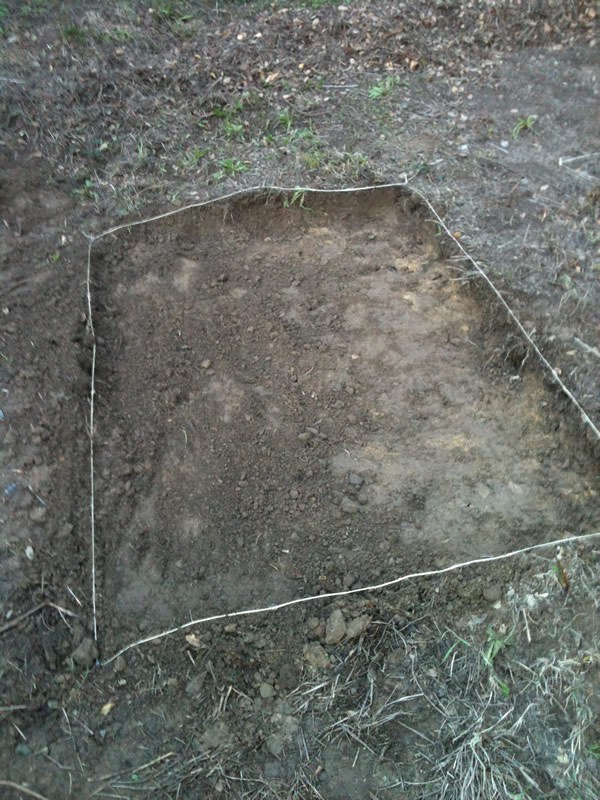
With the vegetation gone, work with your shovel, etc., to make the ground within the footprint is as flat and level as possible – on both the length and width axes. Use a carpenters level (the ruler with the little air bubble within it) to help you with this, if you have one. If your garden is on a slope, one wall of the rectangular clearing you’re making will likely be higher than the other. That’s okay.
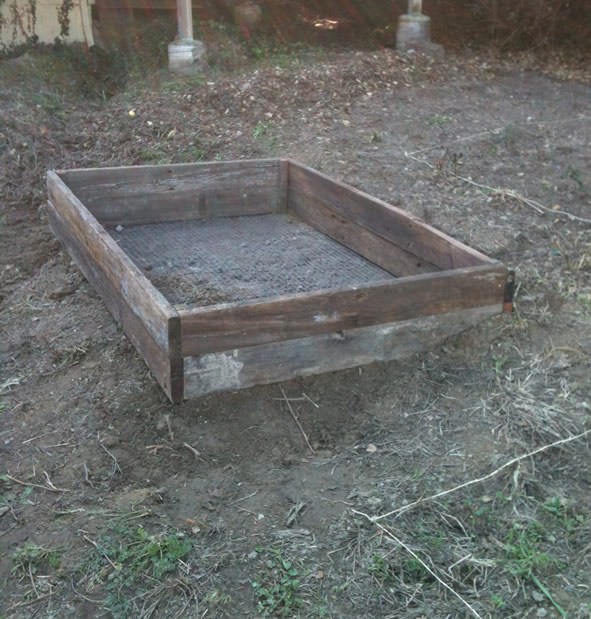
Now that you’ve stripped the ground vegetation and leveled the base, place your bed into the footprint you’ve created (again, a few minutes’ assistance from a friend would really help here). Make sure it fits snugly within the footprint in the alignment you want, and use your pick or hoe to trim the side banks if need be to make the fit perfect. Confirm (with your carpenters level, if you have it) that the sides of the bed frame are indeed level. You may need to lift the frame up to add or remove dirt from underneath it to correct the pitch.
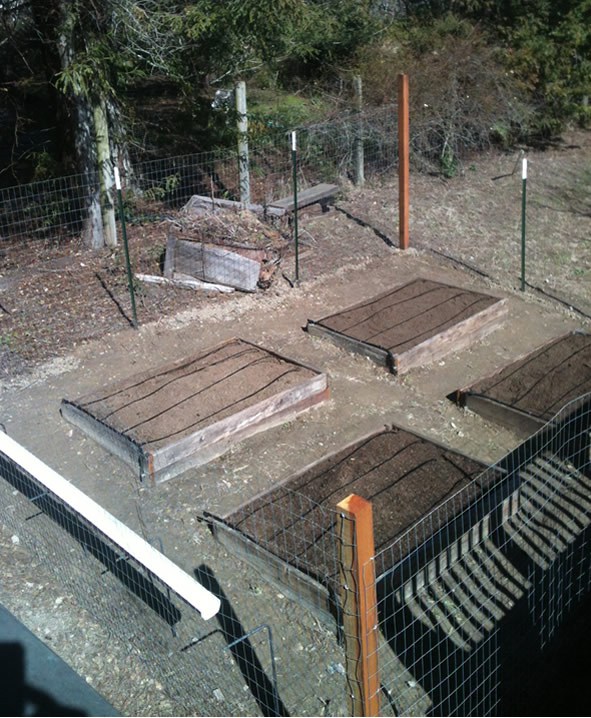
A successfully installed bed should look something like this:
Setting Up Drip Irrigation
As mentioned earlier, if you can lay in an irrigation system now, you’ll save yourself a lot of time and heartache compared to installing one in the future.
I must admit, I was a little daunted before tackling this task, as I’d never worked much before with water systems. The basics are so simple, though, that in almost no time I felt like an expert.
The key things to figure out at this time are:
- How water will get from your spigot to the garden
- How water will get from the garden entry point to each of the beds (and anywhere else you may want it to go)
- How water will flow within each of your beds
Here’s a shot of how I laid things out for my garden:
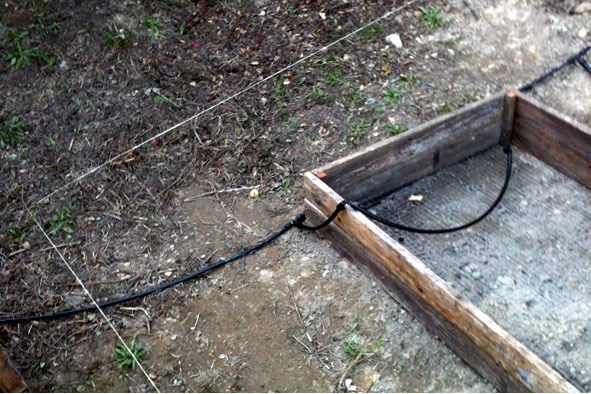

They’re not the best photos, but you’ll see how I was laying down the hoses that would bring water to the beds, as well as a main hose for each bed, from which smaller drip lines will eventually extend (pictures of the finished system are further down in this article).
You’ll find that working with the components of a drip irrigation system is sort of like working with Tinker Toys. You build it, decide you want to make some changes, quickly disassemble parts of it, and rebuild the way you want. Really, anyone can do it.
Filling Your Beds
Okay, now we get to start talking about dirt.
A principal benefit of raised beds is that they allow you to optimize your soil conditions. What makes great soil is a topic that requires a full What Should I Do? article all on its own. But the easy guidance I can provide here is just to head off to your local nursery, tell them what plants you want to grow, and let them guide you to the best soil options.
In my case, it was an artisan mix produced by a local soil and mulch producer.
Be warned: Raised beds require a surprising amount of soil! My four 4’x6′ beds needed 2 cubic yards of dirt. That may not sound like much, but it is.
I was able to save a TON on the cost of the soil by bagging it myself. It’s a good thing for my wallet that I made that decision before realizing how much work it would be. On my first trip for soil, I was astounded by how much dirt I was going to have to bag when the front-end loader dumped its full bucket-load at my feet. But that astonishment quickly turned to disbelief when it returned to dump a second load.
For perspective, here’s what the back of my Toyota Highlander looked like when I arrived home (and yes, the middle section and passenger seat were piled to the ceiling as well):
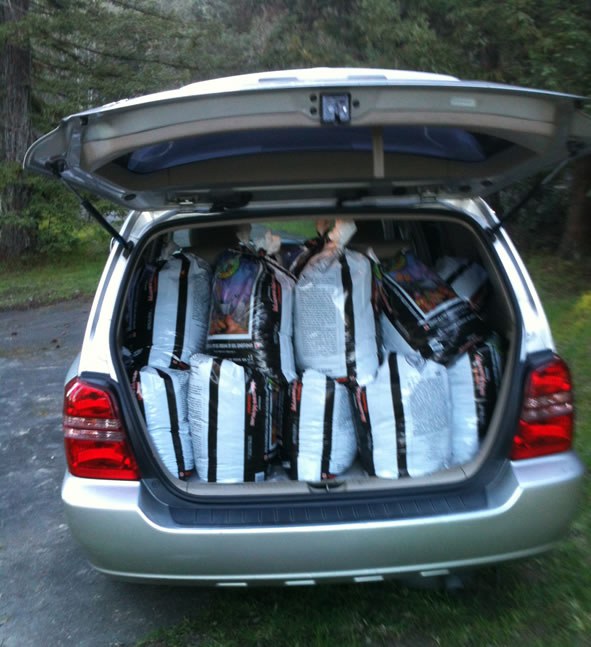
And that was just for 1 cubic yard…
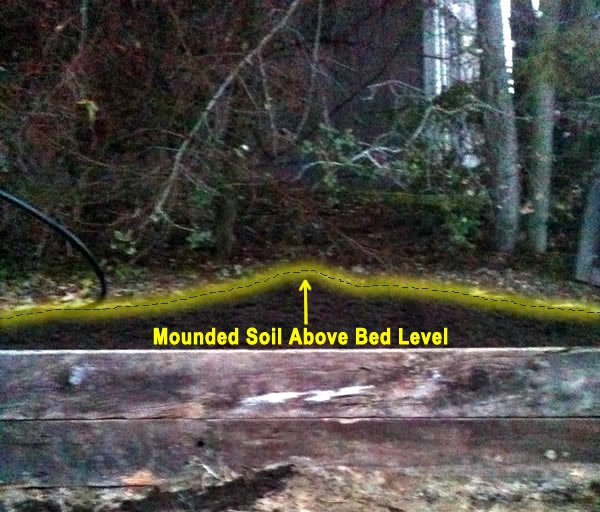
Anyways, once you’ve got your soil home, start filling up your raised beds with it. One important thing to know is that your soil will settle over time, so add more than it looks like you need. Mound the excess dirt in the center of the beds.
Before planting anything, you’ll want to wait 2 weeks for the soil level within the bed to lower as it settles. You can then spread the mound out evenly across the bed to raise the dirt line back up.
Congratulations, your raised beds are ready to go!
Fencing In Your Garden
After all this work, you definitely want to protect your investment.
Putting in a fence is highly recommended if you live in a location where deer, rabbits, chickens, dogs, or other garden menaces are a factor.
Again, if that sounds a little daunting, don’t worry. The mechanics here are extremely simple.
Corner Posts
Your fence needs the greatest stability at its four corners, so this is where your effort will be most concentrated.
First, obtain your corner posts. For my garden, I went with four 8-foot redwood 4″x4″s, which I bought at the hardware store.
The twine you previously laid down for your garden borders should make it easy to see where the corners are. At each corner, dig a hole at least 12″ deep; enough to hold the 4″x4″ vertically upright with stability. If you have one, a post hole digger makes this job much easier and more efficient. You can usually pick up a used one for $10 or less at a good flea market or garage sale. (I did).
If your garden is on a slant, dig the holes on the higher end deeper – so that the tops of all of your corner posts are at the same elevation. Once they are, you’re ready for the concrete.
You can buy quick-setting fence post concrete for a few dollars a sack at your local hardware store. It usually is a just-add-water mix and is simple to prepare — just be ready to use it quickly, as it begins hardening fast.
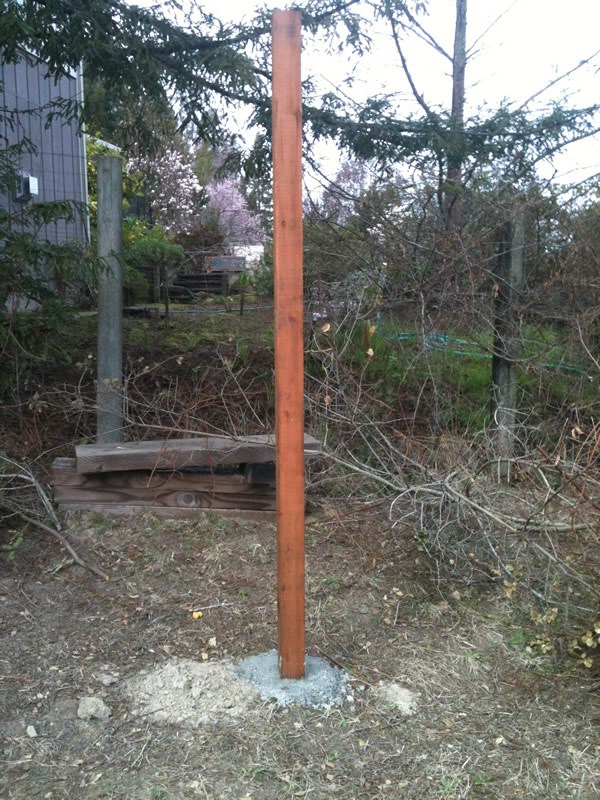
But there’s one last thing you should do before mixing your concrete: Near the top of each fence post, on two adjacent sides, hammer a nail halfway in on each side. From each nail, hang several feet of string with a weight tied to the end (like a large washer). These weighted strings will be your plumb lines, which you will use to ensure that the post is in perfect vertical alignment. If the plumb lines are touching the post or are angled away, gently move the top of the post until they both hang parallel to the post.
Okay, back to the concrete. Add your water and stir to prepare. Starting at one corner, remove the post, pour some concrete into the bottom of the hole, put the post back in, and then fill up the remaining space around the pole with concrete. Use your plumb lines to ensure that the pole is perfectly vertical. Stand there for several minutes while the concrete sets – you can leave once the pole doesn’t shift at all when you let go of it.
Repeat for the other 3 corners.
The next step is to put up your fence wire between the poles. Before doing so, though, it’s wise to create a trench several inches deep along the line where the wire will run, so your fence wire will ultimately extended into the ground to discourage hungry critters from digging under it. A miners pick, again, proves useful here.

With the trench completed, attach one end of your fence wire to a post with U-nails, which hammer into the wood pretty easily (this should be done at least one day after pouring the concrete, to make sure that the post is solidly fixed in place). Run the fence wire along the trench over to the next pole. Pull the wire as taut as possible (a friend’s assistance comes in handy here) and affix to the new pole with U-nails, as before.
You probably will not be able to remove 100% of the slack in your fence wire line no matter how hard you tried. Not to worry. You’ll shore up any slack with T-Posts.
Most hardware stores carry these, but you can usually find older ones on Craigslist that will fill the bill just fine. Place them at regular intervals (I used 2 per side in my 22’x17′ garden), hammering them in to the ground by 12″ or so. A post driver is perfect for driving them deep, if you have access to one.
Then tie the fence wire to the T-posts at several points using baling wire. Once done, your fence wall should be pretty straight and well-supported.
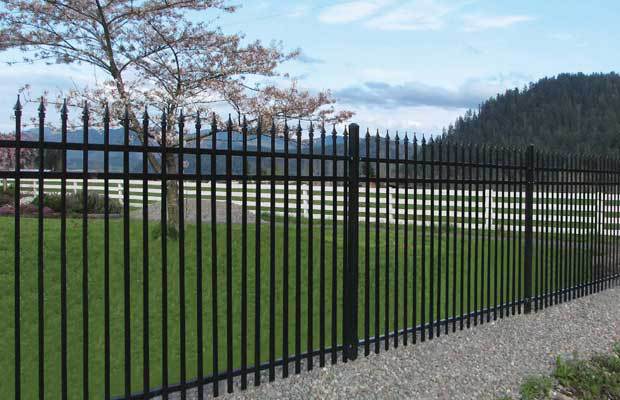
Here are some pictures of the fencing going up around my garden. Note that the further the fence extended, the more the chickens wanted to be inside the area I was enclosing to keep them out of!

At this point, your garden beds should be “boxed in” by your fence. Just be sure you’re on the outside!
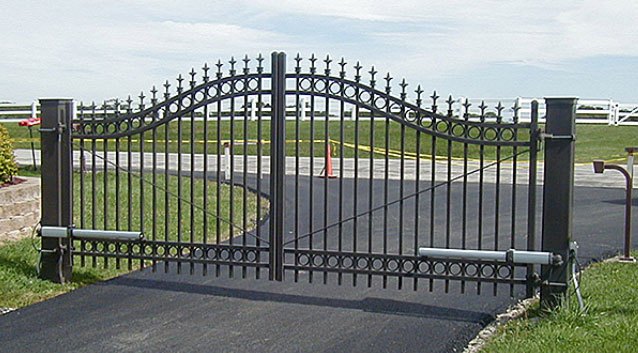
Determine where you want the main door to your garden to be, and cut a temporary (or not) access entrance there in your fence wire. This worked so well for me that it’s still the entrance I use now that my garden is finished: I just went on to create a “door” from additional fence wire, using carabiners as “hinges.” Simple, yet very utilitarian.
Congratulations – your garden is now securely fenced! At this point, you’re pretty much ready to start growing food.
I know, it seems like a lot of work to have done before a single seed has been planted. That’s because farming, even backyard gardening, requires real effort! But it’s some of the most rewarding effort you’ll ever put in. When your first harvest arrives, the vegetables will taste incredibly wonderful, in no small part because you’ll appreciate what it took to grow them.
Also, remember that this sweat work you’re doing is an up-front investment. You’ll be able to use these beds for years and years. Your future self will be very grateful for the effort your current self is putting in now.
Finishing Touches
If you planned for them, now is the time to put in any special features you want in your garden. For example, in mine, I installed:
- a potato tower
- a rain gutter for growing above-ground strawberries
- a skinny 1’x15′ raised bed for sunflowers and corn
- 5 Concord grapevines
You may want to try some of these, too, or you may have other ideas to explore. Be creative and inventive. My only advice is to keep it manageable. Remember that your main time and attention will be spent on the raised beds, so don’t add too many distractions.
One other finishing touch I definitely recommend is to remove the rest of the ground vegetation between the beds in your garden. You don’t want weeds and unwanted seeds finding their way into your beautiful beds.
Here’s how my garden looked at this stage. Note the 4 drip lines extending down each bed.

Last, you should strongly consider laying mulch between your beds now that you’ve removed the ground cover. If you don’t, you’ll find that the weeds and grass grow back in faster than your vegetables. A good 3″ layer of mulch made of weed-suppressing woods (your nursery can help you pick out the best options) will save you a lot of weeding, plus it makes the garden look substantially better, aesthetically. I was able to purchase all the mulch I needed for under $17 – an investment I’m so glad to have made.
The Payoff
With your garden beds in place, you’re now able to grow a multitude of vegetables, herbs, and flowers throughout the year. Plus, you can help nurture local pollinators, make your property more visually pleasing, and provide yourself with healthy outdoor activity (exercise, emotionally-centering contemplative time, Vitamin D – the list is long…)
In my garden alone this year, I’m growing:
- strawberries (2 varieties)
- potatoes (5 varieties)
- tomatoes (3 varieties)
- onions (2 varieties)
- peppers (4 varieties)
- carrots (2 varieties)
- cucumbers
- bush beans
- butternut squash
- rainbow chard
- watermelon
- broccoli
- kale
- basil
- cantaloupe melon
- arugula
- lettuce (5 varieties)
- corn (3 varieties)
- pumpkin
- sunflowers
- Concord grapes
And I’m certain a more creative gardener could squeeze even more diversity into this space.
Now in full bloom, the garden is looking great:
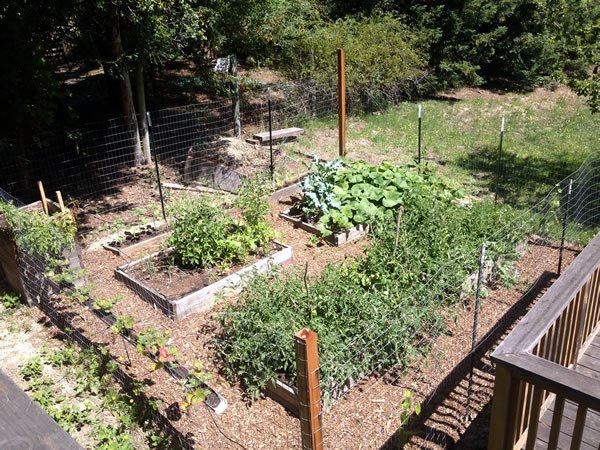
And I must admit, I experience no small satisfaction every time I look at it, knowing that this abundance came from my vision and sweat (though I also feel very humbled, too, knowing that this is a pretty small garden compared to those managed by many of Peak Prosperity’s more seasoned gardeners!)
Hopefully, this article has provided you with the clarity, confidence, and inspiration to do the same. If you decide to undertake putting in a garden, you won’t regret it. But watch out – you might become more addicted than you intended!

If you’ve been intending to become a gardener but aren’t quite sure yet how to get started, this how-to guide is for you.


 These guys would like nothing more than to chow down on your business and in some way come into contact with you or your living space.
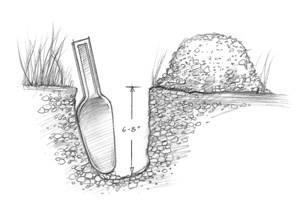 In a short-term emergency, a few cat holes is all you need. Just take a garden trowel, a small shovel, or a post digger and make a hole about 6-8 inches deep and 4-6 inches in diameter. Do your business in the hole, wipe, throw the toilet paper (or leaves 🙂 ) in there too, and cover it up with the dirt you took out.
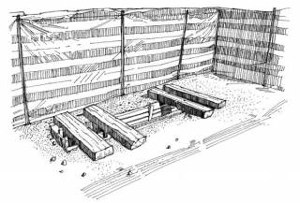 For a longer-term sanitation solution, you’ll want to build yourself a trench latrine.
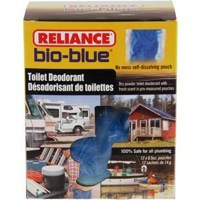
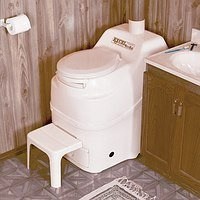 For those of you with a bit more money in your pockets, they sell non-electric composting toilets