Safe Drinking Water Strategies for Preppers
DRINKING WATER – BACKGROUND:
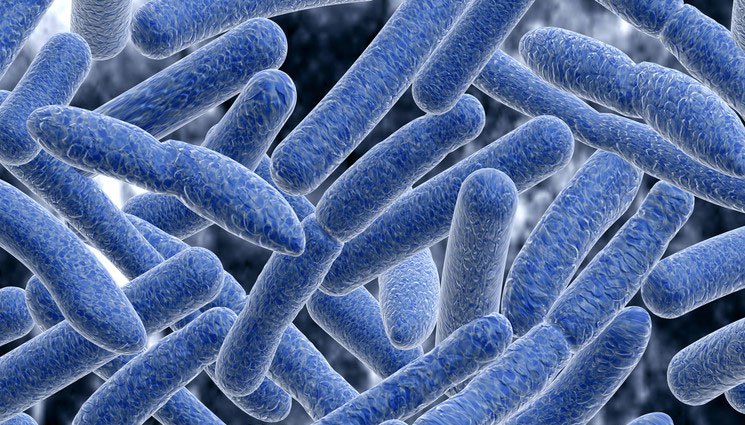
How to sterilize water? Simple: You don’t need to ‘sterilize’ water. Sterilization is the destruction of all microorganisms in, on and around an object. What is needed for safe drinking water, is disinfection (killing of pathogenic (disease-causing) organisms). Disinfection can be done many ways, including filtration, heat, ozonation, and chemical disinfection.
Despite many stories to the contrary, simply boiling water will disinfect it. At any elevation you’re likely be at the boiling point of water is high enough to kill (or denature) anything in the water. You don’t need to boil it for any particular length of time, just get it boiling at a good rolling boil.
Pasteurization removes (Kill) disease-causing organisms in water by exposure to heating to 65°C (149°F) for a short period of time. This will free the water from microbes, including E. coli, Rotaviruses, Giardia and the Hepatitis A virus.
A Water Pasteurization Indicator (WAPI) contains a heat specific soy wax that helps users determine when water has reached pasteurization temperatures. The WAPI has the added benefit of a tough stainless steel cable and brass end caps. Both are designed to withstand high heat which means they won’t melt when used over an open flame. This feature makes the WAPI especially valuable when used over an open fire, like camping or in situations where solar cooking is not an option.
Filtration is a good method, you should use a filter that has an absolute rating of 0.2 micron diameter or less (0.1 micron). Personally, I use iodine crystals (Polar Pure™ first, then filter the water. Chemical disinfection is the use of various chemicals (usually a halide like chlorine or iodine) in the water. It’s usually a quick, economical and effective method.
Purifying water with bleach
Regular liquid bleach is not stable, it breaks down gradually and eventually becomes just salt water over a period of 2 years. It’s still usable at 1 year but you must use twice as much.
Purifying water with Calcium Hypochlorite (pool shock)
Calcium hypochlorite will store in dry form nearly indefinitely (10 years), whereas liquid chlorine bleach loses half of its potency after a year (use twice as much for the same effect) and is next to worthless after two years.
Using calcium hypochlorite you can mix your own liquid bleach on an as-needed basis and have it fresh and fully active. (It’s very much like the difference in storage life between whole kernel wheat versus ground flour.)
Calcium Hypochlorite (Pool shock) can be purchased at any Pool supply center and most hardware stores.
Calcium Hypochlorite – purity
A granular (dry powder) “pool shock” product that lists only Calcium Hypochlorite as the active ingredient should be safe to use for water purification. The problem with other varieties is that they include other algaecide or fungicide chemicals that are probably not safe for human consumption. Ditto for using liquid bleach for the same purpose. Do NOT buy bleach with fabric softeners, scents, et cetera. Keep in mind that bleach solutions break down and weaken with time (anticipate a 24 month shelf life), but that dry granular bleach stores indefinitely.
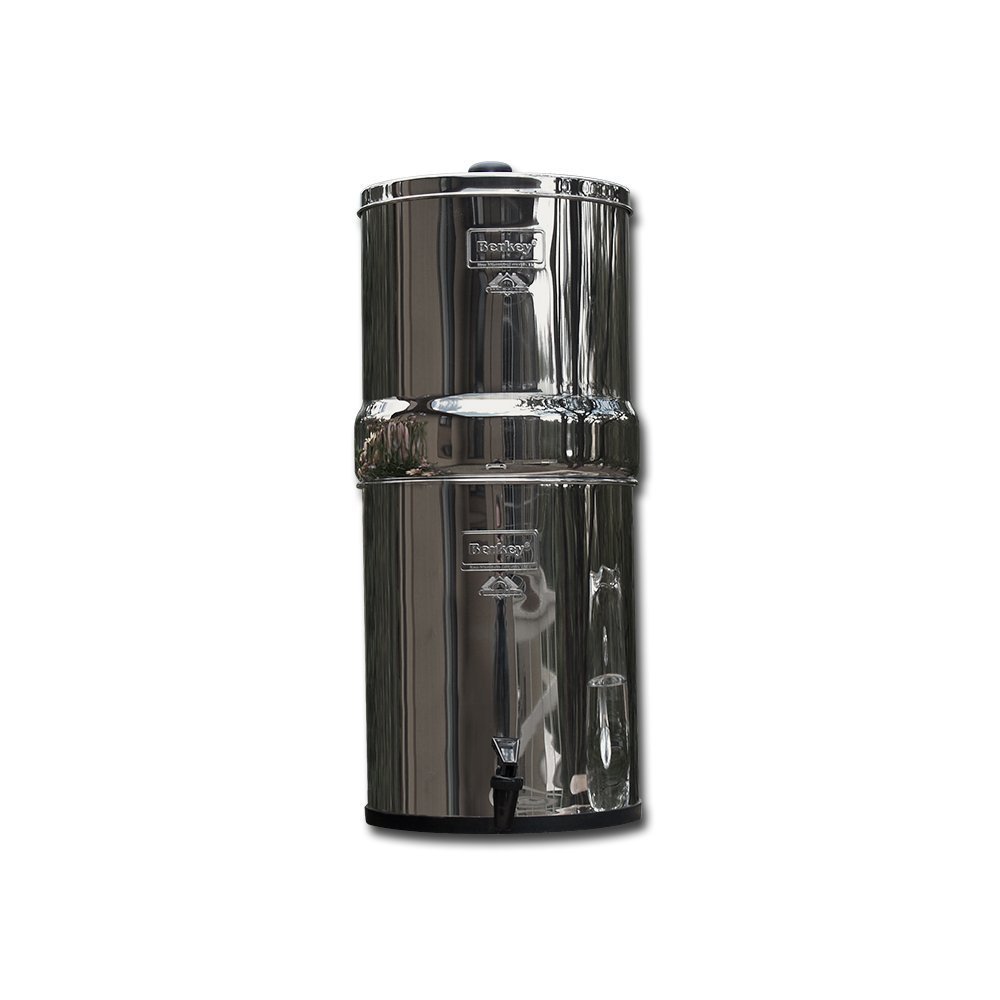 Berkey BK4X2-BB Big Berkey Drinking Water Filtration System with 4 Filters – 2 Black Filters and 2 Fluoride Filters
Calcium Hypochlorite – Mixing
In an EXTREMELY well ventilated area, (Hint: OUTSIDE!) add and dissolve one heaping teaspoon of high-test granular calcium hypochlorite (approximately 1/4 ounce) for each two gallons of water. Five pounds of dry pool bleach costs about $10-15, which will make about 92 gallons of bleach, which will sterilize 706,560 gallons of clear water, or 353,280 gallons of cloudy water.”
“Granular Calcium Hypochlorite. Add and dissolve one heaping teaspoon of high-test granular calcium hypochlorite (approximately 1/4 ounce) for each two gallons of water. The mixture will produce a stock chlorine solution of approximately 500 mg/L, since the calcium hypochlorite has an available chlorine equal to 70 percent of its weight. To disinfect water, add the chlorine solution in the ratio of one part of chlorine solution to each 100 parts of water to be treated. This is roughly equal to adding 1 pint (16 oz.) of stock chlorine to each 12.5 gallons of water to be disinfected. To remove any objectionable chlorine odor, aerate the water as described below.
The treated water should be mixed thoroughly and allowed to stand, preferably covered, for 30 minutes. The water should have a slight chlorine odor; if not, repeat the dosage and allow the water to stand for an additional 15 minutes. If the treated water has too strong a chlorine taste, it can be made more pleasing by allowing the water to stand exposed to the air for a few hours or by pouring it from one clean container to another several times”
 Okay, a lot of people don’t have a 12.5 gallon container lying around, so let’s break it down. To make two gallons of the bleach, one heaping teaspoon of the calcium hypochlorite goes into 2 gallons of water. To make drinkable water, 1/8 (about 8 drops) tablespoons of the bleach goes into 1 gallon of water. Let stand covered 30 minutes, aerate to taste.
Safe Drinking Water treatment process – General
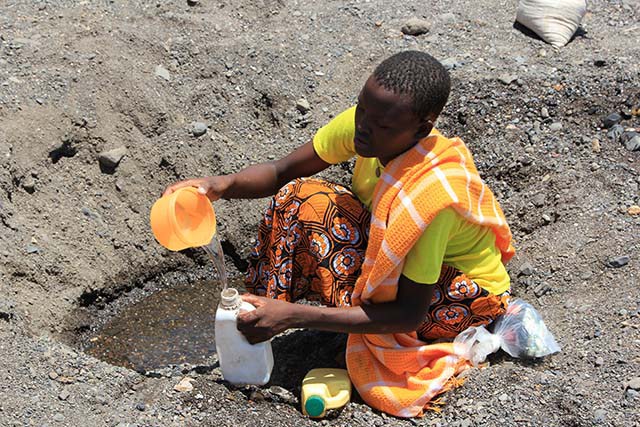
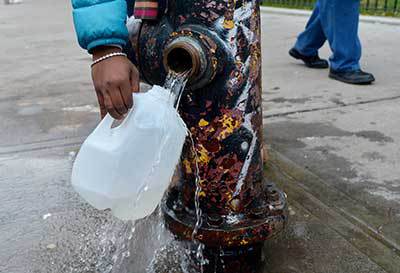
As mentioned previously, water from open sources must always be treated before use. Typical chlorine concentrations will kill bacteria but not all viruses. So I recommend a three-step approach to treating water from open sources:
- Pre-filtering. This remove particulate matter. Pouring water though a couple of thickness of t-shirts or tightly woven bath towels works fine. The water that comes through will still look like tea, but at least you will have removed the crud and larger particles. By pre-filtering, you will also extend the life of your water filter. (You avoid clogging the microscopic pores in the filter media.)
- Chlorinating. This can be accomplished following directions above.
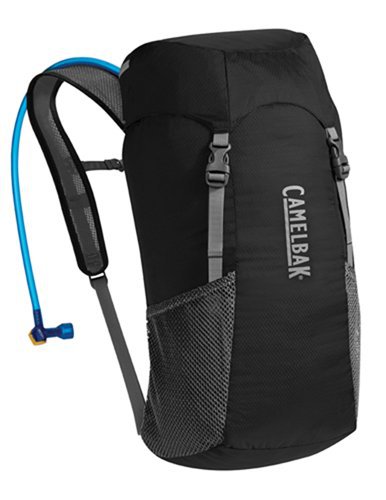
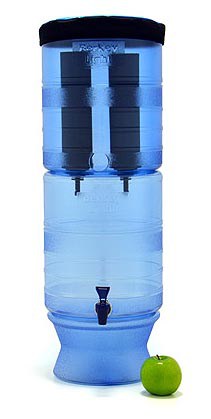
- Filtering. I recommend the large Katadyn or British Berkefeld filters. Some filter elements available for Katadyn or British Berkefeld filters can even remove chlorine.
DRINKING WATER – BACKGROUND: How to sterilize water? Simple: You don’t need to ‘sterilize’ water. Sterilization is the destruction of all microorganisms in, on and around an object. What is needed