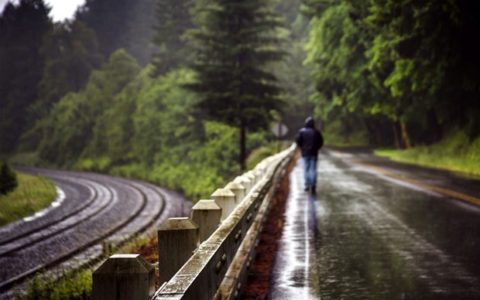

This article continues where Part 1 left off in discussing how you can move through environments without leaving signs that you were there. This could come in handy if you are fleeing from people who are trying to track you.
In Part One of this series I introduced some of the issues that can place your group at risk of detection when on foot and on the move. In Part Two, we will cover the remaining four types of ‘sign’ that can be left on or near a trail you are using.
High Sign
This topic focuses on evidence that is above ground level. In other words, this is evidence that may be found on brush and tree branches that line the path of your trail.
Cut and broken branches
If you are moving through areas of dense cover, such as thickets or bramble, it may become necessary to use machetes to clear a path. Removing (disposing) the evidence of cut limbs and branches is problematic by itself. An even greater issue is the stub that remains on the tree. Cutting a path means that you will have created a visual sign of your passage and course. Freshly cut branches that are left near the source will remain green for a time, indicating that you have recently used this location, or that you have cut a path in a new direction.
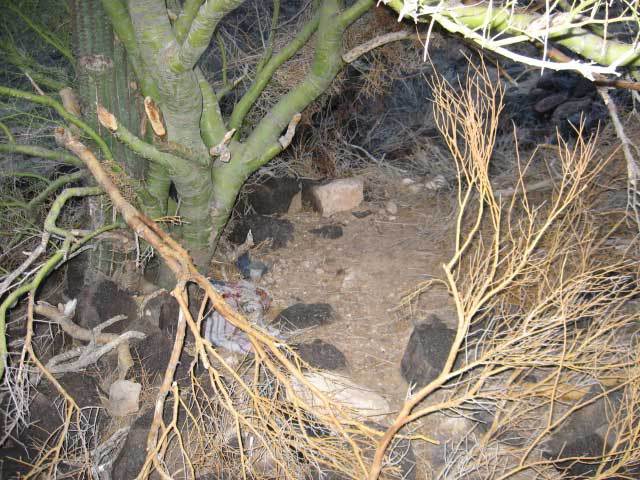
Tree branches were hacked off to provide a place of concealment and shade.
Hanging or suspended debris
Good trackers always look for various types of sign that are lying on, or suspended from, brush and tree branches along a trail. The most common sign will include fabric from ripped or torn clothing, sleeping bags, blankets or back packs.
The most effective method of mitigation is to maintain constant awareness. Everyone in the group should be alert to the risk, but the person occupying the “tail-end Charlie” position will be your last line of defense for the detection and removal of high sign.
-
Night Sign
This term refers primarily to critters that commonly emerge and search for food in the safety of darkness, including innumerable bugs, mice, rabbits, raccoons, skunks, coyotes and deer, etc. Their foraging activities will leave tracks on just about any trail that has loosely compacted soil. Importantly, the combination of night sign and your tracks will provide a useful timeline. For example, if a night critter crosses tracks that you deposited the previous afternoon, it could mean that you are several hours, but less than one day, ahead of the tracker. If your tracks overlay distinctive night sign, it may mean that you are only one or two hours in front of the tracker.
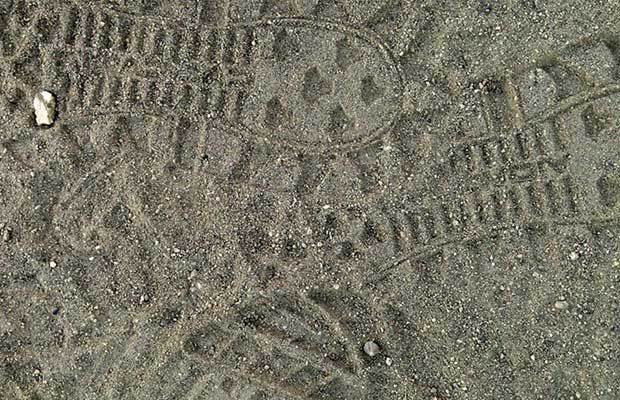
In the photo below, a very crisp heel mark with an “X” pattern has been laid on top of several critter signs.

Footprints that overlay night sign indicate recent passage.
Birds that forage for seeds or insects (quail and dove, etc.) will only leave tracks during daylight hours, but footprints that lay on top of these tracks can be used to establish a timeline, as well.
Night fog and dew can also be forms of night sign when moisture is deposited in the imprint of a track, particularly if the soil inside the print shows signs of swelling. Fog and dew operate differently on tracks than rain. An astute tracker can use this knowledge to establish an approximation of when your tracks were created.
There is nothing you can do to prevent night sign on your trail, but you can limit the ability of a tracker to use these clues as time stamps. The key, of course, is to leave no tracks of your own.
-
Poor Obfuscation Techniques
There are many ways to attempt covering your tracks. With few exceptions, most efforts that I’ve seen merely substitute the original footprint with a different clue – one that shows you are trying to hide your trail. Effective masking of footprints depends on the type of soil, surface covering, the depth and detail of the impression, and soil moisture. Obfuscation is not a “one size fits all” solution. You are better served by avoiding the creation of tracks in the first place, than your efforts at removing or obscuring them. Here are a few examples of techniques that are not effective:
- Avoid sweeping techniques that make use of rough brush. Any attempt that leaves lateral impressions of stems or branches will be obvious.
- Coarse bristle materials will wipe the track, but it will leave a brushed out area that may be larger and smoother than the original print.
- Rough techniques that cause the displacement of small rocks and gravel will be obvious to a trained observer.
- Walking single file in sandy washes may increase the difficulty in determining a group’s size, but it is impractical to eliminate the tracks.
- In sandy or other loosely compacted soils, repeated impressions in the same foot print will only serve to enlarge the size and depth of each print.
- The same holds true on soft or damp soil, but increases the risk of revealing overlaying tread marks from multiple shoes.
The bottom line is that obfuscation efforts that do not match the original texture and appearance of the surrounding area may result in detection. Useful mitigation techniques are addressed in Part Three.
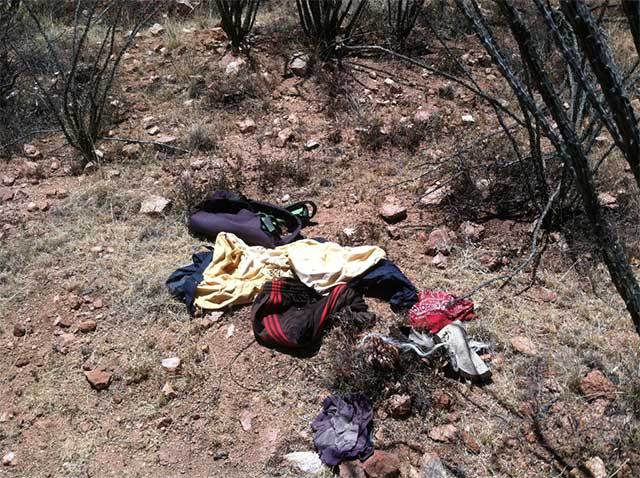
Discarding trash and clothing along a trail is a sure way to be detected. What else is wrong in this photo?
Trash and Waste
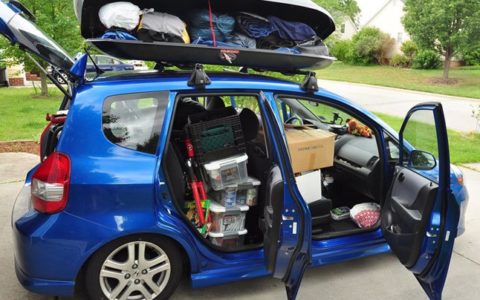
Do not discard trash along the trail. Careless disposal of trash, such as package wrappers, water bottles or metal food containers also indicate use of the trail. The condition of the trash may tell a tracker how recently it was deposited. Importantly, it is an advertisement that, not only do you have food, it may reveal the type. For example, a carelessly discarded MRE package may reveal (or at least suggest) that you are well equipped for a long journey. Some types of trash, such as a brand of imported sardines, may uniquely identify your group; particularly if the same objects can be found at successive break points. Light colored objects, such as tissue, plastic spoons and discarded shopping bags are additional indicators that you are moving along a route.
Clothing items of any type reveal much about the person that discarded them, including size, age and sex.

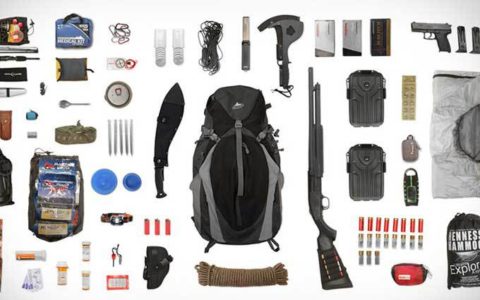
Small folding shovels can pull double duty as a weapon or for digging holes to hide your trash or waste.
The best practice is to bag all trash and return it to your back pack while on the move. You can collect everyone’s discards from the day’s journey when you set camp, then bury it in a secluded spot. It is essential that you bury human waste and tissue.
Make sure that you have more than one trenching tool in your group. I would also suggest that someone have an army style folding shovel.
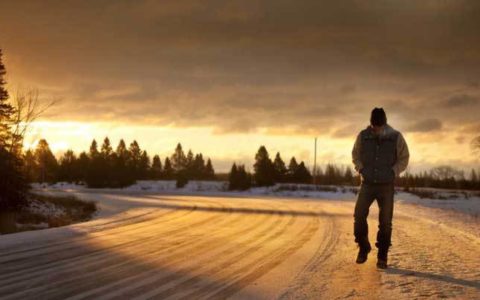
In this and the previous segment of the article we have identified the primary types of ’sign’ that your group is at risk of leaving along a trail. Realistically, you cannot move along any route in an invisible state, but you can use tools and practices that will greatly reduce your trail profile.
In Part Three of this series we will begin to address techniques that will help you conceal, or at least mitigate, any sign your group may leave. In the meantime, your questions and comments are welcome.