Pressure Canning for Preppers
Pressure canning is, by its nature, done by those who wish to preserve an overabundance of fresh food for consumption at a later date, and as such is an activity routinely engaged in by many preppers. Of course, there are many other reasons people do their own pressure canning: environmental (only a thin metal lid to dispose of as the jar is reusable); nutritional (you know what’s in that jar); financial (saving energy by cooking several meals at once and by having convenience foods on hand).
However, those who are preparing for the dark days ahead don’t use their pressure canning to its fullest potential. They just don’t realize how important it is going to be to have variety in the diet, especially in a world where fresh and frozen foods will be lacking.
Most people look at pressure canning as a means of preserving garden produce and maybe some meat or a few stews here and there. And for those reasons alone a pressure canner is a worthwhile investment. But there is so much more that can be done. So let’s take it to the next level. The Ball Blue Book of Canning (hereafter the “BBB”) should be found in every prepper’s library and will provide all the guidelines for canning the basics. It should be consulted for all matters related to food preparation and processing times. This article is focused more on preserving some of the foods you really want to have on hand, those that will make meals a little more delicious and boost morale in difficult times.
Vegetables
Most of what is in the BBB regarding vegetables is pretty straightforward and beyond jazzing them up with spices or peppers, there isn’t a whole lot to discuss, with two exceptions. The first is canning shredded zucchini. Most people prefer to simply freeze their shredded zucchini to use later in zucchini breads and cupcakes (a favorite around here) and soups. But we’re preparing for when we won’t have freezers. So every year we can a few jars of shredded zucchini so that we can make our treats. The zucchini simply gets shredded in the food processor, packed in jars, and processed per the BBB.
Ball Blue Book Guide To Preserving should be found in every prepper’s library
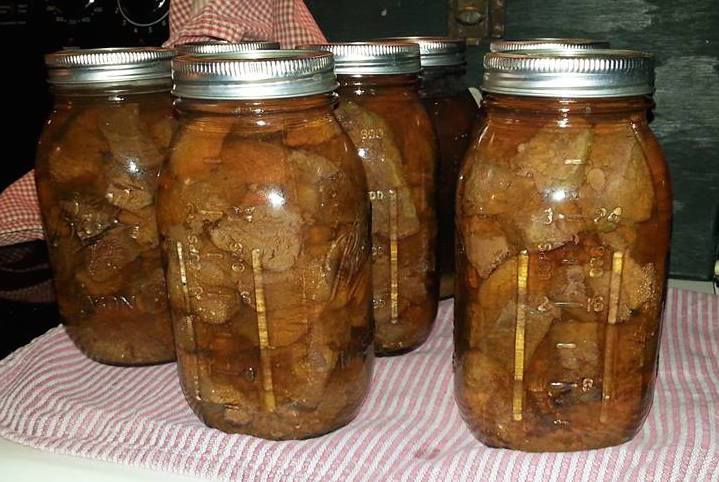
The other exception is potatoes. Yes, potatoes are routinely canned so as to be able to make soups and mashed potatoes long after the fresh potatoes in the root cellar have run out. But in this case we’re talking about that other main food group in the American diet: the French fry. Even if the pressure canner was not used for anything else, it would be worthwhile (in this family, at least) to acquire one just to be able to have French fries when the grid goes down. These fries are so incredibly divine. Unfortunately, I can’t give you a taste. You’ll just have to trust me.
You’ll want a French fry cutter to make preparation a whole lot faster. Amazon sells them for about $15. (Use the larger blade—1/2”. The smaller blade is just too fine and the fries will kind of disintegrate. ) Buy a bag of large potatoes—not the super huge ones. The potatoes need to be scrubbed well, but as long as they are being used for fries, they don’t need to be peeled (soil can harbor the botulism spores, but deep-frying will kill the botulism, so no need to worry about peeling). Cut the potatoes into fries and follow instructions in the BBB, except instead of boiling potatoes for 10 minutes, only boil for three. Place the fries in wide mouth canning jars. Continue canning per instructions from your BBB.
When you wish to eat some fries (which will be often!), open the jar and put the fries into a strainer. Thoroughly rinse and drain to remove excess starch. Deep fry in peanut oil until they reach a golden brown.
Dry Beans
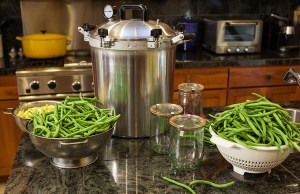
Dry beans aren’t a particularly exciting item to can, unless you get excited about saving money, time, and energy. Dry beans normally take hours to prepare for each meal. By utilizing a pressure canner, you prepare beans for several meals at once, saving money now and time down the road. So how is it done?
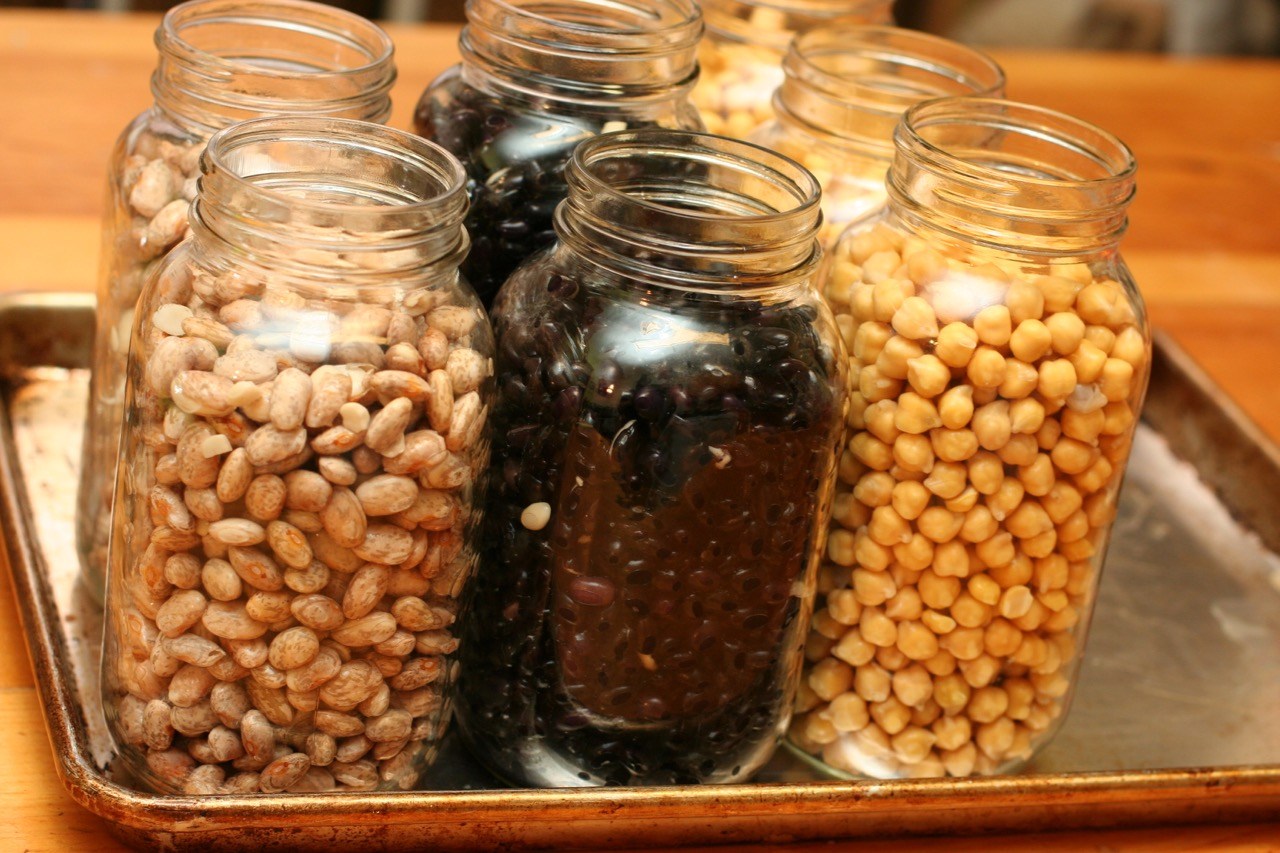
By utilizing a pressure canner, you prepare beans for several meals at once
Soak beans for several hours or overnight. Rinse and drain beans several times, then fill jars about halfway. This is the part that is a little tricky, and I can’t be more precise than “about halfway.” You see, the exact amount to put in the jar will vary due to several factors—the type of bean, for example black beans usually expand more than pinto beans; the age of the bean; and how dry the bean is.
After filling jars about halfway with beans, add salt (1/2 teaspoon per pint, 1 teaspoon per quart) and boiling water. Process per instructions in your BBB.
Meats
For those who haven’t ever ventured into the world of canning meats, but do have experience with canning fruits and vegetables, don’t be scared. Yes, you need to follow directions and be careful, just like for produce, but canning meats is so much faster and easier! All meats are canned exactly as outlined in the BBB; what I present here, however, are some ideas for preparing and packaging meats for other uses generally not discussed elsewhere. Having a variety of dishes in our menus will be critical to good morale in the coming crisis.
Beef
I can a good quantity of stew meat to be used as is in stews, but also to be shredded for use as taco filling, French dips, etc. Ground beef also gets browned and canned so that I can make soups and casseroles very quickly. Most people who are preppers and canners are already familiar with this. However, I know it will be very nice in the future to also be able to have a hamburger now and then. Obviously stew meat won’t work for this purpose, and neither will ground beef that hasn’t had a little extra preparation.
So this is what I do to have some hamburger patties. Form about one pound of ground beef into a log and roll it up in parchment paper that has been cut so that it is about an inch wider than the wide mouth jar being used for canning. Fold the parchment paper over the ends to help hold the hamburger log together. Put the hamburger log into the jar, making sure that you have one inch of head space. Process as per ground beef instructions in your BBB.
When you’re ready for some slider-sized burgers, run the jar under hot water for a minute or so to loosen the hamburger from the sides of the jar. Carefully slide the hamburger log out and remove the parchment paper. Slice the patties about ½” thick and fry them in a little butter or bacon grease for extra flavor. Serve with buns and all your favorite condiments.
Pork
Some pork is canned in chunks for later use in chili or to be shredded for taquito filling or super quick pulled pork sandwiches. Leftover ham from Christmas and Easter (we always get a large one for just this purpose) gets canned for adding to soups or fried rice.
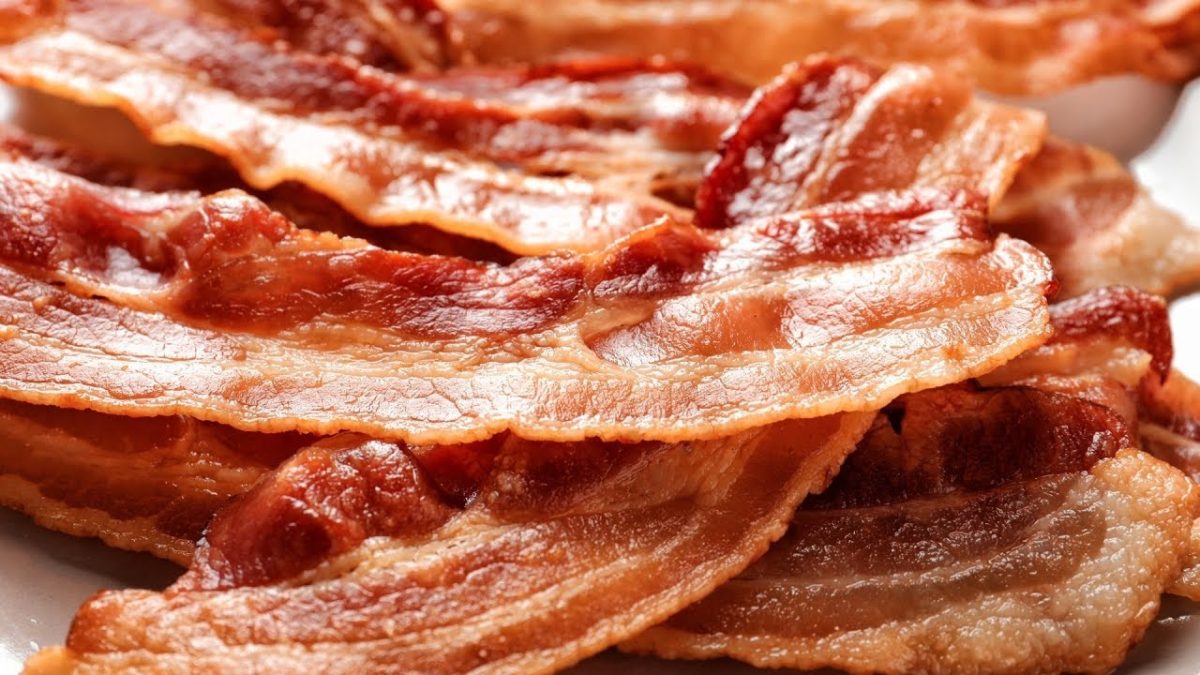
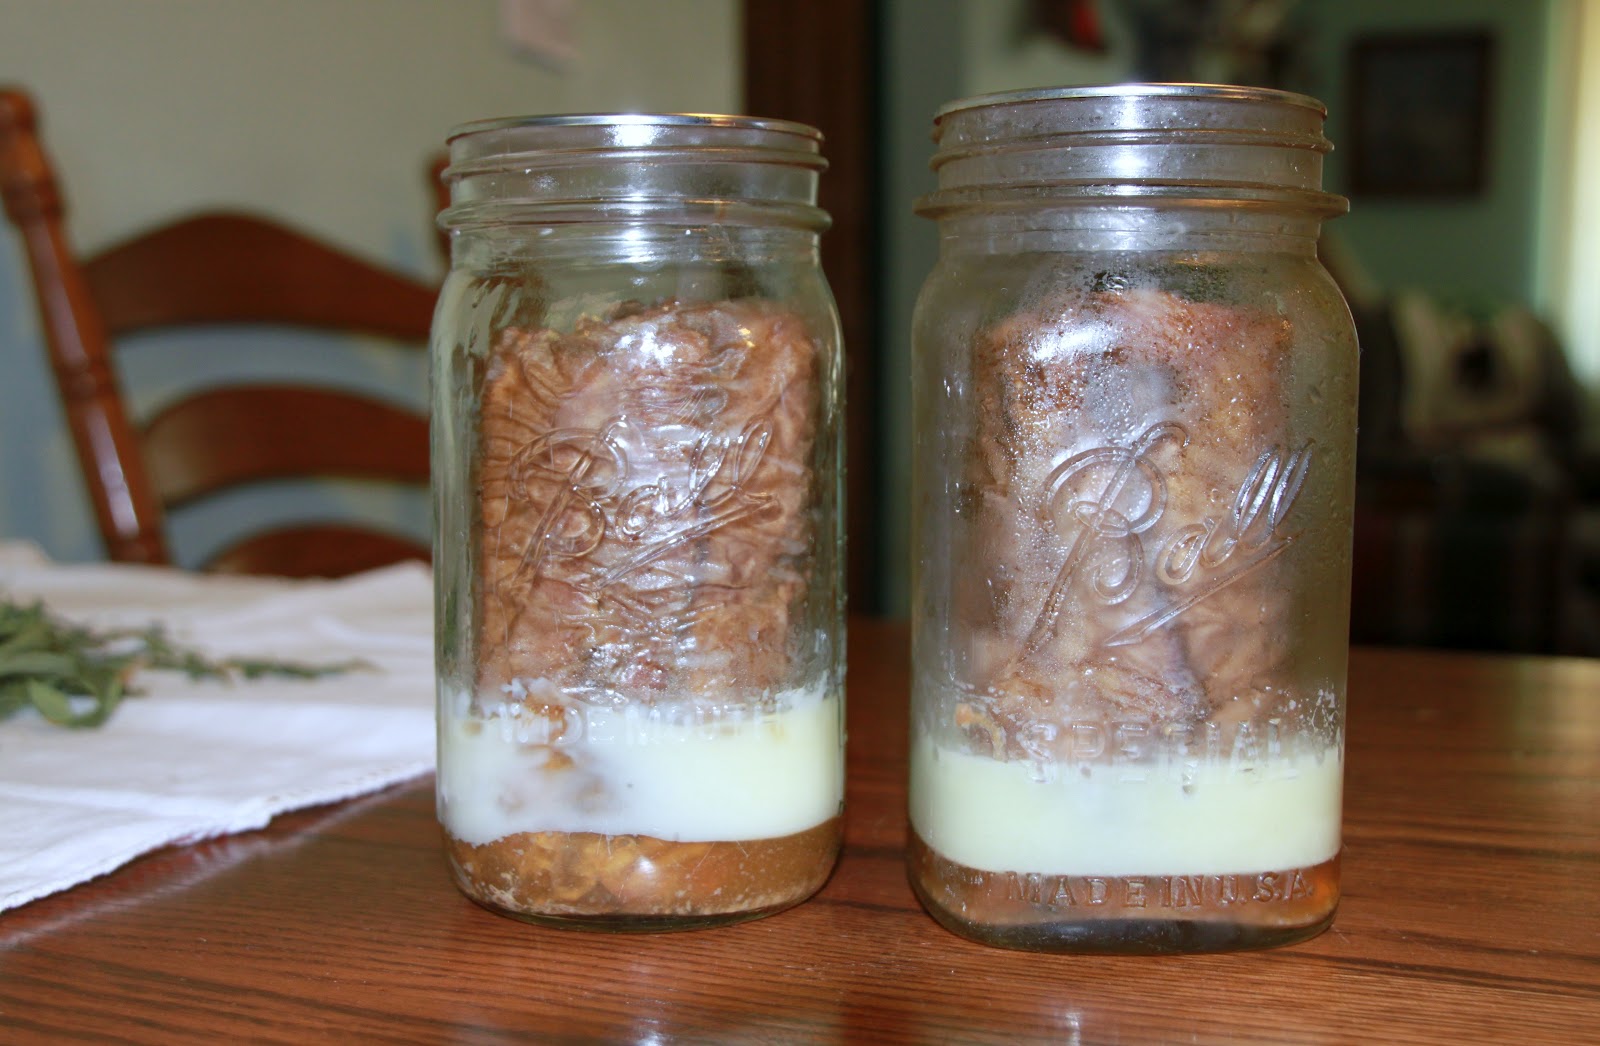
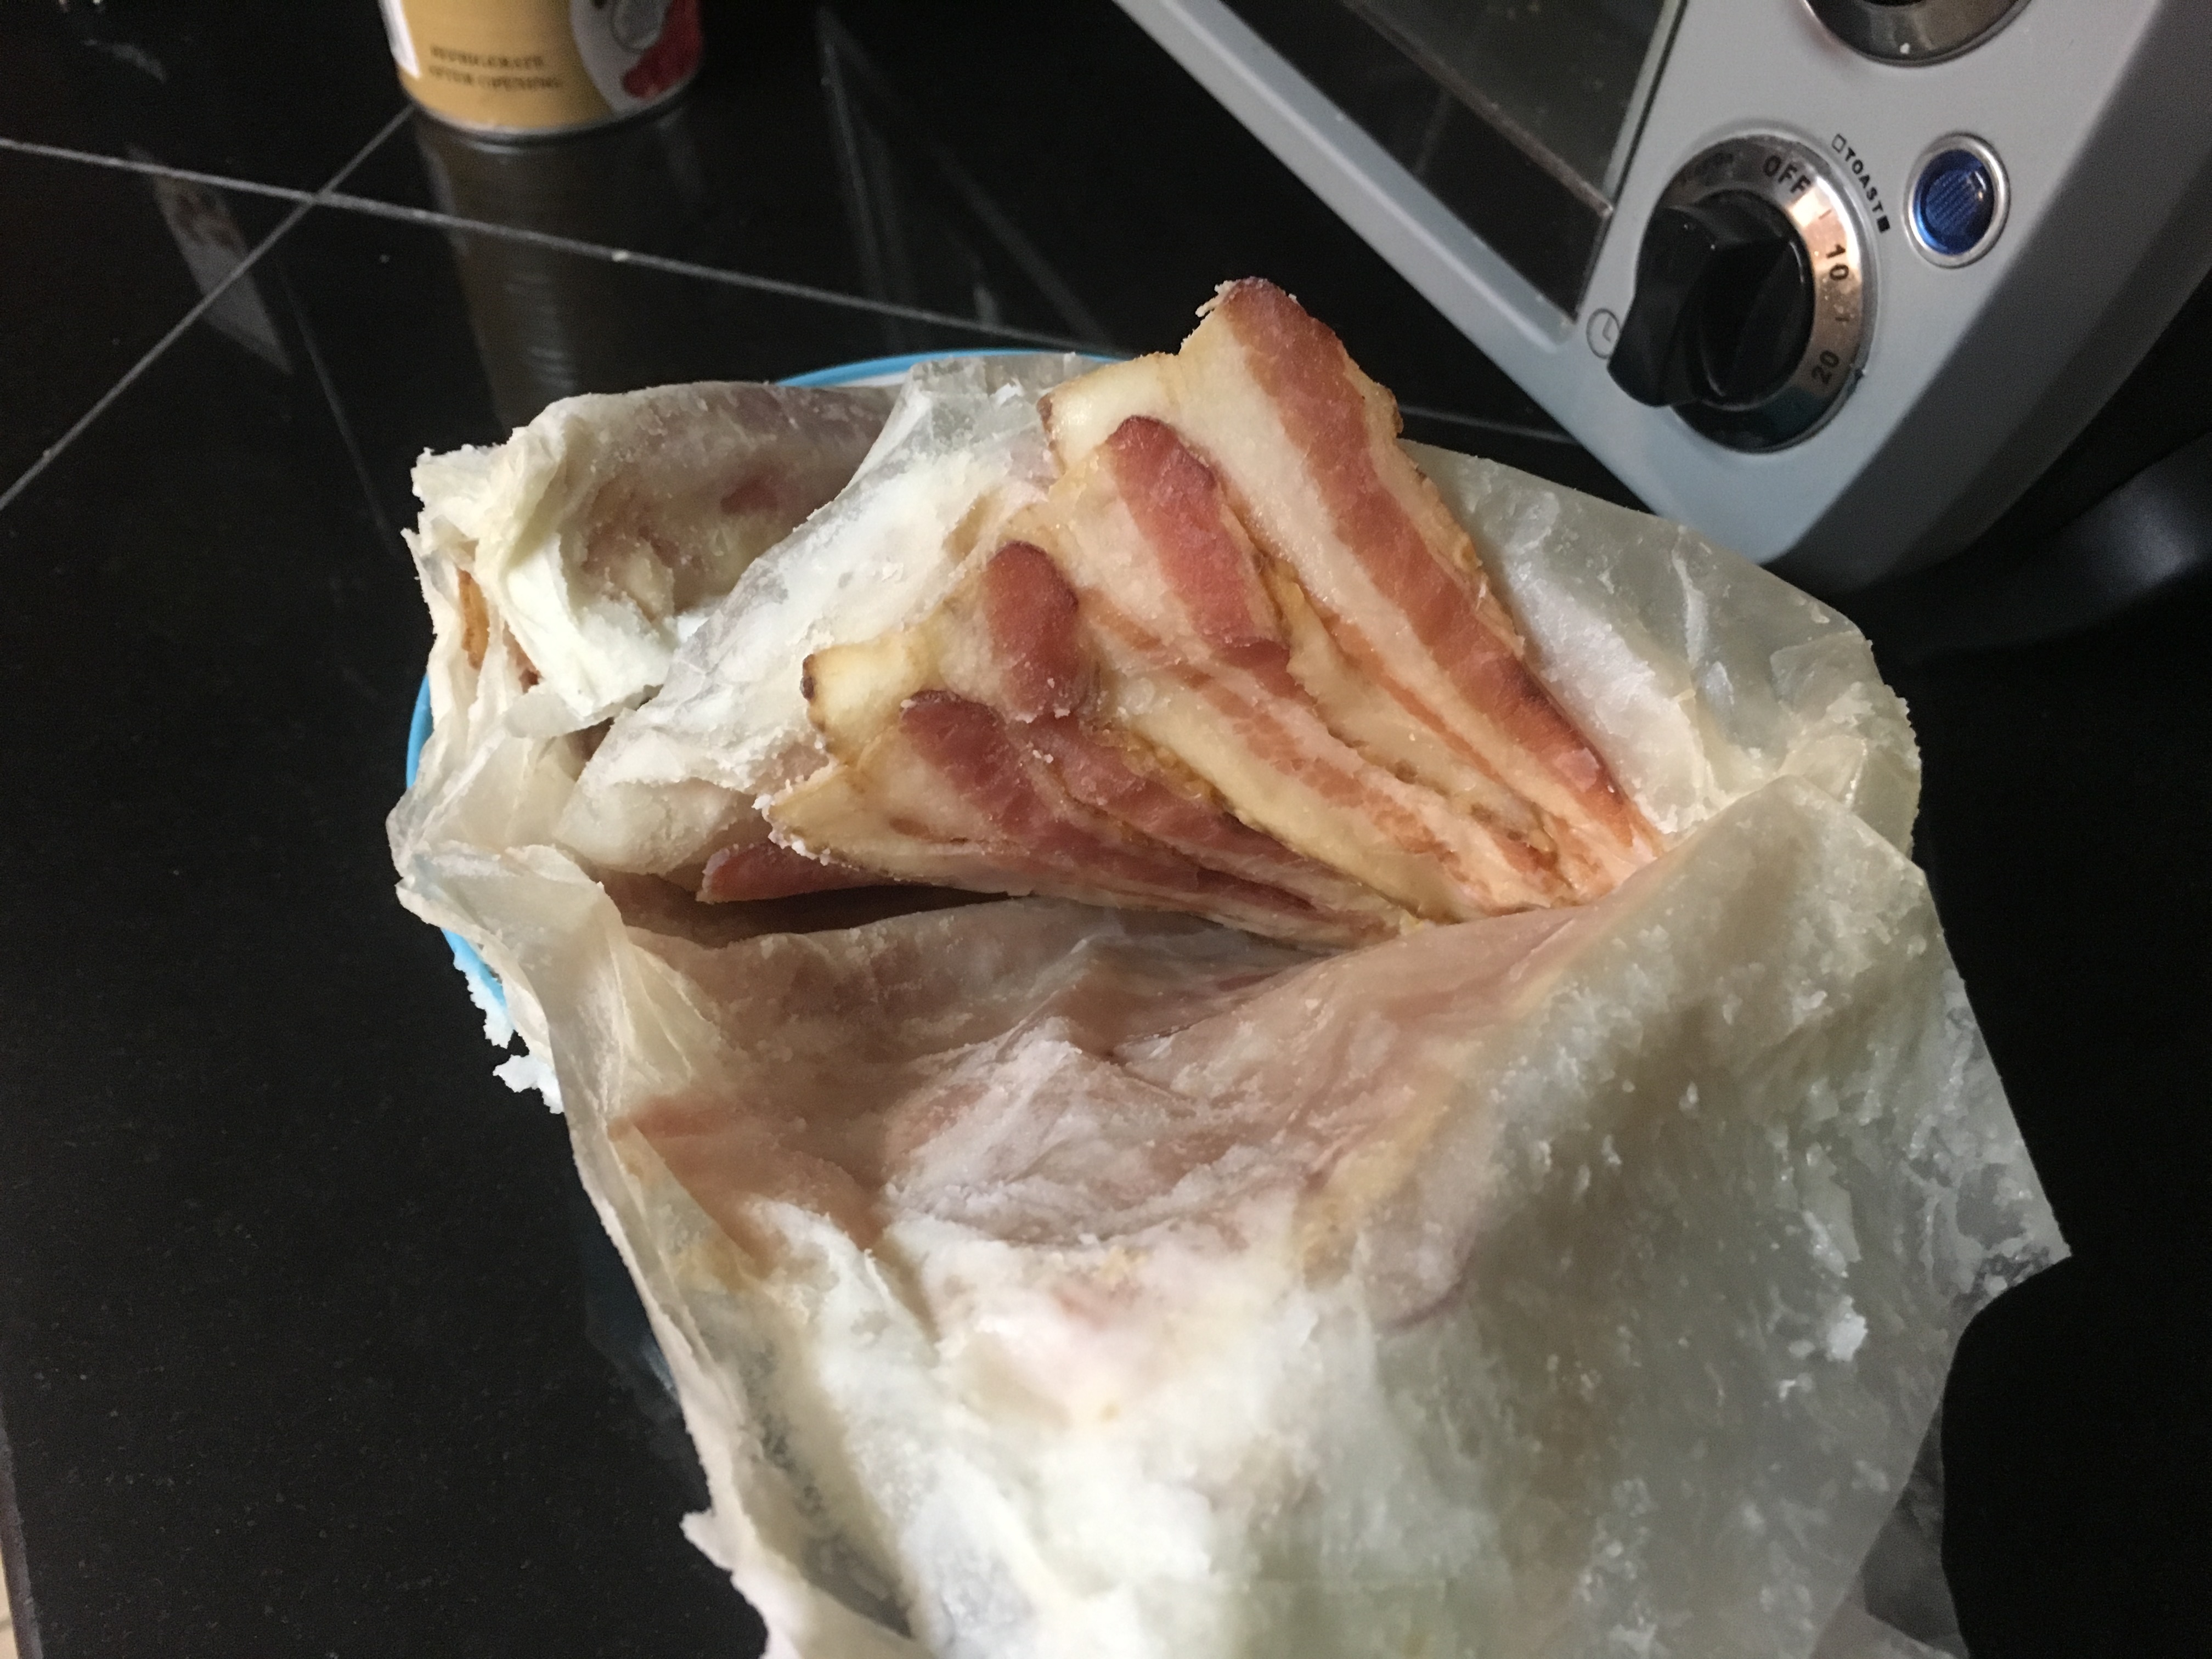
I think bacon will be one of the most important morale boosters in the food department, so I can quite a bit. To can bacon strips, cut a piece of parchment paper about two inches longer than the height of a wide mouth pint jar. Lay the bacon strips (which you have cut into halves or thirds) side by side down the middle of the parchment, fold the parchment over the bacon ends, and tightly roll the bacon up as you go. You’ll need a few pieces of parchment, and you’ll want to overlap each additional parchment strip with the previous one to hold everything in place. Stop when the roll is large enough to fill the jar and place the roll in the jar. Process per BBB instructions for canning pork. When you wish to cook your bacon, you’ll need to run the jar under hot water to soften the fat and be able to remove the roll from the jar. Lightly brown the bacon and enjoy.
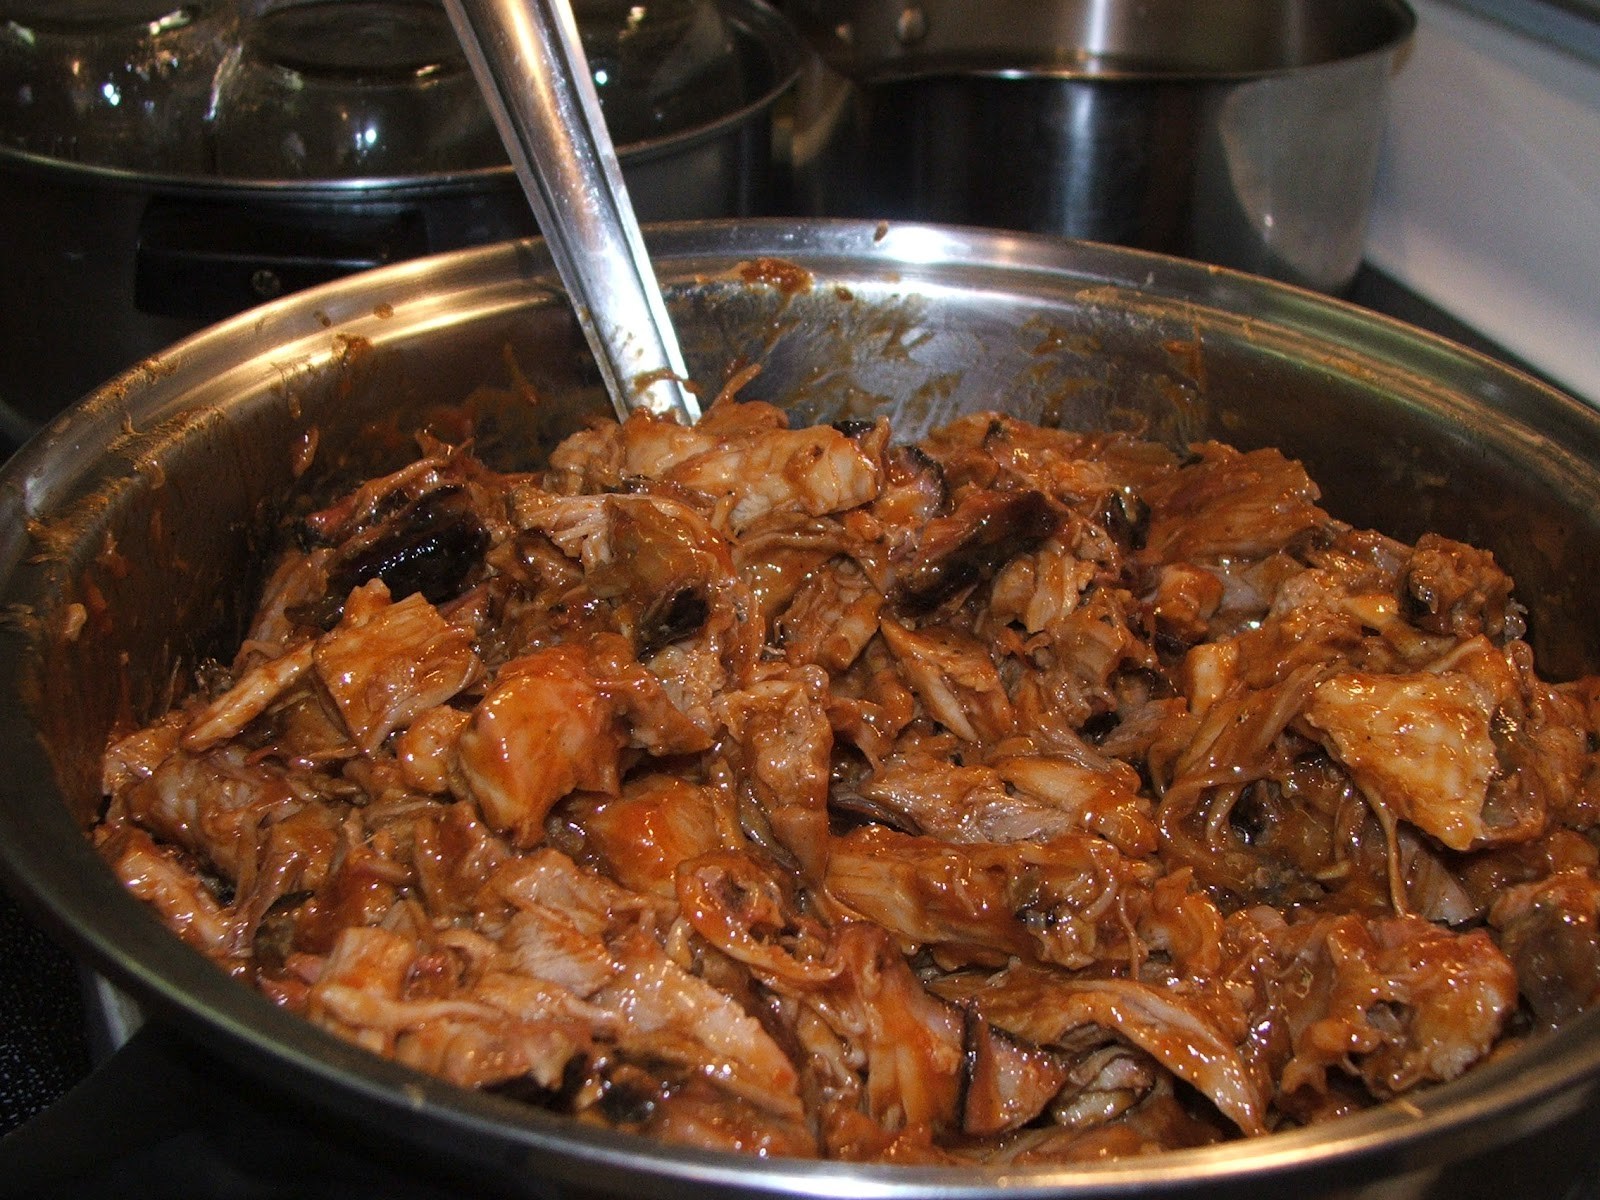
Can there be such a thing as too much BBQ after the grid goes down?
I also can bacon ends and pieces. These are typically sold in three-pound packages. There is usually quite a bit of fat, but there is also quite a lot of solid meat, and there are some pieces that look more like regular bacon. They all get canned separately. I use the bacon fat in some of my cooking, and the meat will become bacon bits for salads and baked potatoes. Some will say that in a TEOTWAWKI situation, bacon bits will be a bit of a ridiculous luxury. And I might have agreed a few years back, but for this one experience. A few years back we had a phenomenal crop of potatoes, and as such baked potatoes were a frequent dinner in our home. The kids were getting a little tired of them, so I decided to fry up a can of bacon bits to add to the spuds that night. I could not believe what a difference it made in the kids. They were so excited! Another lesson learned in avoiding flavor fatigue.
Chicken
This is probably what we can the most of in the meat department, mostly because I have one son who cannot have beef or pork. Home-canned chicken is perfect for making quick casseroles or adding to a summer salad for a main dish meal. And with a can of chicken on hand, it takes no time to get homemade chicken noodle soup ready when someone comes down with a cold.
Chicken bones. No, this isn’t being recommended as food for people, but chicken bones can be pressure canned (using directions for canning chicken meat) for feeding cats. Because the bones are hollow, after being pressure canned they can be easily mashed with a fork and fed to cats. Unfortunately, the chicken bones are too high in protein to be fed to dogs. (Too much protein can cause kidney damage in dogs.)
Convenience foods
Pressure canning is mostly about preserving the harvest, but it’s also just as much about making life easier. It’s what people have been doing for decades when purchasing processed foods at the grocery store. However, as more of us realize what kind of garbage is being added to commercially produced convenience foods, we’re opting to do more of our own. While we all enjoy freshly prepared meals, sometimes that just isn’t an option—the chief cook is sick, there’s been an emergency, or labors that day were needed elsewhere.
Keeping a ready supply of stew, chili, soup, and spaghetti sauce on hand for just such situations is a great way to reduce stress and be prepared at the same time.
Having some home canned convenience foods can really save the day. Keeping a ready supply of stew, chili, soup, and spaghetti sauce on hand for just such situations is a great way to reduce stress and be prepared at the same time. Because every family will have their own favorite recipes, I’m not providing any here. Most any recipe can be adapted for canning; one just needs to always remember to process for the time stated for the ingredient that needs the most time and highest pressure.
Traditional favorites for convenience foods to can at home are stews, soups and chili. Bear in mind, however, that some items just don’t do as well in a pressure canner at home. I’m not sure what the difference is between commercial canning and home canning, but unlike their commercially canned counterparts, noodles and rice just seem to go to mush when canned at home. So in this house we always add those ingredients just before mealtime.
With dark days ahead, and days that could quite conceivably turn into years, why not invest in a pressure canner and start preserving your own (at significantly greater savings over purchasing commercial products)? With more and more food being sourced from who knows where and with increasing reports of unsavory individuals employed at food processing plants, why not take control for more of our own food needs? A pressure canner is going to cost $100-$300. But the peace of mind that comes from preparing your own food? Priceless.
Pressure canning is, by its nature, done by those who wish to preserve an overabundance of fresh food for consumption at a later date, and as such is an activity