When Hurricane Sandy hit the Eastern board of the United States, it left millions of households without power, and most importantly, food. With preparations for the expected power outage, the food outage would not have been a problem even if grocery stores, crops, livestock, and plants had been flooded, all thanks to proper food storage.
Food is essential for survival. Whether it be an earthquake, hurricane, super typhoon, floods, or any natural calamity, you may lose access to water and food supply. As such, most people go for keeping emergency food storage. While for others, storing food is important for small emergencies. The question is, how do you effectively store food? Reports come in with stored food filled with salmonella, E. coli, and other microorganisms, which, instead of saving you, would put you in the hospital. More than keeping the right amount of food, storing them right is crucial. Here is a survival guide to food storage to keep you and your family safe.
1. Know The Right Types Of Food
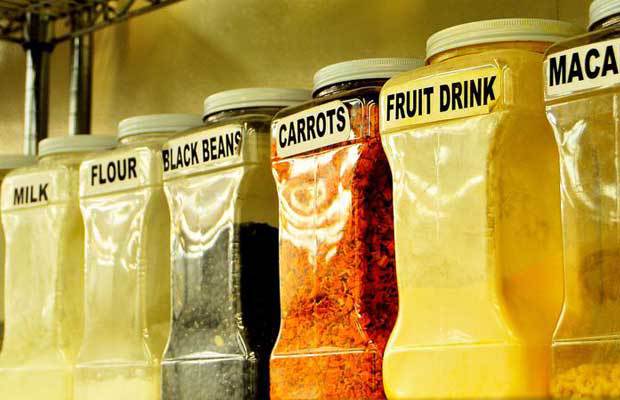
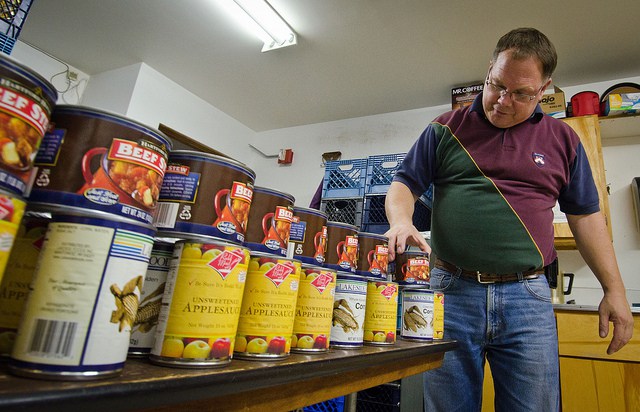
Know which foods to store and how to store them. Keep your emergency survival food supply varied but make sure to have honey, salt, milk, and wheat in your supply. To encourage variety in your supply, go for other grains, beans, tomatoes, cheese, and even onion. If you are storing foods in jars, make sure that the jars are airtight sealed to avoid the development of bacteria within. Marinated foods should go into the freezer and kept there until used.
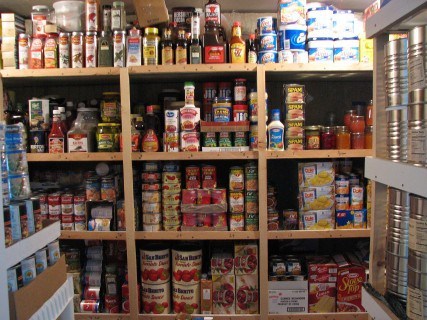
The types of food you store could go on and on but what you store is extremely important. Go for non-cook foods that could be served even during a power outage. Have MREs (Meal Ready To Eat) stocked as well as canned goods. Keep spices as well to give flavor to the food you will be preparing in times of emergency.
2…And Consider The Size!
Size matters, and so does the quantity. The volume of food should be enough for you to keep in the storage room. Choose containers that can be easily stacked, avoid transparent containers, and do not forget to put labels on everything. The labels should have the contents of what is inside the container and the date it was processed; including the date it was stored. This way, you would easily know when to use it and when to replace it.
3.Timing Is Everything
Yes, you have to get the emergency survival food supply going but you should not rush into getting this done ASAP. Take the time to learn the basics of food storage and keep it consistent. Start from a small food supply and add items to it slowly. You may start by using your refrigerator as your storage area. Utilize your freezer and learn the canning process to utilize your cupboards as well. If you have learned the proper storage and restocking techniques, this is the key to start working on a larger room for food storage.
4. Find The Perfect Storage Place
One of the many food storage tips you will hear is finding the perfect storage place. Your storage room should be cool, dry, and well ventilated. If you plan to store dried goods, you have to prioritize the temperature you have in your room to avoid spoilage, which is a waste of money. A cool storage room inhibits the growth of ethylene, a ripening agent, along with other decay producing enzymes. The storage room you choose also dictates the quantity of the emergency food supply you will be able to store. Keep your room small, having too big of a storage room makes it hard to do inventories in. Remember that this is your personal emergency food supply in case of natural disasters so keep it properly stored.
5. Restock!
If you have worked on your emergency food supply, you should know that these would only last for a couple of months up to a year. Create a regular rotation to replace the older items on the storage supply. Remember to replace everything that you have used up and those that are spoiled. Make it a part of your regular routine to keep the food fresh.
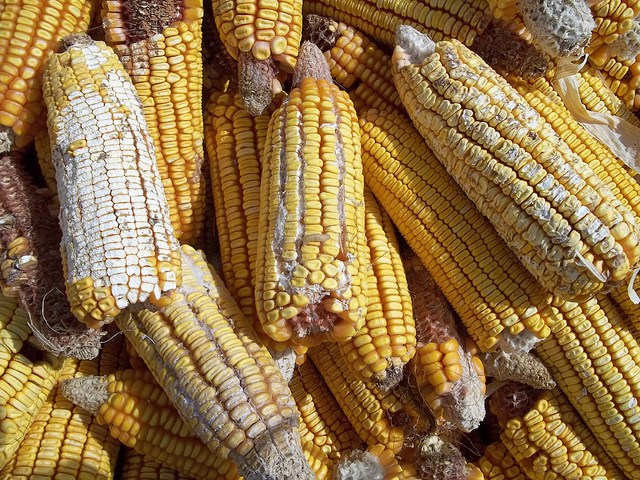
Remember that everything that goes in first must be the first to go out, starting from the ready-to-eat foods. Canned foods, which have rust on the lid, are already spoiled so be aware of these signs such as molds, discoloration, and smell.
6. Keep It Listed
Start a food plan with a checklist of food you need. Not only will this help your shopping faster, this will also help you keep track of the items that have been used up and needs to be replaced, from the canned goods up to the frozen food. Without a list or inventory, your food stock may go down to a single can of beans or to a jam-packed storage room.
7. Consider The Humidity
Consider the humidity in the room. Have the foods properly stored in their original packages. This packaging is designed for the food to be in great condition given a room temperature or even too much humidity. Humidity also increases the probability of molds to appear on your stored food.
8. Avoid Sunlight
To keep the longevity of food, avoid storing them in direct sunlight. Exposing food in direct sunlight promotes oxidation, decreases the nutritional value, and most importantly, spoils it easily. To keep this from happening, cover the windows and other areas which may allow sunlight to go through. Watch out for foods rich in vitamins A, D, E, and K because they are quick to degrade under sunlight.
9. Clean, Clean, Clean
Storing food effectively is based mostly on the proper handling of food when you store them. Wash your hands, clean the room, clean the containers, and don’t let any insects get inside the storage room. Keep the fresh produce, raw foods, canned goods, and ready-to-eat foods separated from each other.
Nowadays, having food storage is not a choice but an essential part of every household’s survival plan. This list will help you start your food storage right.
When Hurricane Sandy hit the Eastern board of the United States, it left millions of households without power, and most importantly, food. With preparations for the expected power outage, the