
The Supermarket of the Swamp
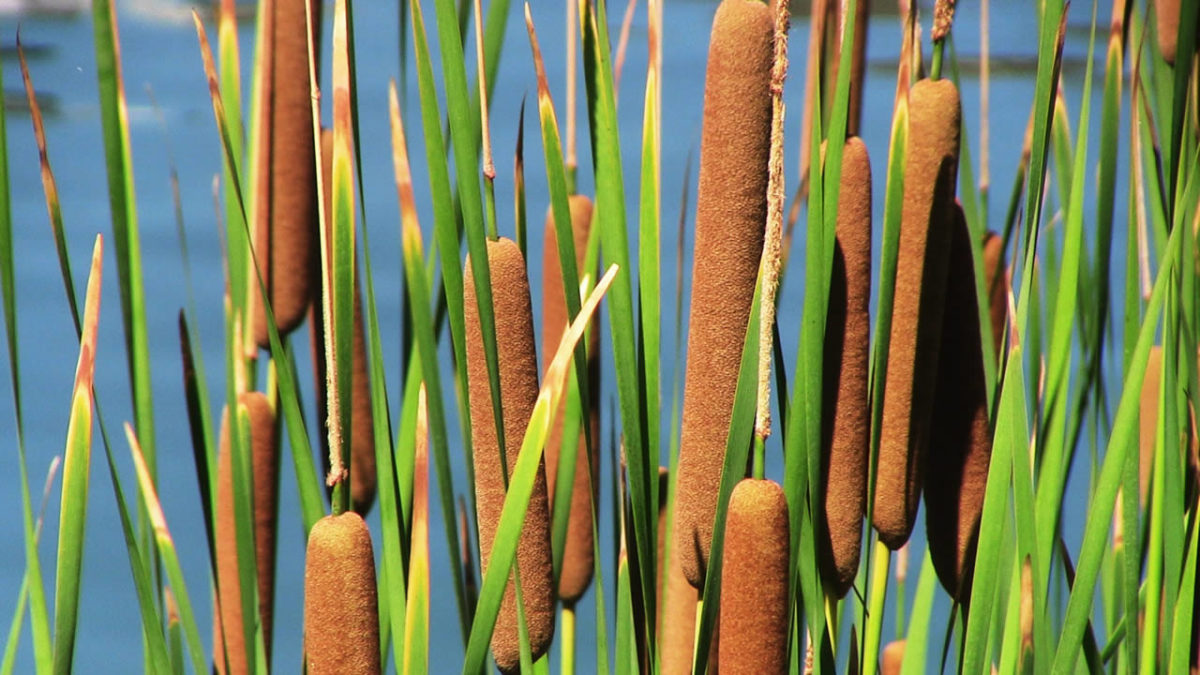
Cattails (Typha latifolia) are among Earth’s most versatile plants. With good reason it is called the “Supermarket of the Swamp,” because it can be used in all four seasons. They even inspired the motto of the Boy Scouts: “You name it, and we’ll make it from cattails!”. The plants can be found virtually anywhere in the wilderness, where there is a source of water throughout the entire continent of North America and almost everywhere in the Western hemisphere.
Alternative Practical Applications
It is said that if a person lost found cattails in the forest, they would have had four of the five items required to ensure their survival: water, food, shelter, and fuel. For so many different reasons the Native Americans used the cattails:
Crafts (using green or dried leaves or fluff):
- Shelters’ covers
- Making mats, blankets, and baskets
- Making cordage used for hunting or fishing, as ropes, for belts and straps, for defense equipment, as arrow shafts, and so on
- The fluff was used to insulate footwear and hats, for stuffing pillows, or for a baby’s cradle board.
Medicine
- The pollen is hemostatic and astringent. It was used for controlling external and internal bleeding, chest pains, and other forms of blood stagnation. The pollen is also mildly diuretic.
- Roots were used to treat burns, insect bites, scrapes, and bruises. Fresh, ponded roots were used directly as a poultice for open blisters and infections but also as a toothpaste if mashed up.
- The ash of burnt plants was used for its antiseptic properties and is good for treating wounds and abrasions.
Fuel and illumination
- Boiled, filtered, and fermented cattail roots release ethanol, which is now used as a biofuel.
- The fluff inside the cattail’s head makes for an excellent tinder for starting fires.
- The brown flower heads could be used as torches or as an illumination source if dipped in wax. The smoke will also drive away any insects.
Related – A terrifying disaster is upon us (What you can do to keep your loved ones safe during the coming chaos)
Eatable Parts of Cattail During Spring:
Cattail Shoots/Stalks
This part of the young plant can be eaten raw or cooked like corn on the cob or asparagus. They contain potassium, phosphorus, and vitamins A, B, and C, and they taste like a cross between a cucumber and a tender zucchini. Additionally, the cattail shoot is one of the strongest protein and unsaturated fat natural resources and it contains enzymes and minerals rich in nutrients.
Late Spring:
Leaves
The cattail leaves are excellent for salads or sandwiches when they are young and tender.
Eatable Parts of Cattail During Summer:
Pollen
There is probably no other pollen on the planet as easy to harvest by the pound as cattail and there are so many tasty things to do with this fine, flour-like staple. To collect it, you’ll need to place a bag over the end of the cattail plant and shake to capture the pollen. It can be eaten raw—sprinkle it in yogurt, fruit smoothies, oatmeal, or salads—or use it as a flour supplement or thickener for gravy and soups.
Eatable Parts of Cattail During Autumn and Winter:
Roots/Rhizomes

The underground lateral stems are called rhizomes—although most of us would simply call them roots—and the best period to harvest them is from late autumn to early spring. These parts are edible any time of the year.
Cattails contain ten times the starch of an equal weight of potatoes.

In order to harvest the starch, which is very sweet and tasty, you’ll need to thoroughly clean the roots and mince or crush them before you put them in clean water. Then you can either leave the pounded chunks in clean water and wait for the starch to settle to the bottom, you can filter it or you can boil them down. The best time to collect the starch is in late fall and winter, when the starch is stored in the rhizome.
A single acre of cattails can produce approximately 6,474 pounds of flour during an average year.

First, you need to peel and chop the roots and then clean them very well. Next, you’ll have to remove the long fiber strings, pound them into a powder after they have been allowed to dry completely, and then use that as flour.
Recipes
1. Scalloped Cattails

Ingredients:
- 2 cups of chopped cattail tops
- 2 eggs
- ½ cup melted butter
- ½ tsp. sugar
- ½ tsp. nutmeg
- ½ tsp. black pepper
- 1 cup milk (scalded at 180°F)
Instructions:
- Mix the cattail tops, eggs, butter, sugar, nutmeg, and black pepper in a bowl while slowly adding the scalded milk and blend well.
- Pour the mixture into a greased casserole dish, top with grated Swiss cheese (optional) and add a dab of butter. Bake at 275°F for 30 minutes.
Related: A Gold Storm Is Coming (Even the most prepared Americans will be blindsided by what’s about to happen.)
2. Cattail Pollen Biscuits

Ingredients:
- 3 Tbsp. baking powder
- 1 1/3 cup flour
- ¼ cup cattail pollen
- 1 tsp salt
- 4 Tbsp. shortening
- 1/3 cup milk
Instructions:
- Preheat oven to 450°F.
- Mix all ingredients.
- Cut the dough into biscuit shapes; and bake them at 425 for 20 minutes.
3. Cattail Pollen Pancakes

Ingredients:
- ½ cup cattail
- ½ cup flour
- 2 Tbsp. baking powder
- 1 Tbsp. salt
- 1 egg
- 1 cup milk
- 3 Tbsp. bacon drippings
Instructions:
- Mix all ingredients.
- Pour onto a hot skillet or griddle in four-inch pancake amounts.
4. Cattail Casserole

Ingredients:
- 2 cups scraped cattail spikes
- 1 cup bread crumbs
- 1 egg (beaten)
- ½ cup milk
- 1 diced onion
- Salt and pepper (according to taste)
- ½ cup shredded cheddar cheese
Instructions:
- Combine all ingredients in a casserole dish; and place in an oven set to 350°F for 25 minutes. Serve hot.
5. Cattail Acorn Bread

Ingredients:
- 1 cup acorn flour
- 1 cup cattail flour (or another flour with gluten)
- 2 Tbsp. baking powder
- ½ tsp. sea salt
- 3 Tbsp. honey, agave nectar or pure maple syrup
- 2 omega-three eggs (or regular), beaten
- ¾ cup whole milk
- 3 Tbsp. olive, grape seed or coconut oil
Instructions:
- Mix all of the ingredients together.
- Pour into a greased loaf pan.
- Bake at 400°F for 30 minutes.
6. Cattail Wild Rice Pilaf

This recipe can be made with brown rice; but the wild rice adds a special dimension to it.
Ingredients:
- 1 cup dry wild rice (4 cups cooked)
- 2 Tbsp. sesame oil
- ½ cup chopped green onion
- 2 cups cattail shoots, sliced (about 30 cattails)
- 2 Tbsp. salt
- ½ cup slivered almonds
Instructions:
- Cook the wild rice until tender.
- Sauté the onion and cattail shoots in sesame oil until tender and translucent.
- Mix the rice and the sautéed cattail shoots and onion together.
- Add the salt and slivered almonds.
- Serve hot.
7. Cattail Wild Rice Soup
 Ingredients:
- 1 cup dry wild rice (4 cups cooked)
- 2 tablespoons sesame oil
- ½ cup chopped green onion
- 2 cups cattail shoots, sliced (about 30 cattails)
- 2 Tbsp. salt
Instructions:
- Cook the wild rice until tender.
- In a heavy-bottomed soup pot, sauté the onion and cattail shoots in sesame oil until tender and translucent.
- Add the cooked wild rice, salt, and 4 cups of chicken broth or other soup stock of your choice.
- Simmer together for 15–20 minutes and serve.
8. Cat-on-the-Cob with Garlic Butter

Ingredients:
- 30–40 cattail flowerheads; peeled
- Garlic butter:
- ½ cup unsalted butter
- ½ cup olive oil
- ½ teaspoon salt
- 12 garlic cloves; crushed
- 1 cup freshly chopped wild greens (or parsley or other fresh garden herbs)
Instructions:
Make garlic butter in a food processor by whipping the butter, oil, salt, fresh garlic, and parsley together until smooth.
Note: If using salted butter, eliminate the salt from the recipe.
The olive oil makes the butter nice and creamy and spreadable, even after refrigerating. I like to make a batch of this to keep handy in the fridge. You can also make a larger batch ahead to freeze in small containers when the greens are in season.
- Boil cattail flowerheads in water for 10 minutes.
- Make garlic butter in a food processor by whipping the butter, salt, fresh garlic, and parsley together until smooth.
- Drain the cattail flowerheads and slather them generously with the garlic butter.
- Eat them just like miniature corn on the cob.
9. Cattail Flower/Shoots Refrigerator Pickles

Ingredients:
- Enough cattail flower heads/shoots to tightly fill a quart jar; about 30 or 40
- 4 garlic cloves; peeled
- 1 tsp. whole black peppercorns
- 4 to 6 bay leaves
- ¾ cup apple cider vinegar (use some of your herbal vinegar!)
- 1½ cup olive oil
- 3 Tbsp. salt
- 1¼ cup water
Instructions:
- Boil the cattails in water for 5 to 10 minutes and drain thoroughly.
- Stuff flowerheads/shoots, garlic, peppercorns, and bay leaves into a clean, sterile quart jar.
- Combine vinegar, oil, water, and salt in a saucepan.
- Bring to a boil, remove from heat, and pour over the cattail heads.
- Add a little more oil, vinegar, and water if the liquid does not reach to the top of the jar.
- Cover and let marinate in the refrigerator overnight.
If you are experienced at making pickles, you could experiment with some of your favorite pickle recipes and put them up as preserves.
10. Indian Cattail Spoon Bread

Preheat oven to 400°F.
Ingredients:
- ½ cup butter
- 2 cups fresh flower buds or cattails on the cob
- ½ cup diced onions
- ½ cup diced green pepper
- salt
- 1 cup sharp cheese
- pinch of chili powder
Instructions:
- Melt butter in a skillet and add cattail buds, onions, green pepper, and salt.
- Sauté for 5 minutes or until tender.
- Pour into greased baking dish.
- Sprinkle with cheese and chili powder.
- Bake until cheese melts.
- Spoon onto plate while hot.
Other Self-sufficiency and Preparedness solutions recommended for you:
The Lost Ways (The vital self-sufficiency lessons our great grand-fathers left us)
Survival MD (Knowledge to survive any medical crisis situation)
Backyard Liberty (Liberal’s hidden agenda: more than just your guns…)
Alive After the Fall (Build yourself the only unlimited water source you’ll ever need)
The Lost ways II (4 Important Forgotten Skills used by our Ancestors that can help you in any crisis)
The Patriot Privacy Kit (Secure your privacy in just 10 simple steps)
Cattails (Typha latifolia) are among Earth’s most versatile plants. With good reason it is called the “Supermarket of the Swamp,” because it can be used in all four seasons. They