Bartering After SHTF
If the world all went to hell in a hand basket today, you would probably be stuck with what you have now in your possession and what you know or the skills you have learned already. Assuming your city or home didn’t get destroyed and along with it all of your prepper supplies, you could either be pretty well off for some time or in a serious world of hurt almost immediately. Most of us reading this have made some attempts at becoming prepared. Even if you are new to prepping, you may have taken steps already to ensure you have stocked up some water and food for an emergency. Others have years’ worth of survival items stored up just in case.
For all of us, whether we have a ton of preps already stored or are just starting out; the concept of Barter eventually enters the conversation. Bartering is what people routinely used to do before there was the nearly universal concept of money that we have now. Bartering was a way of trading something you had for something you wanted and was widely used as the main form of commerce.
If you had been raising livestock, you could trade a chicken or some eggs to your neighbor for helping you put up some fence. If you were traveling through an area, you might trade a day’s work for room and board for the night. The details of the trade was up to you and the person who had the good or service you wanted.
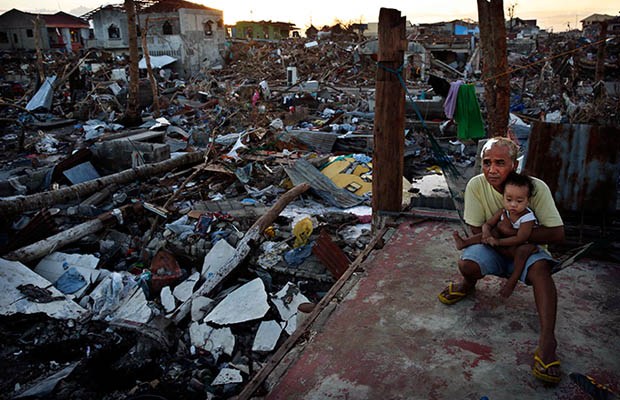
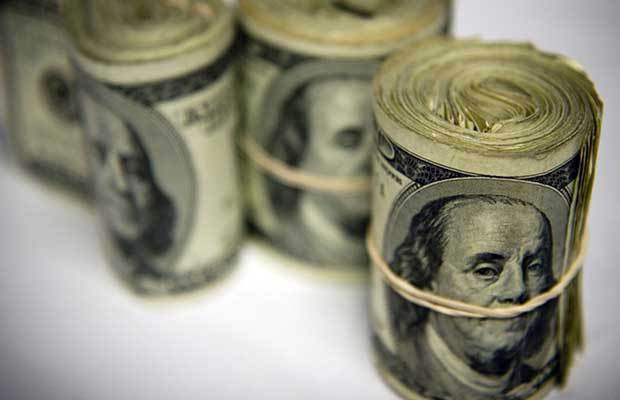
Many prepping blogs offer information about bartering after SHTF as the replacement potential for commerce if we ever find ourselves on the other end of some crisis that destroys the financial system. The concept sounds valid as in a SHTF world, you could expect to not have any money or a job and your entire existence would be simply trying to get by as best you could. To this end, many preppers recommend stocking up on supplies for barter after SHTF so that you would have a built-in supply of items to trade. These stored items would be one form of new currency in a grid-down world.
What are bad bartering items?
Like many of you, I read these articles and look at the comments on prepping and survival blogs to learn as much as I can, but in some cases, I think that the people stocking up extras are deluding themselves. It comes down to a couple of things, but you have to look at what you are planning to trade and what value those items are going to have to someone else.
Frequently, I hear people suggesting to stock up on toiletry items, toothbrushes, combs, notebooks, chap stick, scissors, buttons, coloring books and small knick-knacks like that. I don’t believe that too many people would ever trade for anything like that in the type of end of the world I am imagining that would destroy all modern forms of commerce. Could you find a use for them? Of course, but what would their real value be in contrast to the world you are envisioning?
Take this example: the world has turned so bad that you have no money, no home possibly, no food or shoes. Do you really think you would trade anything you had for a toothbrush? If you are so destitute and the world has devolved so 
OK, I can make the case that maybe well after the expected die off from this hypothetical disaster has ended – years down the road you might find someone who is willing to trade you a few eggs for those scissors. Maybe they want to start a new career as the town barber? But after the initial disaster, would those really be the most important items you can think of to trade? What would you give if the shoe was on the other foot in trade for those buttons or coloring books? Would you trade eggs that could feed your family? Would you work all day to give your kids a coloring book? Would you give away a clean shirt you have? Maybe, but I think that is a long shot.
I think that relying on anything that can be viewed as a “nice to have” would make a bad bartering item. Buttons would be lying all over the place on the bodies of dead people or in homes that are vacant. Scissors and paper would too for that matter most likely. Your bartering items are not going to replace the dollar store. You have to remember the viewpoint of anyone in a TEOTWAWKI scenario and think of what they are going to be looking for potentially.
What are good bartering items?
The flip side of this topic, would be obviously what are some good items for barter? This is easier to answer, but the problem with coming up with lists like this would be one of resources. If you have something that is valuable enough to trade, would you really want to part with it? It would depend on what the trade was in the end. I can see situations in dire cases where some women and possibly men will trade their bodies because they have nothing else of value. Food, ammo, weapons, tools, fuel. All of these make great bartering items, but would you want to part with them? What would be worth more than your food?
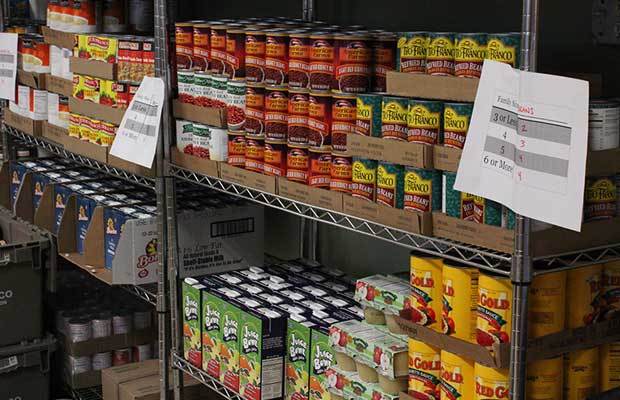
Anything you have after the grid goes down that will make survival possible will be a good barter item. If you have canned food, that will be valuable if there are no stores open any longer. If you have a surplus of .22 ammo or several other calibers, that would be valuable. Liquor and cigarettes would find a home I am sure as these are vices, not necessities. I can easily see people wanting to trade you for a small bottle of whiskey either because they simply want a drink or are having a small celebration. How about small bags of rice and beans?
Other bartering items to consider:
Water filtration kits – You can get Sawyer Mini water filtration in packs of 4 for about $75. Can you imagine the value of having clean, disease free water would be in a post-collapse world? Even if you didn’t trade for it, you could give these to family and save a life.
A good knife – Many people won’t have their own rugged survival knife on hand so if you have several extra you could trade, these would seem to make great bartering items. Morakniv makes a very reasonably priced fixed-blade knife that comes with it’s own sheath for under $15. I gave one of these to each of my family last Christmas. The would never carry something like this now, but if the grid goes down I have something that will cut and slice for each of them.
Coffee and Tea – This is from the same type of list as whiskey. It isn’t necessary, but it sure makes life better for someone coming out of caffeine withdrawals. I can’t see someone trading food for coffee, but you never know. Maybe they have a year worth of freeze dried foods stocked up but neglected to remember the coffee or their favorite camomile tea.
Spare batteries – We have moved to rechargeable eneloop batteries now, with a backup solar charger, but for people who didn’t have anything, small 4-packs of batteries would be very valuable.
Reading glasses – You have to be able to see and if the local optometrist is out of commission, just having a few pairs of cheap reading glasses could come in handy. Replacing broken glasses could be very important to some people. You can buy 6 packs of regular reading glasses for less than $20. It might not be the perfect prescription, but I could see value in these.
Condoms – Need I say anything more?
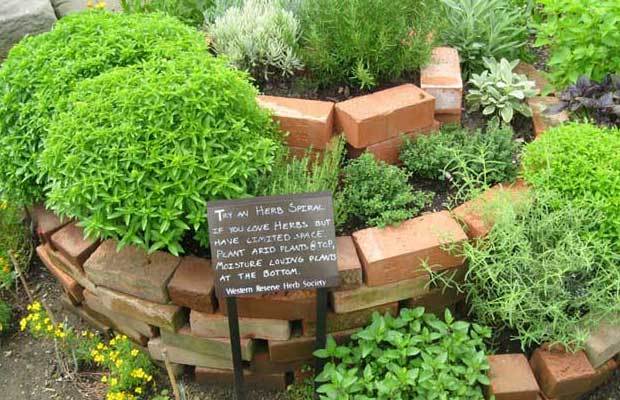
Seeds – Stocking up on seeds now is a smart plan for the future. I think you should already have a working garden, but having extra heirloom seeds for the people who haven’t thought as far ahead of you could be a relatively cheap barter item that would be very valuable in a post-collapse scenario.
What are risks of bartering?
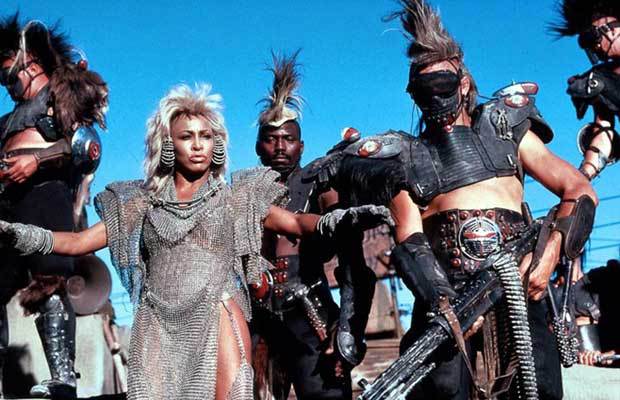
Bartering in my mind will be first done among your neighbors unlike some who envision a town market where people show up with everything they want to trade. I just can’t see that happening for a very long time and I can’t envision something like Bartertown out of the Mad Max Beyond Thunderdome movie happening for a very long time. Maybe the bartering expo is a local event and you just have to walk one street over and set up a table or blanket in Mary’s front yard. That I can see, but you would be trading with people you knew or who lived very near you.
![]() After SHTF, you may have to be more careful when you are conducting business.
After SHTF, you may have to be more careful when you are conducting business.
Trading with people you don’t know is where the danger comes in and this is even truer in a post disaster world. If we are looking at a world without rule of law (WROL), I can see double-cross being used by many unscrupulous people who care nothing for right and wrong, only what they can get. You wouldn’t want to be conducting a transaction with a stranger without taking a few precautions. First, I would never trade unless I had someone watching my back. I think this will hold true for almost any situation where you are out in the open. Second I wouldn’t trade for anything sight unseen. The old excuse, “It’s just around this corner over here” would be a huge red flag. Do not go around that corner!!! I would be yelling at the TV right now.
The risks are that you could have what you are trading for stolen right from you or that, knowing you have items of value, the strangers – maybe even your neighbors would follow you back home in search of other items. All of these possible scenarios make me think that bartering would not see the light of day in an organized fashion without many hard lessons being learned first.
How to negotiate a trade
OK, assuming everything else is alright. You are in a safe situation and you are sure you won’t be taken advantage of criminally at least you next have to negotiate the deal in a way that doesn’t leave you on the short end of the stick.
1 – Figure out what you want and what you are willing to trade – Have this firmly in your mind before you ever speak to the person. Knowing an amount you would be willing to part with will help you know how much to initially offer and more importantly, what to walk away from. Don’t offer something you aren’t willing to give.
2- Remember, you do not have to agree to the trade if you don’t like it – Thinking back to point number one. If you don’t think the trade is worth it, walk away. This may actually work to your favor if the person trading really wants to deal. Being able to walk away puts you in control of the trade.
3- Spell out the details – If you have ever read any children’s stories, they are full of situations where the young hero agrees to something without getting all the facts. Yes, I will let you marry my daughter, but I didn’t say which one. And poof you are stuck with the ugly step daughter for a wife… If you are trading one good for another, be specific. If it is a good or service write down the details and have both parties sign. Of course this is only as good as the person’s word you are agreeing with, but it could clarify the deal in a way that saves your bacon. Oh, and it assumes you have paper, which I said was basically worthless as barter….
4-Trust your gut – If something doesn’t seem right, walk away. Trust your intuition and if the person or the details of the trade make your spidey senses start tingling, it is better to hold off.
Barter can be done right now without having any devastation. If you believe that bartering is in our future, you can go practice right now while there is so much less risk. Go out to flea markets or try yard sales. You won’t necessarily be bartering for goods you have, but practice negotiating. Find something you want and go through the process of the transaction to see how it feels. It may help you learn some things about yourself that could help you down the road.
So, now it’s your turn. Are you stocking supplies to barter? What do you have to trade?
If the world all went to hell in a hand basket today, you would probably be stuck with what you have now in your possession and what you know or


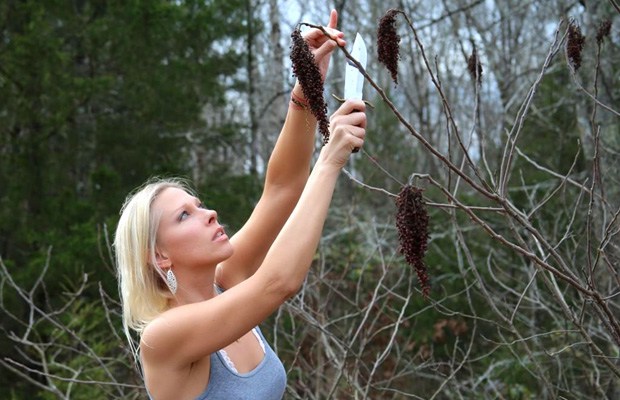
 Shepards Purse
 Gallium Aparine
 Chickweed
 Daisy
Daisy Dandelion
 Dock
Dock Groundsel
 Mallows
 Plantain
 St. Johns Wort
 Self heal
 Old Man’s Beard
 Yarrow