Storage-Friendly Survival Gardening
When we sit down with the goal to be prepared and self-sufficient, we have to balance a lot. We already walk tightropes between work and home life in many cases. Adding a pursuit that could really be its own full-time job only makes things harder. The self-sufficiency arm alone could occupy a full work week, and for some, the future looms as a period when we may have to increase our physical vigilance on top of producing our own food, medicine, and supplies.
There are methods we can use to make gardens maintenance-friendly, and plant selections can ease it further. In some cases, there are plants that grow with few inputs and are specific to our regions. In other cases, we can also decrease our labors in a work-heavy and typically strength-sapping hot season by making selections that ease the other side of growing and harvesting.
Processing & Storage
Whether it’s annuals, an annual veggie garden, or perennials, whatever methods for production we choose, it takes time away from our daily lives. Then our produce needs to be processed, one way or another.
Even now when most lives are relatively easy due to power tools, refrigeration, and transportation, we tend to be pretty busy. I think most of us expect that even without the tug of paying jobs and some of the extracurricular activities that suck up our time, a life “after” will be just as busy and in some or many cases, even more labor-intensive.
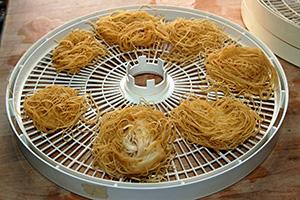
When we examine that “labor” word in regards to processing food, don’t forget that it’s not only the physical act of shelling beans and field peas, and our chosen method for threshing and winnowing grains or stripping corn cobs, or stewing tomatoes and slicing up zucchini. Most storage methods – even the truly historic methods – call for supplies: canners, jars, copious lids, a dehydrator or outdoor netted racks of some sort (and cooperative weather), a cold smoker, or things like salt, sugar, pectin, and rennet we either have to stock or figure out how to produce.
When we process something, we also regularly have to provide fuel. Besides water and gardening, I think fuel consumption for household processes is one of the most underrated and underestimated aspects for preppers.
If we can eliminate some of the burdens of processing foods for storage, we can eliminate not only some of the draws on our valuable time but also limit some of the constant drains on supplies and give us at least a little bit of backup in case our supplies are damaged or consumed.
Happily, we can create those backups pretty easily, by adding traditional storage or “cellar” crops to our garden and orchard plans. They basically go from field to storage, poof, done.
I’ll skip over beans and cereals this time because they really need their own articles. Instead, I’ll stick with the veggies and fruits that are easiest to store without much if any processing.
Squashes
Squashes are among the best-known storage crops. Autumn or winter squashes are the longer-growing, thicker-skinned cucurbits. It’s those tough hides we have to work through that let us set them on a shelf and walk away, for weeks or months on end. There’s a long, long list from all climates that includes kabocha, spaghetti, Kuri, Hubbard squashes, the gourds, and pumpkins.
 Squash is ready for storage when the rinds darken, and you can’t punch a fingernail through them. The plants sometimes cue us that they’re ready by yellowing and dying back a bit, and in many cases, the vines will go woody. We then cut them off with a stub of stem attached, brush any soil or debris loose, and let those thick skins toughen up more with a 1-2 week cure in a 75-80 warm, somewhat dry space, up off the ground. They can be cured in the field, propped up, but there are risks there that a barn or crib can help eliminate.
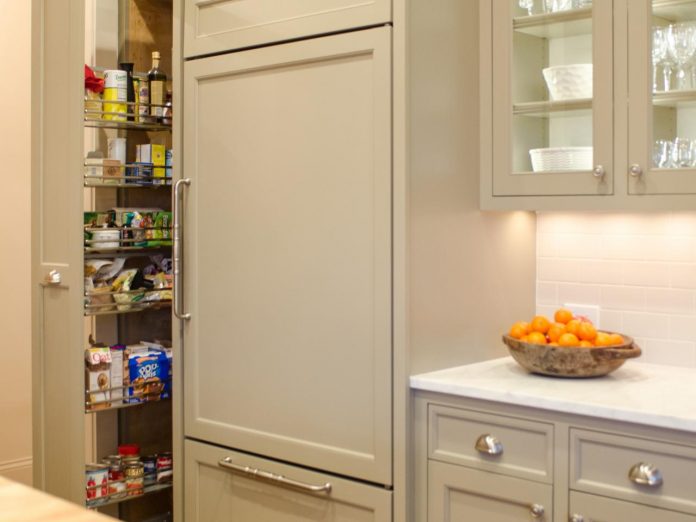
Then they go into a slightly humid space – the average basement, household pantry, spare bedroom or office, and dry cellar is fine. Some will store for 6-8 weeks even at 60-75 degrees, while others will only store that long even at the ideal 45-60 degrees. Some like Hopi and fully-matured tromboncino will store for a full year or longer.
The downside to the winter squashes is that they tend to take a full season to grow and only produce a few to a handful of fruits per plant, compared to the tender summer squashes that can be produced in 55-65 days and readily fill a laundry basket when they’re picked often and early.
Humid Sand-Box Crops
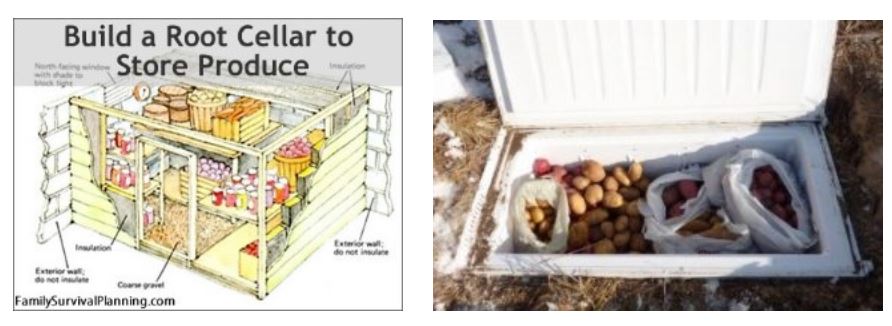
Some of our storage crops like it damp. It keeps them from shriveling up and browning, or wilting into rot. We can create humidity with damp sand or sawdust, layering in root veggies like rutabaga/swede, turnips, beets, parsnips, carrots, and celeriac. The root veggies are also ideal candidates for burying in a wooden crate outside once temperatures drop.
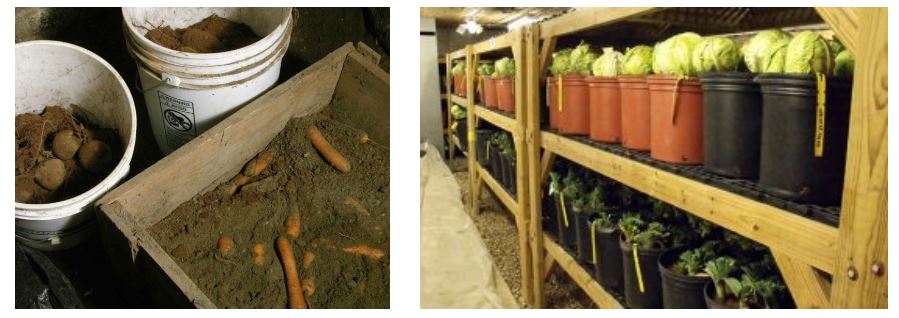
We can also use damp boxes to store cabbage, celery, and leeks.
For them, shallower trays work well, because we’re going to cut them with a section of their stems still attached, and “plant” those stems into the sand or sawdust. The veggies will then wick up moisture that lets them be stored for weeks or months.
They’ll store longer if we can keep them between about 35 and 45 degrees, but even 55-60 degrees can significantly extend their shelf lives. If we can’t come up with a damp box or pit for them, we can also individually wrap them in plastic to help hold in moisture. (And now you have a justification for keeping every plastic grocery bag that crosses your path.)
Tree Fruits
Nuts have to be the next-best known storage crops, and right there with them are apples and pears.
Modern supermarket apple varieties don’t store quite as long or as well in many cases, with the exception of Granny Smith that will sit on a counter for weeks and extend into a month and longer if we drop the temperatures.
There are still storage apples out there although we have to work harder to find them. Braeburn and Pippin are examples of surviving apples that were actually intended to sit around in storage for a while, sweetening and softening over time. We can also turn to the harder baking, cider, and applesauce apples like Winesap.
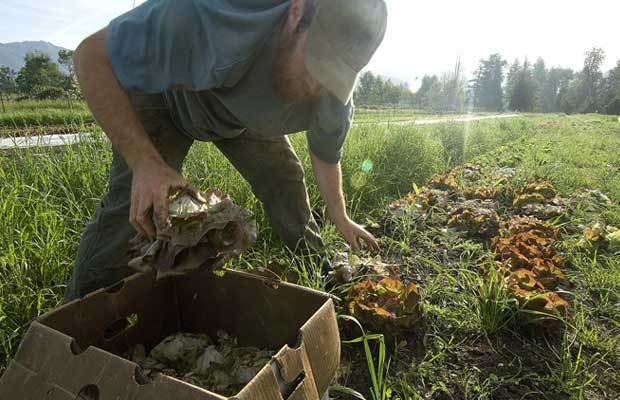
We’ll have better luck storing the tart apples than the sweets and the firm-crisp apples and pears over softer varieties. Mid-and late-season varieties are also more storage-friendly, usually, and can provide us with fresh fruit later in the season.
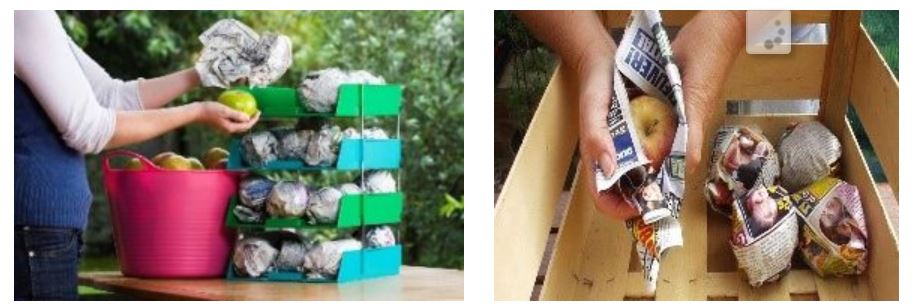
Apples will do best in a cool, 40-65 degree storage space, and will do better yet if we save some newspaper and phone book pages to wrap them in and stick them on racks with 0.5-1” of air space between each fruit and each layer.
Pears will be even happier if they’re given the same treatment but an even colder space – just above freezing up to about 50 degrees. Pears will also commonly benefit from a cure period after they’re harvested.
Both pears and apples like storage with some humidity, which makes them good candidates for storage above some of our damp boxes, but only the leafy veg boxes. The root veggies are pretty sensitive to the ethylene released by fruits.
Medlars that “blat” (rot) is another example of a tree fruit that we don’t have to rush around processing during some of the busiest times of the year. It’s an acquired taste and texture, ever so slightly reminiscent of apple butter, but especially if we want to keep our food production hidden in plain sight, medlars may be a nice choice for us.
Nuts are pretty easy, even soft-shelled peanuts. Pick, brush, stack in a dry place, move on.
One thing to note is that walnuts that are removed from their husks will be less tart/bitter than those that aren’t processed at all. On the other hand, one of the “cheat” ways to remove that husk is to just stack them up in a bag until it rots and can just be scrubbed, or to leave them in water until the husk rots and drops away.
Potatoes & Sweet Potatoes
 Potatoes and sweet potatoes need to make it through our winters and in many cases all the way through the earliest parts of spring, so we have even more reason to start practicing with them as soon as possible. See, they’re not really flowering seed producers at this stage in evolution, and it takes a while for seed starts to get going, just like tomatoes. We’re going to have to cut potatoes and let them callous, and grow starts from them if we want to continue reaping potatoes and sweet potatoes in a world without Tractor Supply and Baker Creek.
After harvest, both sweet potatoes and true potatoes are brushed off, then cured.
Potatoes cure best at 50-60 degrees for 2-4 weeks. To be at all soft and palatable, sweets need to cure in a warm but not too hot space, 80-85 degrees, and usually don’t need more than two weeks.
That’s similar with Asian and African yams for the most part, although some of those need a little longer or will tolerate hotter cure temps.
We’re typically harvesting sweets and yams when it’s still pretty warm, but if we need to heat space for them, we can use coolers or insulate small pantries or closets and rotate in jugs and pots of hot water. We can also potentially use our vehicles or camper shells as a hot zone for curing sweets and yams, but we need to monitor the temps and be able to provide ventilation if it gets too hot during the day, and keep the temperatures up at night.
Once they’re cured, potatoes and sweet potatoes like the same moderate humidity we can find in most household basements, pantries, and spare rooms. Sweet potatoes really want to stay at 50-60 degrees for their storage, but potatoes will handle a dug-in pit that only gets as low as 45 or so, or can sometimes be stored in rooms adjacent to barns, greenhouses, or coops – reaping the body heat but not too much of it.
Storage Crops
Spring, summer, and autumn are already pretty busy seasons for a lot of us. Family obligations and things like fishing and hunting are already in competition with our gardens, orchards, crops, any livestock we own, or other projects. They’re also the seasons we need to get buildings and power sources repaired, and woodcut and stocked.
Summer, and in many places autumn as well, are also our drought seasons, which means unless we have reliable water sources and backups for them, we can expect to do some heavy hauling – and some of us may already be filling barrels and buckets and tanks to haul for livestock and gardens.
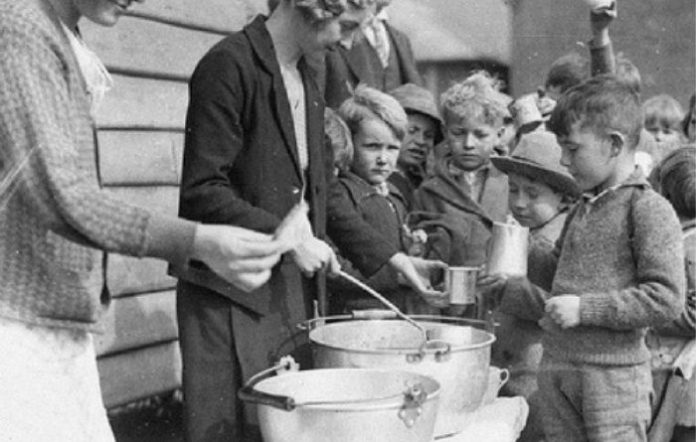
Add in the mega-disasters and regional or wide-scale hunger some expect, or even the increased risks of garden and livestock threats from desperate humans a la Great Depression, Venezuela, and some of the dissolution and wars that have faced Europeans in the last century, and we can expect to spend more time on defense, as well.
Those are all factors that make it worthwhile to consider crops that don’t need much processing. Autumn squashes, apples, carrots, nuts, and potatoes that need minimal work before being crated or stacked on shelves can save us valuable time. Maybe that’s time we’re harvesting livestock and grains, or maybe that’s time we’re shelling green peas, peeling tomatoes, and slicing crookneck for the dehydrator or pressure canner.
Even if our storage conditions aren’t ideal, the ability to produce crops that can sit for even just a few weeks can buy us time to get in precious hay and straw and deal with the more perishable yields of our gardens and orchards.
While there are some drawbacks to various storage crops, there are also a lot of benefits – both now and “if/when”.
When we sit down with the goal to be prepared and self-sufficient, we have to balance a lot. We already walk tightropes between work and home life in many cases.
 1) Prune Pudding
 2) Mock Apple Pie (No Apples)
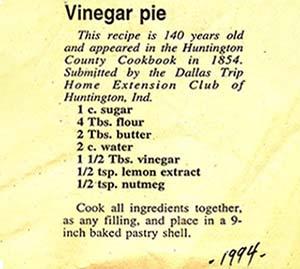 4) Vinegar Cobbler
 5) Mulligan Stew
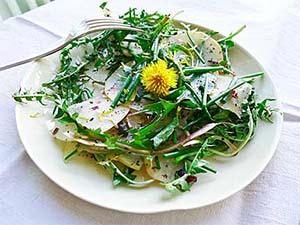 7) Dandelion Salad
 8) Creamed Chipped Beef
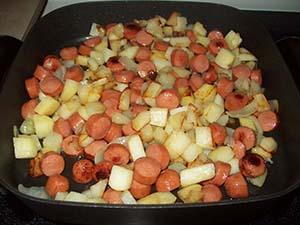 9) Poor Man’s Meal
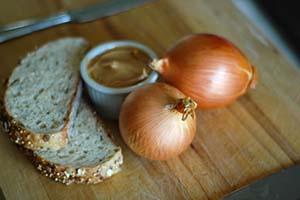 10) Peanut Butter Stuffed Onions
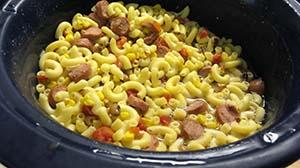 11) Hoover Stew
 14) Tin Foil Hobo Dinners