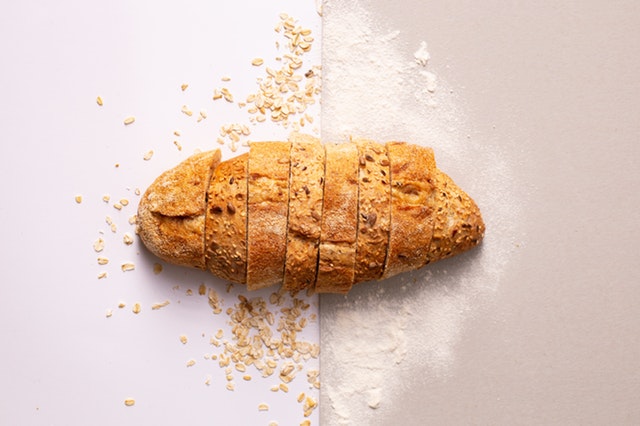
14 Uses For Bread That Will Blow Your Mind
Bread is a truly wonderful food. It tastes good no matter what you do to it — whether you’re toasting it and slathering it with butter, or covering it in eggs and making French toast for breakfast. Heck, it’s even delicious when you’re eating it completely plain. Bread is a super versatile item in the kitchen when cooking or baking, but what you may not have realized is that even when you’re not eating it, bread can be used for so many other things around the house. There are so many weird things you can do with bread that, after reading this, you’ll want to make sure you always have a loaf in your kitchen, just in case. Basically, to quote the great Oprah Winfrey, “I love bread. I love bread.”
It doesn’t matter if you’re using white bread, multigrain bread, whole wheat, sourdough, or rye — any type will work for these life-changing hacks. Bread of all kinds can be a valuable tool when it comes to cleaning your house (seriously!), and it can actually bring certain foods back to life (more on that in a minute). Honestly, I’m not quite sure why bread hasn’t been labeled a superfood yet, because it deserves the title.
Check out these weird things you can do with bread, and prepare to see this item differently for the rest of your life.
1 Remove Stains
Sometimes, cleaning requires products full of chemicals and bleach that will destroy everything in its path. Other times, though, you’ll be just fine with a natural cleaner — in fact, you may even be better off. According to Country Living, bread is an excellent natural cleaner. White bread or rye bread rolled into a ball is basically an eraser that can lift stains off walls, wallpaper, kitchen cabinets, and more. The site advises dabbing gently at the surface with the rolled-up bread ball, and you’ll notice the smudges and marks disappear.
2 Soak Up Grease Spills
Bread doesn’t just get rid of smudges or tiny marks. It’s also incredibly helpful in soaking up annoying grease stains, which can be difficult to get rid of. Simply take a piece of bread and lay it over the stain, pressing gently until it goes away.
3 Treat Calluses
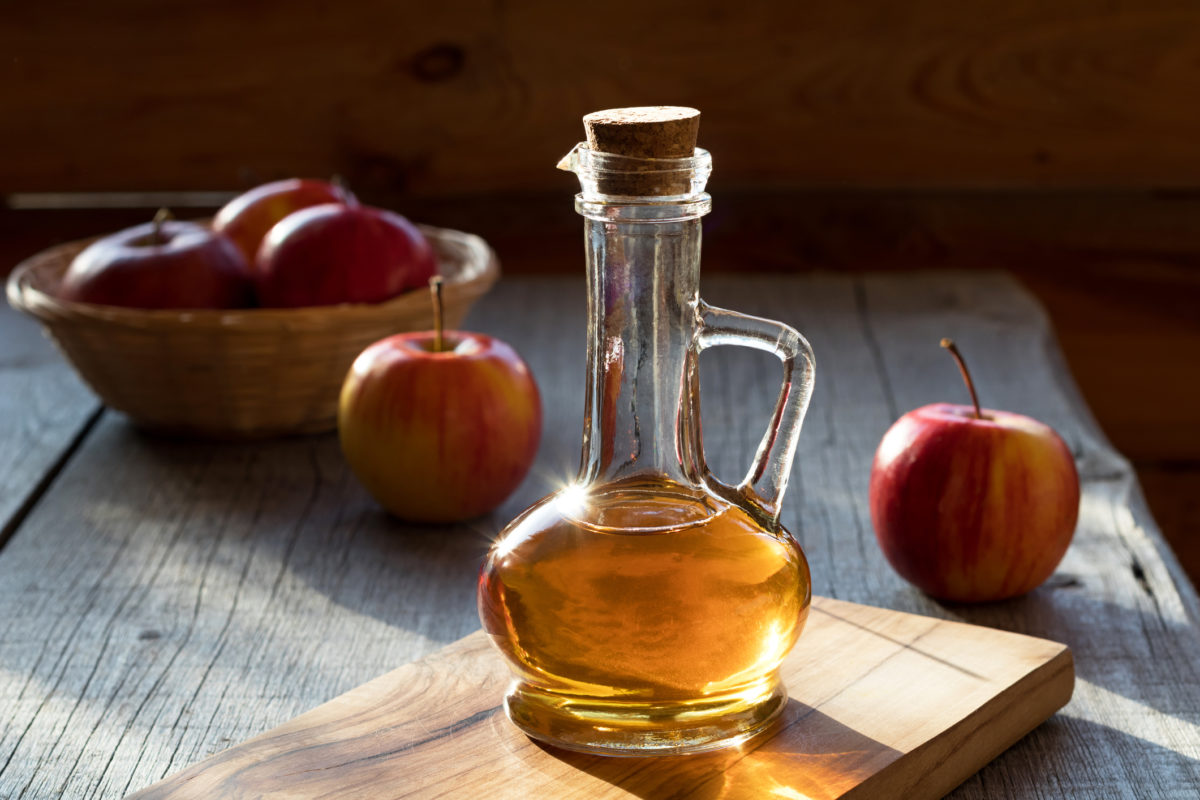
According to Fluster Buster, bread is a lifesaver when it comes to fixing calluses and other various foot ailments. For calluses and corns, you can soak a piece of bread in apple cider vinegar, then place it on the callus. Tape the bread in place, cover it in plastic wrap, and let it sit overnight.
For boils, you can soak a piece of bread in some milk, then apply it to the affected area, tape it in place, and allow it to dry overnight — it will drain out the liquid.
4 Prevent Vegetables From Smelling Weird
You know how some vegetables get super smelly when you cook them? (I’m looking at you, broccoli and cauliflower.) You can eliminate that odor with bread. Simply place a piece of bread on top of the vegetables in the pot to get rid of the stinky smell.
5 Revive Stale Marshmallows
Marshmallows are delicious — until they get stale and hard. But if that happens, don’t toss the bag just yet. According to Food and Wine, you can put a squishy piece of bread in a plastic bag with the marshmallows, seal it, and give them a few days to sit. They should become fluffy again, just like magic.
6 Remove Splinters
Removing splinters with tweezers can be painful. Using bread, you can make a poultice that gets the job done. According to Genius Kitchen, you can fold a handkerchief along the diagonal, place the bread on the handkerchief, pour boiling water over the bread (don’t let it get dripping wet), and then let it cool slightly. Place it over the splinter. Tie the ends of the handkerchief around the part of your body where the splinter is, elevate that body part if possible, and keep the bread on there as long as you can. You can repeat if necessary, until the splinter is close to the surface of your skin and easily removable with tweezers.
According to The Farmer’s Almanac, you can also soak bread in cool milk, press out the milk, and apply the bread to the affected area, then tape it there, and let sit for a few hours or overnight. After, the splinter will have risen close to the surface of your skin, or (if it’s not that deep of a splinter), it may be removed from your skin completely. Easy peasy!
7 Clean Old Paintings
If you have old paintings in your house, you’ll notice that they might get full of smudges, dust, or dirt. The best way to clean them is actually with bread. According to The Brick House, you can rub the soft spot of white bread all over the painting. Be gentle, and just run the bread over the surface. It kind of works like a sponge to pull off grime and dust.
8 Make Bread Art
If you really want to get creative, look into bread art. There are basically a million different ways to mold bread into something aesthetically pleasing. You might not want to eat it when you’re done, but you will want to put it on display for everyone to see!
9 Cut Onions Without Crying
No one enjoys cutting onions because of how much they burn your eyes, leaving you teary. Apparently though, bread can help. If you put a piece of bread in your mouth while cutting, it will absorb the sulfates that cause the tears.
The Farmer’s Almanac also suggests spearing a piece of stale bread with your knife and sliding it up to the end of the blade near the handle to absorb the sulfates.
10 Fix Burnt Rice
Burning rice happens to the best of us. Unfortunately, it’s not very tasty… at all. But bread can make things better! The Healthy Home Economist recommends putting a slice of bread on top of the rice, covering it, and letting it finish cooking. Use a regular slice of bread instead of crust. The bread will absorb any burnt taste that might be there.
11 Pick Up Broken Glass
Picking up tiny pieces of broken glass can be made easier with a piece of bread. Simply press it gently on the area, and it will snatch up all the teensy pieces.
12 Clean A Coffee Grinder
To clean out a coffee grinder, The Farmer’s Almanacrecommends pinching off three or four small pieces of stale bread, grinding them in your grinder, dumping the crumbs, and then wiping the inside of the grinder clean. Voila!
13 Keep Cake Fresh
Once a cake is cut, it can get stale quickly. To keep it fresh, simply put a piece of bread against the cut part and leave it there.
14 Skim The Fat Off Soup
If you notice a lot of fat on the top of your soup, you can easily get rid of it by skimming a piece of bread along the top. It absorbs the oil and grease quickly in a mess-free way.
Honestly, I’m beginning to feel like there’s no problem in life that bread can’t fix.
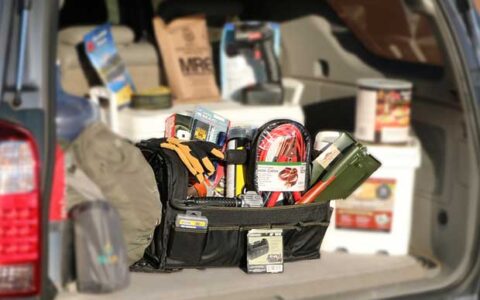
Other self-sufficiency and preparedness solutions recommended for you:
The Lost Ways (The vital self-sufficiency lessons our great grand-fathers left us)
Survival MD (Knowledge to survive any medical crisis situation)
Backyard Liberty (Liberal’s hidden agenda: more than just your guns…)
Alive After the Fall (Build yourself the only unlimited water source you’ll ever need)
The Lost ways II (4 Important Forgotten Skills used by our Ancestors that can help you in any crisis)
Bread is a truly wonderful food. It tastes good no matter what you do to it — whether you’re toasting it and slathering it with butter, or covering it in


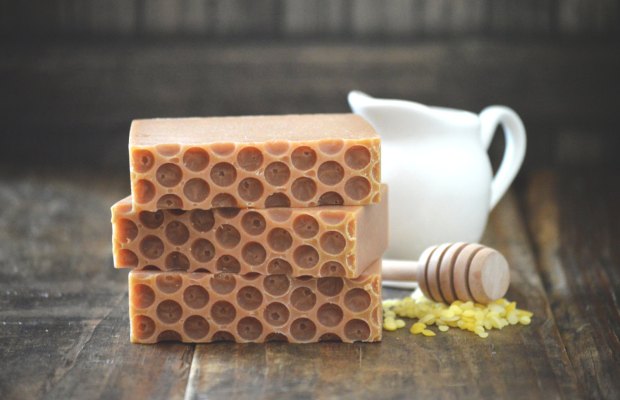


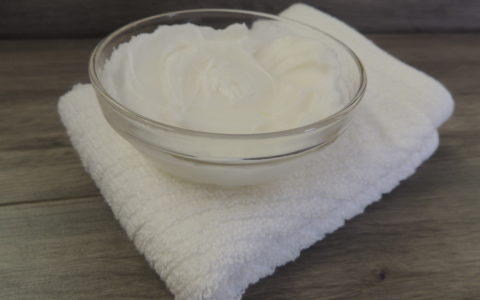
 The finished product – looks like… soap.