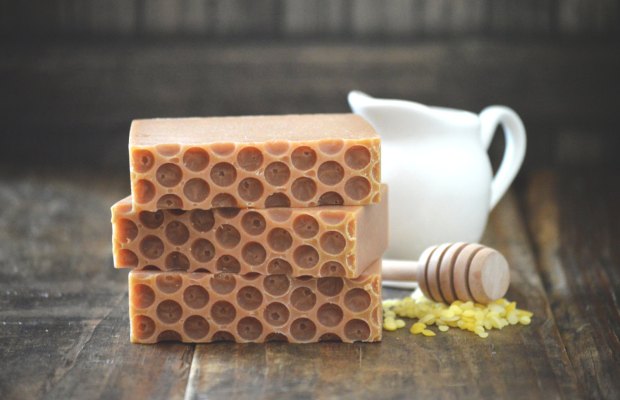
I decided to make beeswax soap for Christmas gifts last year. It has been on my list of things I should probably know how to do and when my stepfather, who keeps bees, brought me seven pounds of beeswax from his hives, I thought the time was right.
I started my soap-making adventure with a recipe for beeswax soap from the book, “Beeswax Alchemy”. This book contains directions for making candles, balms and bars, salves, cream and scrubs, soap, and even beeswax art.
BEESWAX – WHERE TO GET IT AND HOW TO HANDLE IT
You can either acquire your beeswax from a beekeeper, which I was fortunate enough to be related to, or you can buy it online and it comes in handy little balls that are easy to measure and melt. The wax I had was in giant hunks which I sawed off with a bread knife. I do not recommend this method. It’s maddening. Since then I have learned another method which would have saved me a lot of blood, sweat, and tears.
First, beeswax becomes brittle when frozen and is much easier to cut. Secondly, and I think I will go this route next time, the wax can be melted and poured onto a large cookie sheet lined with freezer paper. Once hardened, the wax can be broken off into small chunks without sawing at it like a crazed butcher.
You can make soap without beeswax, however, I wanted to use the beeswax I had on hand because the scent is wonderful and it has conditioning properties that I wanted to in my soap.
LYE, LYE, LYE
Without lye, there is no soap. Lye, or sodium hydroxide, is required to make the chemical reaction that makes soap. Period. I had seen lye in the hardware store for cleaning out drains and thought that there must be a softer, gentler lye available for making soap. To my surprise, the lye I made soap with to give my loved ones was made with the same highly caustic chemical that will burn the eyes out of your head. Since lye is so dangerous, I want to give you some tips:
- Measure everything correctly. This is not the time for measuring with your eyes, use a digital scale, it is most accurate. If your lye to fat ratio is off, or you have added too much beeswax you will waste your time because your soap will be sludgy or rubbery.
- Once you have added the water to lye, it’s all business. Wear clothing to cover your skin and protective eye-wear.
- When the water is added it creates fumes that should not be breathed in. I didn’t know this and I leaned over the pot of lye and took a deep breath. I am still here, but I wouldn’t recommend it.
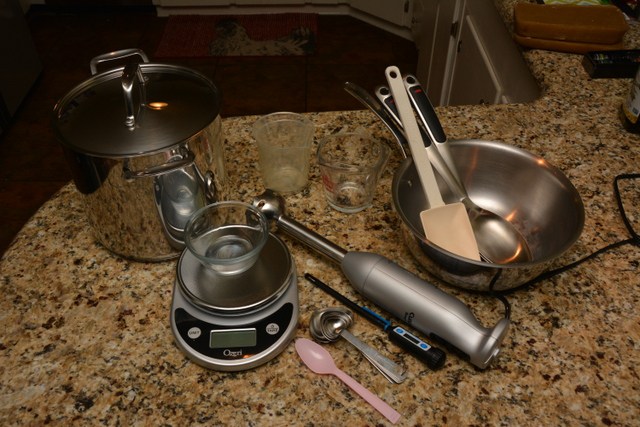
- ONLY USE STAINLESS STEEL! The lye will react badly with other metals. I bought a stainless steel pot that I use only for soap making. I just cannot make mashed potatoes and serve them from the same pot that had a toxic chemical in it. I am just weird that way.
Other equipment you need to make soap
- Immersion blender – This is a luxury item. You can mix all your ingredients up with a STAINLESS STEEL whisk, but I have to tell you, this blender made mixing so much faster and easier.
- Freezer paper – You can buy large rolls of it and it is essential for lining cardboard if you are making your own rectangular molds. It is also nice to wrap the soap in and tie with twine to give as gifts or just to store for yourself.
- Soap molds vs. cardboard – If you use the cardboard and make a box (approximately the size of a bread pan) and line with freezer paper. I bought a silicon soap mold that was the right size. The advantage of a mold is that it will be more durable than cardboard over time and you don’t have to fool with the freezer paper. You can get fancier molds that have lovely designs in them, but I opted for the box shape and cut with a blade for a more homesteader look.
- Fragrance – I bought essential oils and used the lemongrass. Any of the essential oils will work great, but I would buy the most concentrated possible so the scent is present. You can combine scents to create something unique, or just use one of them for a distinguishable scent.
Beeswax Soap Making Material List
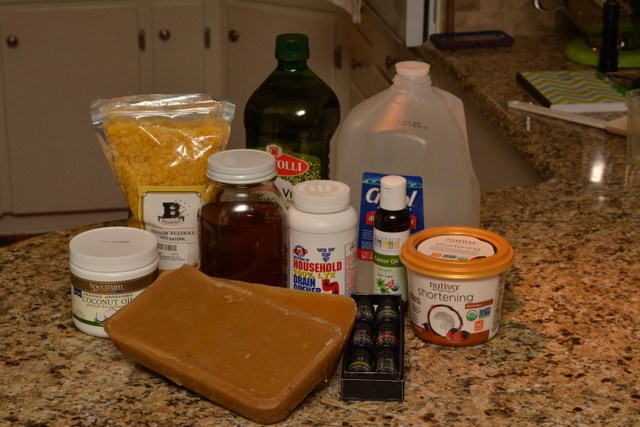
- olive oil – 358g
- coconut oil – 225g
- palm oil – 177g
- castor oil – 32g
- beeswax – 7.2g
- distilled water – 266g divided
- lye – 111g
- honey – 1 TBS
- fragrance – 2 TSP
- disposable paper bowl
- stainless steel bowl for lye
- stainless steel pot or microwave save container for oils
- stainless steel whisk or immersion blender
- digital scale
- mold
- freezer paper (if using cardboard)
- digital thermometer
Yield – eight 4 ounce bars
How do you make soap?
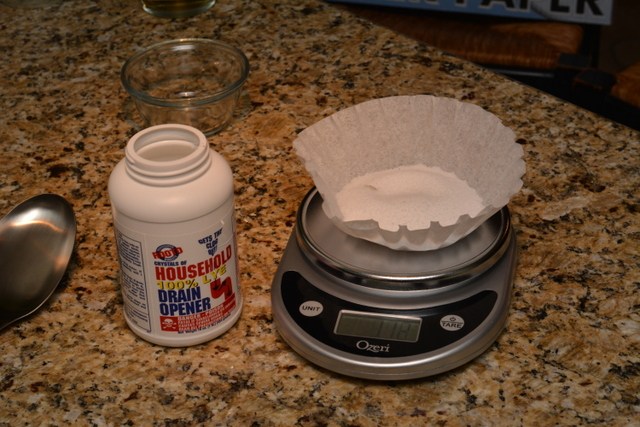
- Measure out the lye and place in disposable paper bowl.
- Measure out 148 grams of distilled water and pour into stainless steel bowl. Place bowl onto heat resistant surface and then add dry lye crystals to water (NEVER THE OTHER WAY AROUND) Stir until lye is completely dissolved. Set aside to cool.
SIDE NOTE: Those new to digital scales, this is for you. When measuring ingredients, first select the TARE WEIGHT and then set the container that will hold what you are measuring (ex. plastic cup, bowl, etc.) This will analyze the weight of the container so that weight is NOT included in the weight of the ingredients. Then, once the TARE WEIGHT is selected, the scale should read 0.0 (give or take some zeroes) and then you can add the ingredients to be weighed. If you are not using a digital scale you will have to weigh the container then add the ingredients and subtract the weight of the container to get actual weight of ingredients.
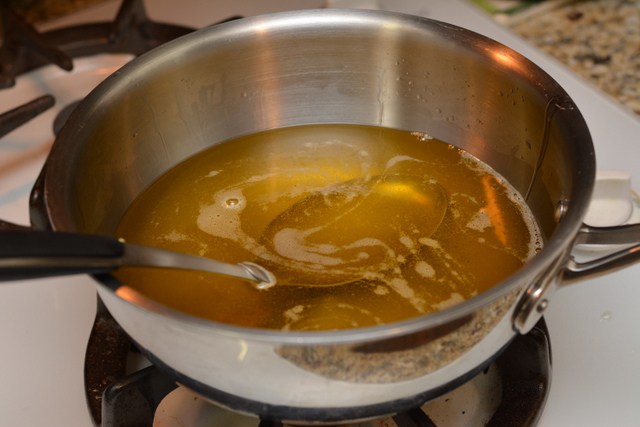
- Microwave the honey, 118g of remaining water, and microwave until dissolved.
- Prepare the mold.
- Heat all the solid oils and beeswax in a stainless steel pot. Add the liquid oils (excluding honey and water mixture) and stir.
- Check temperature of lye and the oils. This is crucial! To keep beeswax from getting hard, the oils need to be around 120 F. The lye needs to be 120 F as well.
- Now add honey water to the lye water ONLY when it has reached the correct temperature. Sometimes this will result in a color change, which is normal.
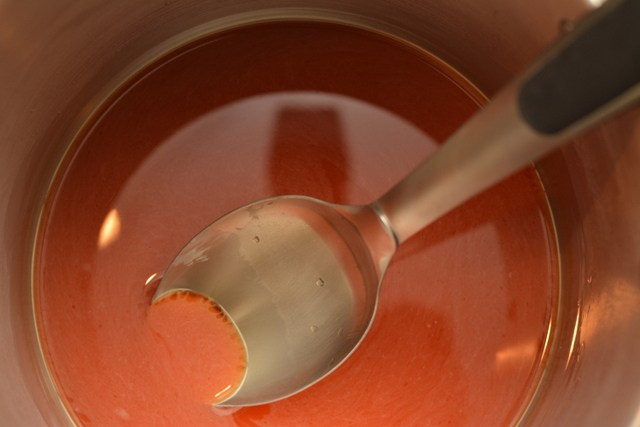
- Now pour the lye water into the oils and mix with the stainless steel whisk or the immersion blender.
- When the mixture begins to looks creamy, it has emulsified and this is the time to add your fragrance.
- Keep mixing until it looks like a light cake batter. This is called the trace.
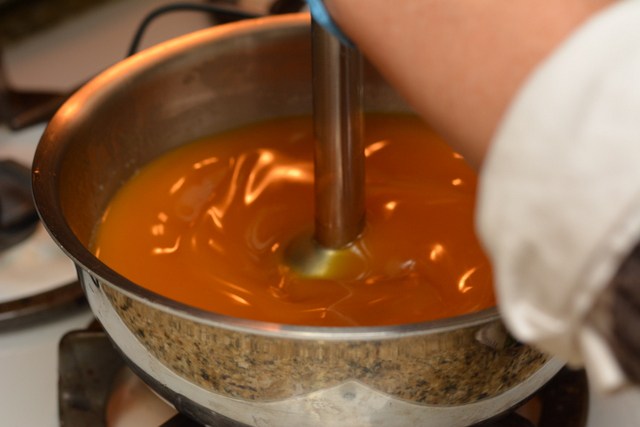
- Quickly pour into prepared mold or cardboard container lined with freezer paper. Scrape every bit of residue from the pot with a high-temp spatula.
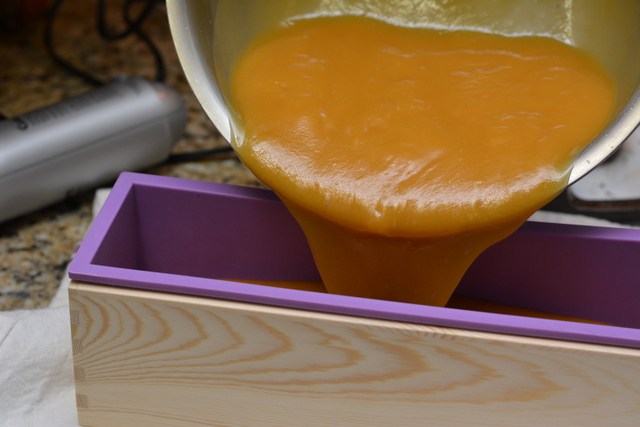
- Tap soap mold on the counter to remove air. Smooth out the top and cover mold with cardboard to hold heat in.
- In twenty-four hours the soap should be cool enough to cut. If it seems too soft, then wait and continue checking every 4-6 hours. Once it is hard enough to cut into bars, I cut it with a blade made for cutting soap. The handle and size made cutting more even and straight. I wrapped my soaps in freezer paper and twine and stored them in a cool dry spot.
- I also allowed my soaps to cure for 30 days because more water will evaporate from them, resulting in a longer lasting soap bar. I hated the thought of going through this process only for the soaps to sludge away in the shower.
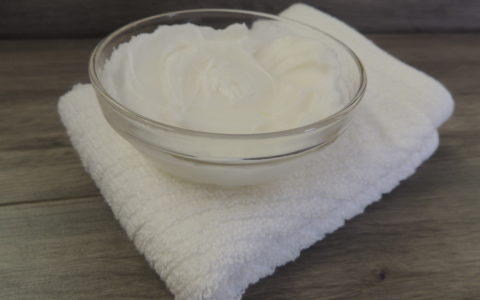
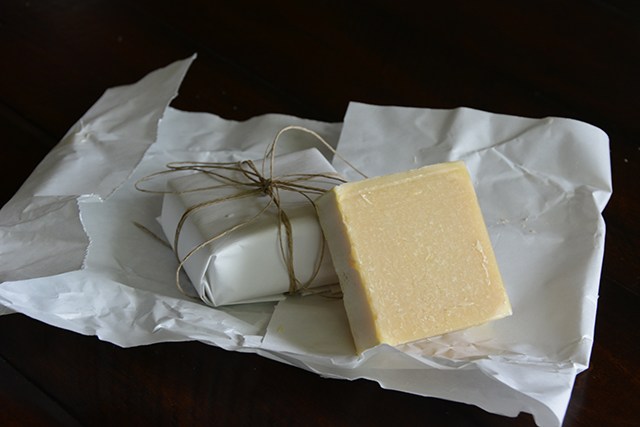 The finished product – looks like… soap.
END RESULT
Like anything else, there are pros and cons, here they are:
PROS
Making soap is a good skill to have under your belt. One day you may not be able to drive to your local Walmart and pick up a bar of Ivory soap.
They make wonderful gifts!
It is natural and uses a bi-product produced by our dear friend, the honeybee.
This soap is the best if you have sensitive skin, eczema, or other skin conditions. It will leave you clean without the drying effects of the cheaper commercial soaps.
CONS
The next time I make it, the cost will be significantly less, but it will definitely cost more than cheap drugstore soap. You can always stock up on the cheap stuff in the event of an emergency and you can shower yourself clean with the best of them. Personally, I like the idea of having a chemical-free, all natural way to clean up.
Other self-sufficiency and preparedness solutions recommended for you:
The vital self-sufficiency lessons our great grand-fathers left us
Knowledge to survive any medical crisis situation
Liberal’s hidden agenda: more than just your guns
Build yourself the only unlimited water source you’ll ever need
4 Important Forgotten Skills used by our Ancestors that can help you in any crisis


