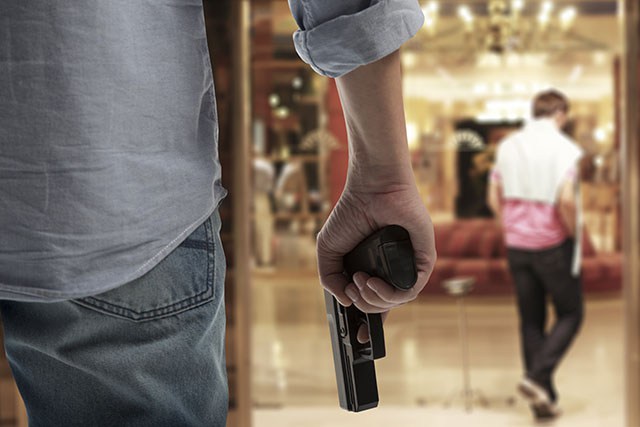
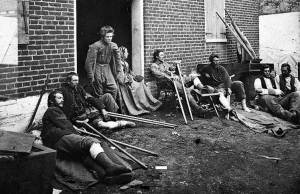
How to Respond to Active Shooter And Terrorist Attacks
Remember!
- Moving targets are harder to shoot than stationary targets!
- Smaller targets are harder to shoot than the large target!
When I ask my students what is the most important thing they must do in a hostile incident, most reply that they should simply shoot the bad guys, get access to their weapons, shoot for the head, carry a big gun and so on. The answer I am looking for is not to get shot by the terrorists!
You should first of all work out a plan of action that you will take in the case of an active shooter or terrorist attack. Do this for your home, business and for when you are out and about in public. Things that need to be considered are means communication, safe areas, when to fight and when to flee and so forth. Planning is what sorts the professionals from the amateurs, if you plan how to deal with a hostile situation if it happens, you’ll know what to and how to react to it and not be confused and panic!
GET THIS BOOK NOW AND BEGIN TO LEARN SUCH SECRETS AS: The Antioxidant 550 times stronger than vitamin E and 6,000 x More Powerful Than vitamin C
Plan your reaction to being shot at!
As I just mentioned, you NEED to put together a plan of action on how you will react to a shooting or a hostile incident. Over the years I have spoken to many security contractors, police and former non-British military personnel and find it amazing that when talking about their reaction fire drills most just say they would draw their weapon, if they have one and return fire… That’s OK if you have a gun or are on a gun range but you need to take a few other things into consideration if someone is shooting at you!
This is an adaptation of the British Army individual reaction to fire drill. Some of this may apply to you and some might not- use this as a basic format. If you are serious about your security, you must put together a plan that is specifically designed for your personal situation and then practice it until it is second nature.
- Preparation: If you have a gun it must be clean, serviceable and well-oiled. Ammunition must be of good quality, clean and your magazines full. You must be properly trained and ready to deal with the incident.
- Reacting to fire: The immediate reaction at close quarters is to identify the threat, move to cover as you are deploying your weapon, if you have one and returning fire. If you are being shot at from a distance or do not know where the shots are coming from, you should:
- Dash– a moving target is harder to hit than a stationary target.
- Down– keep low and present a smaller target.
- Cover– Get into cover from fire.
- Locate – Observe where the threat is.
- Return fire– if you have a firearm.
- Winning the fire-fight, if you have a firearm: As soon as the threat has been firmly located, you must bring down sufficient accurate fire on the terrorist to incapacitate them or force them into cover so you can extract yourself from the situation.
- Re-organizing: As soon as you have incapacitated the terrorist or are in a safe area, you must reorganize yourself as quickly as possible in order to be ready for other possible threats. You need to re-load your firearm if you have one, make sure that you or anyone with you is not injured and inform law enforcement and emergency services immediately.
There are two types of cover: 1.) Cover from view 2.) Cover from fire (bullets and shrapnel), you always want to locate the latter.
Moving targets are harder to shoot than stationary targets. It’s a fact, it’s harder to shoot a target that is moving than one that is stationary. So, if someone is shooting at you, do not stand still, run. Smaller targets are harder to shoot than large targets! If there is no cover for you, make yourself a smaller target and drop to a kneeling position. I do not recommend prone position, as it takes too much time for most people to stand up. From a kneeling position, you can quickly run and get to cover.
If You Are Diabetic THIS Book Is Essential For Your Survival Medicine Chest.
Use of cover
This is a very important and basic subject! In your home, business or when you are walking around, you should always be looking out for positions that you could use for cover in the event of a shooting incident. There are two types of cover: 1.) Cover from view 2.) Cover from fire (bullets and shrapnel), you always want to locate the latter. You also may want to consider which type of rounds the cover will stop. A table might be able to stop a .32 fired from a handgun, but a 7.62X39mm fired from an AK-47 would go through both the table and you. Also consider will you want to be able to shoot through the cover, such as at a criminal in your house through dry wall etc.
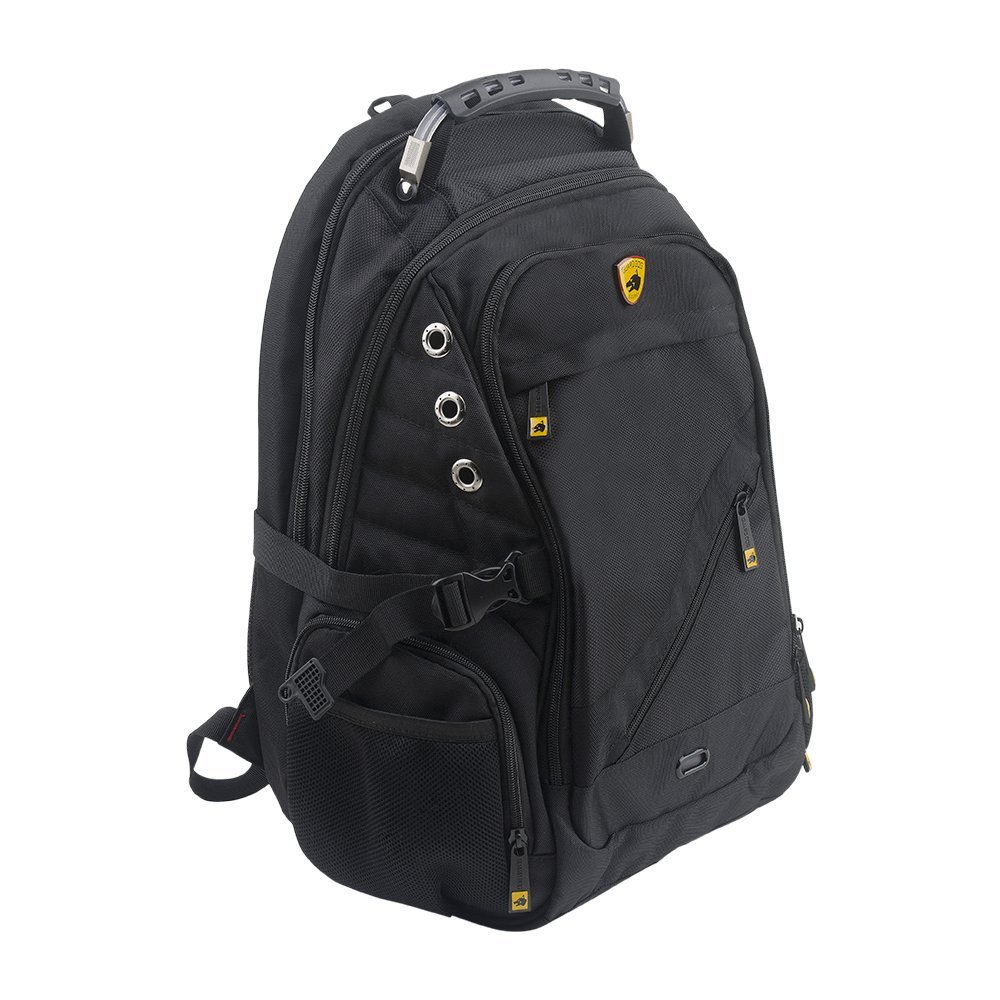
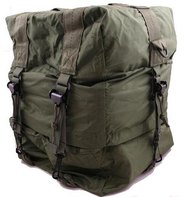
Guard Dog Security ProShield 2 Bulletproof Backpack
Cover from view includes:
- Cardboard boxes and empty rubbish bins
- Bushes
- Thin walls and fences
- Thin tabletops
- Doors
- Shadows
Cover from fire (depending on the firearm used):
- Thick tabletops
- Heavy furniture
- Stone and concrete walls
- Dead ground
- Thick trees
- Various areas of a car
- Curb stones
One of the best-publicized examples of good use of cover happened in St. Petersburg, Russia on February 26, 1996. At 4:25 pm, two mafia gunmen in long coats entered a fashionable café. Under their coats, each man had a AKS-74. They were there to kill an opposing mafia boss, who was in the cafe with his two off duty police bodyguards. The mafia gunmen fired 60 rounds at close quarters from the AKS-74s and killed both the police bodyguards. The criminal boss tipped over a thick marble table he was sitting at and hid behind it; although wounded he was well enough to walk out the cafe making phone calls, after the gunmen had escaped. A Scottish lawyer was killed; he was just sitting drinking coffee in the café when he was hit by three stray bullets. The attack took about 40 seconds from the gunmen entering to leaving the café. The Scottish lawyer was in the wrong place at the wrong time.
When you get into cover, you should always try to have an escape route and try not to get pinned down. When using cover as a shield, always keep low and fire or look around cover- not over it. When you are in cover and need to move, first select the next piece of cover that you will move to and move fast and keep low. Keep the distances between cover positions short. When you get behind the cover, assess your situation, where the threat is, etc. Keep moving this way until you are out of danger.
Remember!
- Always looking for and make maximum use of available cover and concealment.
- Avoid firing or looking over cover; when possible, fire or look around it.
- Avoid silhouetting yourself against light-colored buildings, backgrounds and lights.
- Always carefully select a new piece of cover before leaving the cover your in.
- Make sure you always have an escape route planned.
- Avoid setting patterns in your movement, for example, shooting or looking from the same position at the same level.
- Keep exposure time to a minimum; don’t look over or around cover for an extended period of time.
- Always look up and behind you remember that positions which provide cover at ground level may not provide cover on higher floors.
Camouflage yourself
It makes me laugh when I see a lot of SWAT Teams and PSD guys wearing Tactical Black and other colors that look cool but do nothing bit make them stand out. In reality black is one of the worse colors to wear, what is black in nature, look around you now and what in your surroundings are black? I expect very little… In urban areas most walls are white, gray or cream… Light colors! The colors you wear should blend in with your background whether its day or night. Even at night dark clothes stand out when moving past light backgrounds. In the country or bush when moving through low bushes or fields the silhouettes of people in dark colors are easy to see at a distance…
Learn How to treat each problem without prescription pharmaceuticals, often with everyday items already in your pantry or medicine cabinet.
Moving Through a Building
If you have to evacuate your home or business, for whatever reason, it should be done quickly, quietly and with the minimum of fuss. You should also have already worked out your escape routes and exits. If there is an incident, get as much information as possible to what the threat is, where and what the threat is. I recommend you never use obvious evacuation routes and exits, the criminals or terrorists could have blocked, booby trapped, ambushed or manned them.
If you have to walk down corridors keep low and move fast, do not walk down the center and do not walk next to the walls. Stay a couple of feet off the walls to avoid being hit by any ricochets and wall fragments if you come under fire. Doorways and frames can make good cover, even in an apparently empty corridor look for things that could be used as cover. Remember to continuously check behind you, and if you must stop, do not stand up, stay in a kneeling position. Always be aware of where you are casting shadows, you do not want this to give away your position, such as before you go around a corner. You should always keep staggered spacing from anyone who is with you; you do not want to bunch up. Remember; one bullet can go through two people; large group of people make an easier target than a lone individual. Also if you are dealing with criminals or terrorists who are using improvised pipe bombs or hand grenades, one of these devices could take out your whole group if you are close together.
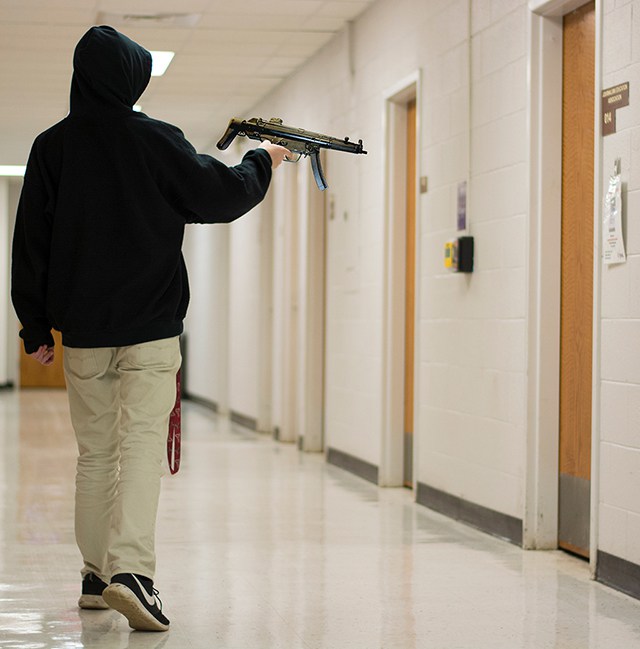
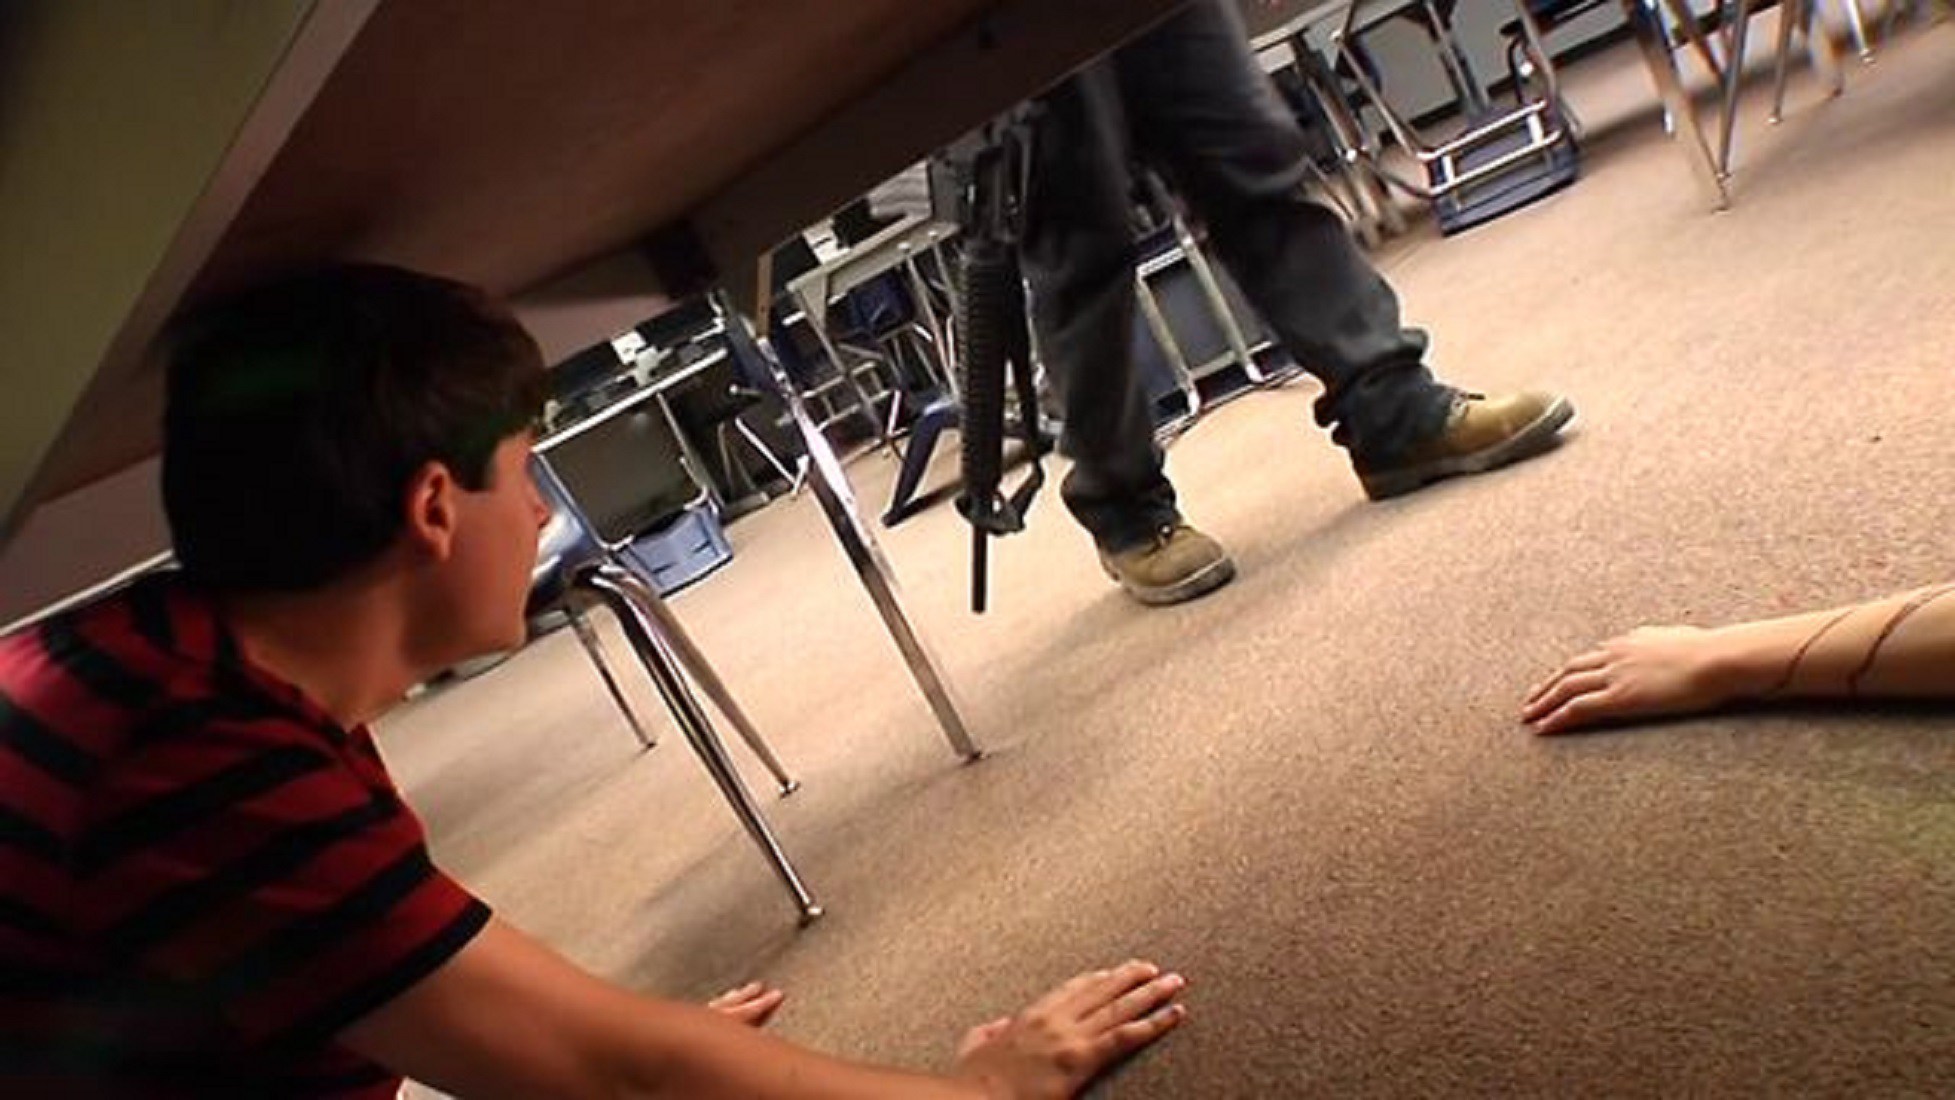
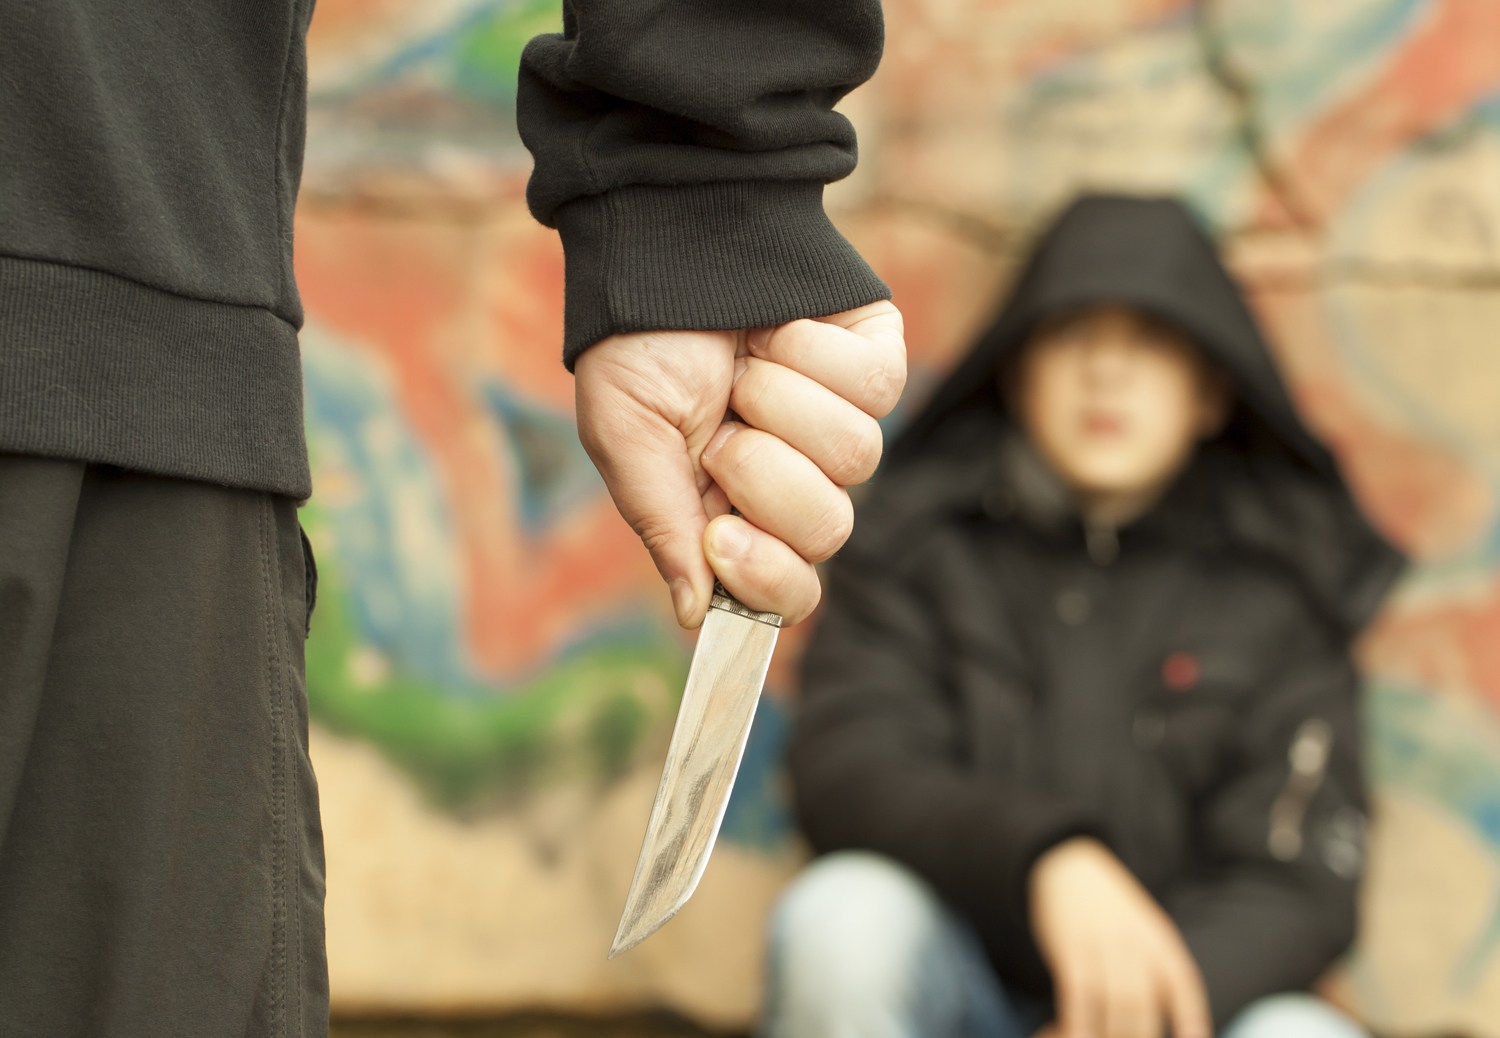
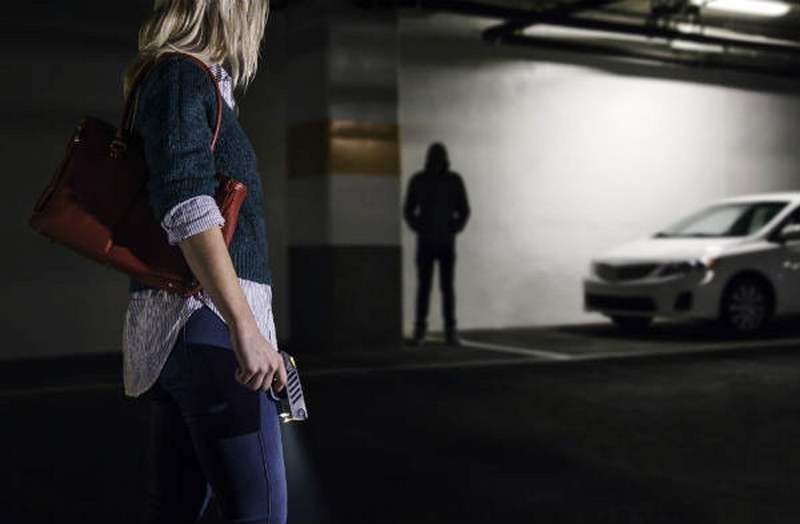
With the rise of active shooter incidents in the United States, students and faculty members are highly encouraged to be aware of the policies to follow in order to promote safety precautions in case of an active shooter incident were to take place. (Photo Illustration by Cassandra Nguyen | The Collegian)
Going through doorways is very dangerous, especially if the room or area on the other side could contain a criminal or terrorist. If you must go through a doorway, try to determine if there are any threats on the other side before you enter. Use your senses of smell and hearing, in addition to sight; take a quick look into to room at a low level before entering. If you have to open a door, do so quickly, quietly and then back away from the door and listen. You want to back away from the door because if there is a terrorist in the room they will be shooting at the now opened door or moving if startled. Also consider if the wall around the door could stop a bullet; the criminal or terrorist could shoot through the wall and hit you, especially if they are armed with hunting or assault rifles. When you go through a doorway, again keep low and move fast, check the corners, when though the door move away from it and get behind cover.
You must keep a cool head as you might not be the only person evacuating the building. When you are clear of the building, get out of the area and summon support and law enforcement, ASAP.
Remember!
- Never use obvious escape routes.
- Use your senses of smell and hearing not just sight!
- Move quietly, cautiously and quickly.
- Corridors are areas of extreme danger- avoid whenever possible.
- If you need to use a corridor, NEVER walk down the center stay a couple of feet off the wall.
- If you must walk past an open door keep low and move fast.
- Always check around corners before you go around them and expose yourself.
- Continuously check behind you.
- If you must stop do not stand up, stay in a kneeling position.
- Avoid offering a silhouette for your opposition to shoot at.
- Lights behind you should be extinguished.
- Always keep a space between you and others; one bullet can go through several people.
After a Shooting Incident
You should do all that you can to avoid getting involved in any hostile situations, even indirectly. If you are somewhere where a hostile situation is developing, leave the area quickly and not by an obvious route. You do not want to be in the wrong place at the wrong time and to catch a stray bullet. So, if you see a hostile incident developing and it has nothing to with you, mind your own business and leave the area, ASAP! If you are unfortunate enough to get involved in a shooting incident, when you believe the incident is over, you should reload your weapon if you have one, prepare to deal with any other threats, give first aid to anyone with you who is injured and evacuate to a safe location. You should also call for support and police etc. as soon as is safely possible.
Learn How to both diagnose and treat any medical problem you are going to encounter.
In developed countries, even if you believe others have already called the police, do so yourself and identify yourself to the dispatcher as the victim and you should do as the dispatcher tells you, as long as it does not compromise your safety. You must ensure that the police officers responding to the incident know that you are the victim and not the attacker. For their own safety, the police officers will assume that anyone at the scene of the incident is a threat. You should never point your gun at the police and should comply with their every request. Remember the responding police will be scared and most are not that well trained and will shoot with minimum excuse. Try to remain calm and do not argue with them- do as you are told. Make no fast movements and keep your hands where they can be seen. It would be unfortunate to survive a lethal encounter with a criminal, only to end up being shot by the police.
If you get into a hostile shooting in a country where the police cannot be trusted and going to prison would most probably mean you would catch an incurable decease to say the least, you should have pre-planned on how to deal with the situation. My advice; leave the country as quickly as possible if you are a non-resident of that country!
The Tactical Use of Lights
In my opinion, many people are over-enthusiastic in the use of flashlights. There is a big market in tactical flashlights and the companies making them wants everyone to buy one, thus making them a must have item. Flashlights have an application in hostile situations but you should remember that any light will give away your position and draw fire. Light should be used sparingly and tactically. I tell my students to get used to training in the dark and using their senses of hearing and smell in addition to sight. At night there is more chance you will hear someone before you see them! When moving in a dark environment, do so slowly and cautiously and try to make minimum noise. Try finding your way around your house or business in the dark, before you start moving around give your eyes a few minutes to adjust to the dark.
If you must use a flashlight, keep it at arm’s length and keep it on for no longer than necessary, then move quickly or get behind cover. If you want to check a room or a corridor, one option is to roll the flashlight across the doorway, corridor or into the room. Light can be used as a distraction and help to cover your movement, shine it in their general direction of your opponent and move. This will mess up their night vision and if you leave the light pointing in their direction, it will be difficult for them to see what is happening behind the light.
If possible, use remote lights, as this is more of an application for your home or business. For example, place powerful spotlights that illuminate corridors to safe rooms, stairways or doorways. If your home is broken into at night, you could move your family to your safe room and take up a position in cover behind the lights. If you hear or identify movement to your front, you turn on the spotlights; this will surprise, blind and illuminate anyone in the corridor. This will also help you to confirm that the people in your house are criminals or terrorists and give you good targets to shoot at if you have a firearm.
Remember! Moving targets are harder to shoot than stationary targets! Smaller targets are harder to shoot than the large target! When I ask my students what is the most important thing


![grease-pencil[1]](https://www.finalprepper.com/wp-content/uploads/2016/07/grease-pencil1.jpg)
![sewing-scissors[1]](https://www.finalprepper.com/wp-content/uploads/2016/07/sewing-scissors1.jpg)
![contact-paper-sheets[1]](https://www.finalprepper.com/wp-content/uploads/2016/07/contact-paper-sheets1.jpg)
![chalkboard-spray-paint-1[1]](https://www.finalprepper.com/wp-content/uploads/2016/07/chalkboard-spray-paint-11.jpg)
![dry-erase-ultra-fine[1]](https://www.finalprepper.com/wp-content/uploads/2016/07/dry-erase-ultra-fine1.jpg)


 Hens make eggs. They don’t need males to do it. Males are only needed to make more birds.
 (Newsflash: So are geese.)
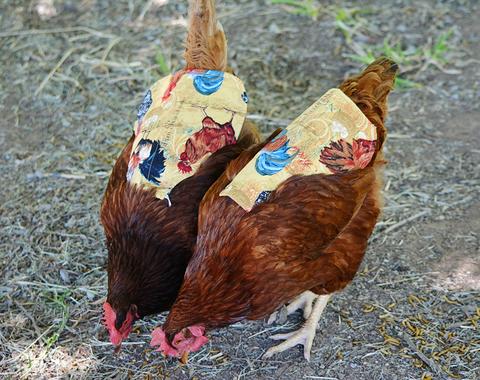
 Pecking Order – It’s a real thing. It’s when birds use pointy beaks to peck others and establish their dominance. It gets brutal.
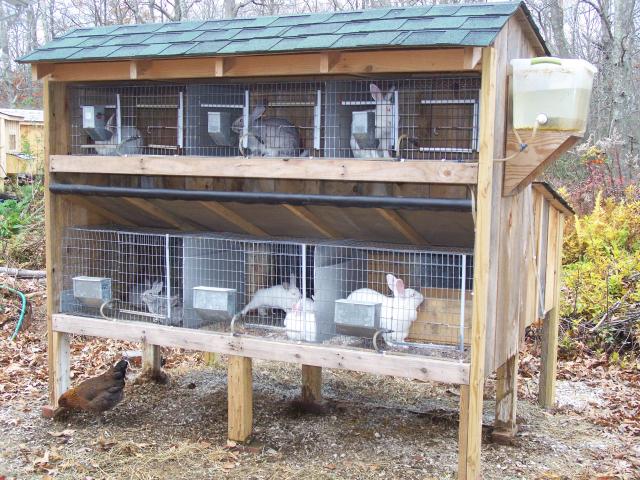
 Meat animals are for eating. Don’t breed animals until you’ve tasted that species’ meat, and don’t breed animals whose meat you don’t like. (Riiiigghhtt???)
 Llama grazing with sheep.
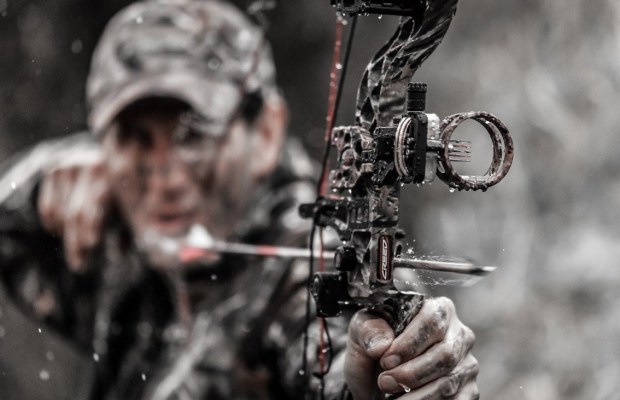
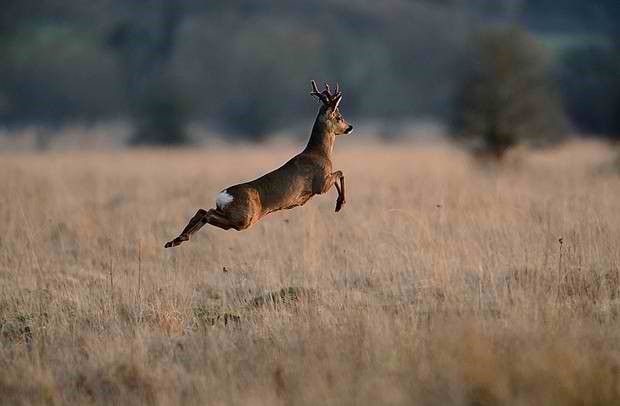
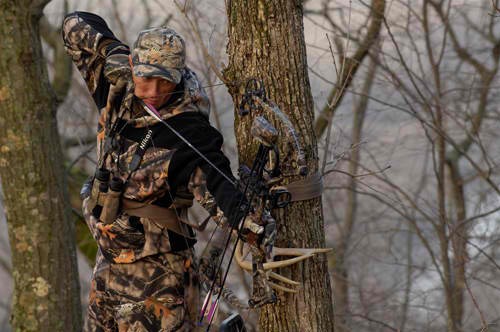 If you’re planning to shoot your first buck from a tree stand, you cannot do so successfully without learning how to shoot from a higher position.
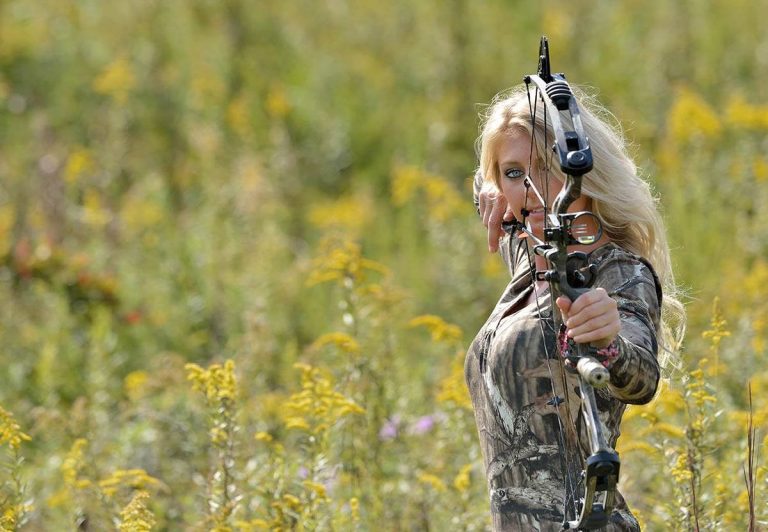
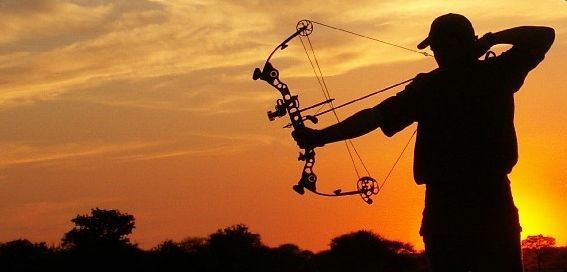 You can also master shooting with it during near sunset or near dawn conditions.