Should You Buy an Air Rifle for Survival?
Many times through the years I have stumbled into prepper articles or discussions about the best firearms to have for SHTF. There are always different perspectives and I myself have shared my own opinions about what I think are the top 5 firearms every prepper should have. Naturally this assumes firearms are available to you legally and you don’t have any ethical problems with the thought of using them if needed for their intended purpose. Training in the proper use and safety of these firearms should go without saying.
But invariably, somewhere in the conversations about the best caliber or whether or not the AK is better than the AR, someone will bring up the concept of air rifles as an alternative to more traditional firearms. For many years I dismissed this advice out of hand because I assumed that anyone who thought it was a better idea to use an air rifle for survival was either anti-gun or had some element in their personal lives that prevented them from owning a firearm. A real gun instead of a toy…
I never really delved into this subject and it was a recent email from a reader of Final Prepper that prompted me to look into this topic further, if for no other reason than to fully state my opinion and let the world give me their thoughts on this subject.
Sam writes:
There are many that would like to make a bug out bag but can’t because they may be on a fixed income or in debt e.g. college students or retired. However, Harbor Freight Tools offers some free stuff using coupons that can be used to put in a bug out bag, and anyone can buy a good pack back at any second-hand store for $3 to use. I give Harbor Freight 5 stars for having up to 12 free things that can be used in a bug out bag.
Any prepper should be able to have a high power air rifle if they can’t afford a .22 or other if they chose to bugout so what is a good inexpensive air rifle that someone on a fixed income can buy to use in a SHTF or to bugout with? I would like to know what TPJ recommends or do a story so everyone can read.
First of all, thanks for the email Sam! I always appreciate good information, like the tip about Harbor Freight and for the question about the air rifles. So as I read the question from Sam, I think he (I assume this is a he and Sam is not short for Samantha. Damn both our gender confusing monikers!!!) is bringing up a couple of points. First, that a high-powered air rifle is a cheaper alternative to even a .22. The second is that this high-powered air rifle will be used in a SHTF/Bug Out scenario. I am sure there are other issues and I will try to address my thoughts around each in this article.
Why do so many people recommend an air rifle for survival?
Cost – Air rifles for survival seem to make sense to a lot of people for some very compelling reasons. Most air rifles do cost less than even the lowly .22 Rimfire rifle out there. You can get a brand new Ruger 10/22 Semiautomatic for between $250 and $350 depending on where you shop, but I have found sales on brand new, perfectly capable .22’s for much less. You can also find deals at gun shows that are even less than that. I picked up a perfectly good .22 at an auction for $100.
Air rifles come in a wide array of calibers just like regular firearms but for the purposes of this discussion I’ll stick with .177 calibers. That is the size most of us young kids grew up shooting in the back yard. Why not go up in size to .22, .30, .045 or even .50 caliber (yes they make .50 caliber air rifles)? For a couple of reasons; first off, in some locations; when you go over .18 caliber the local law enforcement usually considers that to be a “firearm”. Some locations regulate according to the muzzle velocity. For an air rifle to fly below this requirement you are looking at muzzle velocities generally below 500 feet per second in some areas. There are air rifles that are much higher power than that, like the Gamo Whisper Silent Cat Air Rifle which has a muzzle velocity of over 1200 FPS!, but if you are purchasing an air rifle that is viewed by law enforcement as a firearm, you are filling out paperwork just like you would have for a .22 so one advantage of the air rifle disappears. Additionally, the larger calibers go up in cost considerably and we are trying to stay on the more economical side here for Sam. I don’t consider the Benjamin Bulldog .357 which is arguably “high-power” and able to take down larger animals in contention for this article for the main reason that its cost is right about $1,000. Not ideal for the prepper on a fixed income.
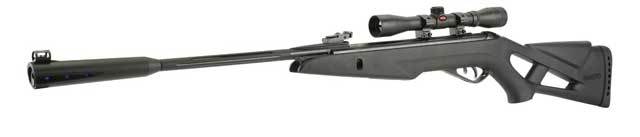 1200 FPS with a scope for less than $140.
Quiet Operation – Air rifles use compressed air generally or a spring mechanism in some cases but usually in both they are far quieter than a regular rifle. Some models like the Gamo above even have a suppressor included making them even more quiet. An air rifle, it would seem would allow you to hunt without making your presence known in a wider area and this could have great benefits to the average prepper who is trying to stay on the down low. You wouldn’t want everyone who is hungry and possibly starving themselves to hear a loud gunshot and lay in wait for you to come walking back to camp with your prize only to take it away from you.
No license/background check required (normally) – This goes back to my previous point above. As long as you aren’t going into the more powerful air rifles which demand higher muzzle velocity, there isn’t usually a background check for someone buying an air rifle. This could have advantages to people who due to their background may be prevented from legally purchasing firearms.
What is an air rifle good for?
So the first question comes back to do you need an air rifle for survival and to answer that question, I want to look at some things air rifles are good at. The first is hunting small game. By small game and in consideration of our caliber limitations that do not require licensing (with caveats) that means birds, squirrels, possibly rabbits and other animals in that size range. For someone living in a city that has an abundance of birds or rodents, an air rifle could make an excellent choice for a survival tool especially if that state doesn’t allow firearms of any kind or severely limits your ability to purchase them.
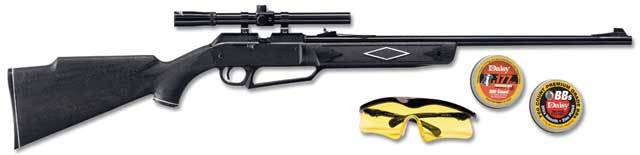 880 air rifle kit includes safety glasses, 4×15-millimeter scope with rings, 500 Daisy pellets, and 750 BBs – $60
Air rifles are great to practice your shooting skills or to teach younger shooters the fundamentals without too much worry of accidents (“You’ll shoot your eye out kid.”). Shooting air rifles is a low-cost sport too because the pellets can be purchased for less than $5 for 250. You can purchase 2400 BB’s for that same price and as far as I know, the government isn’t stocking up on pellets and BB’s just yet.
Quiet operation is another non-trivial benefit of air rifles for survival situations as stated above. You don’t get too much quieter even with sound suppressors than air rifles.
What is an air rifle not good for?
Going back to the initial question about great air rifles for survival and in consideration of something that is cost-effective and doesn’t require licensing, what are the arguments against an air rifle? Do air rifles make a good bug out survival option? I don’t really think so in most cases for the following reasons.
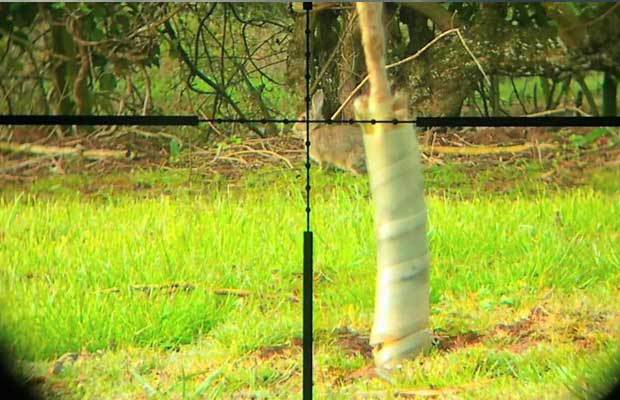
Not good for long-range – This is subjective I know but most air rifles in the category we are talking about above aren’t going to be highly effective past 50 yards. Even at 50 yards, you will have drop on that pellet so you will need to know your weapon and compensate accordingly. Could you kill a rabbit past 50 yards with a pellet gun? Maybe and I know that some of this comes down to the skill of the shooter, but the weapon does have limitations. I think the rabbit would take off before the pellet reached it because sound travels faster than the average muzzle velocities we are talking about here, but again I am generalizing to some extent.
Not good for larger animals – You simply aren’t going to be killing larger animals with the lower caliber (cost-effective) air rifles. Could you shoot birds and squirrels all day and feed yourself? Sure you could, but what if birds and squirrels are few and far between? What if it’s winter time?
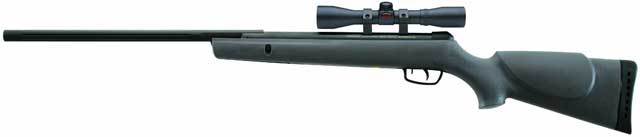 Velocity of up to 1,200 fps with PBA Raptor ammunition; 4×32 air rifle-scope – $99
Not acceptable for self-defense – Firearms for me, even more so in a SHTF scenario when I am forced to bug out are primarily for self-defense. This is the two-legged kind of predator I am talking about here and you aren’t going to defend yourself with a pellet gun. You might fool someone from a distance, but you would have to be extremely lucky and that luck would run out if you had to shoot at someone and all they heard was pftt.
Firing multiple rounds quickly – For shooting a single squirrel in a tree or a bunny sitting there next to your garden, single shots are fine in most cases. Most air rifles are single shot. You have to pump them or cock the charging handle after each shot. There are some manufacturers that have something resembling a magazine so you don’t have to reload, but you aren’t able to fire semi-automatic. Also, your velocity can decrease if you shoot too many shots too fast. Rapid fire isn’t recommended.
Air Supply dependent – Some models used compressed CO2 air cartridges. What if you run out of cartridges? Other models use a pump-action and I personally have witnessed these wear out over time and become less effective. That was with me shooting my air gun occasionally. If this air rifle is your main source of food, could the seals and parts wear out more quickly? Additionally, temperatures affect the air cartridges. Ideally, they are used in warmer temperatures, but not too warm or the cartridges can explode.
I do believe air guns have their place. I have one in my home, so I guess I would have to answer the question two ways. I wouldn’t ever choose an air gun as my go-to bug out firearm unless I had no other options whatsoever. Actually, if this truly was a SHTF scenario and I had no firearms, getting my hands on a weapon would be just about my first priority.
Do I think an air rifle for survival would be better than nothing? Yes, and there are some good models shown above, but I think even a .22 would be better and with some searching you can find a .22 rifle (maybe used) for about the same price as a good air rifle. At least you would have something more suitable for self-defense and taking larger animals.
Now its your turn. What do you think?
Many times through the years I have stumbled into prepper articles or discussions about the best firearms to have for SHTF. There are always different perspectives and I myself have

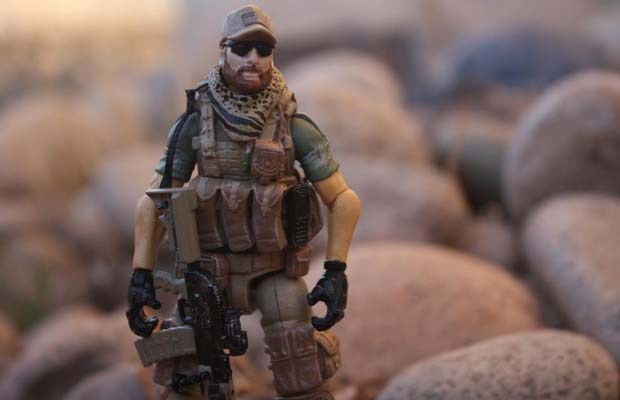 Do you envision yourself in the role of hired gun or mercenary?
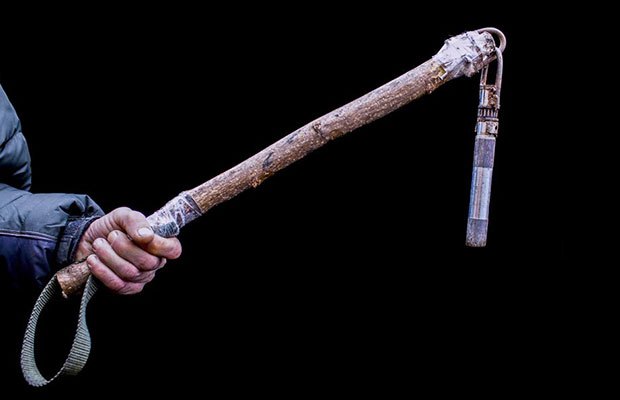
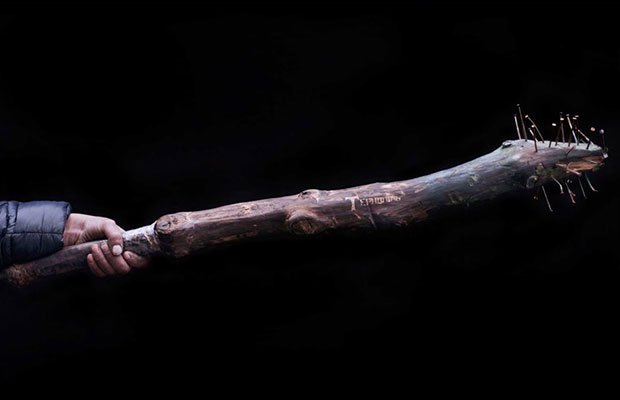 Makeshift weapons like this were created in the violent protests in Ukraine recently.
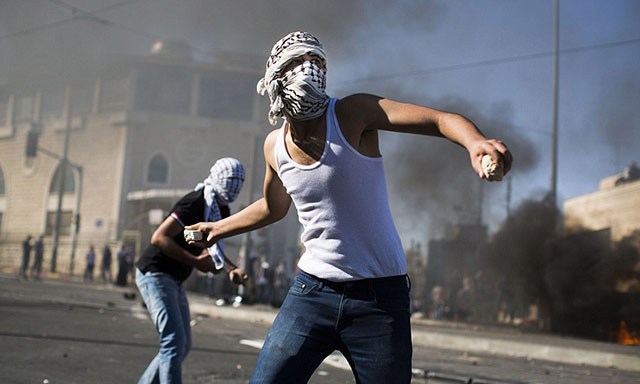

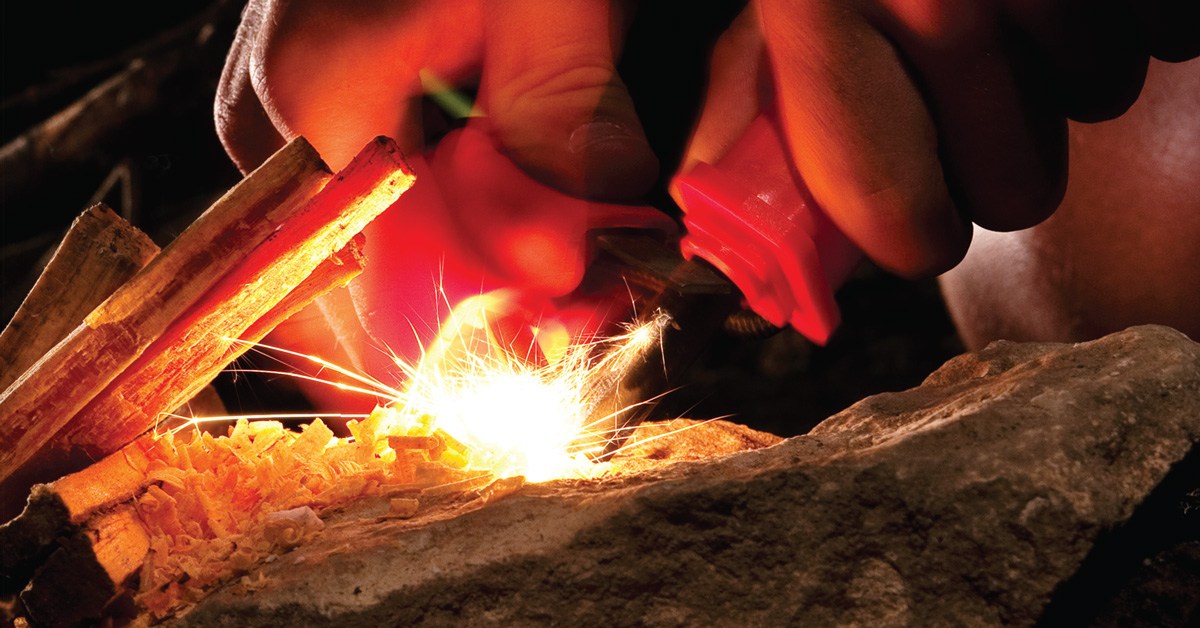 The ferrocerium rod is at the heart of most bushmen’s and survivalist’s fire starting kit.
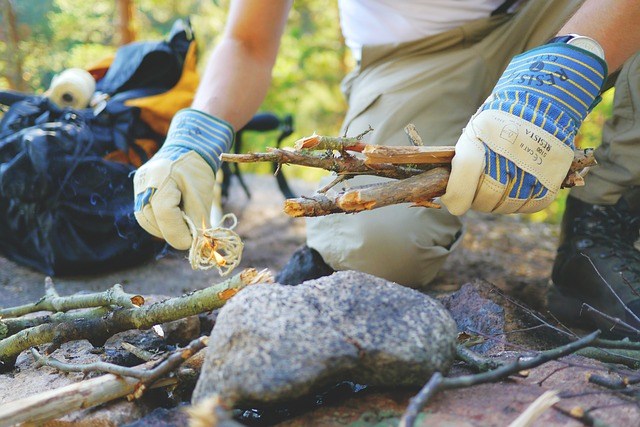 Creating a fire takes some finesse with the right elements of tinder, ignition and fuel.

 .
.