The Real Essential Oils You May Have Overlooked
You may have heard of the increasingly prominent use and promotion of what is being called essential oils if you have read any prepping blogs or self-sufficient literature in the last few years. Essential oils are typically derived from plants and their uses in Aromatherapy or Naturopathy are numerous. You can buy individual oils for specific ailments or boxes containing hundreds of oils. I remember one Doomsday Preppers episode where the preppers planned to use small drones to send survival kits consisting of essential oils to fallen neighbors after some pandemic.
I don’t know anything really about the usefulness of natural “Essential Oils” but I don’t dismiss the validity of their claims. I am sure there are tangible benefits to be realized by depending more on nature to heal our bodies as opposed to the concoctions of the pharmaceutical companies, but this post isn’t about Rosemary or Lavender. In this article, I wanted to talk about the other oils we use all of the time to make our vehicles go, to lubricate our power tools or to light our way. In a survival situation you may need to look at stocking up on some other essential oils.
Oils for your vehicle
Yes, we need to plan on our vehicles working even after a SHTF event. Many assume that an EMP (Electromagnetic Pulse) would render all electronics inoperable and that may be the case, but I don’t know if every single vehicle in the world can be counted on to be worthless in the future. There are some essential oils that you could store away just in case you have to keep that Bug Out Vehicle running. Some of these aren’t technically considered oil but they do fall into the lubricant category. The list below would also extend to off-road vehicles.
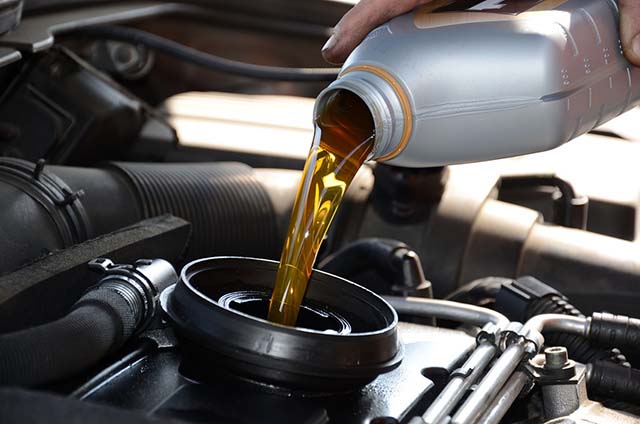
- Motor Oil – Motor oil is an easy one for most people even though I would bet that a majority of us, myself included take our vehicles to a service station for an oil change. Even though I do that now, I certainly have changed my fair share of oil in the past and could easily do it again. Having spare motor oil is an easy prep that you can store away in the back of the shed. Don’t forget oil filters for your vehicle too.

- Transmission fluid – Many newer cars have what are called sealed transmissions but if you have service instructions in your owner’s manual for transmission fluid, it can be replaced. Imagine not going to the mechanic for 10 years? Many manufacturers recommend changing the transmission fluid every 30 or 60 thousand miles. Consult your manual and get the recommended replacement amount just in case.
- Power steering fluid – If you have power steering, you might need to flush this out or top it off after a leak. Careening down trails in the back country could cause some damage you need to fix with spare hose and your trusty Leatherman.
- Brake Fluid – Brake fluid could run out or need topping off so this is another good one to have on hand. A small can goes a very long way.
- Lubricating grease – In my Army days we used to have to grease all of our fittings on our trucks and there were a ton of them. There aren’t as many on my current vehicle, but I can still lubricate several points along the drive-shaft and it’s good to have some lubricating grease on hand. As well as vehicle maintenance, you never know when you might have to make a sticky bomb.
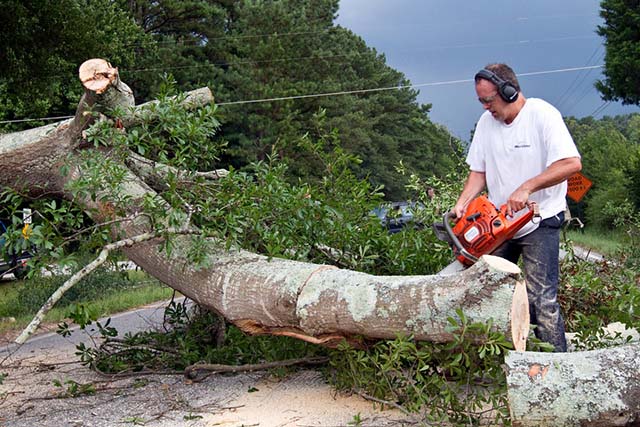 Hand tools are important, but if I can use a chainsaw, I will.
Oils for your Power Equipment
So now you have most of the major oils and fluids for your vehicles, what about the power equipment you will likely rely on when the world ends? What equipment you ask? I can think of generators, chain saws, garden tillers, and mowers. Given enough time and desperation, there is probably a never-ending list of creative things people could do with the engines in our sheds. If the grid goes down, I seriously doubt I will be mowing the grass, but I could easily see a need for a chainsaw and I might be able to convert that mower into a survival generator.
- 2 cycle Oil – For any engines (like chain saws) that need to have the oil mixed in with the fuel.
- Chain oil/ Bar oil – To lubricate your chainsaw blade and help it slide over the bar.
- WD40 – For just about anything that the oils above don’t fix.
Lighting and Fuel
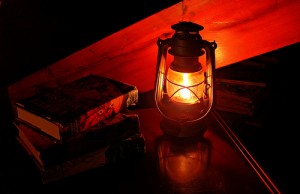 You would use anything other than batteries for lighting? Sure I would, with caution. I have some great kerosene lamps that I would break out if needed. In the winter time they would even be more valuable because they put out a good bit of heat.
- Lamp Oil – I have lamp oil for my lamps that burns nice and clean, but they also burn kerosene. This lamp fuel is pretty cheap and I have several gallons stored for an emergency.
- Kerosene – Kerosene runs my heater and those lamps in a pinch. I could even barter with any extra fuel if the opportunity came up.
- Extra Gas – I have frequently written about the benefits of even 20 gallons of gas stored properly and how that could help you in an emergency. You could avoid the gas lines or use that fuel to fill vehicles and get out of dodge.
- Stabil – To make sure your stored fuel is protected against the effects of degradation, use a good additive like Stabil to keep your fuel fresh. Even with this, I add the fuel to my vehicles yearly and fill my containers with fresh fuel.
Oils for your Health
This list will likely be the one that people point out all of the oils I have missed and that is perfectly fine. I threw a few of these in here that were actually oils that I could see from a strictly utilitarian viewpoint. I know there are more but these three have immediate uses I could identify.
- Mineral Oil – Did you know that you can preserve eggs for at least a year by coating them with Mineral Oil? In addition to making eggs last eggstra long (OK, I couldn’t resist) you can also use mineral oil as a topical moisturizer. It is supposed to also make a good laxative but I haven’t tried it.
- Vaseline – Ointment and lubricant that can be used for hands, feet, lips, elbows; pretty much anywhere you have dry or cracked skin.
- Tea Tree Oil – This can be applied to the skin for infections such as acne, fungal infections of the nail, lice, scabies, athlete’s foot and ringworm. My kids were unfortunate enough to bring lice home from summer camp one year and we all shampooed with Tea Tree Oil shampoo for a month, but no lice for me. According to WebMD, It is also used topically as a local antiseptic for cuts and abrasions, for burns, insect bites and stings, boils, vaginal infections, toothache, infections of the mouth and nose, sore throat. Ask your doctor if Tea Tree Oil is right for you.
Oils for Cooking
The last category I will include are cooking oils. You need a healthy amount of oil in your diet and some of this can come from the oils used to prepare your food. Oils don’t typically have a long storage life, but having extra on hand can make cooking much easier.
- Cooking Oils/Vegetable/Olive/Canola – Need to fry up some squirrel that you brought home from your big hunting expedition? A little oil in your cast iron pan will help that little guy out and make cleaning easier.
- Shortening/Lard – I know Crisco isn’t that healthy, but it sure does make a yummy icing for a birthday cake. Saving your grease from cooking other foods like bacon makes a good substitute for frying needs, but maybe not dessert. Yes, there will be cake after TEOTWAWKI or someone will be in trouble.
Oils for your weapons
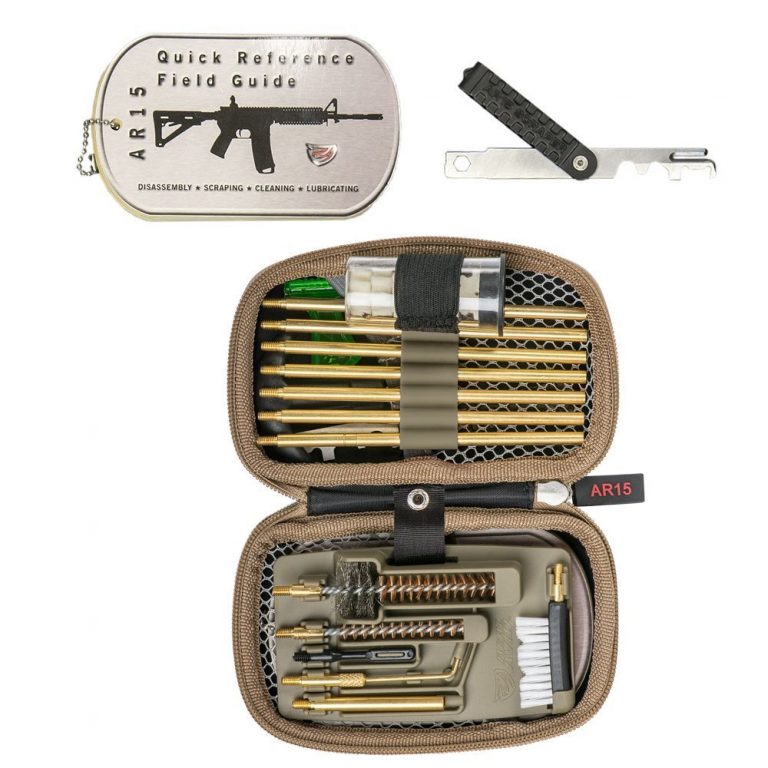
Initially when I wrote this article, I left this all too important oil off the list. You need to protect the metal that is protecting your life. Cleaning supplies and weapon oils are very important supplies to have.
-
Hoppe’s No. 9 Lubricating Oil, 2-1/4 oz. Bottle – A clean and well lubricated weapon is necessary if you want to stake your life on this tool. We talk about all of the gear, but you also need the tools to maintain your survival firearm also.
-
Hoppe’s No. 9 Gun Bore Cleaning Solvent – Great for keeping your weapon clean by removing gun powder, lead, metal fouling and rust.
So there is my short list. What oils did I miss? What essential oils have you stocked up on?
You may have heard of the increasingly prominent use and promotion of what is being called essential oils if you have read any prepping blogs or self-sufficient literature in the
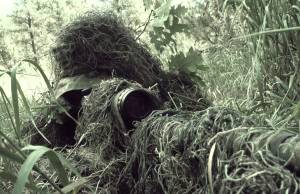
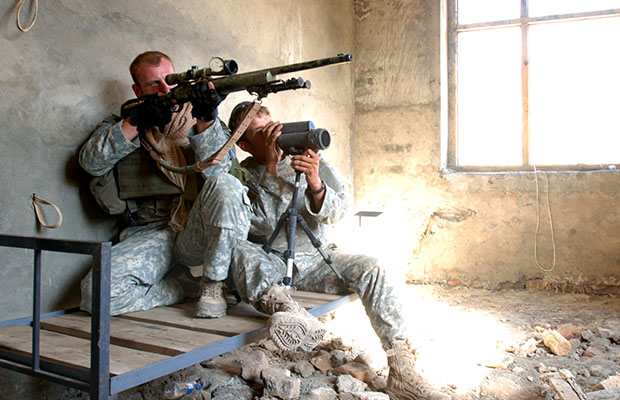
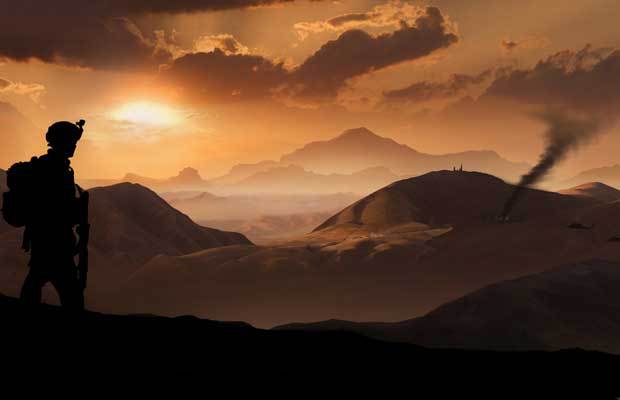
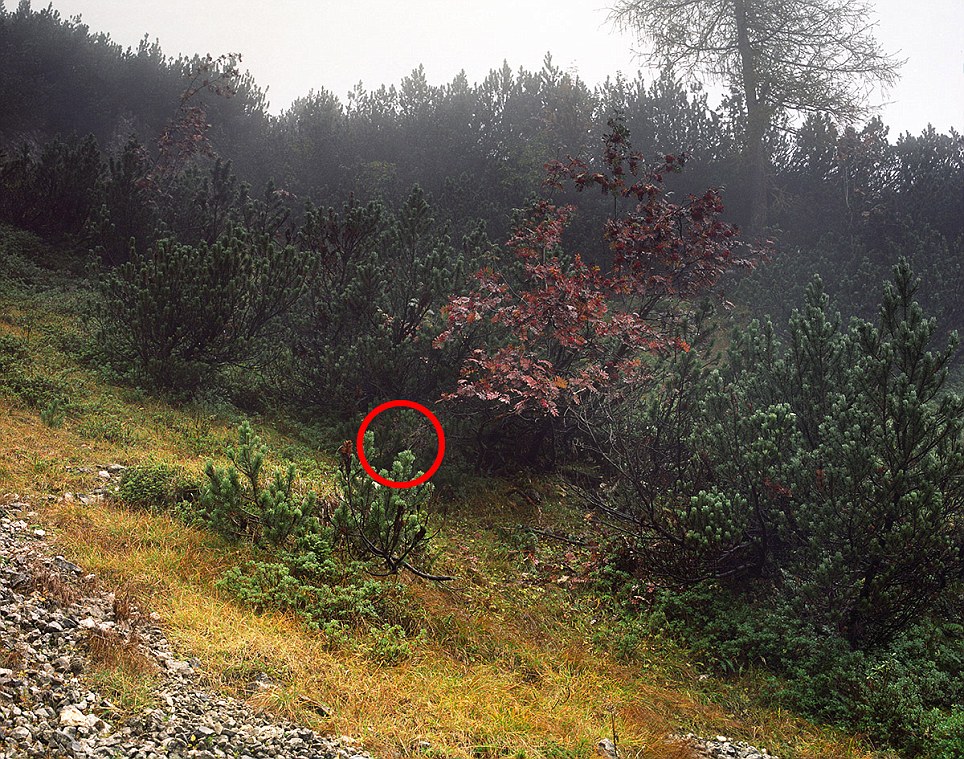 A well camouflaged sniper is an extremely hard target to spot.
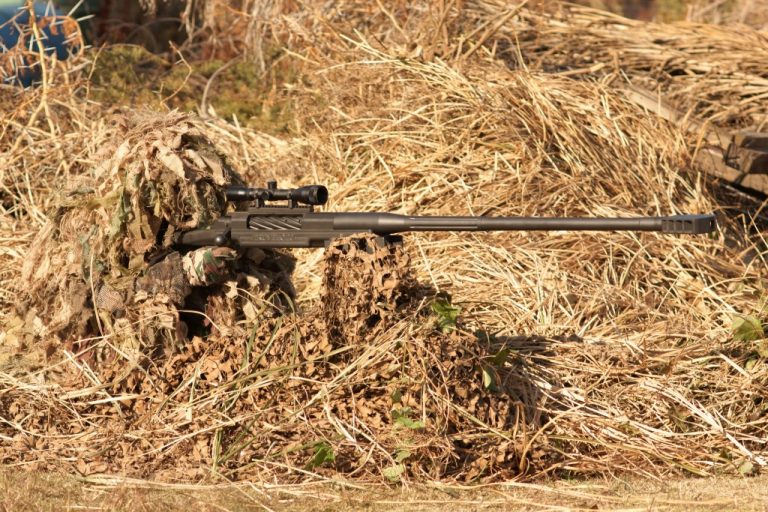
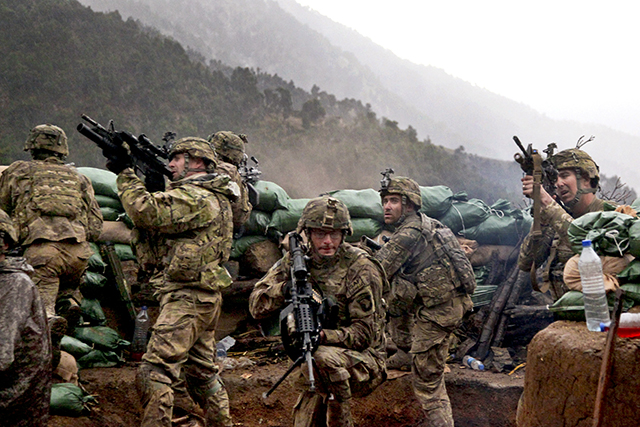 U.S. Soldiers with 2nd Battalion, 327th Infantry Regiment, 101st Airborne Division return fire during a firefight with Taliban forces in Barawala Kalay Valley in Kunar province, Afghanistan, March 31, 2011. ( U.S. Army photo by Pfc. Cameron Boyd/Released)
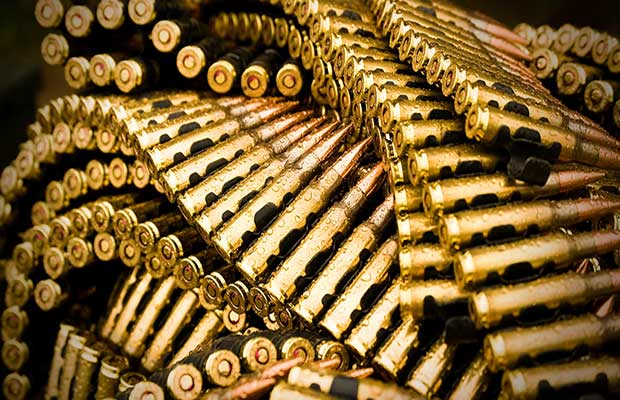
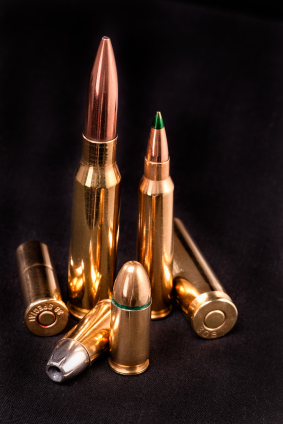 What are the recommended minimums in your favorite calibers?


 EOTech XPS2 HOLOgraphic sight.
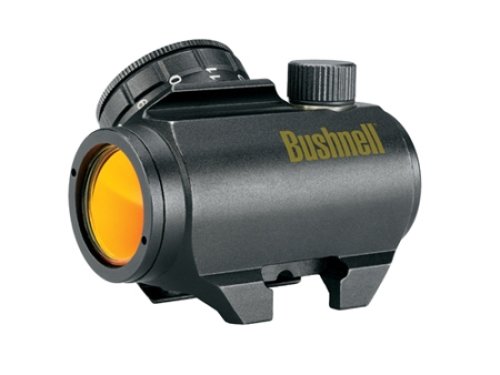 Bushnell Trophy TRS-25. Lower cost alternative to something like the EOTech.
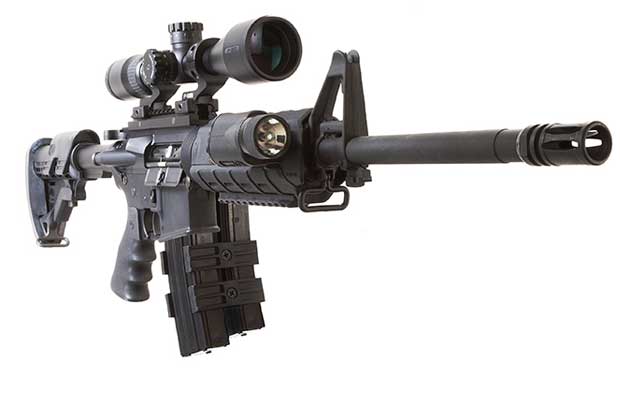
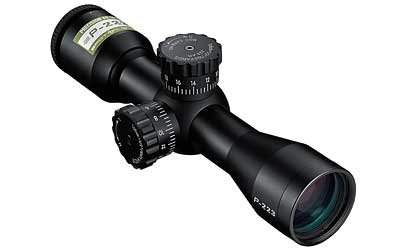 Nikon P-223 3×32 – Great mix of functionality in a scope for the AR-15
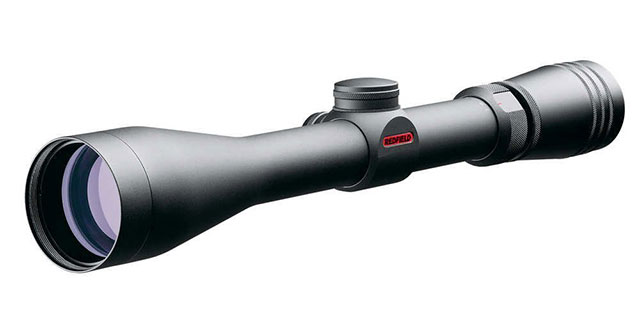

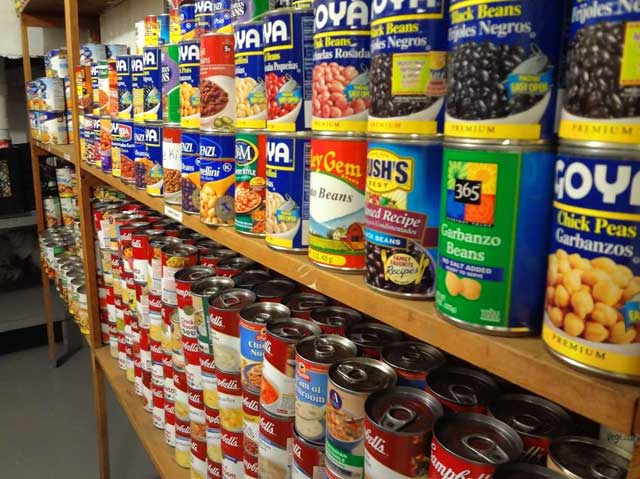 Easy food storage start is to simply buy a little more each week of what you already eat.
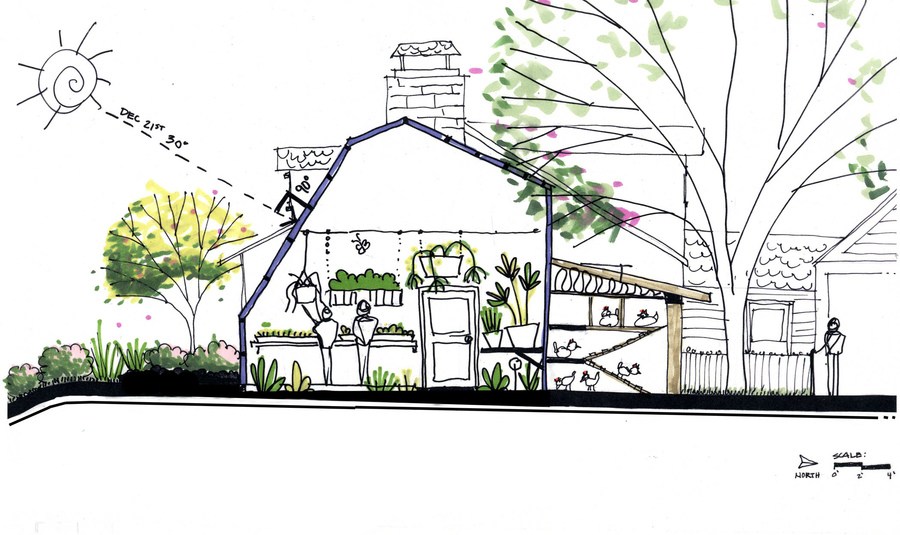
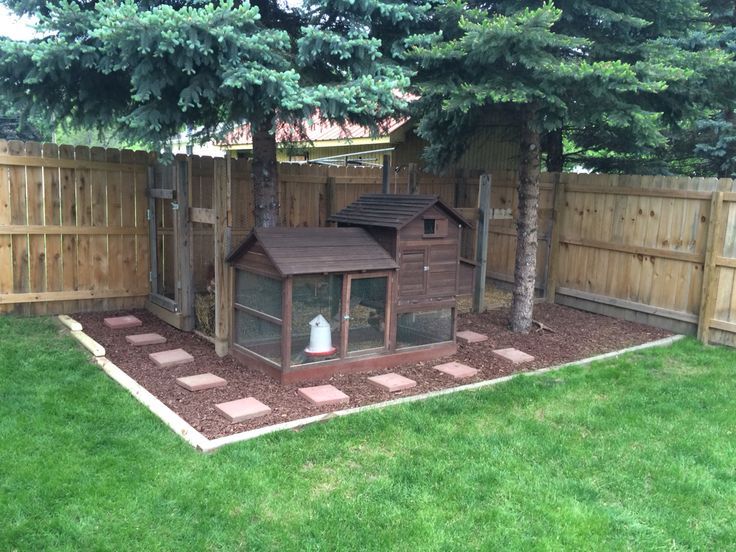
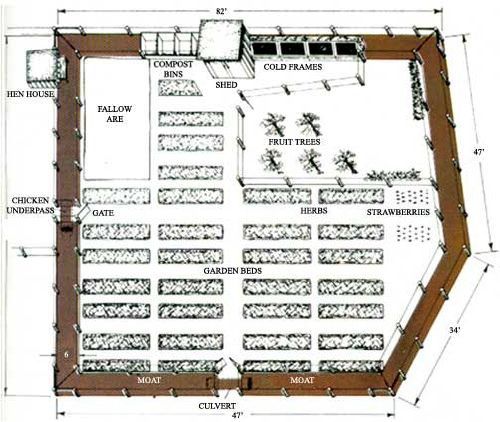
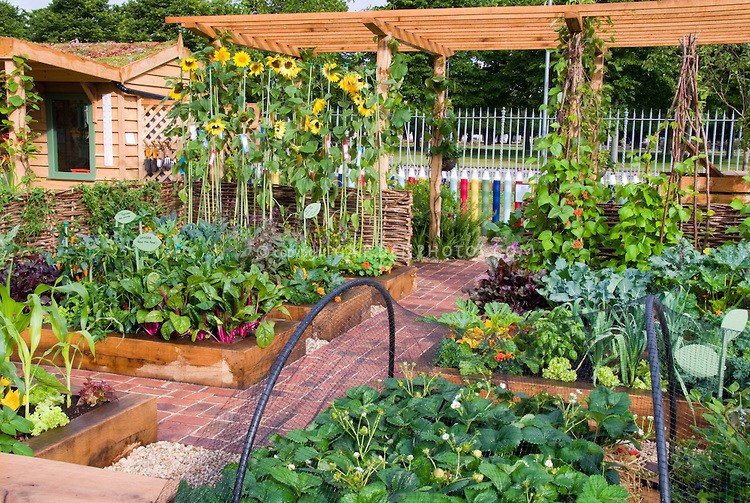
 A garden is simply a prepping must-have to live off-grid.

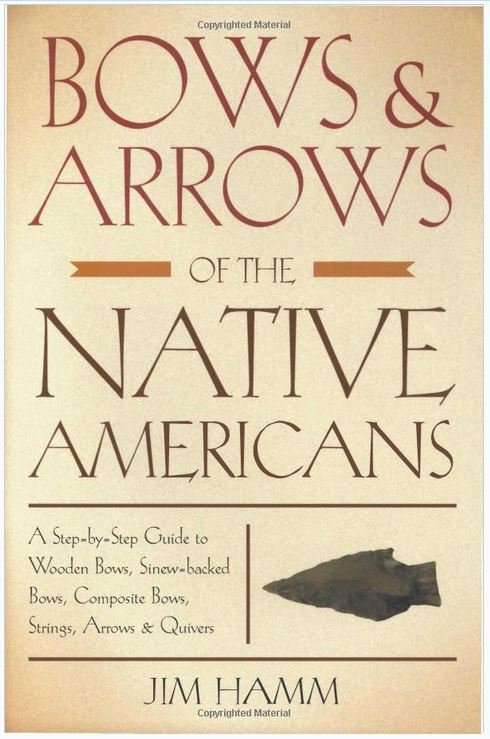
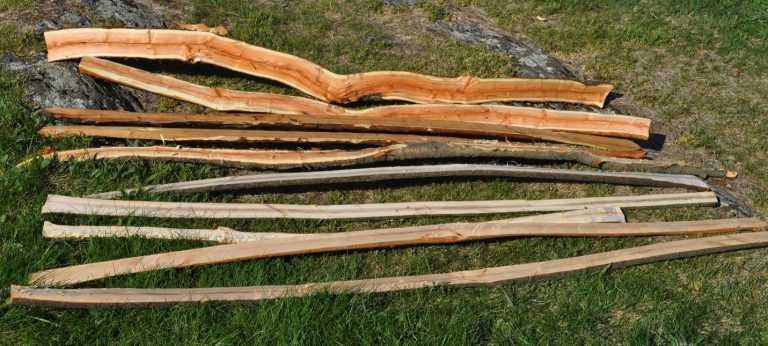 European Yew is suggested as the best material for making bows, but good old Hickory is great also.

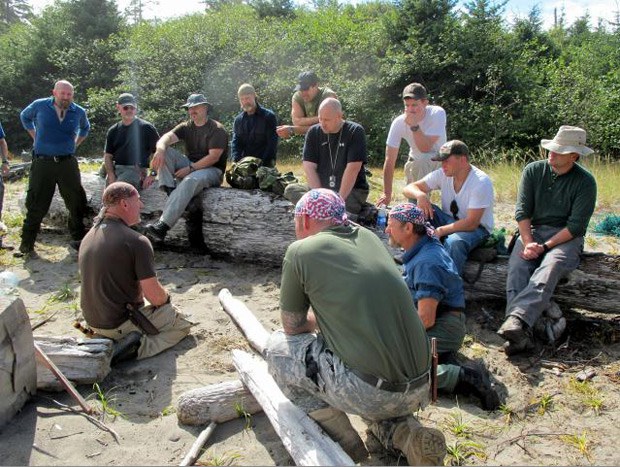
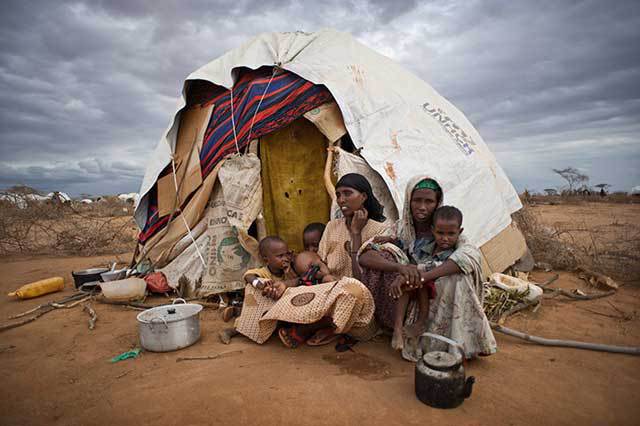 We don’t know stress in the US like some people.
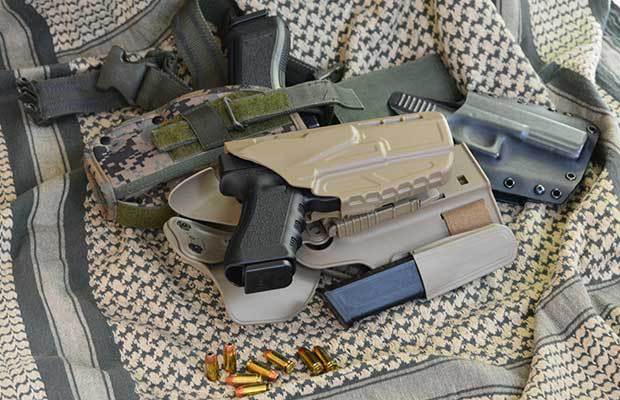
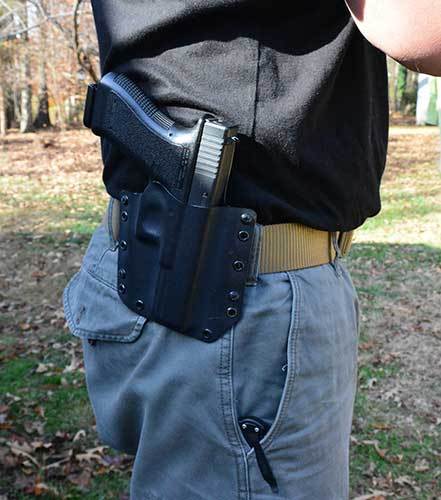 Phantom Modular Holster
 Simple and cheap drop-leg holster.
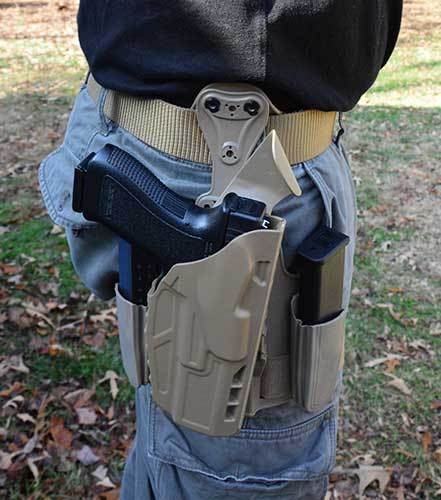 Rogers Tactical Holster – My favorite holster.
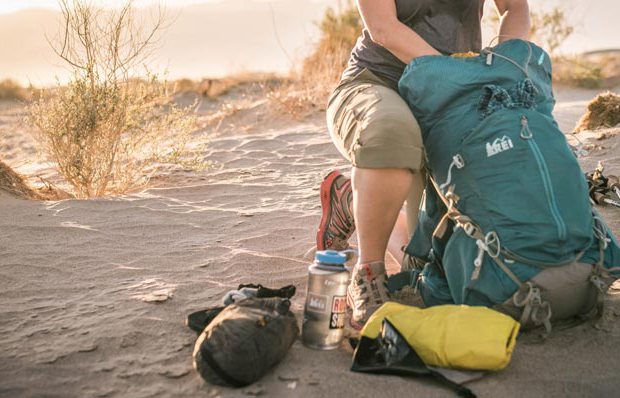
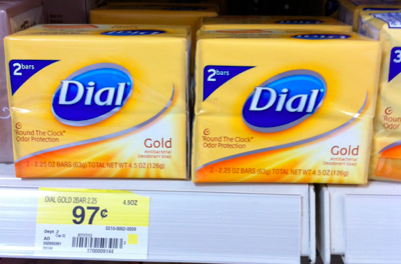
 Image: How sustainable is our water plan – and our bodies – compared to our need to make soap or learn primitive fire making methods, or learning an already fairly common trade?
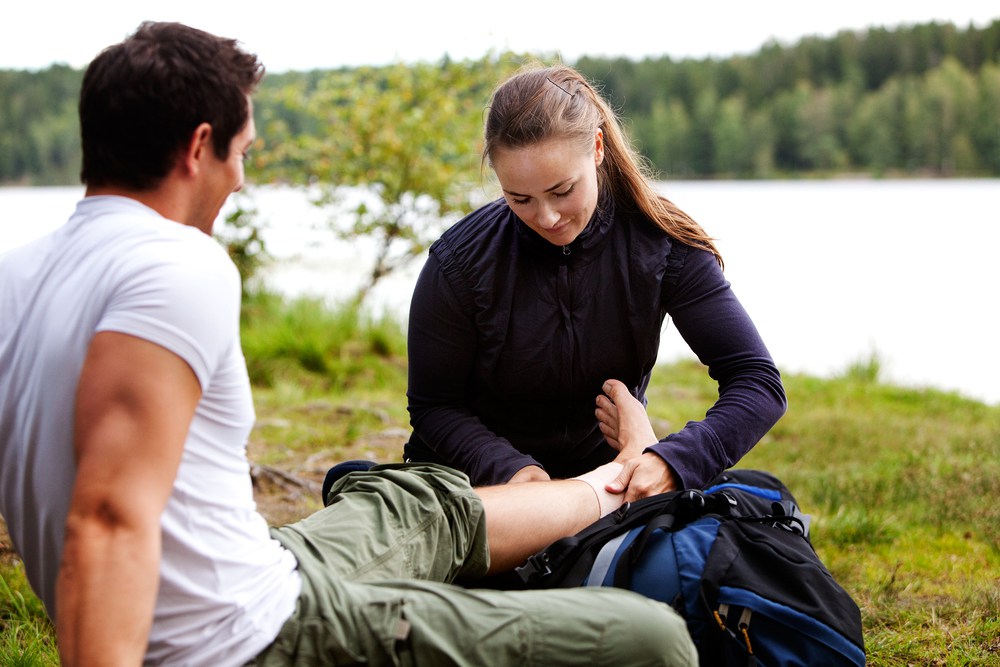 We have to ask ourselves how important primitive skills are instead of something like wrapping a sprain.
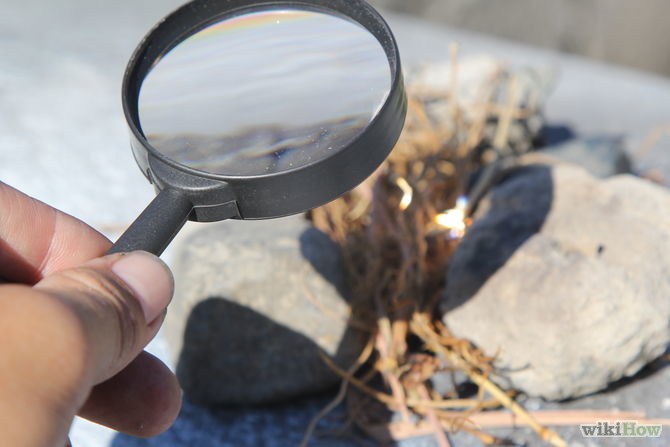 If you happen to have a battery and steel wool, more power to you. It was never in my pack for fire tools.
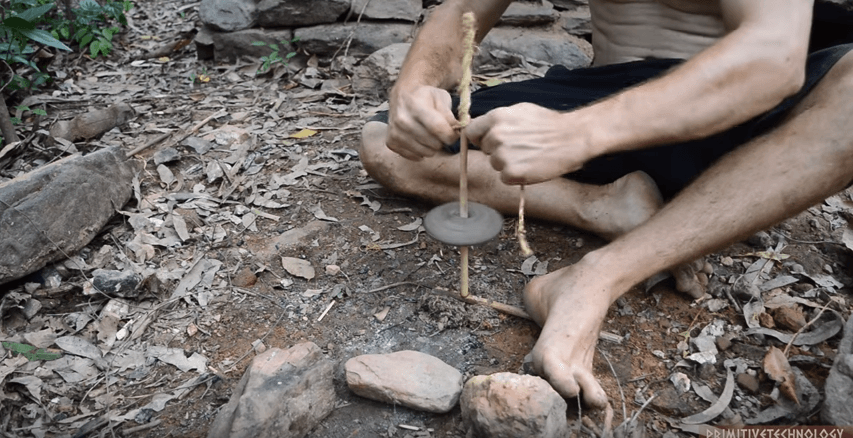
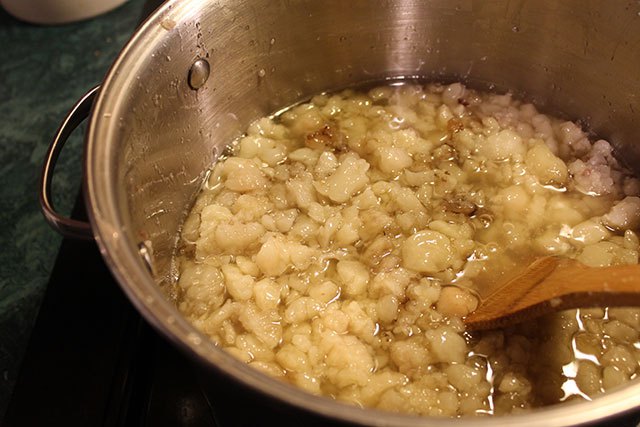
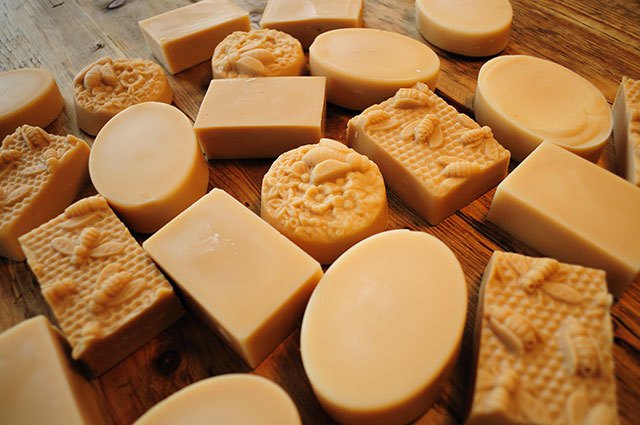 Let’s start with the basics of soap. There’s a couple of modern recipes, and a link to the history. About halfway down, that one breaks soap making into three stages of lye, fats, and combination – which is where we’d be at a total pioneer homestead or “My Side Of The Mountain forever” INCH lifestyle.