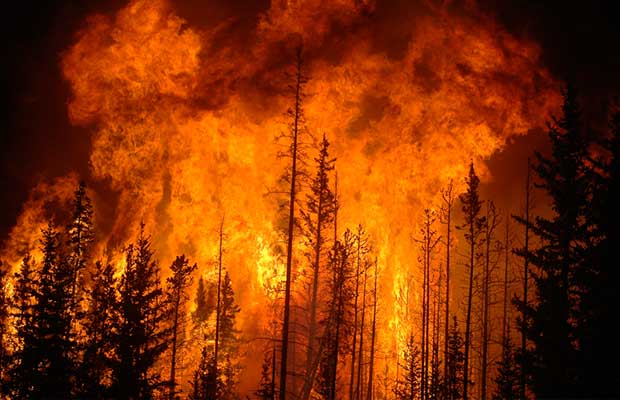
When it comes to prepping, there is a lot of talk about what material needs we should have on hand. A bug-out bag, freeze-dried food, water, transportation, first-aid kit, weapons for protection and a place to bug-out to. The idea is to have the basic needs of food, water and shelter readily available. The problem is; when the SHTF not everyone gets to just go merrily about their way, to easily head out and get gone. In fact, it is quite likely that many of us will sustain significant injuries that need to be tended to. Whether it is ourselves, our loved ones, or the friends who will be with us, we will need to know how to take care of each others injuries and illnesses.
I am an Emergency Medicine Physician Assistant with more than 20 years of Emergency Room experience, the majority of it in Level I Trauma centers (where the most severe cases…crashes, gunshots, severe work injuries, falls from heights, etc. go). Prior to becoming a PA, I was an EMT. I have a great deal of experience dealing with trauma victims and worked in an ER where we saw multiple gunshots daily. I have lectured at several colleges in the Chicago area as well as being responsible for teaching EMT, Physician Assistant, Medical and Podiatry students. I have also been an instructor for the American Red Cross teaching First Aid, CPR and Advanced Cardiac Life Support (ACLS) classes.
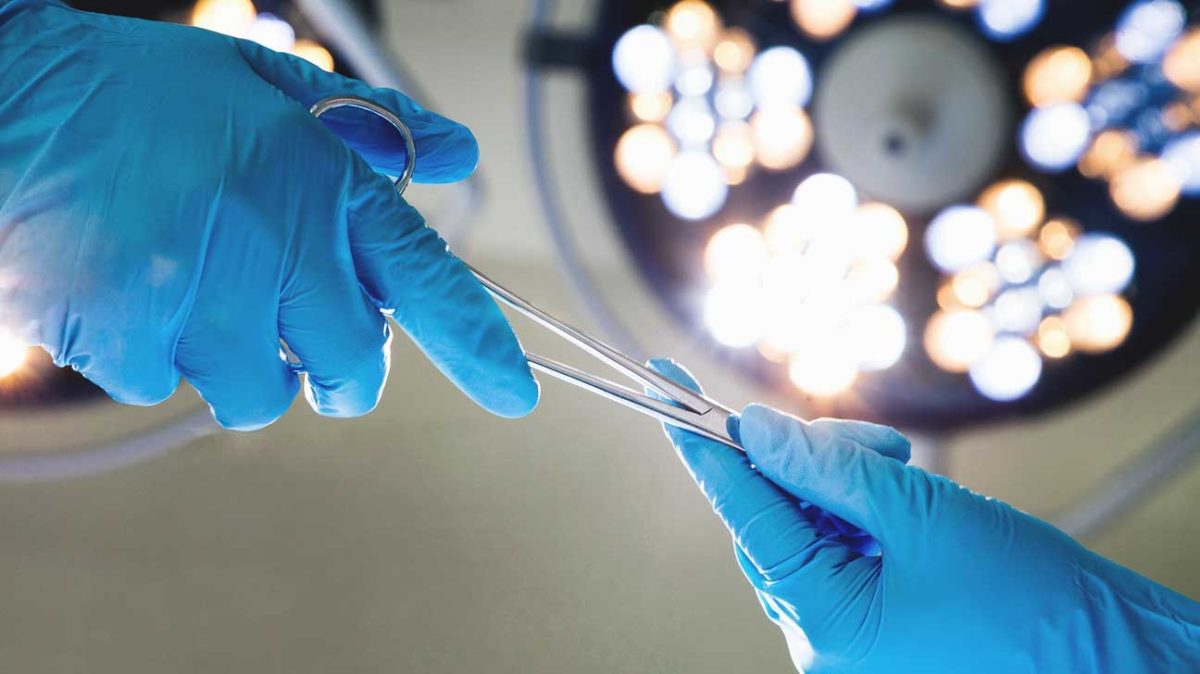
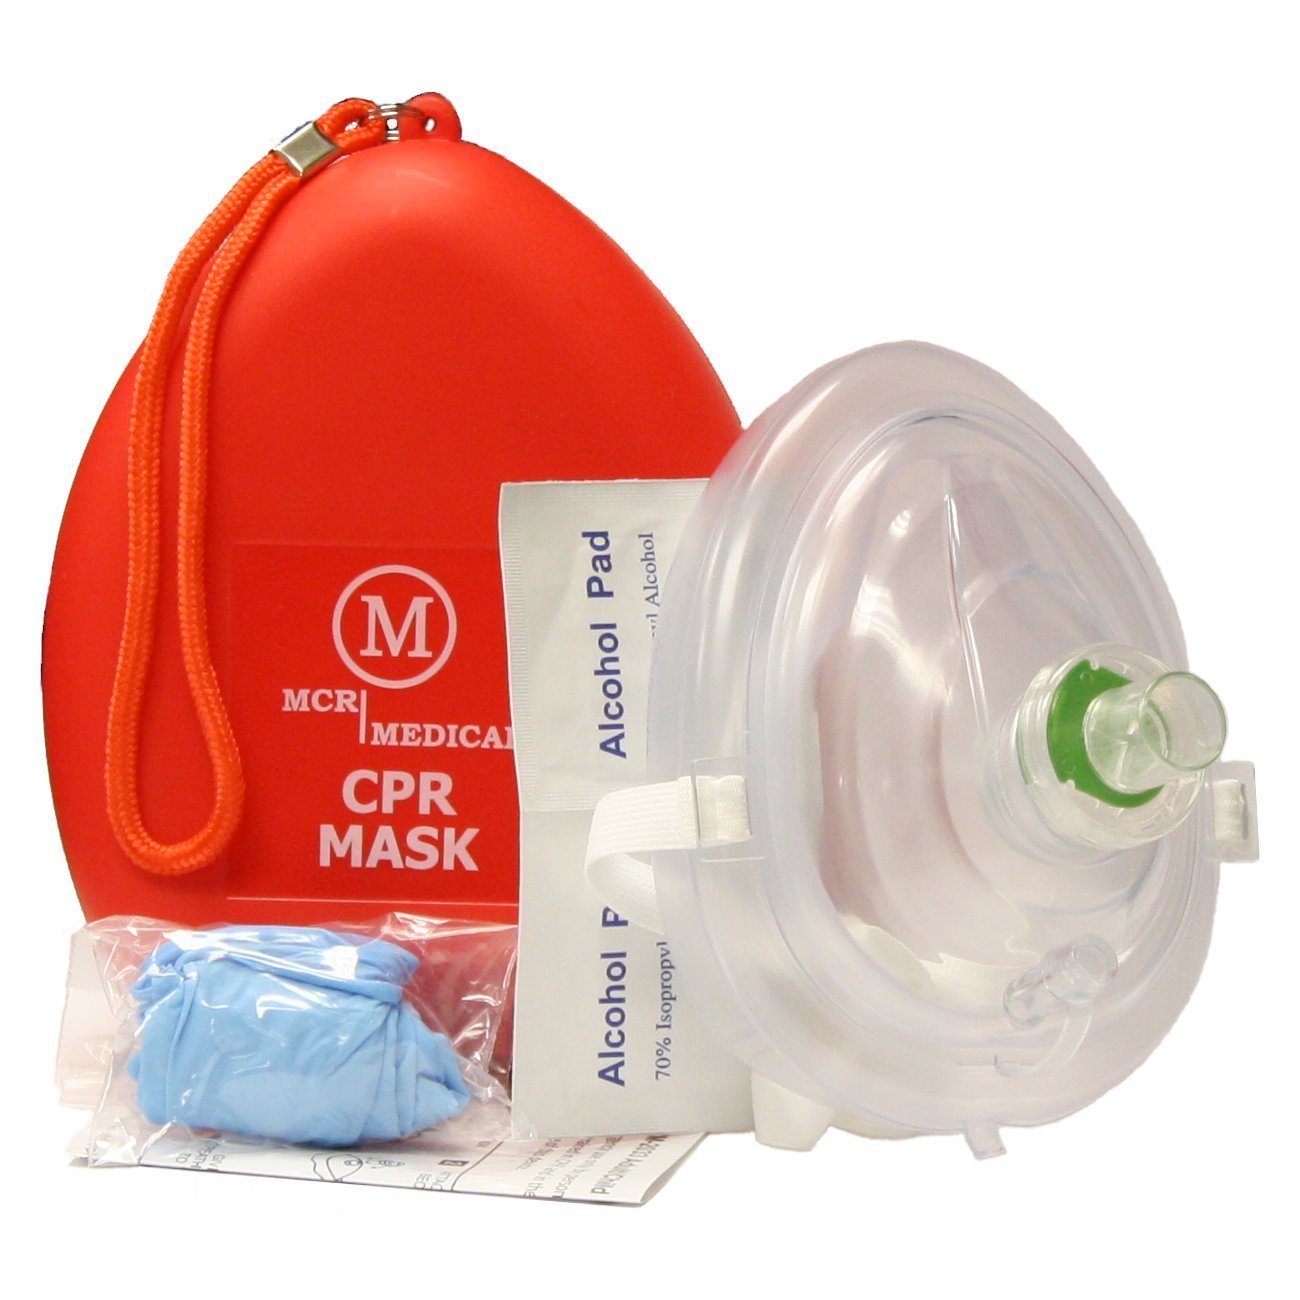
There is a lot of information out there about what makes up a good medical kit for your bug-out bag. Everything you need can be either assembled by you or purchased as anyone of a variety of pre-stocked kits. While the kit you have with you when you bug out is obviously important, it is also completely useless if you have not taken the time to learn how to use it. The truth is you can stop most bleeding with direct pressure. Sometimes you need a torn shirt, some duct tape and a pair of trauma scissors. You don’t have to be MacGyver to do it. You do need proper training.
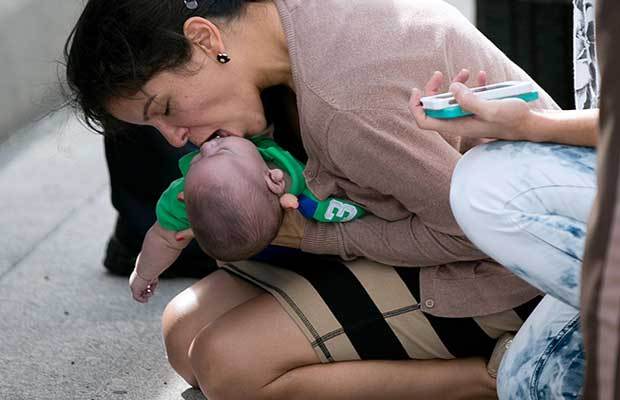
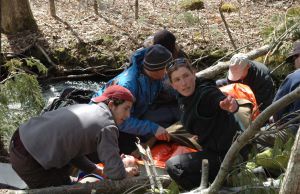
Pamela Rauseo, 37, performs CPR on her nephew, 5-month-old Sebastian de la Cruz, after pulling her SUV to the side of the road. The baby was rushed to Jackson Memorial Hospital, where he is reportedly doing OK.
That said; EVERYONE who expects to deal with the aftermath of when the SHTF needs to know basic CPR and at least basic Trauma First Aid. That means taking classes and practicing what you learn. I can tell you stories about people attempting to administer first aid who had no training, but I won’t. Suffice it to say the outcomes were less than desirable.
Let’s think about some injuries you can expect in the woods, hiking or running to find cover. Or for that matter, just being in a place where help is not going to come anytime soon. Falls are very common and can result in anything from a scrape to sprains to more serious injuries like fractures and head injuries. So ask yourself; do I really know how to treat a sprain? What about a fracture? Do I know how to stop bleeding and properly clean a wound? Have I ever done those things? Would I be able to actually do the job the right way should I need to? What if it was something life threatening? Could I save a person’s life?
If the answer to any of the above is NO, then you can have all the gear in the world at the ready, but YOU are not ready to bug-out!
I’m going to give an example of injury event that can be a tragedy if you are not properly trained to treat it. Remember, this is about knowing: both what TO do and what NOT TO do.
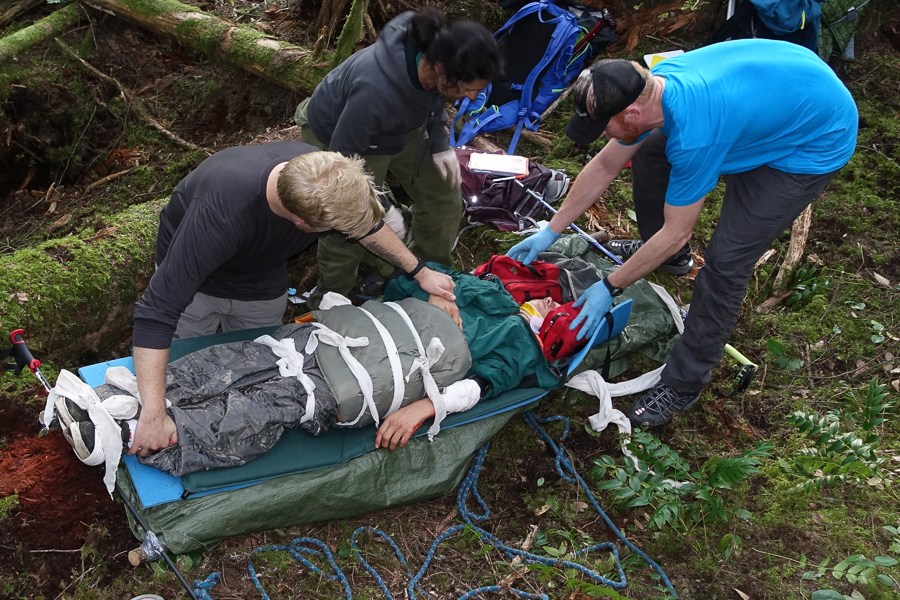
You and your companion are moving quickly through a heavily wooded area and your companion falls. When you reach them, you see a branch has impaled their arm. They are essentially stuck to a tree because of a branch sticking all the way through their arm. Your companion is in shock and not even aware of the extent of the injury. They are confused. There is blood coming from their arm and also from a gash on the right side of their head which is bleeding profusely. You think you see bone exposed through the head laceration and it seems that one of their legs has something wrong. Closer examination shows you that the ankle is sitting at a strange angle. What do you do now?
If you are like most people, you freak out, try to compose yourself so you don’t freak out your companion, get really pale and nearly pass out and then reach for your cellphone to call 911. Oops, no connectivity, so no help coming. So what now? The first aid kit! You have a first aid kit with a manual in it to walk you through caring for these injuries. You dig out the kit, open and it and check the book only to find it’s great for small cuts and bruises and simple things, but it has nothing remotely close to what you’re dealing with now.
Suddenly, you realize that maybe it wasn’t such a good idea to cancel that first aid class you had signed up for but decided you were too busy/tired to take. Besides, someone else will know what to do or I’ll call 911 anyway, I’ll never need to use it.
WOW! Talk about contrary to prepper philosophy. Or is it? It would seem that Emergency Medical preparedness training is a no-brainer, but in reality, most prepper sites and stores that cater to preppers are focused on the medical equipment you need rather than the training required to use it.
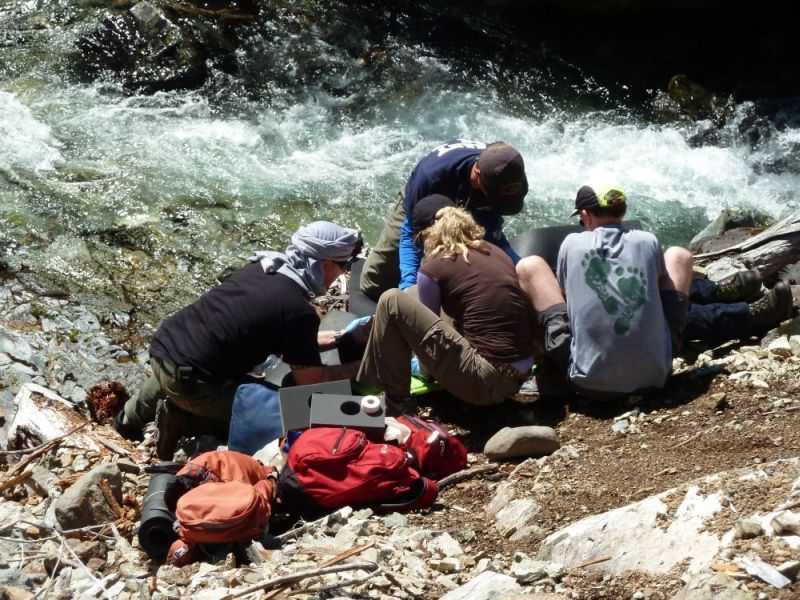
So anyway, I can’t teach you the how to do it in this article. I can give you a good idea of what good, accurate care and treatment of this fall will require. And yes, you can look all these things up on the internet. However, unless you learn from a real, live person who can guide you and correct mistakes you will surely make as you learn, you are never going to be able to really address the problems this very real scenario depicts.
STOP, LOOK, and LISTEN.
The very first thing required in any trauma/accident situation is an evaluation of the site of the accident. Stop, take a breath and look at where you are about to go. Is it a safe place to enter? In the urban world this is akin to a Paramedic called to the scene of a gunshot victim. In that situation, the Paramedic cannot help the victim until the Police have arrived and determined that the Paramedic is safe from the danger of being shot herself when she goes to help. At that point the scene is declared “safe” and the Paramedics can get to work.
In the wilderness or woods, the dangers are different but still just as potentially deadly. Is the ground stable? Are there dangerous branches or rocks that could fall onto you as you make your way to your companion? Will you slip and fall as well if you attempt to help? Do you need to take time to tie off before going to the person? What about wildlife? Are you in danger of animal or insect attack when you go to help? Can you find a way to make the scene safe?
Only after you treat the area as if it were a busy street corner will you be safe. You have to STOP, LOOK, and LISTEN.
Once the scene is determined safe, or made safe the next thing is to get to the injured person and take stock of the situation by doing an initial survey of them. This is done by looking and speaking to them without touching them. Encouragement to stay still is recommended at this point. Usually saying “Hold on, try not to move, I’ll be right there,” is a good start.
Look carefully at the person and where they are lying. Do you see any blood? Where is it coming from? What about limb deformities? If so, which ones. Are there any objects that will cause difficulty in treating the injuries? Can they be cleared or do you need to find a way to work around them.
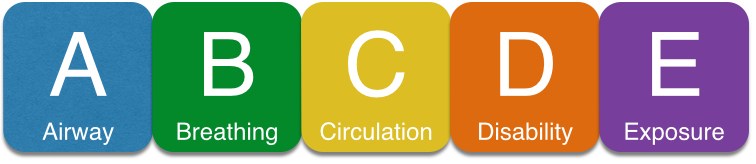
Now it’s time to your ABCDE’s: Airway/Head and Neck, Breathing, Circulation, Disability/Deformity, and Exposure assessment.
Airway: If the person is conscious and talking, then they have a clear airway, but they might have a neck injury which will require stabilization. In the case of any significant fall, or one with an accompanying head injury, be sure that the cervical (neck) spine is stabilized. If the person is unconscious or can’t talk, be sure that the airway is clear of obstruction before going further. Gently lowering the jaw while holding the forehead steady will allow you to see if anything is causing an obstruction. Look for broken teeth, blood, dirt or some foreign body causing an obstruction. Remove any obstruction you can see. Do not blindly probe their mouth. You could push an unseen object backward and cause an obstruction where none had previously existed.
Breathing: Is the person breathing on their own? If they can talk, they are breathing. Is there any reason to suspect a possible lung injury? Do they have any evidence of a chest injury that could have broken a rib? A broken rib can puncture a lung and lead to air in the chest collapsing the lung on that side. You can check this several ways. One is to watch the rise and fall of the chest and see if both sides rise equally. Another is to put your ear on one side of the chest, then the other and listen for breath sounds to be equal on both sides. If you notice that the trachea, the tube that runs down the middle of your neck, is pushed to one side; that is a clear sign of a lung injury. The best case scenario is that you have a stethoscope in your kit that will allow you to hear the actual breath sounds easily. If there is a lung injury, this is a true emergency and will need to be treated quickly, but that is a procedure that requires specialized training.
Circulation: Check for obvious bleeding, but also in the case of extremity injury, is there good blood flow to the far portions of the extremity? Is the color of distal (far) limb pink or pale/bluish? Is it warm to the touch or cool/cold? Pink and warm = good. Anything else indicates blocked blood flow which may be due to arterial injury or compression. Arterial injury needs repair soon. Compression can often be correct by adjusting the limb to an appropriate angle.
Disability/Deformity: Is neurologic function intact or are they confused, unable to answer questions or showing other signs of significant head injury? Are there limb deformities, obvious chest or facial depressions indicating broken bones? Depending on what you find, a variety of things may be needed from re-evaluation of the airway, to splinting or bandaging.
Exposure: How long has it been since the injury took place? Are they becoming chilled or hypothermic? Cold =shock. Putting a warm cover over an injured party ASAP is essential even in hot weather.
The important thing to do now is stay calm and determine what needs to be treated first. If there is copious bleeding indicating probable arterial involvement (this can also be characterized by blood that sprays with each pump of the heart) apply direct pressure and if necessary a tourniquet that can be tightened and released easily. If there is no major bleeding issue, then recheck the airway and breathing. If there is chest deformity and/or other evidence of a collapsed lung, that is the next thing to deal with unless there is now evidence of airway obstruction or the person is not breathing on their own. The former requires clearing the airway, the latter requires rescue breathing. The collapsed lung requires specialized training you can’t get from the internet or a book. Any other injuries can wait. Remember; the brain starts to die after 3 minutes without oxygen. Airway is first unless bleeding is so profuse that not stopping it would mean there would not be enough blood to circulate oxygen.
Back to our fall victim; we have bleeding, limb deformity, confusion and a fall. The fall means we have to have high suspicion of a neck injury and the confusion could be shock or it could indicate a more serious injury such as concussion or a brain bleed. We also have a penetrating injury which may have been an insult to a major artery. This person is seriously injured and qualifies as a trauma patient. Ideally, we would get this person stabilized and out of there ASAP, but that is not an option. Instead, we have to stabilize and create a sheltered space as close to where we area as possible so we can begin to treat the various injuries.
Assuming there are no immediate life threats (Excessive bleeding or collapsed lung/blocked airway) we begin by stabilizing the neck. A towel, shirt or thick cloth of some kind can be rolled and taped carefully in place to accomplish this. Next stabilize and splint any limb deformities so that we can move the victim with the least amount of discomfort to them. Continue to talk to them to assess their mental status. At this point, things get tricky…
People’s first instinct when presented with something sticking out of or through a body part is to remove it. STOP! Don’t do it! Not only is it exactly the wrong thing to do, it could quite possibly be the thing that kills the person. I know it is scary looking and seems like the danger comes from it being stuck in the person, but at this point the person is alive and has survived impalement. Leaving the object embedded is not dangerous at this point; it is actually the safest thing to do. As long as the object is left in place, it is acting to tamponade (stop) the bleeding. That is, it is putting pressure on any lacerated vessels and preventing any major bleeding. Yes there will be some oozing around the injury site, but it will be minimal as compared to what happens should the object be removed. NEVER REMOVE AN IMPALED OR IMBEDDED OBJECT FROM A PUNCTURE WOUND unless you have been trained to handle this procedure. This is another procedure that requires specialized training courses.
But what about infection, you ask? Yes, infection risk is high, but it is not a life threatening problem at this time. A neck injury or brain injury will need prior attention as will the bleeding from the head wound. Antibiotics are something you can give, but not at this time because the victim has a decreased mental status and it is not clear if they can swallow a pill without causing an airway obstruction or aspirating it into a lung.
For the time being, the safest and most efficacious thing to do is to cut both ends of the branch so that your companion can be maneuvered to the sheltered spot. Start with the end of the branch still attached to the tree and try to keep the arm as immobile as you can while doing so to minimize pain. You can then trim the protruding opposite side.
Don’t cut the ends short. Leave enough to be able to grasp both ends firmly to assist removal when it is time. Use your gauze or Ace wrap to secure the branch so that it moves as little as possible during transport to avoid causing undo pain.
Continue to monitor the ABC’s and mental status and address what need to be done ASAP. Once you have done as much as you can, find a way to get this person out of there and to an emergency care center as quickly as possible otherwise, they will likely not survive for very long.
This all started out as a fall but resulted in multiple injuries placing your companion in danger of dying. With the proper training, you could swing the odds much more in favor of a good outcome. So before you buy that cool medical kit, or put one together on your own, get out there and get trained. If you know someone who has been trained and can teach you the emergency survival techniques you’ll need, ask them to teach you. Meanwhile there are a multitude of courses in first aid, tactical lifesaving, wilderness emergency medicine, survival medicine and CPR. Don’t forget to look into classes that teach herbal remedies. Know what plants can ease pain or prevent infection, they may be the only medications you’ll have available.
So go out and get prepared. Learn.
Other self-sufficiency and preparedness solutions recommended for you:
The Lost Ways (The vital self-sufficiency lessons our great grand-fathers left us)
Survival MD (Knowledge to survive any medical crisis situation)
Backyard Liberty (Liberal’s hidden agenda: more than just your guns…)
Alive After the Fall (Build yourself the only unlimited water source you’ll ever need)
The Lost ways II (4 Important Forgotten Skills used by our Ancestors that can help you in any crisis)
The Patriot Privacy Kit (Secure your privacy in just 10 simple steps)
When it comes to prepping, there is a lot of talk about what material needs we should have on hand. A bug-out bag, freeze-dried food, water, transportation, first-aid kit, weapons


 Hard work is usually best done with heavy duty work boots.