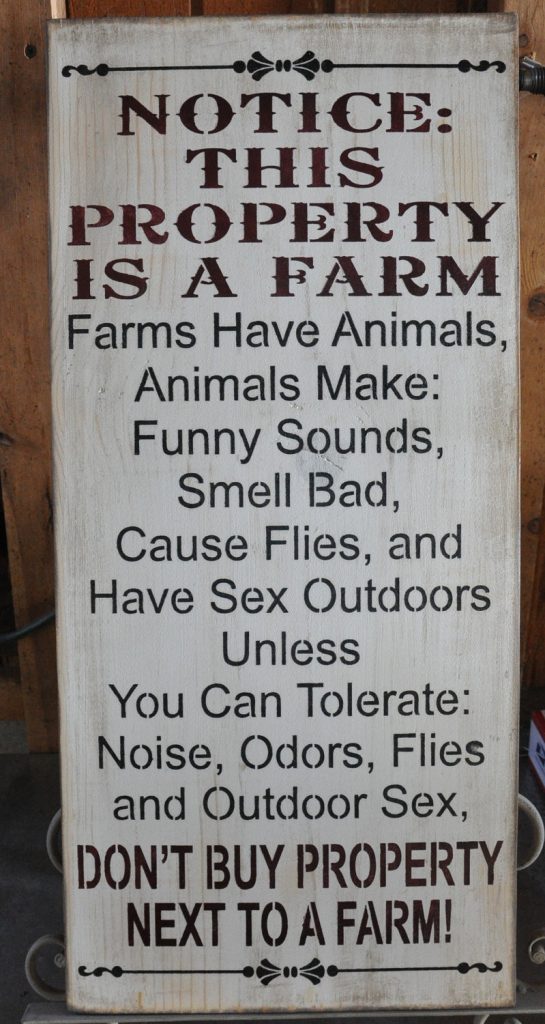
Livestock keeping requires some research. It seems obvious, but it’s apparently not. It really merits researching in great depth, because there are a lot of investments and there are some issues that regularly crop up, having somehow have escaped a fair number of the people who choose to get livestock. I developed this article because I’m running into some of the same issues, regularly from people who really ought to know better. This is basically a primer on those situations. The information is not hidden, but seems to somehow end up overlooked – repeatedly.
I’m going to hit a few things that I run into (regularly) in quick little bullets. They’re tips for animal safety, the protection of genetic lines (ours and also a buyer’s), and successful breeding. They may be taken at face value, or they’re points for research.
I don’t mean to insult anybody’s intelligence. Some of them just keep repeatedly cropping up. With any luck, old hats will read it as well – if nothing else, maybe for some commiseration. I’d really like them to add the trends they see as well, though. The more information available, the better off all livestock keepers will be.
The Biggies BLUF Style
First off, I’d like to say: Do the research. This article and every other TPJ article about livestock in general and specific species and breeds should only be part. “Back To Basics” is only a primer. There are too many resources, completely free in many cases, for folks to end up as overwhelmed as they sometimes do.
Second: Go buy one of the type you’re going to raise or breed, just one. A spring kid, a rabbit, an aging-out hen, even a calf – although I suggest the smaller animals. Care for it for a season or longer. Then slaughter it. If you can’t, there’s only one animal eating you out of house and home, not a pair or a handful that can continue to multiply until it’s out of control. Even if you hunt, even if you slaughter poultry, make sure you can do it with the next livestock type – a lot of people can’t.
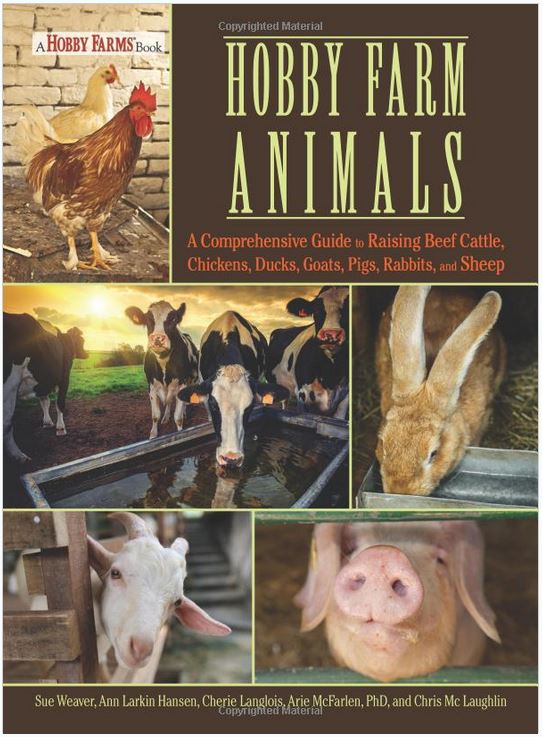
Hobby Farm Animals: A Comprehensive Guide to Raising Chickens, Ducks, Rabbits, Goats, Pigs, Sheep, and Cattle
I mention these two because I’ve volunteered for livestock rescues, I consult on sustainable systems (which include livestock), I’m on several forums, and I have personal relationships with livestock keepers. I have run into livestock costs and numbers getting out of control in numerous ways.
Rescues end up taking on the burdens in a lot of cases – when it’s just too much work or too much effort, too much expense, when it’s too hard to kill and eat an aged-out hen or the fluffy bunnies, when things spiral so long that the whole experiment fails and people lose their homesteads.
So beginners and expanding keepers: Start small – very small.
The Birds & The Bees
Sperm wilts in Summer. This is especially true of rabbits, who already face a lot of physical stress from heat. Litters will be typically smaller and there will regularly be fewer fertile eggs in the hottest periods for all stock. In some cases, you’ll need to plan more frequent and longer exposures to studs to have a pregnancy take.
 Hens make eggs. They don’t need males to do it. Males are only needed to make more birds.
Dairy animals need “freshened”. Cattle, sheep, llamas, yaks, camels, and goats…
A.) Must have a baby (and thus be bred) before they make milk.
B.) Only produce that milk for a period of months before it dries up, and they have to have another baby.
Animals lack sexual mores. Livestock has no qualms about inbreeding with parents, siblings, grandparents, and close cousins. Wildlife ends up spread out and thus genetically diverse by numerous mechanisms. They cover more territory than domestic equivalents, and in some cases – like science is proving for wild ducks – they’re rampant adulterers even when forming seasonal or lifetime partners. We take that away from livestock. It can lead to serious genetic faults.
Livestock breeds early. By species, livestock can be breeding by 3-5 months of age. Failure to identify and separate or neuter males leads to inbreeding and overpopulation.
Separation is necessary – breeding I. Livestock will mate again as soon as they’re able. This leads to worn-down females, as well as overpopulation.
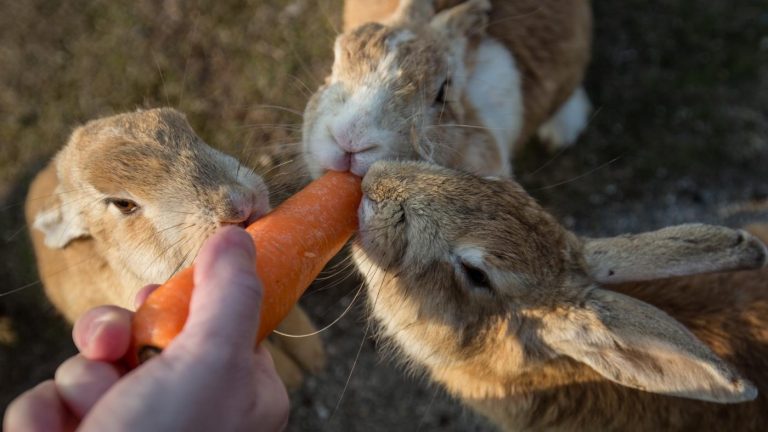
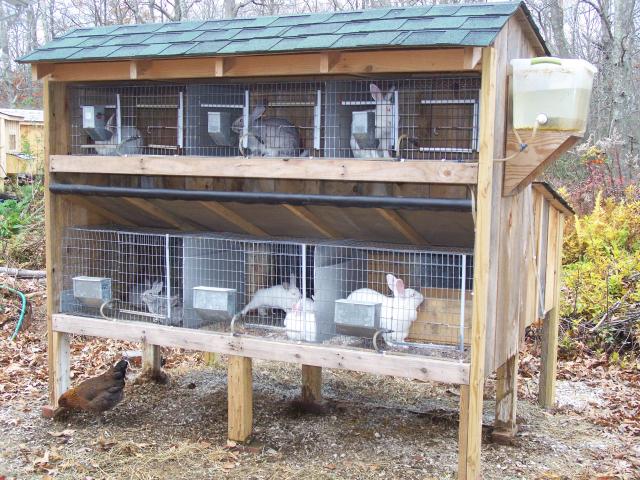
By their size, it’s easily possible that these rabbits have all reached sexual maturity – which means half or more of these animals could be gestating another 6-12 rabbits each. If they’re a mother and kits, especially if they’re not handled and examined regularly and a male hid his limas for a while, it’s not just the potential 48 new hoppers. It’s also inbreeding.
Castrating hoofstock creates options. Once altered, especially young, male animals are no longer a threat to the studs, or to our genetic lines and feed/housing budgets. They can stay with sisters and mothers, or go be a stud companion. They can also leave our properties, even if they come from faulted genetic lines, because they’re no longer a threat to others’ bloodlines even if they prove too cute/clever to slaughter and become a pet.
Neuter/Castrate early I. Testes will drop in a matter of days or weeks. The longer we wait, the more the at-home tools to castrate cost and the fewer options we have. By 2 months, some species are already getting too big for some of the less-invasive, non-surgical methods, and by 4 months, anything non-surgical is usually off the table.
 Callicrate Smart Bander Kit
Neuter/Castrate early II. The earlier we alter male mammals, the easier it is. One, smaller is easier to wrestle. Two, there’s less time (and pain) involved in either crimping or banding a small mole than there would be for crushing off or wrapping a rubber band around a finger and waiting for it to rot off. Same deal with testes.
Separation is necessary – breeding II. Males are really into the passing down of their genetic material, and they will bloody and kill each other to do so. Wildlife doesn’t fight to the death over sex because the losers have enough room to run away. Livestock doesn’t (usually).
Separation is necessary – breeding III. Stud pigs and rabbits will kill off even their own young, and mothers will attack other pigs or rabbits and the young of a previously peaceful companion. They want the chance to mate again, or to eliminate competition for resources for their own litters or possible threats to their litters (it’s instinct).
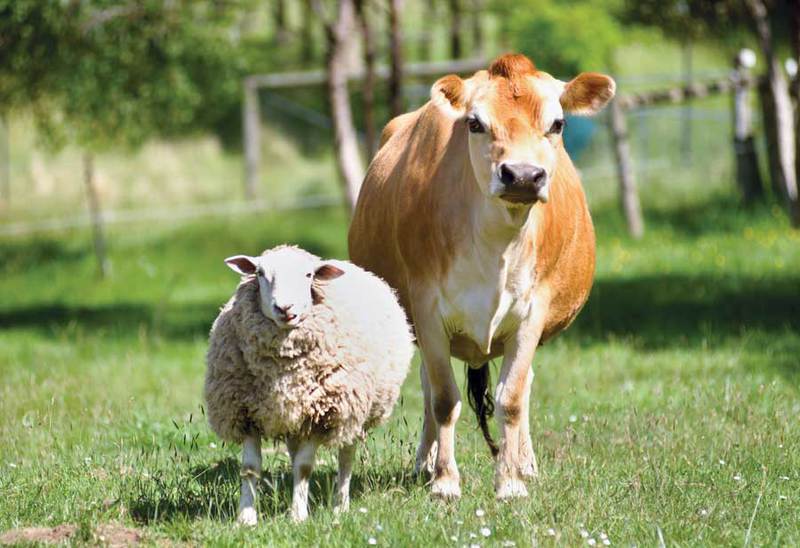
Friends are fine. There’s nothing wrong with combining studs or grow-outs from different species while separating them from their original herds, or keeping the cow (and her calf) with the ram. They’ll gain valuable socialization. They can also share in the protection of numbers and combined body heat.
Limit unaltered males. It helps reduce the competition. That can lead to quieter, more peaceful barnyards. Especially with chickens, at high ratios of hens to roosters, you’ll find roosters are less sexually frustrated (and more tired), and thus less like to attack vehicles, other animals, and people.
Breeding affects female health. Pregnancy and lactation take a physical toll on dams, even with proper feed. So does egg production. Even though most livestock mammals can become pregnant again while still nursing the last young, it’s not always the best choice. A break in the cycles for recovery is of huge benefit for both poultry and mammals. Especially with mammals, we can gain years of useful life by providing rest cycles.
Dairy Drive-By’s
Sample goat milk before you buy. Not just any goat milk; that doe’s. If it’s not possible to sample the milk of the doe you’re getting, sample her mother’s and sisters’. While some breeds vary hugely animal-to-animal, most will have some similarity to their nearest relatives, especially if the stud line is the same.
Separation is necessary – Bucks effect milk. Lots effects milk flavor, from breed and feed to how fast we can cool it off, to a tiny little amount of dust. But bucks really do contribute hugely to that goaty flavor.
Separation is necessary – Milking. If we want to milk once daily, we can separate overnight after the first milks finish. If we want to milk twice daily and bottle feed numerous times a day, we can separate as soon as the colostrum finishes.
Separation is necessary – Weaning. Livestock will not usually forcibly wean their own young until they are near birthing again or naturally dry off. Even then kids/calves/foals will sometimes try to continue to nurse – even off other dams. This creates undo stress on the dual-nursing mothers, and competition for the newborns losing the highest fat and highest production milks.
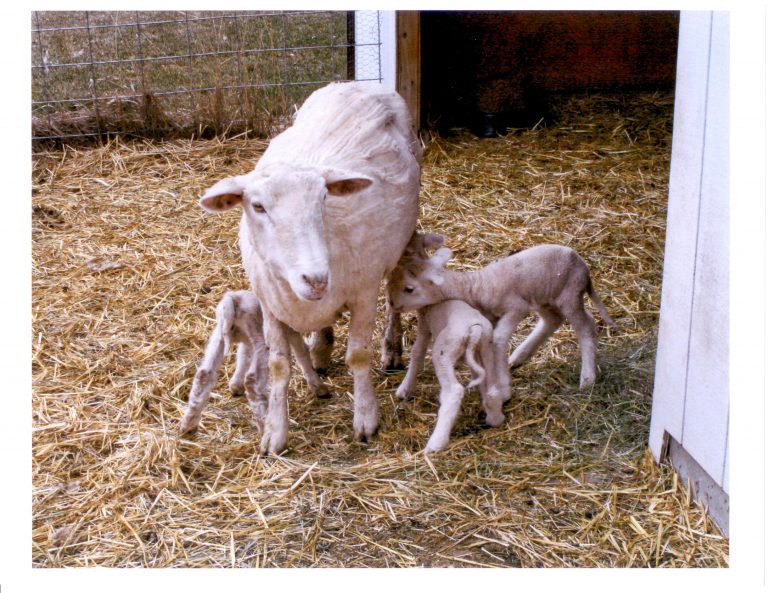
Triplets are trouble – the birth. Sheep seem to handle triplets like champs, but goats and especially cattle regularly end up needing help with them – or with the last one, at least. It’s not uncommon for that third to be stillborn, or unable to nurse a first time.
Triplets are trouble – the kids. Between bottle feeding and super-productive dams, there are plenty of survivors. However, one of the triplets is sometimes seriously stunted, and due to competition for colostrum and high-fat milk, is likely to lag behind and be more susceptible to illness for life. Conversely, sometimes one kid is significantly larger than both its siblings and will take a lion’s share, leaving both behind the curve as they split the remains.
Triplets are trouble – the dam. I know people who won’t burden a doe with a third kid, because even if she has enough milk early, it will put enormous strain on her body and she may not be able to maintain that production when they get to the pre-weaning stage and are taking quarts off her. I also know people who milk colostrum and early milk for runts, then bottle feed a different mother’s milk to get enough volume for all three. Time available, the presence of other dams, whether we want to share that much milk for triplets (or cull early) all impact our decisions, as do our future herd needs.
Chickens Are Vicious
 (Newsflash: So are geese.)
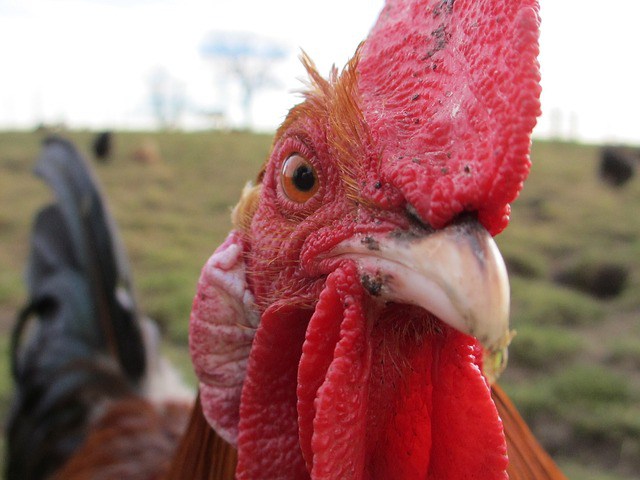
Roosters are lean & active. The earlier we harvest our male birds, the less tough and “gamey” the meat will be – and the less disruption from excess roosters we’ll deal with over weeks and months.
Roosters are rough lovers. Even within the unaided egg season, hens can use a break from roos. Roosters break and pull feathers as they mate, and their favorites can end up pretty bedraggled. Unfortunately this leads to…
Hens Peck Injuries. Chickens will keep after a flock mate with a visible wound or bare patches of skin, reopening and enlarging injuries, and can end up killing them.
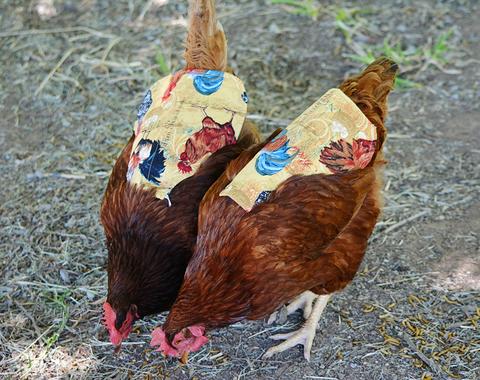
Chicken Saddles & Blue Dot can help. We can cover a love-torn or injured bird in a chicken saddle (or sock sweater for young/small birds) and we can treat with a spray (which leaves blue dots). Ideally, we also use them on uninjured senior animals. If all (or half) of the flock also sports saddles or blue dots, the flock won’t focus its attention on the oddball, and the oddball has a chance to recover without separation.
Separation is necessary – Injuries. Chickens especially may need separated if they have a serious injury. All livestock may need a smaller pen or box to provide recovery, limit activity, or so they aren’t taken by predators while injured.
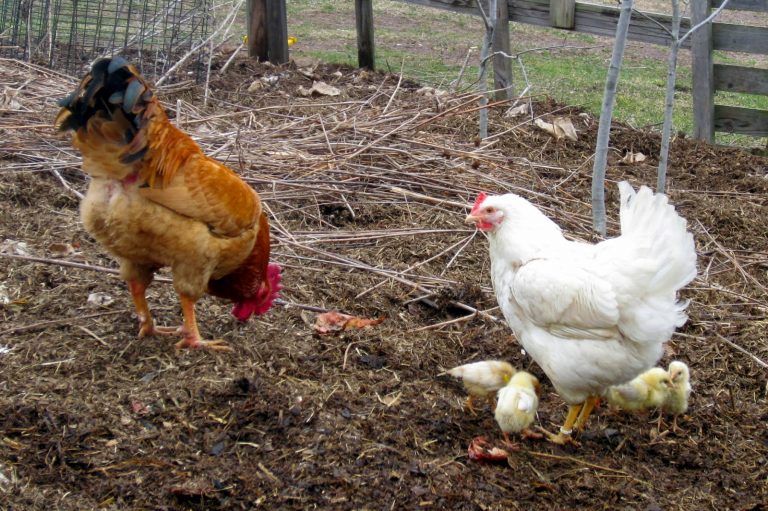
Chicks need protection. Chicks commonly need heat lamps, special food, and water they can reach. They also slip through smaller cracks, are susceptible to damp grass and cold ground, and fit in more mouth sizes. Whether we incubate and box chicks, or provide them with a broody hen, they need some help.
Chicks can be left in a flock. If a broody hen is of high enough seniority, and a flock is relatively small (under 10-18), hens can raise their nests right there in the existing coop. Otherwise, multiple hens that will sit nests within 4-6 weeks of each other can be removed to an adjacent coop. Being adjacent, having high-ranking, dominant mothers, and being in higher numbers can ease…
 Pecking Order – It’s a real thing. It’s when birds use pointy beaks to peck others and establish their dominance. It gets brutal.
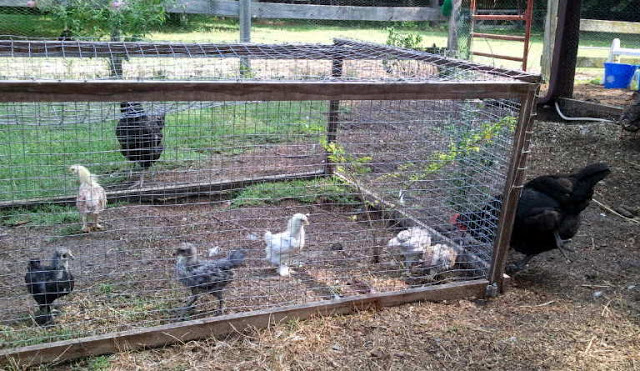
Integration of flocks takes time. One, separated and new birds need to be exposed to the flock through a fence or crate for days and weeks, not hours. Two, new and re-introduced birds really need to be of compatible size with flocks, especially big flocks. Otherwise, birds will be injured and-or killed.
Roosters don’t share well. Sometimes birds raised as brothers will share a flock, just like lions sometimes work in pairs. Usually, there’s fighting. And if a stud is kept with hens, and sexually mature baby roo’s are outside that fence, they will …
A.) Fight through the fences.
B.) Crow challenges constantly.
C.) Find new and creative ways to get inside the fence to the hens/rooster.
D.) Regularly become aggressive/more aggressive with other living and inanimate beings. Good times.
Down the Rabbit Hole
Some rabbits get along. Many don’t, especially rabbits accustomed to life in their own cages, and rabbits that aren’t spayed and neutered.
Breeding pairs need introductions. You arrange hutches so that a male can ideally be between two females, so his hutch slides and overlaps two females’, or leave empty spaces he can occupy for at least a couple weeks. That way, they’re accustomed to each other when they’re plunked in together.
Bunnies need buddies. They’re social creatures, just like dogs. Adjoining hutches allows for social interaction, as well as the potential for combined body heat if temperatures dip.
Females go to males. Neutral ground is iffy, but a male entering a female hutch can lead to…
A.) Distraction, with the male sniffing and marking instead of crooning Barry Manilow.
B.) The female taking offense to a male rushing right up to her.
C.) A female taking offense to a male poking through all her private spaces (especially if she’s raised kits in there and has a permanent box).
Bunnies need watched. Even if introductions and mating went well, sometimes you want your own space back, or somebody’s toes get stepped on. Hot weather makes everybody more cranky, too, and rabbits are no exception. Bunnies do their business, then get separated again.
Feeding – Them & Us
Feed is expensive. Whether we’re feeding off forage that takes time to recover, or buying sacks, there’s a cost associated. We need to know how much animals eat, and how many we can afford, before we create situations for breeding.
 Meat animals are for eating. Don’t breed animals until you’ve tasted that species’ meat, and don’t breed animals whose meat you don’t like. (Riiiigghhtt???)
Harvest meat by size/age, not season. Big animals might lend themselves to waiting until after frosts, but when we’re feeding ourselves or other livestock off what we raise, we don’t have to wait for some magic season any more. In the case of chickens and rabbits especially, just a month or two delay greatly affects meat quality and flavor.
Eat some early. Doing so can save money on feed and wear on pastures, lower water hauling in late summer, and prevent aggression or breeding within the confines of limited infrastructure and labor. Just because typical butcher weight is 100-350# for pigs doesn’t mean we have to hold a whole litter for 6-9 months, especially the males. Some species lend themselves to waiting at least a while, but we can select 28-day poussin or 3-month pullets, lamb and kid and veal are traditional feasts, and suckling pig is a treat, whether it’s truly <8 weeks or we’re harvesting tender vittles once a month until the last few are freezer-filling beasts.
Nutritional needs change. As animals progress through their life-cycles, the nutrients they need change, as do the amounts of feed they need. Feeding everybody expensive game bird starter or lactating-female levels wastes money.
Feed type matters. Nutrients in bagged feeds & supplements and in pasture/forage/fodder vary, and affect health as well as the time to production or harvest.
Not everybody grazes. Ducks aren’t really grazers at all. In the case of free-range or foraging fowl, the accessible sources for feed changes by age, just as it does for wild birds like quail (quail lifecycle habitat is an excellent research point for creating pasture for poultry).
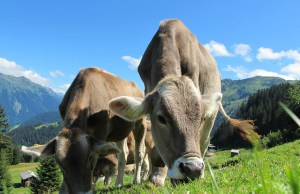
 Llama grazing with sheep.
Worms steal nutrients. Parasites take from our animals. Regular deworming can prevent it. We can also rotate pastures. It limits re-exposure. It also allows pastures to gain height, which impacts hoofstock – worms occupy lower levels with the feces; if the livestock is grazing well above that level, it can break the fecal-oral route and lower belly loads.
Forage-based eaters are different. Free-range, pasture-fed animals that forage significant portions of feed are slower by as much as half-again or twice the time it takes commercial-diet fed animals to reach target weights, and production can be lowered for eggs and dairy as well. They’re also going to be leaner, and meat and eggs will change flavor seasonally.
Predators eat, too. Also, accidents happen and animals roam. Proper housing and fencing – before we bring home livestock – is vitally important. “Proper” varies by species and sometimes breed, and by climate. It’s also affected by rotation plans, keeping style, and the threats within our property and from our surrounding areas, or the natural barriers and safeties we can introduce, to include Livestock Guardian dogs, donkeys and llamas.
Not-So-Short Primer
So that’s the Big List of Bullets that made the cut for sharing. There are others, but I tried to come in under War and Peace, and the others come up more sporadically.
The over-breeding, misconceptions about which livestock needs mates and how often, when we harvest animals, and the inbreeding are biggies. Overpopulation due to males and females in constant exposure, and due to owners’ inability or unwillingness to cull flocks and herds also crops up – constantly, even among manly men who have deployed as grunt infantry and who hunt very similar deer, quail, turkey and duck. I also see a lot of people miss the opportunity to cut feed costs for other livestock or companion animals by using gluts of eggs and milk or meat they don’t want (goats), or who don’t *really* handle livestock and then run into problems moving and vetting them.
Hopefully, there was a nugget in there somewhere for almost everyone – and if not a nugget, some snickers and laughter and the joy of realizing you’re not the only one that ran into a head-scratcher.
Livestock keeping requires some research. It seems obvious, but it’s apparently not. It really merits researching in great depth, because there are a lot of investments and there are some


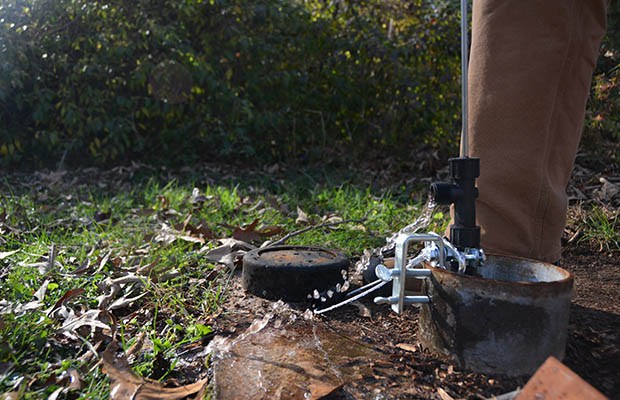
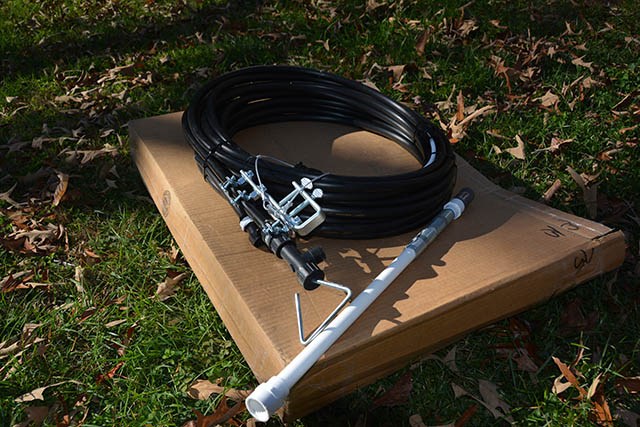
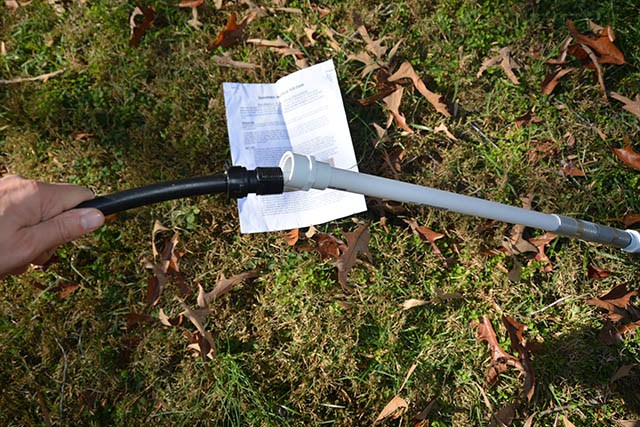
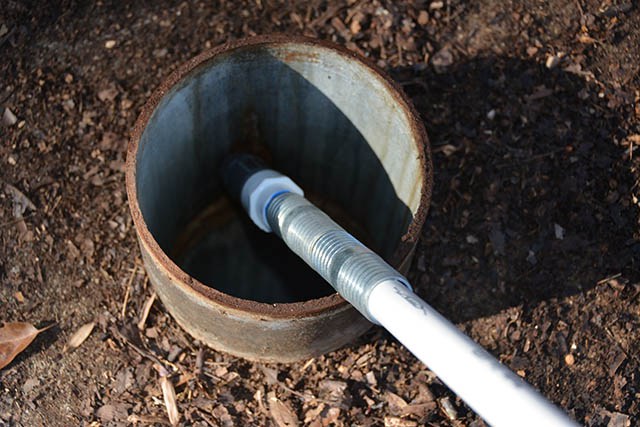
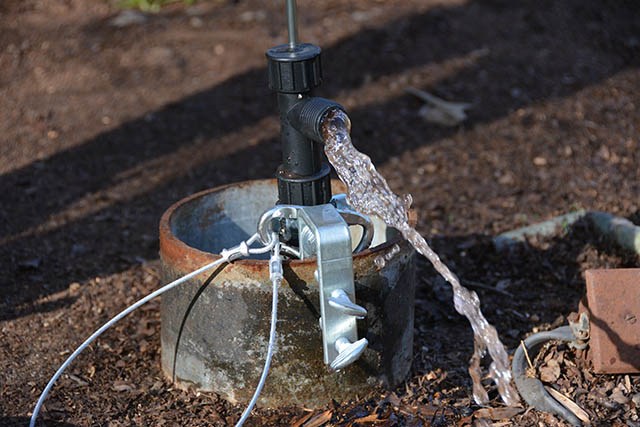

 How to install a sand point well


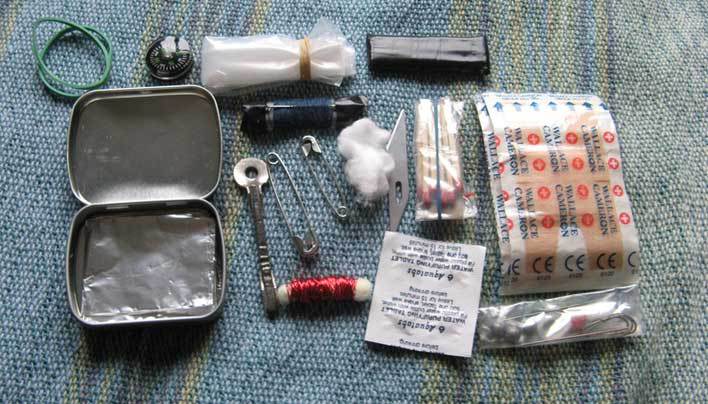 A survival tin has an assortment of items that you think can help you out if you are ever faced with some life or death survival scenarios.
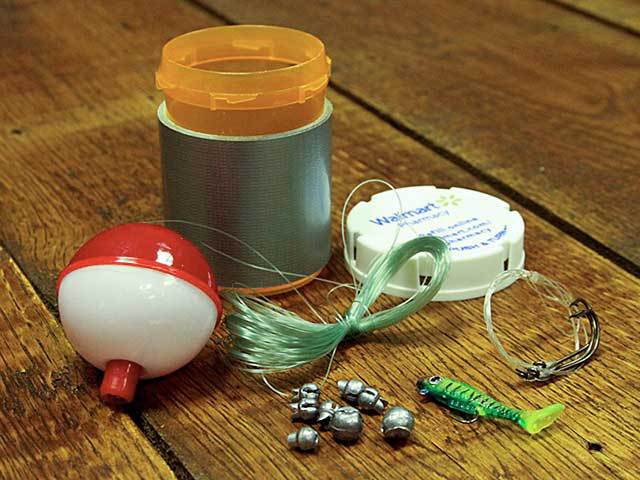 A survival fishing kit doesn’t have to be complicated or take up too much space.