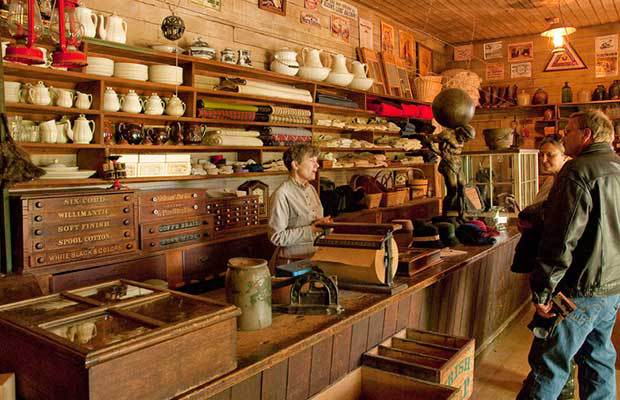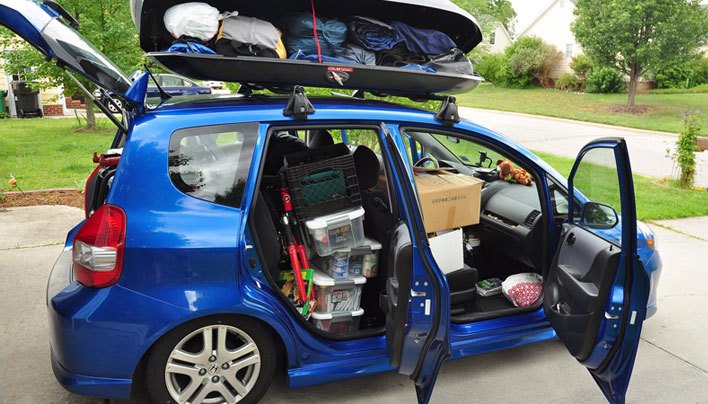
Pack Like You Are Never Coming Home Again
This is something I think about whenever I have to travel out-of-town so I have developed a couple of processes to help me if my main priority is getting back home. The steps I take are different and my plans need to be adjusted depending on how I am traveling and who I am traveling with. Naturally, the distance and duration of my travel has an impact on my plans as well.
Distance
If I have to travel less than 500 miles away from home, I try to drive. Why drive 500 miles when you can simply hop on a plane you ask? For several reasons, I dislike flying. No, let me say I hate flying with a blind passion.
When you fly anywhere now, unless you are going from one major city to another major city you will most likely be on multiple flights. The airlines do this so they can combine travelers on bigger jets but it makes a simple trip for the average person a pain in the rump. If you have one of these multiple hop nightmares, you could face delays on one leg that make you late for your connecting flight. There are few things more infuriating than running with your luggage across a crowded airport only to arrive at your next gate and watch the plane you were supposed to be on slowly pulling away. No, they won’t come back for you either. Add to this security delays, which mean you need to get to the airport earlier, parking, shuttles, luggage hassles, not to mention the ultimate insult as they grope you and your family.
I do still fly, but with certain considerations and it isn’t my first choice. If you are flying, you have much less you can do in the way of taking major preparations with you. Less than 500 miles I like to drive because my trip starts the minute I leave my driveway. I can also take firearms, extra food and water and other items I may need if I have to get back home. You can still carry firearms on a plane, but in a car, there is almost zero hassle.
Alone or With Companions
If I am traveling alone, I definitely carry fewer items in my survival kit. Actually, I don’t take a true survival kit that you would recognize. I always have my EDC which consists of knife, multi-tool, handkerchief, water etc. I also carry concealed if the state I am traveling to honors my permit. I don’t worry about carrying too much extra food, because I am not as concerned with feeding myself as I would be if I had a hungry wife and kids with me.
Read more: Knowledge to survive any medical crisis situation
If I am traveling with my family, I bring much more because I have more people to consider. Hunger, at a minimum, can seriously harm morale and is one of the easiest concerns to prepare for.
Food
Traveling with a family, our family anyways, involves food. There is something about a car trip that makes everyone hungry so snacks are necessary just to get us to the next food stop. I think there is some chemical aroma that our car puts off that makes you hungry if you are in it more than 20 minutes. It may be years worth of fries under the seats. We make sure we have more than enough snacks for our trip for everyone in the car. These don’t seem like much, but the caloric count of the snacks we have in the cooler would more than make up for a days’ worth of eating.
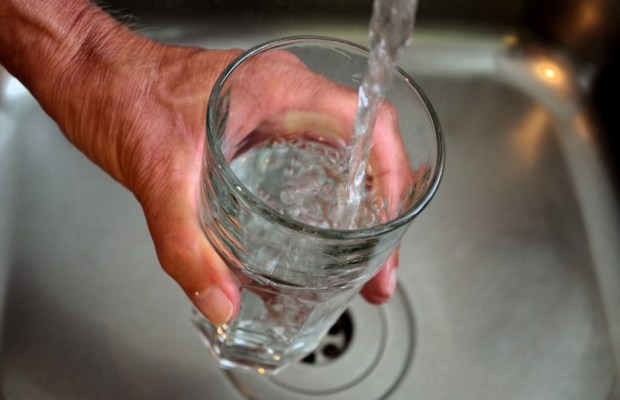
Water
Depending on the time of year we adjust the amount of water we carry in our car. Regardless of the outside temperature, everyone has a full Nalgene bottle before we leave the house. We also have enough bottled water to last us each 2 days. This isn’t enough to take showers or cook with, but we wouldn’t die of dehydration.
Read more: Build yourself the only unlimited water source you’ll ever need
Now, if we are driving through the desert, we pack more. I have also packed my backpacking water filters on occasion and always carry water purification tables in my Get Home Bag.
First Aid
I found an excellent combat medic bag at a gun show last year for $80 and this is always in the car with us on long trips. This has more supplies than I would ever use on a standard trip, hopefully ever, but I have this for a couple of reasons. First, if we are in a serious car accident, or witness a serious car accident I would be able to immediately assist with first aid (provided I wasn’t the one injured) and possibly save a life. The second reason is that if we had a grid-down scenario I would like to have my first- aid bag on steroids with me and not at my house. In this bag I have all of the normal items and some major blood stoppers.
Eventually, my plan is to add an IV. This bag is really to treat and stabilize major trauma; immobilize injuries and stop blood loss. I don’t think there is one Band-Aid in the whole bag. I also have a simpler first-aid kit that we bring with us on day trips. This is augmented with survival blankets,but the Combat Lifesaver is left in the car most of the time.
Weather
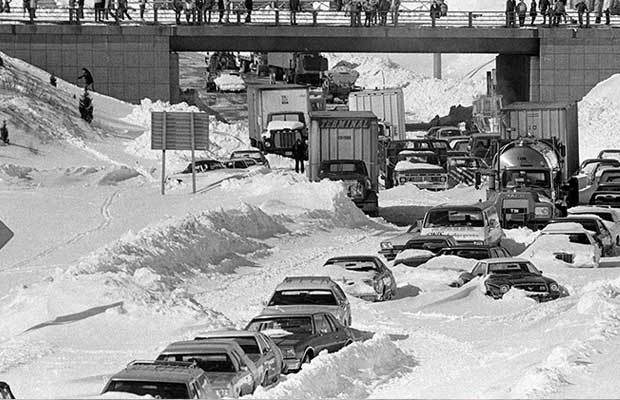
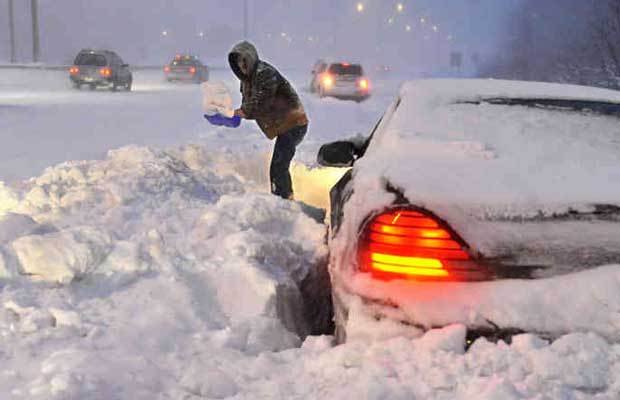
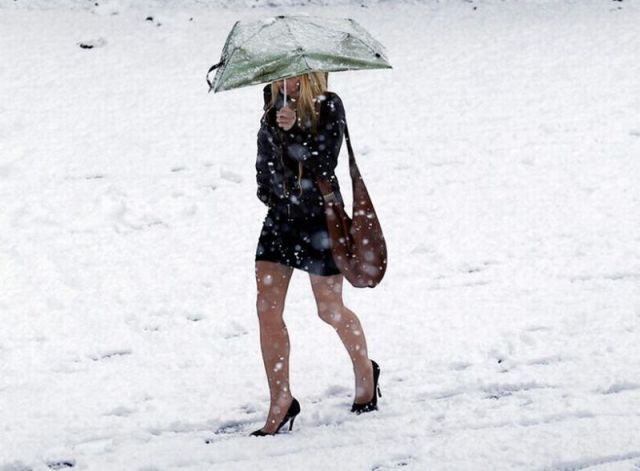
You should have a pretty decent idea of the weather you are going to encounter along your trip and at your destination. With the prevalence of weather websites and smart phone apps there is no reason except for laziness to not know how to pack. Is there a snow storm planned for where you are taking a vacation? Hurricanes in the summer can wreck all of your vacation plans, but these are the big-ticket items that receive a lot of notice on the news. What if there is no hurricane or blizzard, but you don’t pack a jacket and the temperatures are lower than you expect? You have to plan clothing that could keep you alive.
Read more: The vital self-sufficiency lessons our great grand-fathers left us
At a minimum I try to pack like I am not coming home. I bring too many clothes, but I am usually prepared for any weather. I have a rain blocker and a fleece if I am going anywhere where the forecast is rain or cooler temperatures. Even at the beach, nights can be cool. Could I live without the fleece if I only have to go back inside? Sure, but what if I am stuck outside and that fleece is the only thing keeping me warm overnight? My little trick is to have and wear clothes that would keep me alive if I didn’t have a car or a warm house to go to. This usually involves headgear and gloves which never get used, but it’s nice to have them as backup.
Fuel
Having all of the items you need to survive a collapse is great, but if you don’t have enough fuel to get you where you are going, it could be a much less pleasant trip. If you are driving, never let your tank get below half-full. This way your vehicle can get you closer to home regardless of what happens during your trip. Having the vehicle you are in maintained is a no-brainer also.
Firearms
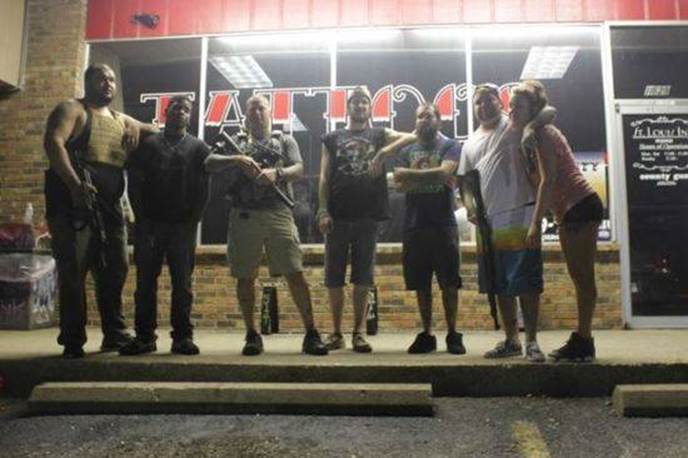
Every trip I can, the firearms go with me. Why? What if the SHTF and you are hundreds of miles away from your AR? Just like clothing, I imagine what it would be like if I had to shoot my way back home. It may sound paranoid, but I have several firearms with multiple magazines each and at least one rifle. In some cases I have more than that. Again, all state and federal laws should be obeyed, but I don’t like being away from home without some serious firepower. Murphy’s Law states that would be when I would need it.
All of this is fine if you are driving, but what if you have to fly or you are traveling internationally? You can still travel with a lot of the items I mention above but every situation is different. You may need to adjust your plans to your travel requirements. It may help you in the use as I described though and if nothing else; it may help you prioritize when you are packing next time. Is there a case to be made for minimalism and making do with less or using items differently, of course. The main point is to be prepared and if that means another suitcase, so be it.
If you have travel ideas or tips, please share them with everyone in the comments below and “safe travels”!
Other self-sufficiency and preparedness solutions recommended for you:
The vital self-sufficiency lessons our great grand-fathers left us
Knowledge to survive any medical crisis situation
Liberal’s hidden agenda: more than just your guns
Build yourself the only unlimited water source you’ll ever need
4 Important Forgotten Skills used by our Ancestors that can help you in any crisis
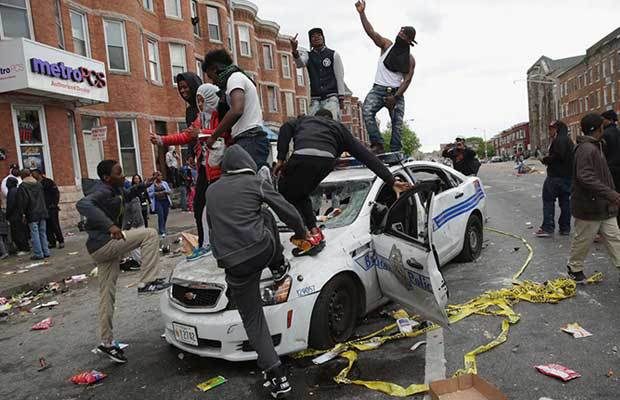
What if the SHTF when you are away from your home?


 4 SENTRY ALARM MINES .22 Cal trip wire alarms MULTICAM PREPPER PACK
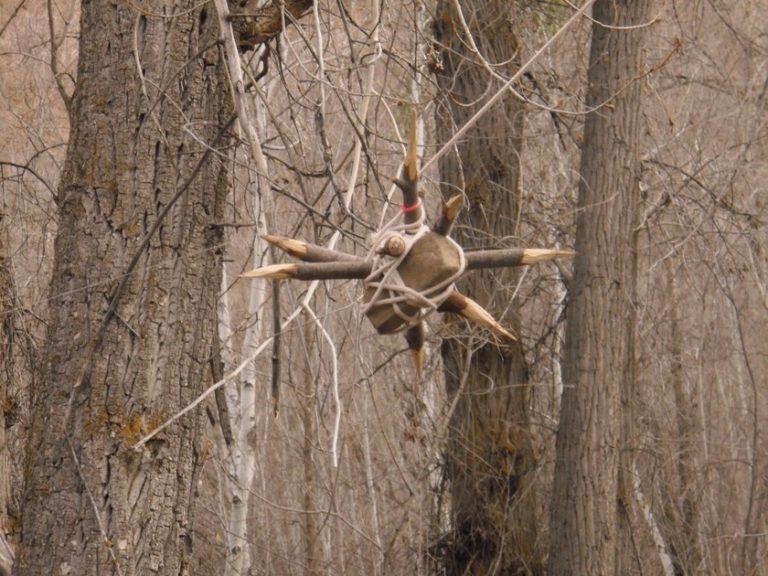 Homemade booby trap found in the woods of Provo Canyon.
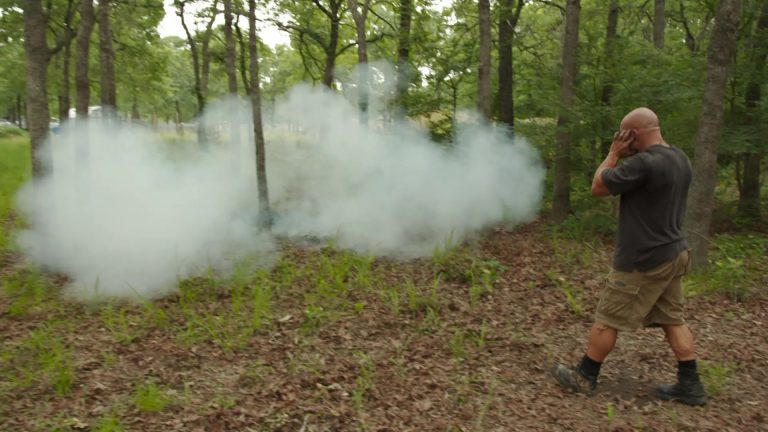 The most common booby trap as far as prepping is concerned is probably the tripwire.
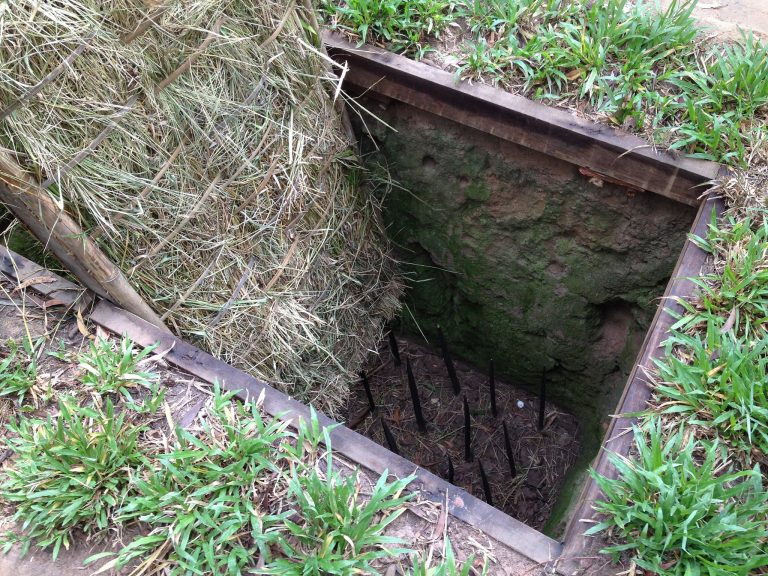 Spike booby trap used during Vietnam.