A Colorful History
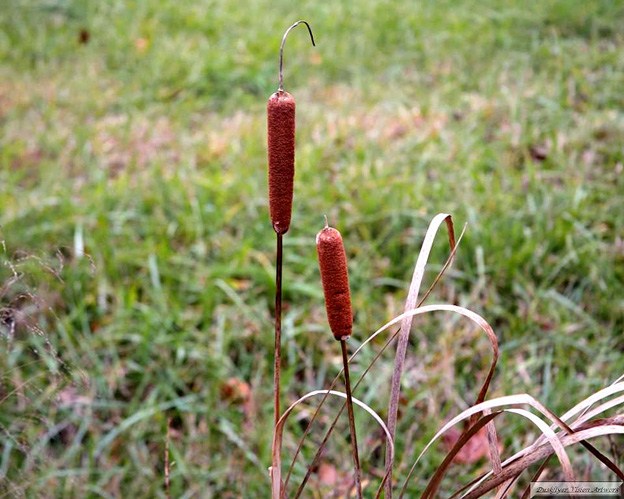
There is no excuse for starving, especially in Florida. We have citrus of all kinds (orange, tangerine, grapefruit, lemon, lime, cumquat, and loquat), mango, grape, guava, bamboo, banana, plantain, sugarcane, avocado, acorn, dandelion, purslane, podocarpus, papaya, lychee, lemon grass, garlic grass, hickory, chestnut, coconut, cattail, coontie, cactus, cassava, Jimaca, and cabbage palm. They are all edible, all delicious, and each can be found growing throughout much of the Sunshine State, if you just know where to look. Nope, there’s no excuse for starving in Florida.
I grew up in South West Florida, just below Tampa Bay, and all my life I’ve loved studying the rich history of our Sunshine State. Florida has been home to many colorful characters throughout its history, from the pre-Columbian Chatot, Timucua, Tocobaga, Tequesta, Ocali, Apalachee, Asi-Jeaga, and fierce Calusa tribes to formidable Spanish Conquistadores like Hernando de Soto and Ponce de León to blood thirsty pirates like Jose Gaspar and Caesaro Negro to the wily Seminole and Miccosukee warriors like Osceola and Holatta Micco to Confederate blockade runners like Captain Archibald McNeill.
For me, the most interesting aspect of Florida’s history has always been the Seminole Indian Wars, partly because the Seminole and Miccosukee tribes are the only Native American tribes to never lay down their arms in abject surrender to over whelming Federal forces. Even the indomitable Comanche and Apache ultimately surrendered, but not so the Florida tribes who melted into the Everglades where Federal troops dare not follow. These two tribes were part of the Civilized Nations; they wore spun calico shirts, smoked clay pipes and were fond of their smooth bore muskets. They survived forty years of warfare (1817-1819, 1835-1842, 1855-1858)1 against a modern and well equipped army, not because of any technological superiority—although the Seminole and Miccosukee were excellent marksmen with bow and musket—but because they were adaptable and were able to live off the land in the wilds of Florida’s untamed swamps, wetlands, mangroves, and hammocks. As it was for the Seminole and Miccosukee, living off-grid in a SHTF scenario means having to live off the land.
Long-Term Scenario
We all pray that SHTF events never happens in our lifetime, but we prepare for them anyway. The Seminole and Miccosukee survived their own SHTF; will we survive ours? Our SHTF, when it comes, may come upon us slowly or suddenly. Regardless of the cause, we owe it to our children to survive, so we pray for the best and prepare for the worst.
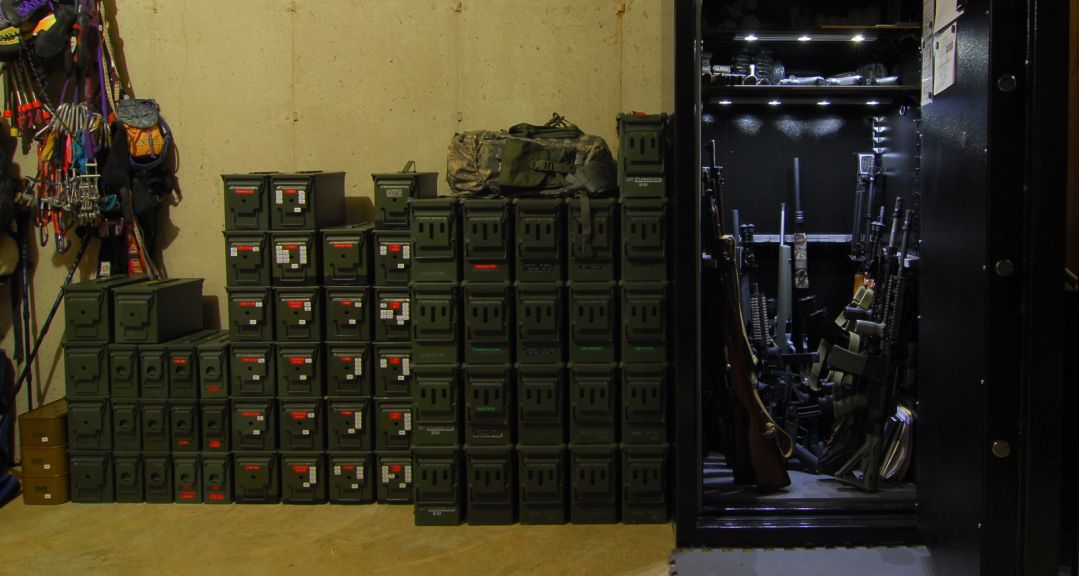
I don’t have a cabin in the mountains. I don’t own a cattle ranch. I don’t have a fortified bunker with motion sensors and early warning systems. I am forbidden by our home owners association from installing claymores in my yard. Heck, I don’t even own any night vision optics. I just a private citizen who wants to see his family to survive. Faced with a SHTF event, I know that the acquisition of security, shelter, food, and water will be imperative to ensuring my family’s survival.
Most coastal Floridians have already faced SHTF scenarios—we call them hurricanes, and we take our hurricane preparedness seriously. Since Hurricane Andrew destroyed the southern tip of Florida in 1992, many households have maintained a family sized “hurricane box” containing enough gear and supplies for the home team to survive for at least a few of days. That may not seem like a lot by Prepper standards, but the hurricane box is not part of our Prepper provisions. It’s just a seasonal precaution. We stock the hurricane box in spring, watch the Weather Channel from May (Caribbean hurricane season) through October (Atlantic hurricane season), consume our hurricane supplies through winter, and restock the following spring. This rotation keeps stock fresh and it beats having to run to Publix for a last-minute can of green beans so my wife can whip up one of her tasty casseroles.
 Preparing for the future requires forethought; the more you accomplish before an emergency event, the less you’ll need to accomplish during or after one. Stockpiling alone, however, can only carry you so far. You must be able to find renewable food sources. Once the SHTF, it will be too late to harvest Ramen at Walmart. Even if you could get your hands on that last brick of tasty noodles, fighting a gang of thugs for looting privileges is not sound tactical advice. If the gangs control your local Walmart, what then? Wouldn’t you rather be able to safely feed you’re your family from home than having to wander the means streets of some post-apocalyptic city scavenging for a nice clean dumpster? So, let’s assume you’ve already taken care of your short-term physical needs. You’ve got plenty of Evian and MRE’s on hand, your storm shutters are up, and everyone on your team who’s tall enough to ride the bog rollercoaster is strapped. No gun fight at the OK Walmart for you, but what about long-term survival? What about replenishable provisions? Have you considered that once your MRE’s run out, you will need to restock your larder with what you can hunt, fish, or grow?
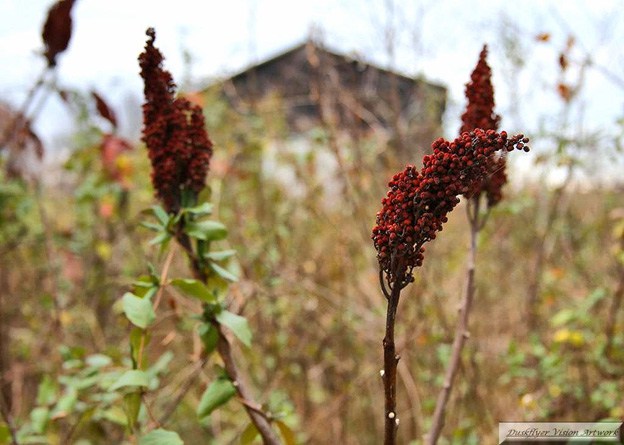
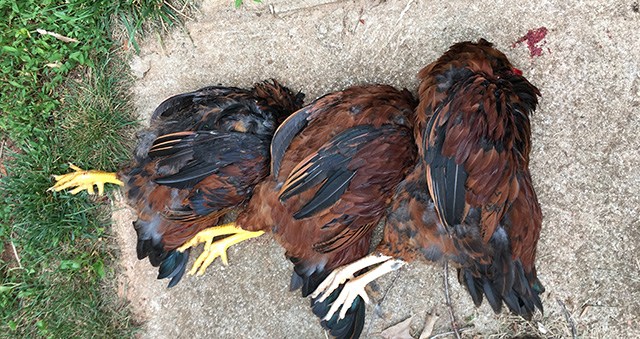
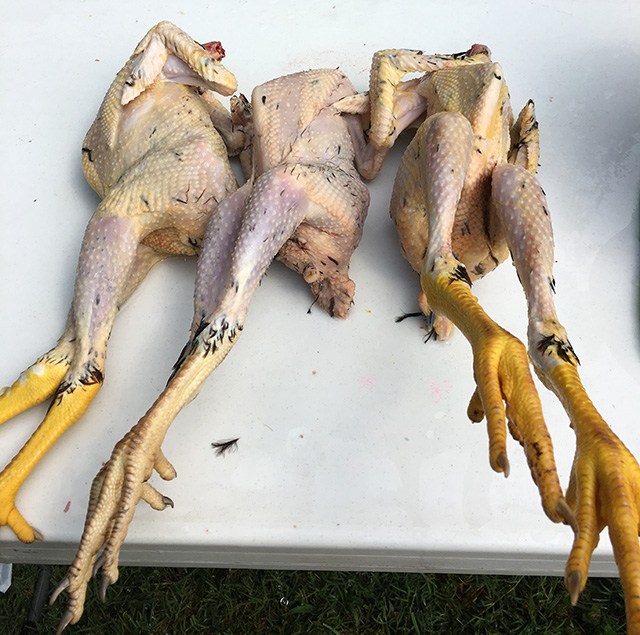
Florida waters are teeming with fish, crabs, shrimp, crawdads, and turtles, not to mention the abundant squirrels, and various fowl that populate our area—with the notable exceptions of birds of prey and carrion eaters, pretty much most fowl are edible. For deer and hogs, we would need to go further afield. Barring a catastrophic decimation of wildlife, protein will most likely not be a problem for Floridians, especially for those of us living along the Coast. Carbs, however, will be much harder to come by.
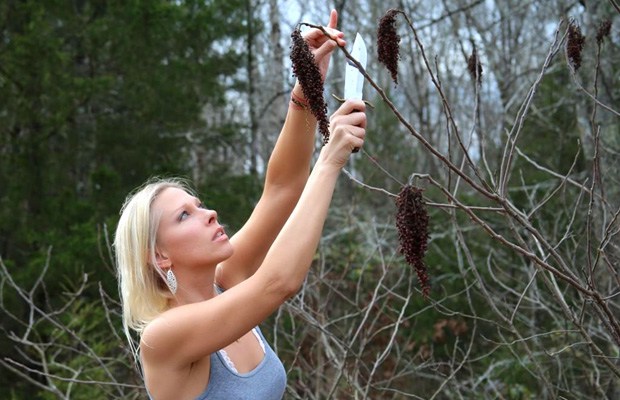
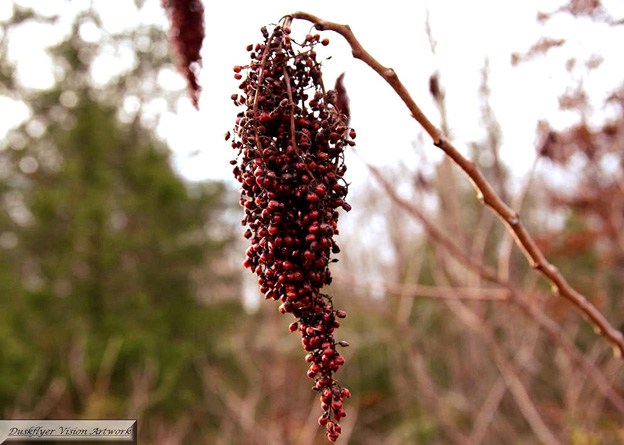
The average healthy adult requires approximately 200-300 grams of carbohydrates daily.1 My favorite carb is rice, but what we’ve stored won’t last forever. We could try growing our own, but growing rice is a complete mystery involving paddies and some kind of water buffalo. We could try going native by harvesting acorns—a good source of carbs: 1 oz dried acorn (2-3 acorns) contains 14.6 gr. of carbs2—but the acorns in South Florida tend to be rather small, and harvesting them is labor intensive, requiring patience and lots of water for blanching out the tannic acid. Acorns are a great supplement—my wife makes a mean acorn-raisin cookie—but they are not a staple food.
The Lowly Sweet Potato
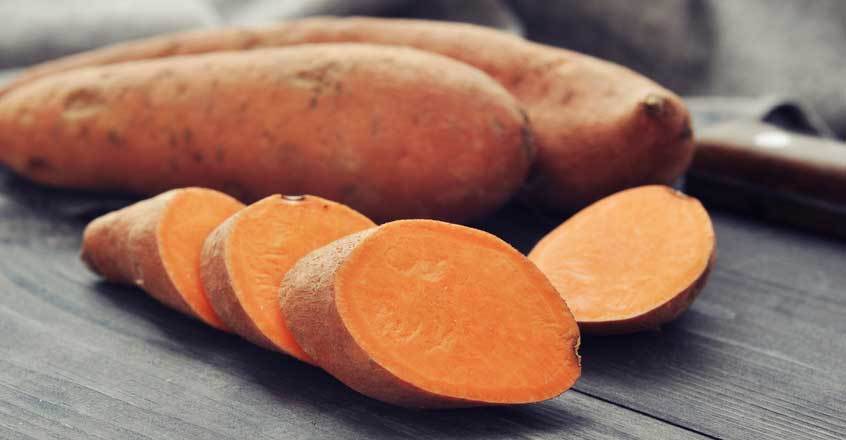
The sweet potato is not a magical cure-all food, but it does have many dietary and strategic qualities that American Preppers may find advantageous.
To resolve to the how-to-get-enough-carbs-so-I-don’t-starve dilemma, I would recommend the same carbohydrate-rich staple that was grown by the Seminole and Miccosukee and helped them survive as a people while they waged a forty-year long guerilla war. This same tuber was consumed by escaped slaves who filtered down from plantations in

15,000 Non GMO Heirloom Vegetable Seeds Survival Garden 32 Variety Pack
Georgia and Alabama to hide in the trackless Florida wilderness, and it was eaten by early white fishermen, farmers, and ranchers who settled Florida; the sweet potato (Boniato Rojo). The sweet potato has been a staple in Central America since about 8,000 B.C.2
It grows wild (and I do mean wild) in many parts of the South, not just in Florida. The sweet potato is not a magical cure-all food, but it does have many dietary and strategic qualities that American Preppers may find advantageous. A store-bought sweet potato weighing approximately 7 oz. contains about 3 gr. of carbs while the same amount of rice has almost three times as many carbs (11 gr.), rice is labor intensive. Have you ever tried hitching a water buffalo to a rice plow? Though it lacks the carbs of rice, an average-sized sweet potato does possess many other essential nutrients including: potassium (48 gr), Vitamin A (2,026 IU), and Beta-carotene (1,215 mcg).3
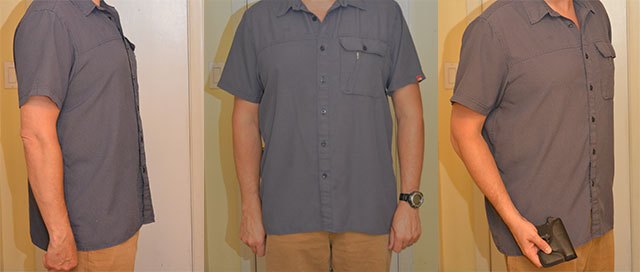
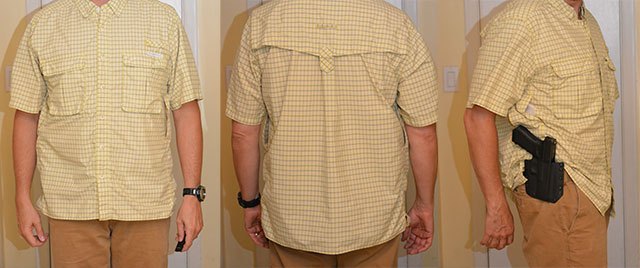
Even if you’re able to fight off the first wave of spam-starved zombies, a single-family dwelling can suffer an extensive amount of damage from a break-in, let alone a firefight. During a SHTF event, we must be able to survive off-grid inconspicuously. This means living under-the-radar. It’s your choice; you can hang a “Welcome” sign over your green house door, or you can hide your food source in plain sight. Because they are so well camouflaged, the only true enemies of these delicious uber tubers are mice, floods, and weed whackers (just ask my wife).
The Growing Process
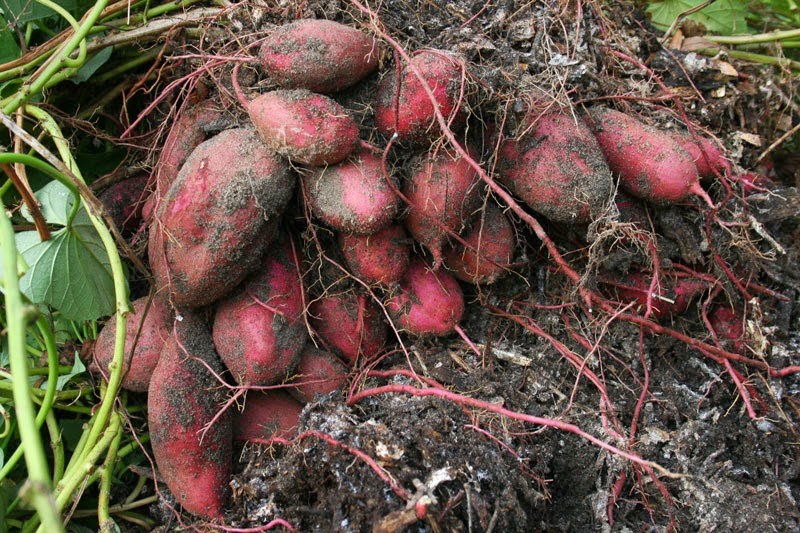
Sweet potato vines can cover ground almost as quickly as kudzu and drop roots at the nodes their entire length.
When germinating sweet potatoes, I employ the “science project” method. It is the skin that produces the buds or “eyes” that become roots, so all you will need is the outer portion of the potato. Slice out one-inch wide slips of skin from the potato. Make them about as half as thick as a pencil (1/8 inch) to lend support to the skin. Suspend—do not submerge—the inch-wide slips of skin in cool tap water by using string to form a “hammock” or tooth picks spears to hold the slips at water level, skin side down. Each slip should have its own container; too many slips in a confined space can cause the delicate sprouting roots to tangle. Direct sunlight can quickly bake young sprouts, so store them in indirect sunlight.
In about two weeks, you should see several healthy root tendrils sprouting downward from the slips into the water. When the tendrils grow to about six inches in length, it’s time for planting. Gently remove the sprouted slips from their containers and plant them about 4-6 inches deep and about 12 inches apart.4 Much of the soil in South Florida tends to be sandy and poor, so you may need to prep your soil before planting. My property is sandy and wonderful for growing sandspurs—they are the reason Floridians don’t walk around bare-footed. I do not prepare my soil before planting sweet potatoes. The whole point of the exercise is to establish a renewable food source that will grow well without any help from me. After about three to four months—depending on the variety of sweet potato, rainfall, soil, soil prep, pests, etc.—the crop will be ready to harvest. You’ll know it’s time to harvest when the leaves turn yellow on the vine, and the growing tubers cause the ground to bulge as though there were moles tunneling beneath the soil. I live in Hardiness Zone 10 (South Florida); your results will definitely vary.
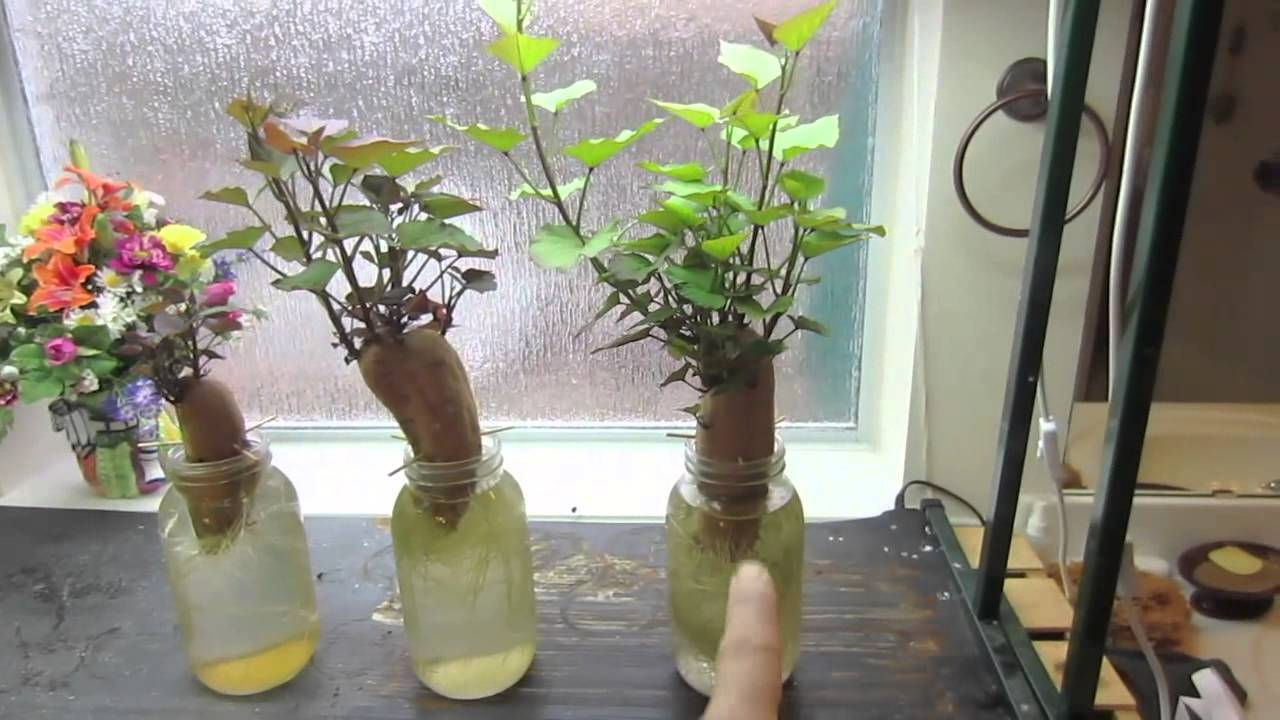
Suspend—do not submerge—the inch-wide slips of skin in cool tap water by using string to form a “hammock” or tooth picks spears to hold the slips at water level, skin side down.
Sweet potato vines can cover ground almost as quickly as kudzu and drop roots at the nodes their entire length. The potatoes grow close to the surface and can be harvested easily with bare hands. I don’t use my bare hands because Florida is home to the dreaded Brazilian Fire Ant, six different venomous serpents, and an ever-growing population of pythons. This is a genuine concern when weeding or harvesting because sweet potatoes attract rodents which in turn attract snakes, and the ground cover from the leaves can be so dense that you would never notice a coiled pygmy rattler until too late. All the prepping in the world won’t save you from a coral snake bite either—they are part of cobra family—with no way to refrigerate rare anti-venom serum during a SHTF scenario. “Don’t stick your hand in there!” is a good rule to live by in Florida, so use a little common sense and employ a small cultivator rake carefully to avoid damaging your crop.
For my first attempt at sweet potato gardening, I cut eight slips, but two failed to germinate. I planted the remaining six slips in a three-foot by five-foot patch of well-drained sandy soil. My little garden yielded 14 medium-to-large sweet taters. These were germinated from one store-bought potato. Not too bad for a first attempt considering the small size of the plot and the fact that I did not water at all. The Florida August monsoons did the watering for me. The rains come so regularly in late summer, between 3:00PM and 5:00PM, that you can practically set your watch by them. That particular crop of even survived a record-breaking three-day freeze just prior to harvest. A three-day freeze might not impress most Northerners, but it is big news in South Florida.
After my first crop, I let the vines continue to grow on their own, hoping for a second picking from the same planting. Unfortunately, the potatoes did not survive my wife’s attempt to clean up the back yard with the weed whacker. The best sweet potatoes are the large ones near the original slip planting. The further away from the original plant that the nodes take root and become potatoes, the smaller the tuber will be. The stunted golf ball-sized sweet potatoes, though still technically edible, are rough and not very tasty. These became seed crop for the next planting.
Another nice thing about the sweet potato is that it can be grown almost anywhere: apartment window boxes, small backyard gardens, empty lots downtown, power line easements, around the edges of county parks, or the woods behind your house. With their dramatic purple blossoms, the attractive broad-leafed vines are used as an ornamental plant. They make such great ground cover that they are regularly incorporated into landscaping around buildings, mailboxes, lakes, canals, trees, and other shrubbery.
There is a storm canal easement behind our property. Like Johnny Apple Seed, I’ve started planting germinated slips on this property. Several plantings have taken root and are growing well. When the summer rains begin, they should really take off. The early success of this off-property experiment has encouraged me to try other locations. I’ve germinated and planted sweet potatoes at my mom’s house, my brother’s house, and at a friend’s house. They’re going to enjoy the attractive ground cover around their shrubs, and I will enjoy helping them establish a prolific and renewable emergency food source.
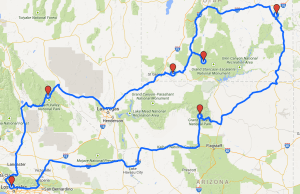
I’ve started scouting other areas as well for strategic planting locations that will be self-sustaining. Anticipating future fuel shortages, I’ve kept my scouting to within bicycling distance from my property. There is a long tract of scrub woods along the river near our home which will make a good planting zone as the average non-agricultural zombie wouldn’t know the difference between potato vines and kudzu. My plan is to hide a strategic and productive potato pantry in plain sight. Nope, there’s no excuse for starving in Florida.
Resources
1. http://www.semtribe.com/
2. http://www.carb-counter.net/nuts-seeds/1027
3. https://en.wikipedia.org/wiki/Sweet_potato
4. http://www.organicgardeninfo.com/growing-sweet-potatoes.html
A Colorful History
There is no excuse for starving, especially in Florida. We have citrus of all kinds (orange, tangerine, grapefruit, lemon, lime, cumquat, and loquat), mango, grape, guava, bamboo, banana,