Bugging out with Someone Who Has Dementia
When the SHTF and Nellie has Dementia
Dementia is not just about forgetting things. Memory loss, confusion and incontinence are some of the earlier symptoms, but definitely not the only things to face.
The National Institute of Neurological Disorders and Stroke defines dementia as: “A group of symptoms caused by disorders that affect the brain. People with dementia may not be able to think well enough to do normal activities, such as getting dressed or eating. They may lose their ability to solve problems or control their emotions. Their personalities may change. They may become agitated or see things that are not there.”
According to the American Alzheimer’s Association (2015), five million people in the USA are living with dementia – that’s one person in 64; most of them over the age of 65 (younger people can develop dementia).
For the last five years, I have been caring for my mother who is now 87 years old. She has vascular dementia. Many of the observations made in this article are drawn from my own experience and from talking to other carers. Some of this article will be of use to those living with other disabilities. Not all people with dementia will have all these needs and there will be other things I have not mentioned – it is not meant to be a primer on dementia care. Some points are more relevant to those who are bugging out, but most can be applied to any situation.
For this article, I have chosen to give a name to the person with dementia. Her name is Nellie.
Prepping for those with Dementia
Add to your stockpile: Spare parts and the tools to repair and maintain mobility aids eg. tires, pump, water dispersal spray, oil, small spanners etc. You can fit/hide more than you think in the frame of a wheelchair!
Black cloth or plastic (it must be black) – Nellie may be a compulsive wanderer. Three or four large pieces of something black strategically placed around your living space may reduce the chance of wandering (Alzheimer’s Foundation of America). Why? Nellie’s brain sees the cloth as a hole and instinct takes over to prevent her from falling in!
Melatonin pills (unless contra-indicated) – Nellie may sleep for 20 hours a day, which as long as she is happy, presents few issues. But on other days, she seems to survive on only four. Nellie’s carers (and the rest of the group) need their sleep in order to function.
“Melatonin production slows as we age and is especially compromised in Alzheimer’s disease, a factor that may contribute to disrupted sleep in dementia sufferers. Melatonin supplements may improve some sleep-related symptoms in Alzheimer’s disease.”- (Alzheimer’s Drug Discovery Foundation).
Monster spray – A few squirts from a decorated spray bottle of colored water can scare off many of the frightening things lurking in Nellie’s version of the world. In this respect, and in many others, Nellie is like a child. Some will say the monster spray is just playing to her insecurities. Maybe; but a drug-free way to a calm Nellie (leading to a calmer group!) is not to be discredited.
Incontinence supplies – Disposable diapers, pull-ups and incontinence pads are convenient but they are expensive and eventually, supplies will run out. There are washable alternatives, worn with water-resistant plastic pants (watch for irritated skin). (absorbs up to 570ml of urine) or cloth diapers (absorbs up to 400ml of urine). Expect Nellie to use several pairs of underwear every day. Pads from a lightweight fabric bag stuffed with soft and absorbent sphagnum moss can work for mild incontinence. The moss is available from many garden centers and some hardware stores. Night time requires something much more absorbent but so far, I have not found anything I am willing to recommend.
You will also need to stockpile nappy rash cream, at least three draw sheets (puppy pads or similar are a useful back up), urinary tract infection remedies, soft wash cloths, disposable gloves (they can be washed and reused a few times) and plastic bags.
Suitable food and utensils – secure everything else out of sight – Many people with dementia, especially in the later stages, will lose interest in food; often because they are losing their sense of smell and therefore, of taste. Bitter and sweet are the last parts of taste to be lost. I prefer sweet foods to bitter ones: those with dementia are no different. Nellie may pile on the salt so she can actually ‘taste something’ and reject anything she perceives as tasteless. Are you going to anger Nellie by rationing the sweet things?
Nellie may have difficulty swallowing and will need a soft diet, or even pureed food. Do not be tempted to think that commercially available baby food is the easy option. Nellie will most likely not eat it. Have you tried the stuff? Most of it is almost tasteless to the adult palate, therefore to someone like Nellie, it is totally unappetizing!
A study done by biopsychologists at Boston University (2004) showed that people with Alzheimer’s ate up to 25% more when their meals were presented on a red plate. Why red? Red is highly visible and contrasts with many foods – if it doesn’t, use another color for Nellie’s meal. If she can see it, she just might eat it. You may need to rotate the plate during the meal as Nellie’s brain may not register the whole plate. It may be easier for Nellie to use children’s crockery (plates with a lip, cutlery with chunky or even angled handles, sipper cups or a mug with two handles) when eating her meals.
A word of caution: as the dementia progresses; compounded by the decreasing sense of smell and taste, Nellie may not realize that soap is not food and disinfectant is not safe to drink.
Extra clothing, towels and laundry supplies – You will need extra clothing because of the incontinence, especially if you are unable to wash and dry things every day. A ringer bucket will make laundry day easier. But even then, things may take two or three days to dry; longer if there is not much sunlight. In springtime, mum’s draw sheet took only 3 hours to dry when hanging on the line but a day or more inside. The incontinence pants took 4-6 hours to dry on the line and two days inside.
Lightweight microfiber towels used by hikers are surprisingly absorbent, very compact, and quick to dry. Mine takes about half an hour to dry in the sun or two hours if I hang it up inside.

Twiddle – Appreciated by professional care givers for its calming effect
If you judge it safe to do, write Nellie’s name and address/destination on her clothing in case she wanders.
Something to comfort Nellie – People with dementia can sometimes draw a great amount of comfort from a familiar soft toy to cuddle, a ‘twiddle muff’ or a ‘twiddle blanket’. A favorite piece of music helps too (another reason to include a small musical instrument in the SHTF kit).
Learn how to:
Repair mobility aids – Unfortunately, even with the best of care, wheelchairs, walking frames etc will eventually break or wear out. The ability to fashion new ones from the remains of the old (or whatever random parts you can scavenge) will be a useful skill to have.
Sing Nellie’s favorite songs – As well as providing entertainment, it may help reduce Nellie’s fear and agitation/aggression.
Live in Nellie’s world – Reality may confuse or upset Nellie. Unless it is a matter of life and death, always agree with her: it’s easier on everyone. A lie can be your friend, especially if the short-term memory has gone and they are living in the past. When she asks for the third time this morning “Where’s Johnny?” don’t tell her Johnny died last month, just say he has gone to get some bread, or whatever seems suitable.
Recognize triggers – Similar to PTSD, some things can trigger extreme distress in those with dementia. In mum’s case, a low-flying fighter plane will send her looking for an air raid shelter. In some situations, if you know what the triggers are, you can have a well-timed distraction in place.

And if the SHTF?
Nellie is going to be slower than you or me – “We have to leave NOW!” is not going to be easy, especially in darkness or low-light conditions. Nellie will pick up on the urgency and become distressed even if she doesn’t understand what’s happening. And that means it will take longer than usual to get her ready to leave.
When walking, the group can only move at the pace of its slowest member. If Nellie is mobile, she may tire easily and not be as sure-footed as you or me. Walking frames are not designed for rough terrain and most of the time, their brakes are useless for anything except a straight and level surface. Some wheelchairs are better suited for sand and rough ground than others but none will be of any use with a flat tire. Have someone scan ahead for accidentally – or deliberately – placed tire traps. And someone still has to push the chair. If you think it’s hard work pushing a toddler, try pushing a fully grown adult, even if she is underweight. Test yourself. My current limit pushing mum’s distinctly average wheelchair uphill and down and along slightly muddy ground is about 90 minutes.
Some things are not so obvious:
Nellie may have no depth perception – Shadows may be perceived as steps to avoid, or rocks to go around. And nothing will convince her otherwise. When Nellie is getting agitated and grabbing at ‘nothing’, it may be her trying to reach for something she wants 10′ away.
Nellie may be noisy and will not self-censor – Nellie may not understand the need to remain quiet. She may even make involuntary noises. This could pose a security risk. And if Nellie announces “Gee, he’s fat!” to the lout blocking your way, the rest of the group may not have a chance to smooth things over.
“I want to go home!” – Nellie and others with dementia need to feel safe in their own world (even if their world is not the same as yours). Routines help them to feel safe. In a SHTF situation, this may be impossible. Often the desire to go home is a deep-seated feeling that things are not right, not familiar in the world she suddenly finds herself in. If Nellie is mobile, she may try to get home. Home may actually be her childhood home, not the home she raised you in. This is where the ‘black holes’, the songs and the cuddly toy can really help.
But what about Nellie?
I know there are some out there who would cite their version of the Greater Good theory, saying it is too difficult and too risky to have Nellie in the group. Ultimately, like many SHTF-based decisions, it comes down to “Which decision will haunt me the least?” In other words: a matter for your conscience.
All I can say is that during the Blitz, Granny stayed behind and sheltered mum when she could not get her to the air raid shelter. Mum would never leave me behind and I will not leave her when she needs me the most.
Before you go, you may also like:
This is more than just about your guns…
How to survive any medical crisis situation with ease
10 Easy Steps to Secure your privacy
Secret Military Solution For Power Independence
DIY Unlimited water source
Why a food reserve is way better than the Federal Reserve
Lost Skills of our Ancestors that still work today
When the SHTF and Nellie has Dementia Dementia is not just about forgetting things. Memory loss, confusion and incontinence are some of the earlier symptoms, but definitely not the only things

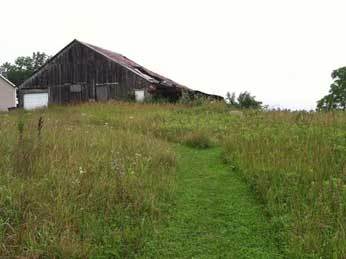 An abandoned farm in our neighborhood
 Deer like to snack on corn and beans in bed (rear left).
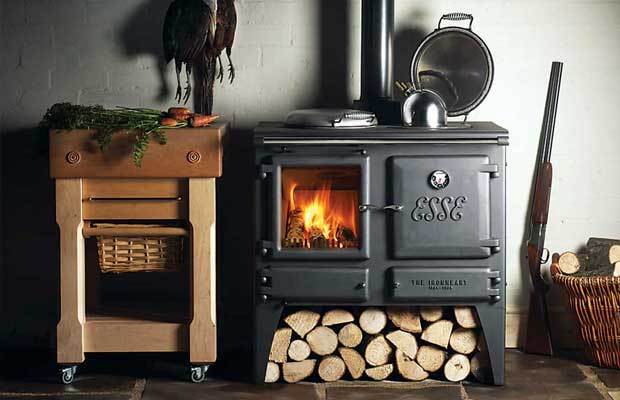
 If you’ve got the time and energy, cutting your own firewood for the winter is one of the most rewarding aspects of living in a cold climate, both mentally and economically. There’s something to be said for the satisfaction of surviving the winter on your own terms: Gas, propane, electric they all require middle-men in some way or another. With wood heat, you have the option of gathering your own fuel and maintaining sole responsibility for how it’s burned and why, all at a cost that is far lower than that incurred by other heating methods.
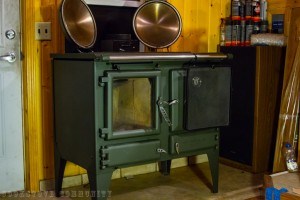 The Esse Ironheart Cookstove.

 You don’t want to have your health working against you in an emergency.


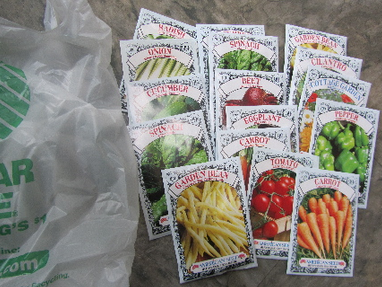
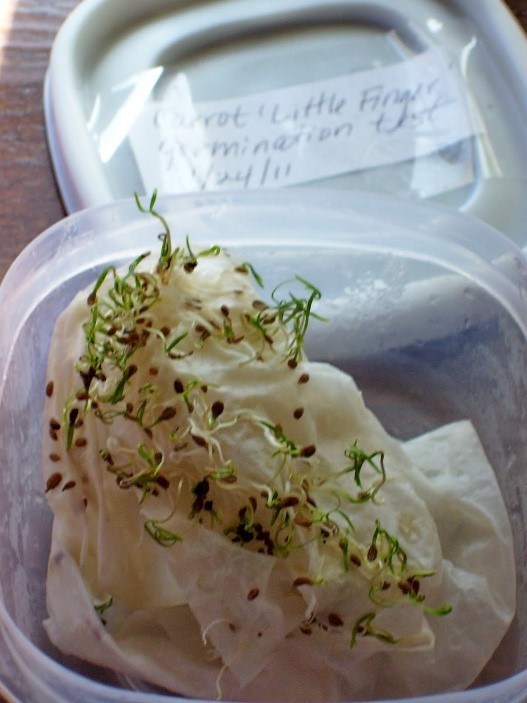
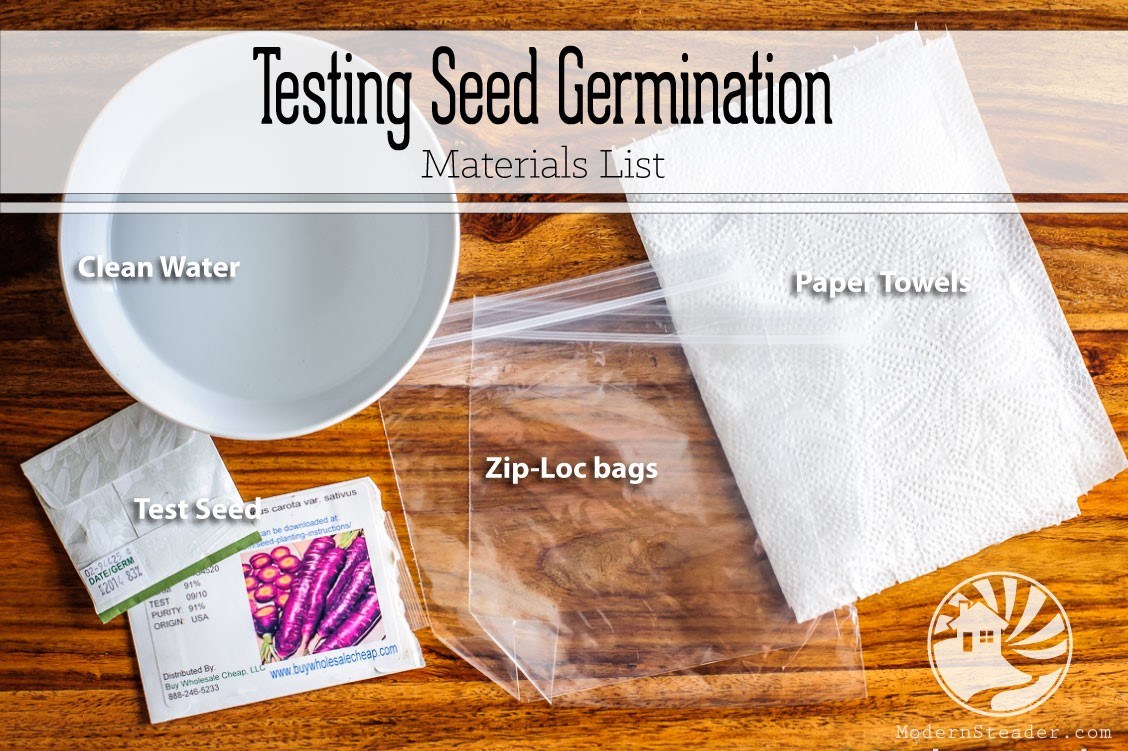
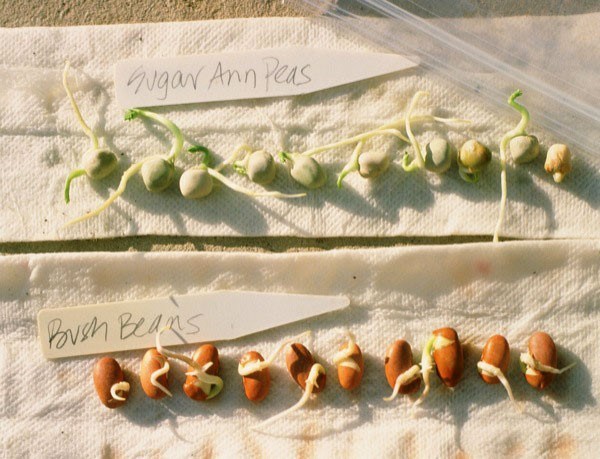
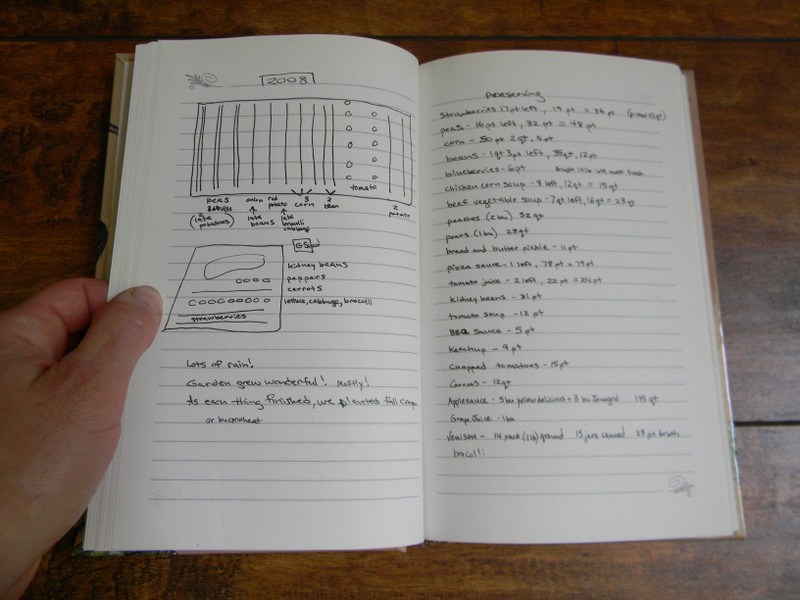 Ideally, we also keep notes at least during key periods of the year. How many little green things popped up out of roughly how many seeds?
 Ideally in a format that can be quickly and easily accessed during planning and evaluation phases before and after each year’s crop seasons.
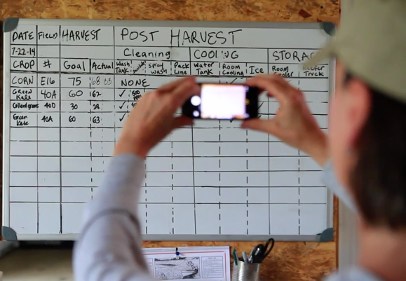 I find it easiest to stick a $2 Ollie’s dry erase board and a map pen by my kitchen door.