11 Ways Your Prepping Skills Pay Off In Everyday Life
I used to think people who were constantly talking about government conspiracies, doomsday and all the other scare tactics were spouting wild theories. I still do for the most part… Recently, I got a different point of view when I re-read the article 8 Reasons Why Prepping is Good for You.When you boil preparing for unusual situations or prepping down, all it really means is that you turn back the clock and return to a simpler time when people were independent. In simpler times money was kept in the home, personal debt was rare, people cooked the food they grew and got a lot of exercise in the process. We have situations every day that we need to be ready for so let’s see how your prepping skills work out in these situations.
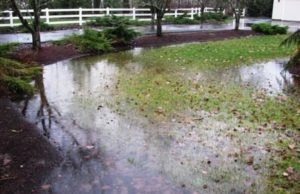
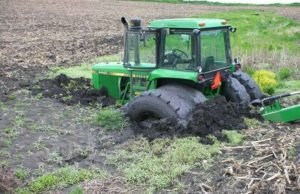
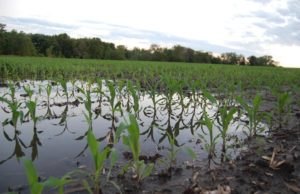
Floods – in the past, Louisiana had several days of flooding rains. Roads were flooded and people were cut off from stores and medical centers, many people were stuck in their homes. If they had stored some food, water and extra medical supplies they did better than those that didn’t.
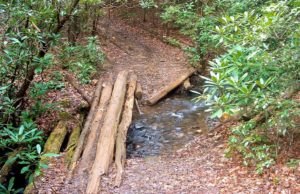
Stuck on the Road – Accidents, storms and traffic jams on the highway have caused people to be on the road for hours and even days. If you have your go bag packed with extra blankets and food you will be glad to have it, and thankful that you learned some self-reliance.
Earthquakes – Earthquakes occur more often than you think and there is very little warning when they are coming. As a veteran of a couple of earthquakes I know they have a wide range of damage. Power may go out, roads are often impassable and you are left separated from family. If you remembered to make an emergency plan with your family you will find out quicker whether they are okay or not. Communications are often jammed so if power is out you will need to have a solar-powered battery charger to try to get through on jammed lines. It can take days.
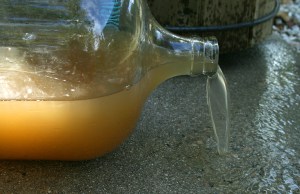
Water Contamination – Water contamination seems to pop up on news stories at least once a month. Your prepper skills would have taught you to have bottled water on hand or to have the equipment to make drinkable water on hand. Stores often don’t have often have enough for an entire community.
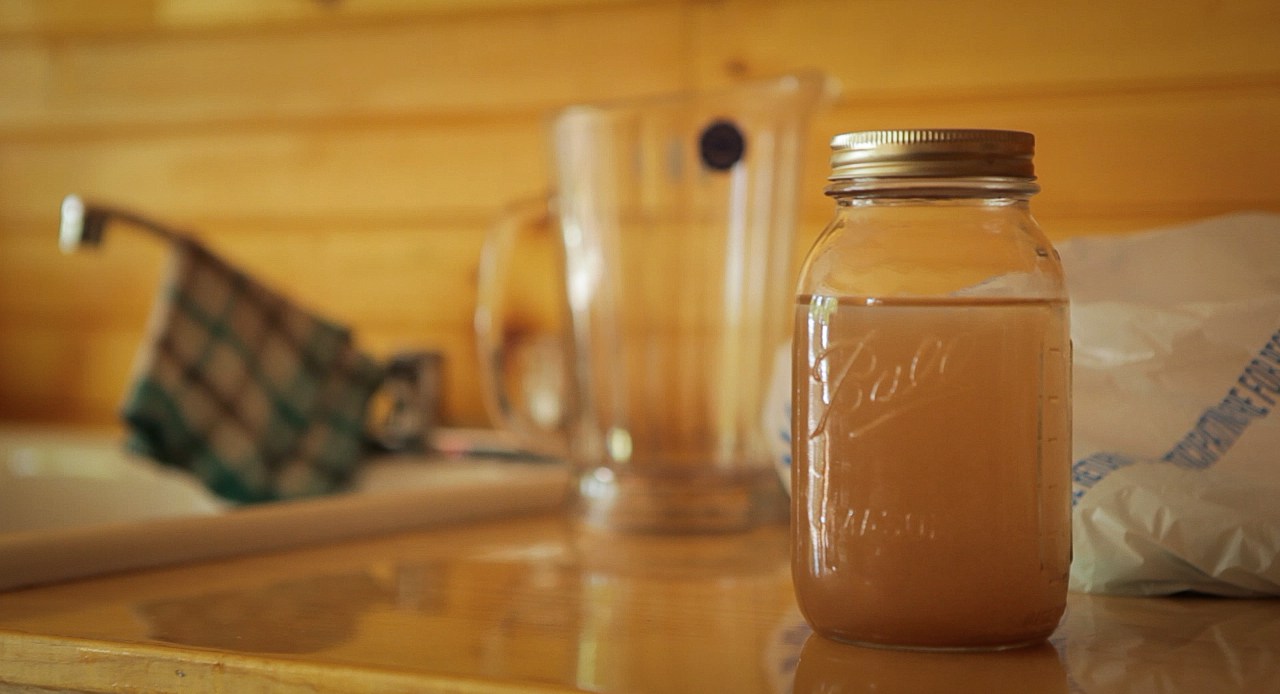
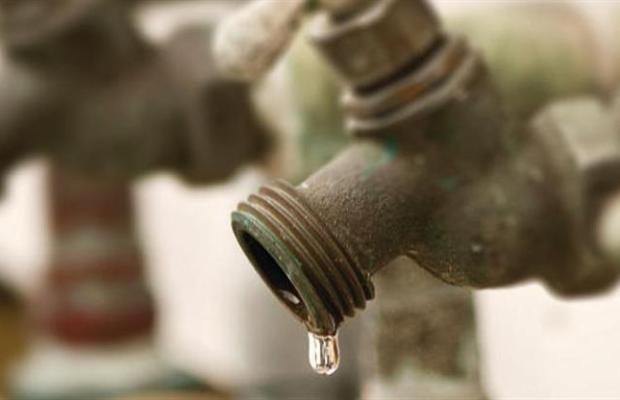
Do you know how to make drinking water safe if what is coming out of the tap isn’t?
Hurricanes – While hurricanes vary in strength and size, they all come with a lot of wind and rain. When Hurricane Irene struck New England back in 2011 trees came down, bridges were swept away, shopping centers were flooded and power lines went down. The damage was widespread; the effects of the storm were felt long after the storm departed. The people and companies that did the best were the ones that had back up power and extra supplies.
Fires – Fires usually require a quick exit from a building or even a large area. If you have prepared in advance, your important papers will be in a place where you can grab them quickly and go. This will not only give you peace of mind, it will make the recovery much easier on you.
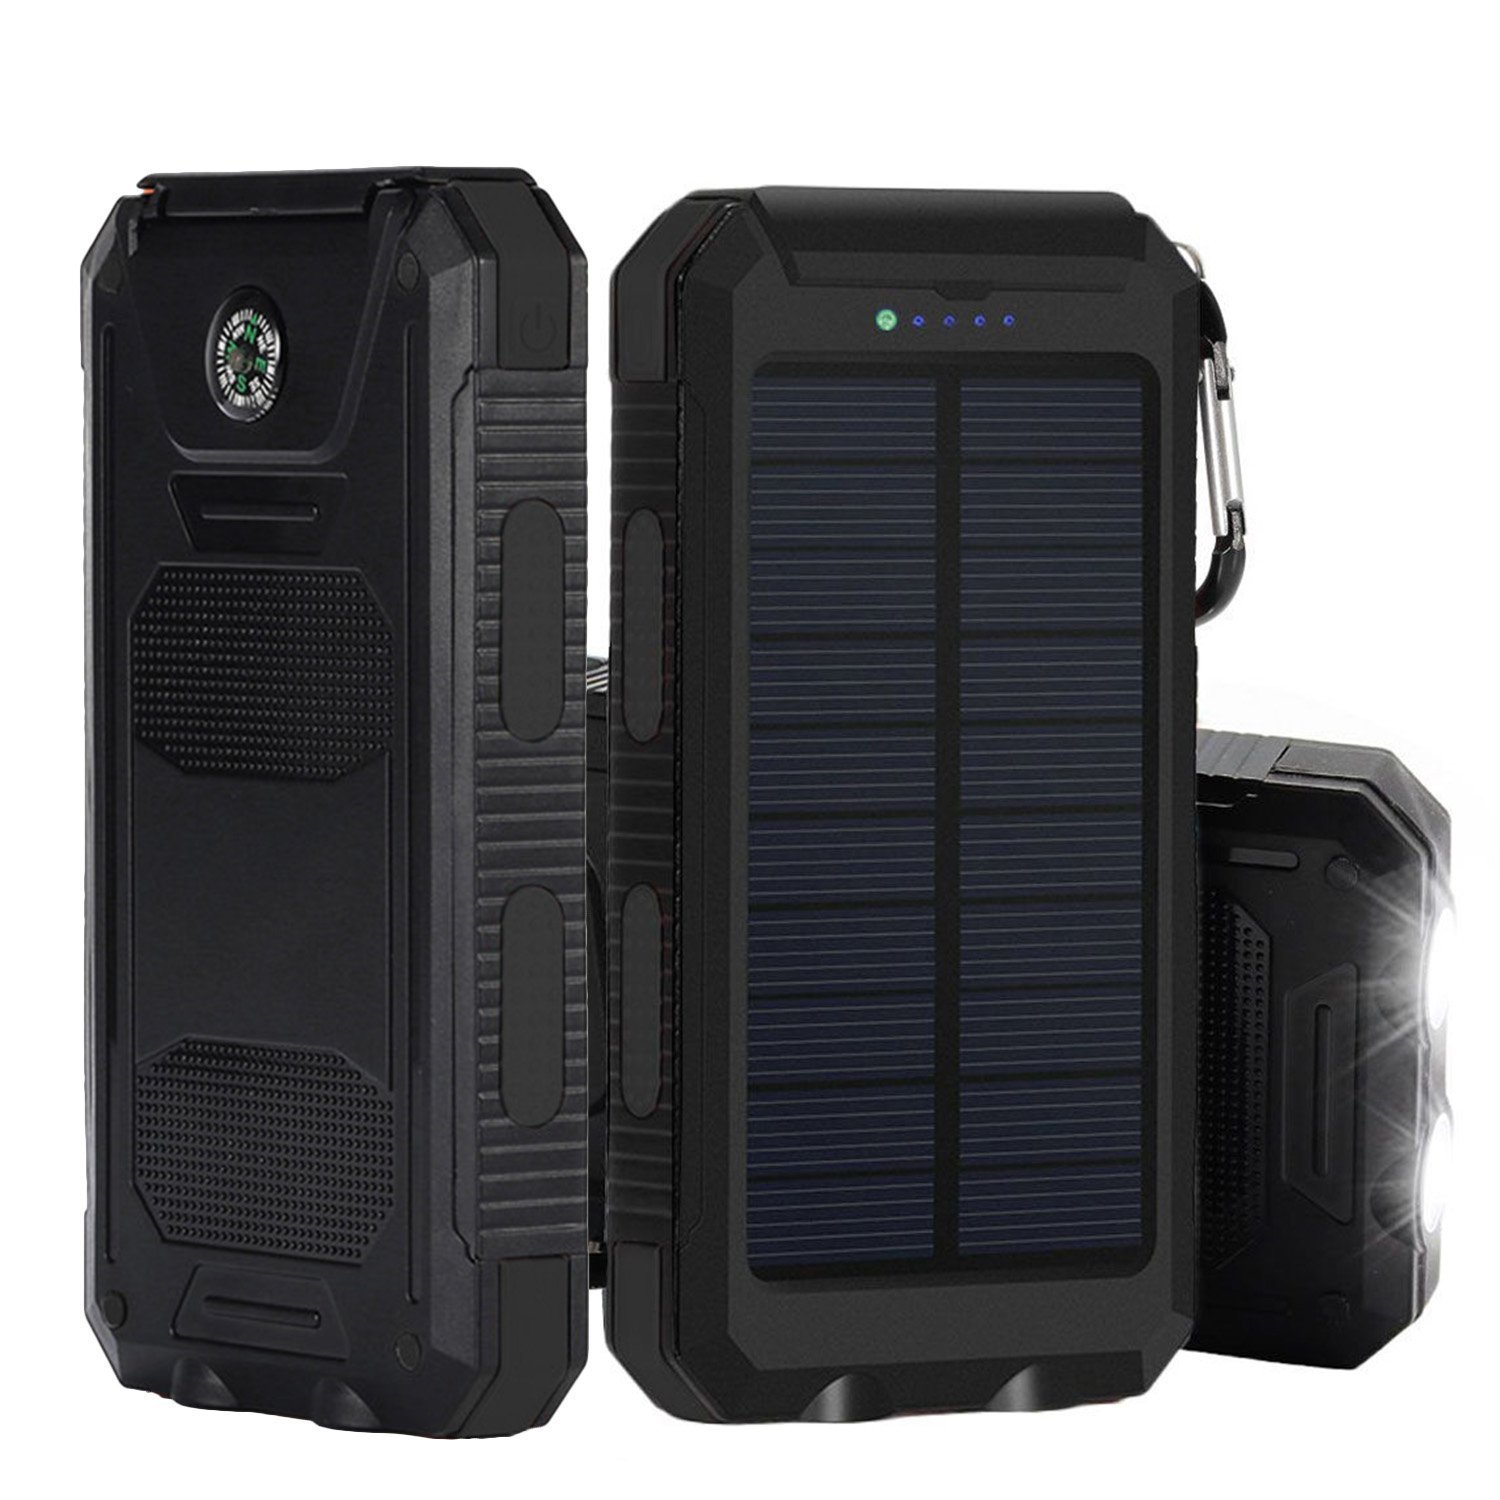
iBeek® Portable 10000mAh Dual USB Solar Battery Charger
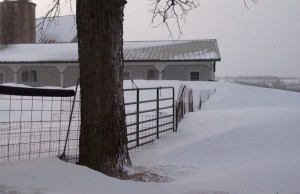
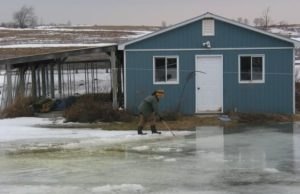
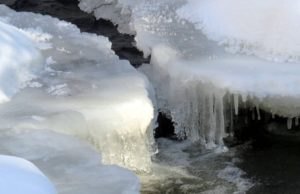
Winter Weather – Ice storms and blizzards are some of the prettiest storms; and with that fresh look comes cold problems. The storms are very destructive. In 2008 an ice storm hit New England and New York. The roads icing were the least of the problems. Power was down for weeks; the grid had to be replaced in freezing weather. Many New Englanders are ready for storms but weeks without power tested even the hardiest people. The people who depended on power to heat, cook and shower and that had no other heat source had to go to shelters or to a family member’s home to keep warm. People stood in line in restaurants to charge their phones so they could check on friends and family. The sun shone strongly right after the storm, your solar battery charger will be very useful on one of these days.
Financial Health – There is one area of being prepared that we can use on a daily basis and that is finances. Many of us have gone into debt for things that we don’t really need. The prepper lifestyle encourages debt free-living and skills like cooking, and home medicine that save money and encourage good health.
Relationships – Any activity your family does together forges your relationships. Prepping activities are no exception. Getting prepared for unusual situations is an opportunity for everyone, especially children, to have confidence, build skills and learn independence.
Education – Prepping is like attending a new school. You still learn plenty, you just don’t sit in a classroom. Here are just a few of the lessons you get at Prepping School:
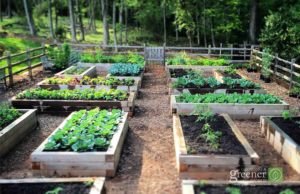
Science: Growing and preserving your own food not only teaches children where food comes from, you create family memories for years to come. I still remember picking apples, blueberries and strawberries in the field, then coming home and helping my Mom and Grandmother cook with them. We also had a garden and I remember my Dad’s tips on planting tomatoes and cucumbers.
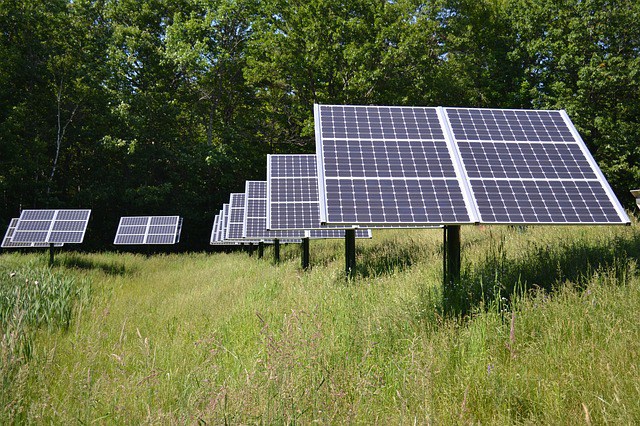
Solar power is an option for off grid and prices are coming down.
Physical Education: Our modern lifestyle has cut out a lot of the exercise that people in a simpler time got by walking more and doing more labor themselves instead of having a machine do it. Planting a garden and then harvesting that garden require exercise and fresh air. If you hunt for your own food you walk quite a bit in the wilderness. You can also take your family on hikes to find things like the nearest water source and medicinal plants. When you map the route you are teaching and learning mapping skills and geography.
Alternative Energy – Designing and constructing a solar or wind powered system is a lesson that gives children a useful skill that will last throughout their lives. They may even start a business based on the experience. Solar, wind and hydro energies are going to be a big part of our children’s lives. Teaching them how to use them correctly is an important lesson.
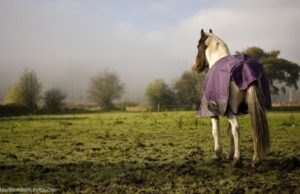
Raising Animals – When you raise animals for food you have to research which food is good for them, build them a pen and make sure they have a warm dry place to stay. Their medical needs must be taken care of as well. This is a lesson in building, responsibility and science.
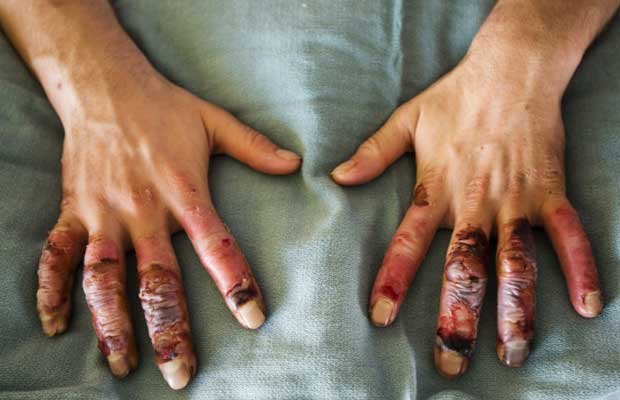
Health– More exercise is just one health benefits of getting prepared. When someone is hurt and cannot get to the Dr. or clinic the medical supplies you have and skills you learned prepping will be needed. This is a good science lesson for the kids. Learning to heal others could influence their career choice. When you help someone by cleaning their wounds and healing a sick person you gain confidence. It worked for my Grandmother. One of the home remedies she used was an egg poultice which was used as a drawing agent. When my Dad welded he often got metal slivers deep in his skin. He would apply Grandma’s poultice to the sliver and cover it with a bandage. A day or two later the silver would be in out and my Dad was happy.
Peace of Mind: The peace of mind just knowing you are ready is priceless.
With all the benefits of prepping, maybe we should all live like the world is ending. We would build better relationships, get more exercise and eat better.
I used to think people who were constantly talking about government conspiracies, doomsday and all the other scare tactics were spouting wild theories. I still do for the most part…


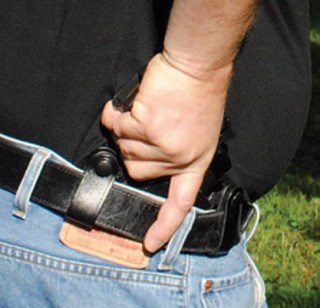 Full combat grip on holstered gun.
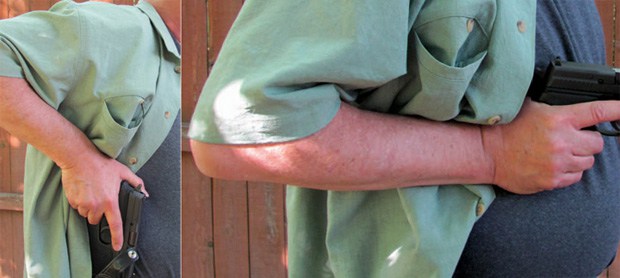 Drill 4: Elbow Up. Elbow Down.
 One-quarter hip retention point shooting position.
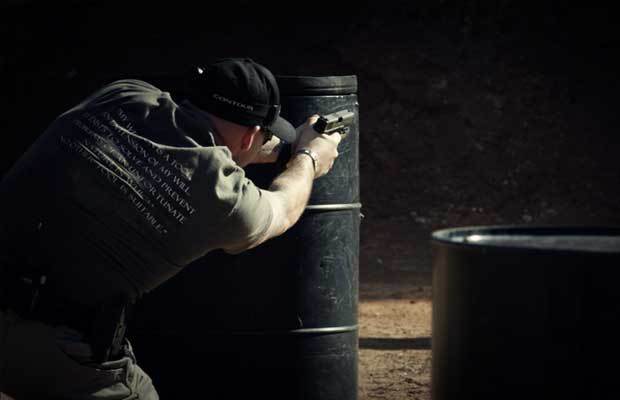
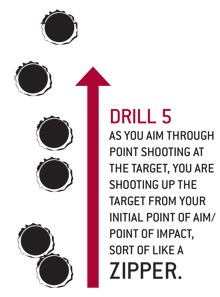 DRILL 5 as you aim through point shooting at the target, you are shooting up the target from your initial point of aim/point of impact, sort of like a zipper.
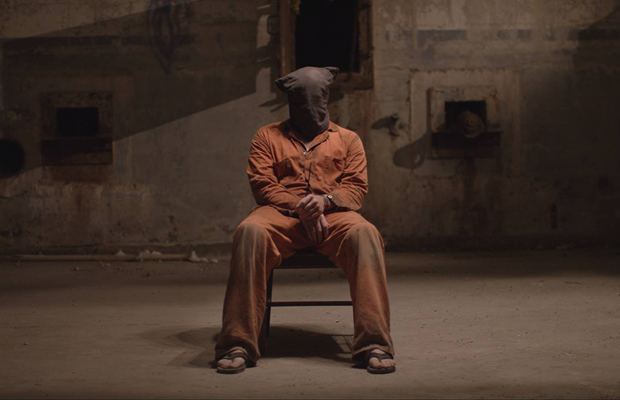


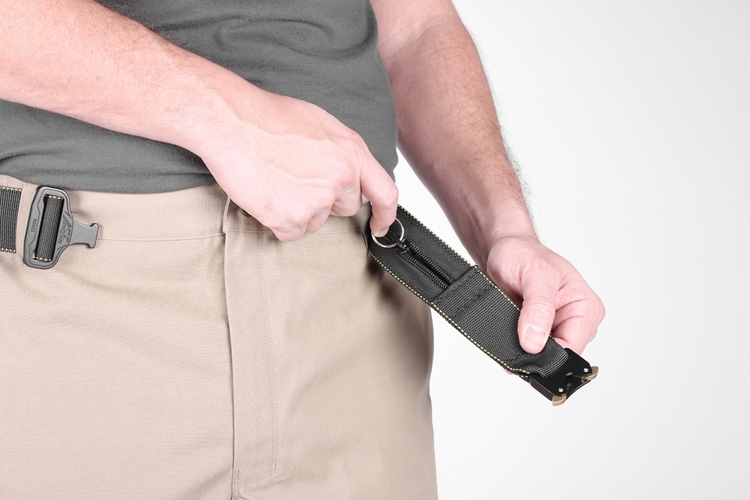 S.O. Tech RSB-L-BLK Riggers SERE Belt – Stash pocket allows you to hide escape tools
 Irrational fear can derail your prepping plans. Learn to control it now.