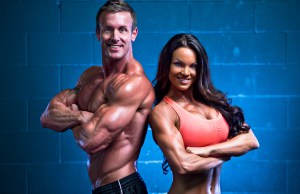
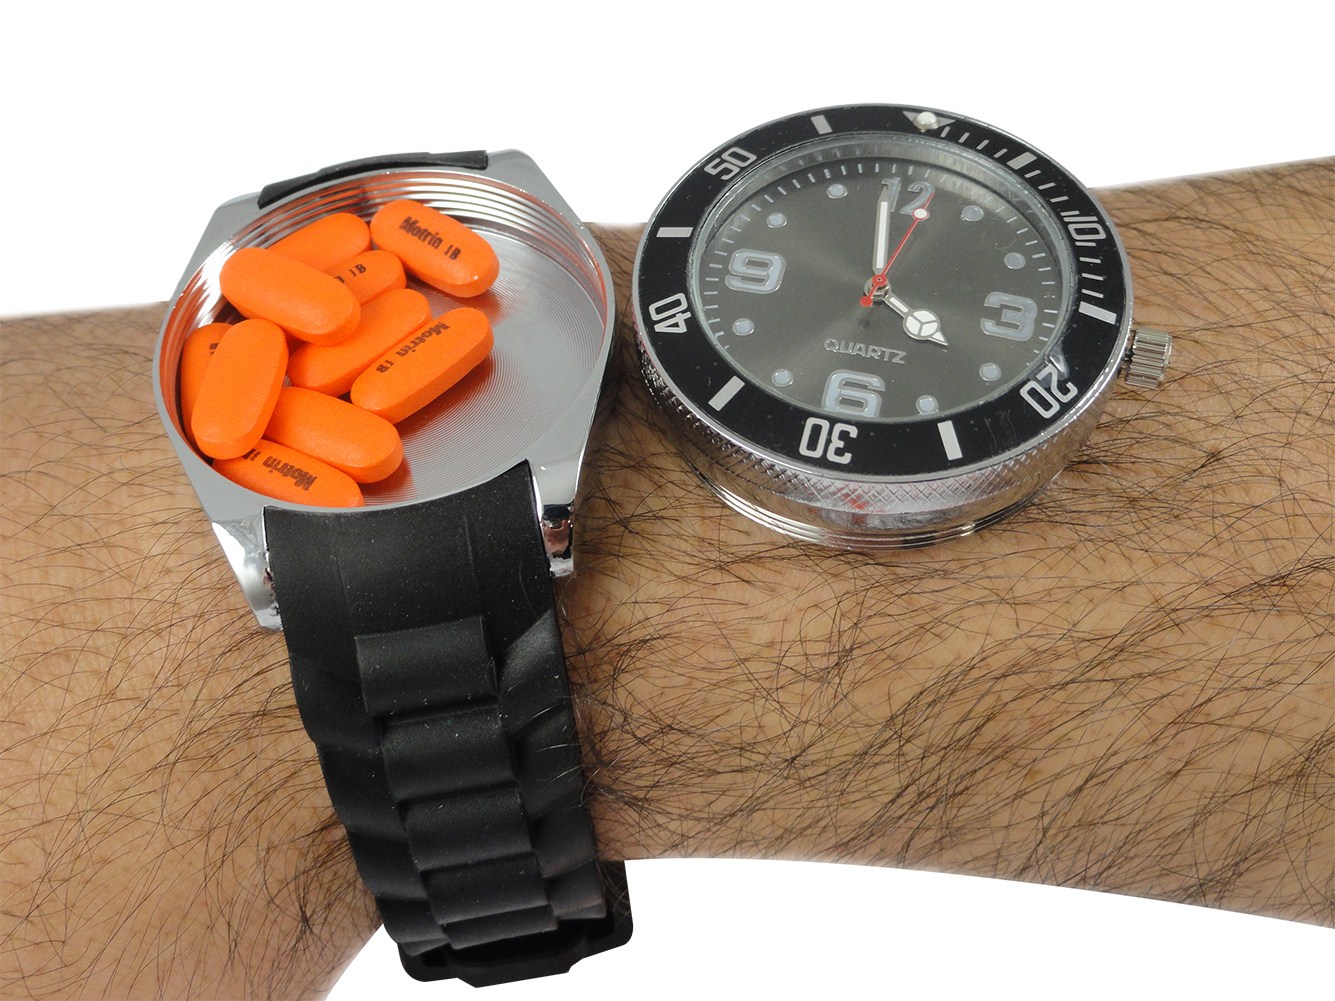
Preppers Don’t Have Abs
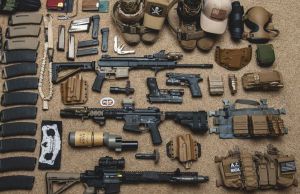
I love the internet and social media. It lets me be exposed to a slew of information and knowledge that I would have otherwise never been able to view. In just a couple of clicks I can watch how to build a primitive spear thrower, or purify dirty water into something ….less dirty. After enough clicks, however, I inevitably stumble upon something displaying the need for a horribly impractical “prepper tool” that I just must have. Holding this awesome, life-saving, badass and totally affordable (insert sarcasm) thing is some ex-military looking, bearded fitness model that TOTALLY MIGHT HAVE BEEN SF, Or an overly sexualized woman with chiseled abs.
Now hear me.
I don’t think there is anything wrong with looking like a Viking with an AR or a jacked and tan super woman–in fact, that’s actually super impressive. But is it indicative of someone living the prepper lifestyle?
Pros of Tacticool
Let’s not underestimate the power of looking like a tactical boss, because there are some practical advantages to be found.
1) Predators naturally seek soft targets– It’s primal, like natural selection. Whether the predator is a lion or street thug, the predatory instinct is driven to achieve its goal via the easiest, most non-confrontational path available. When looking to rob a house, break into a car, or mug an innocent bystander, the criminal has a vast amount of potential options and they will inherently choose the path of least resistance. This is one obvious advantage to looking like a former linebacker with Don’t Tread on Me tattooed across your throat.
2) You might feel more confident– Hormones are a hell-of-a drug. Seriously. And your mindset and mentality play a role in how your body produces and expresses levels of certain hormones. Confident people have higher levels of testosterone than their more sheepish counter parts. They also have lower levels of cortisol. Here is a quick talk on body language hormones, it’s worth the watch. What will that do for you?! How about greater muscle mass, clearer skin, stronger bones, lower stress levels, and decreased levels of anxiety. So if a Mo-hawk and 80-piece pocket tool are what you need to feel awesome, then I would say, go for it.
3) It’s just fun– Unless you’re too uptight to enjoy the simple pleasure of holding blacked-out combat katana or you wouldn’t enjoy setting up plans with your buddies on how you would take back and survive a potential “Outbreak” like scenario. But for most of us, this serves as a temporary form of escapism. We take it seriously, but definitely enjoy the process along the way.
Cons of Tacticool
How could looking awesome be a bad thing?
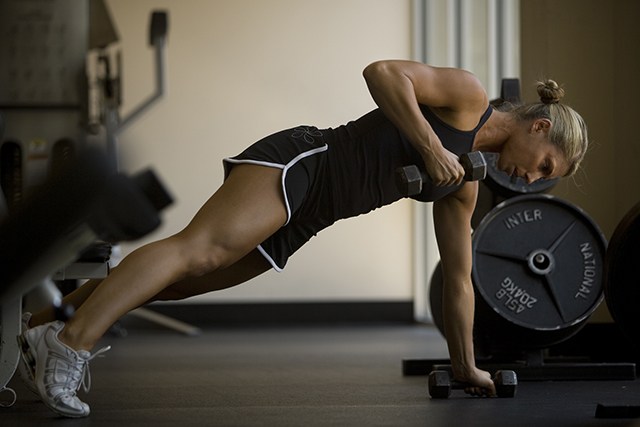
1) The issue with abs– On average men are 18-24% and women are 25-31% body fat. This is relatively natural. For men, they typically start to show visible abdominal muscles around 10% body fat, but will have more defined musculature closer to 6%. Women tend to fluctuate around these numbers because they naturally store fat in locations other than their midsection (where the sexy abs are). So what happens to these fitness icons if there is an actual SHTF scenario and food acquisition has becomes a real problem. At 6% body fat your body is already running low on fat, which is actually very important for cellular function. Now your body is forced to burn your lean tissue and muscle for calories. This is not an excuse to be un-athletic or out-of-shape. But if you do truly identify yourself with the prepper lifestyle, then how prepared your body is must be a primary goal. You should absolutely be strong and physically capable. I believe you should consider pursuing a body that thrives in every situation and scenario, rather than one that simply looks good on Instagram.
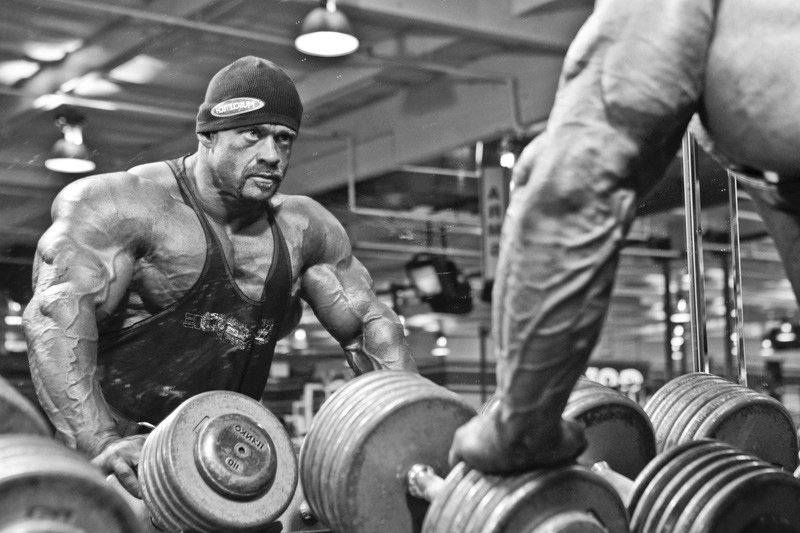
At 6% body fat your body is already running low on fat, which is actually very important for cellular function.
2) The lines between tactical and tacticool become blurred– The more time you spend in and around any group or community the more that community becomes your status quo. I am sure you have experienced this in your life countless times. Everyone at your work drinks beers on Wednesday nights at a bar close to your office. Now you also drink booze on Wednesdays. Your significant other watches a specific TV show, now so do you, etc. If you spend enough time pouring yourself into the cool, but unrealistic, prepper activities and products then eventually you will lose sight of what makes sense and perhaps lose sight of what’s out there just to make someone else money. This is a trap that most of us have fallen prey to at some point. If this is you, then don’t be too hard on yourself. You are in great company. But take note of the things and time you have invested in, that offer little to no return on actual preparedness.
3) Cool is not going to help, when all hell breaks loose– This seems like the most obvious and important reason why we shouldn’t be pursuing phony replacements for the real thing, but it needs to be said. The reason we prep is because we have this thing in the back of our minds telling us, “event X could happen”. Whatever your X is, you’re probably right to pursue it. But somewhere along the way we tend to get caught up in gadgets and thing-a-ma-bobs that offer little to no value in prepping for our X. Do not get caught in this trap. If you wake up one morning and event X is taking place all the money and time you spent on superfluous things and skills will leave a tangible bitterness your mouth.
Pros of Tactical – You are the real deal
1) You’re an actual hard target – There is a difference between looking the part and being the part. If you are stuck in the “cool mindset” currently then this will be hard for you to distinguish. But if you ever have the opportunity to spend time with someone who is actually prepared for event X then you will quickly realize they have no flashy bumper stickers, no unnecessary tools and they do not feel the need to show anyone how prepped they are.
2) You ARE more confident – There is something to be said about the benefits of the “fake it till you make it” mindset and the power of feeling confident. But nothing will substitute the confidence that comes from being tried, tested and proven worthy. This type of mental shift permeates every fiber of your being and you see the world differently. When you understand what you’re capable of and know the limits of your training, you can take that with you wherever you go.
3) It’s deeply satisfying – Don’t get me wrong, it also fun. But there is a certain sense of satisfaction you get with a job well done. There is a specific feeling of accomplishment and deep well-being that acts like a filter through which you see the world, knowing that you are ready. Ready for whatever life throws at you, ready for the good, the bad and the many potential X events that exist.
Cons of Tactical (kind of)
1) Work, work, work, work…work – This type of lifestyle and level of preparedness takes work and a lot of it. You cannot purchase it. You cannot watch a few YouTube videos and consider yourself amongst the elite. You must be diligent, consistent and continually striving to master yourself and your situation. This is something that few people are willing to do, because work is hard and uncomfortable. But that’s why few people are really prepared for the hardships of life. But you are going to win in this is game, while others are satisfied with following the status quo of mediocrity.
2) It takes humility – Humility is something that we are culturally void of and so, being humble is typically counter intuitive for most. But if you are over-confident or the least bit arrogant then you will have a false assessment of your abilities and mistake your level of preparedness for something it isn’t. Being tactical requires self-reflection and an accurate assessment of who you are and what you’re capable of. This will typically be accompanied by a degree of emotional or mental strain as your reality will not match up with your ideal. Being a great Prepper takes the ability to assess your situation and degree of readiness with accuracy.
3) It takes patience – Like humility, patience is another very important skill that one must cultivate if they are going to be prepped for life’s contingencies. It would be great if in an afternoon or weekend we could take a class, get a certification and be off-the-grid ready. But this type of work takes time. The more time you spend in this world the more you will come to realize that you have additional skills to master and continual knowledge to obtain. So, enjoy the journey and take pride in every step along the way. Patience is not only a virtue, it’s one of your closest allies.
As you can see, the above “Cons” are not negatives, they are just challenging. As you continue down the tactical road of physical and mental preparedness, remember that the journey is meant to be enjoyed. Don’t get sidetracked or fooled by anything that claims to be the end-all of products. Put in the time and work, seek to better yourself and know that the best investment you can make in your preparations for the future will always involve personal growth and investing in yourself.
I love the internet and social media. It lets me be exposed to a slew of information and knowledge that I would have otherwise never been able to view. In


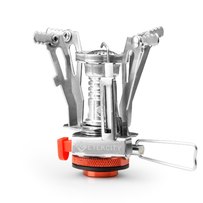
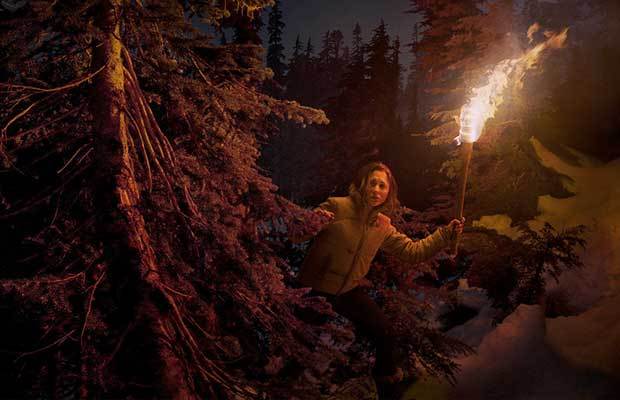 The ability to make fire cannot be overemphasized.
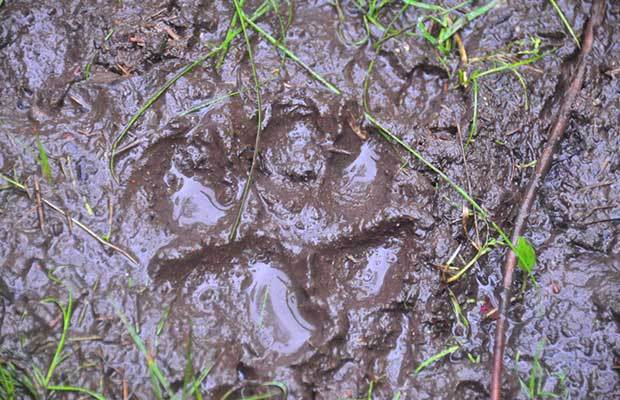 You don’t only have to worry about two-legged predators.